Tag: recipes

Easiest Way To Cook And Shuck Corn On The Cob

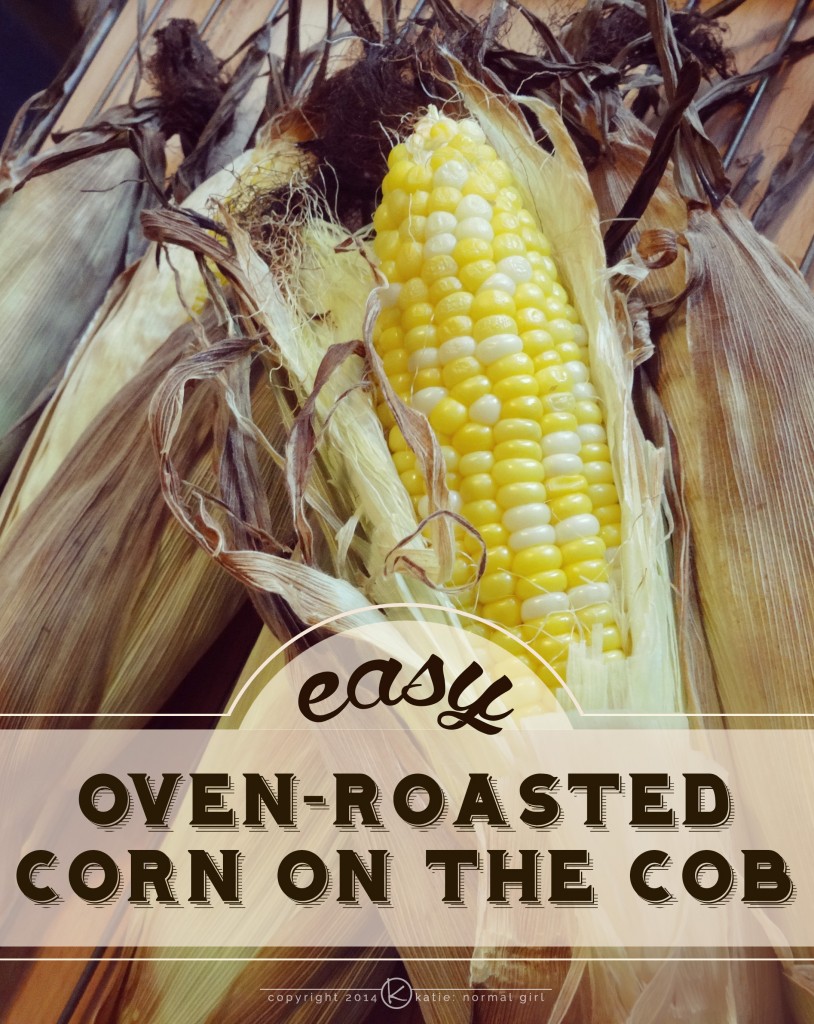
Easy Oven Roasted Corn on the Cob - easiest way to cook and shuck corn ever!

For years I would buy fresh corn on the cob, shuck it and get the sticky silks all over the place and somehow there were still more on the cob. Not to get too infomercial on you, but I wished there was a better way…and there is! Oven-roast those suckers!

When my friend first told me how to do this, I was convinced that shoving paper-like husks into a hot oven would result in roasted corn and an epic house fire. I’m happy to say that only one of those things happened. (It was the corn thing; if it were the house thing then this would be a terrible method for cooking corn.) The corn comes out of the oven cooked to perfection and the silks are magically stuck to the husk instead of the corn. Just peel the husk off and the silks come too!

How to make this fabulous corn on the cob

  1. Place corn on the cob (still in the husk) directly onto the racks of your 400°F oven and bake for 30 minutes.
  2. (Optional) Continuously open the oven door to peek inside and make sure the corn is not on fire…despite your friend’s insistence that it is not.
  3. Once the corn is done roasting, remove it from the oven and let it cool for about 10 – 15 minutes before asking your dinner guests to shuck a 400°F object (lesson learned).

That’s all there is to it! (And you thought the house was going to burn down…)

Want to learn more about corn? Check out my Bounty From The Farm: Sweet Corn post and coming on June 11 (National Corn on the Cob Day) I’ve got a great Edamame, Corn and Tomato Salad that makes a great side dish at outdoor barbecues.

katie: normal girl

Bounty From The Farm: Sweet Corn

Bounty From The Farm-Sweet Corn from katienormalgirl

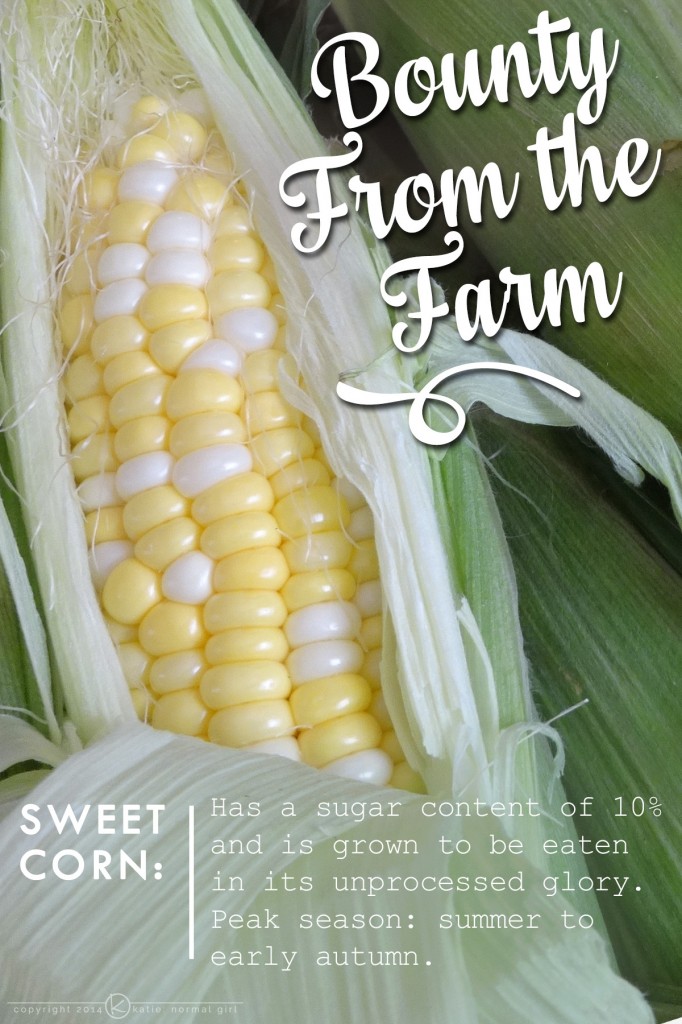
While milling around my local farmer’s market last weekend I visited one of my favorite local farmers where I found a lovely pile of sweet corn. He had just harvested the corn earlier that morning so it was about as fresh as I could get without growing it myself! Armed with my bushel of corn, I decided that I just had to tell you about one of my favorite veggies: sweet corn.

Is all corn “sweet corn”?

Sweet corn has a higher sugar concentration than its counterparts, flint and dent corn and popcorn – all of which have a high-starch content. Flint and dent corns are typically grown with the intention of processing into corn meal and flour for many corn-based foods like tortilla chips, polenta and grits. Sweet corn is grown to be consumed as a whole kernel, whether cut from the cob, frozen or canned.

Is it ripe?

As soon as sweet corn is harvested, its sugars begin to breakdown, so the smaller you can make the farm-to-table gap, the better. Corn is ready for harvest (and eating) when the silks begin to turn brown but aren’t dry.

Peel the husk down a little bit; if the kernels go to the top and are plump (not dimpled) then you’ve got a fresh ear of corn. As a final test, puncture a kernel and if the juice is milky then you’ve got corn at its peak of freshness. Time to eat it!

If you’re ready to get cooking, this is (in my humble, corn-loving opinion) the easiest way to cook and shuck corn.

katie: normal girl


Just in case you didn’t know… 

Husk – the green, leafy covering over your corn.

Silk – the stringy bits at the top of corn. Along with the husk, they are removed before eating the corn.

Shuck – the processes of removing the husk and silk from the corncob or just another word for peeling – you peel a banana; you shuck corn on the cob.

Ear of corn – refers to a single cob of corn, in or out of the husk.

Check out more from my Bounty From the Farm series.

How to Build The Perfect Veg Sandwich

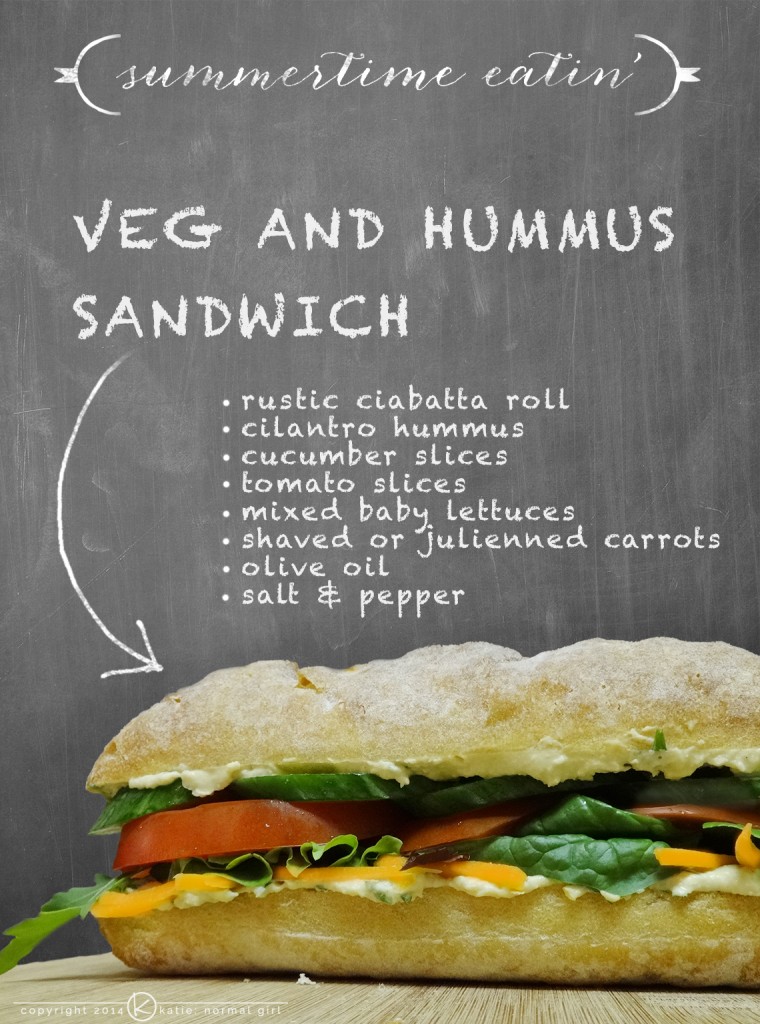
Perfect at summer barbecues for your vegetarian friends, Veg and Hummus Sandwich from katienormalgirl.com | #meatlessmonday #recipes #sandwiches

As summer approaches and backyard barbecues commence, I’m always on the look out for filling, vegetarian sandwich that’ll go perfect with all of the classic summer side dishes (chips, baked beans, corn on the cob…it’s all so delicious). This sandwich is it for me. It’s great because all of the toppings can double as burger toppings (if you’re a mixed meat and veggie crowd), it’s great for taking on hikes and it’s packed with protein so it’s filling and energizing.

HOW TO BUILD THE PERFECT VEG SANDWICH

The ingredients:

  • rustic ciabatta roll (or other hearty, crusty bread of your choice)
  • cilantro hummus (if you can’t find hummus, just mix a handful of chopped, fresh cilantro into your favorite classic hummus dip)
  • cucumber slices (I prefer english or pickle cukes because they are crunchier than the standard cucumber)
  • tomato slices
  • mixed baby lettuce or spinach
  • shaved or julienned carrots (use a vegetable peeler to shave the carrots and create thin carrot ribbons)
  • olive oil (not optional, I used to think it was but it is not)
  • sea or kosher salt and fresh cracked pepper

The layers:

  • Start with your ciabatta roll. Spray or brush a thin layer of olive oil onto both the top and bottom pieces of your roll. I didn’t used to do this, then a friend of mine suggested adding it and wow! What a difference it makes. I was honestly shocked that a little olive oil could make the sandwich taste better but it does – don’t skip it!
  • Follow with a sprinkle of any large granule salt, like sea or kosher salt and a dusting of fresh cracked pepper on both sides of the roll.
  • Then spread a layer of the cilantro hummus on each side of the roll.
  • Start building your layers on the bottom of the roll with the carrots, followed by the lettuce, tomatoes and cucumber.
  • Pop the top of your roll onto the sandwich and bite into the delicious-ness!

This sandwich is so tasty that it doesn’t just have to be for the vegetarians in your group, the meat-eaters will love it too!

katie: normal girl

Pomegranate Breakfast Bread

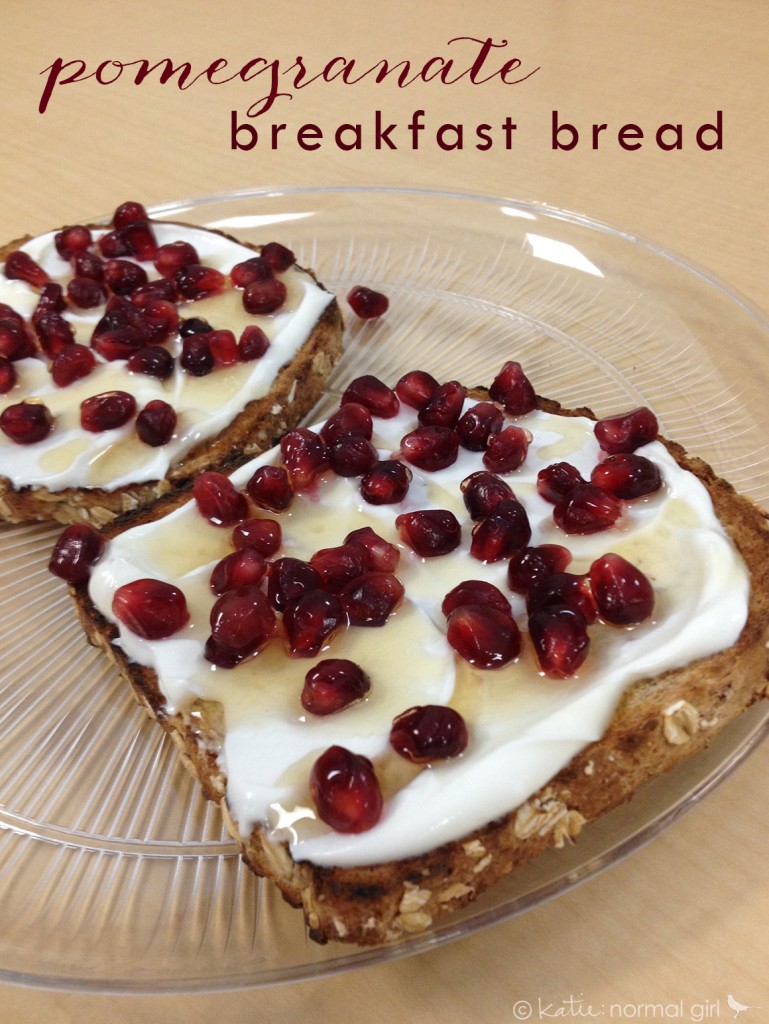
Pomegranate Breakfast Bread from katienormalgirl.com | #breakfast #meatlessmonday #vegetarian #food

The tasty red jewels from the pomegranate have so many great uses but I like to keep it simple. This breakfast toast is ridiculously healthy, easy to make and perhaps most importantly, it’s tasty.

You’ll need:

  • A hearty multi-grain breadI prefer Ezekiel 4:9 Sprouted Whole Grain Bread available in the freezer section of the grocery store.
  • Plain greek yogurtThe tart flavor works well with the pomegranate seeds and the greek yogurt has more protein than regular yogurt – a good thing for us vegetarians.
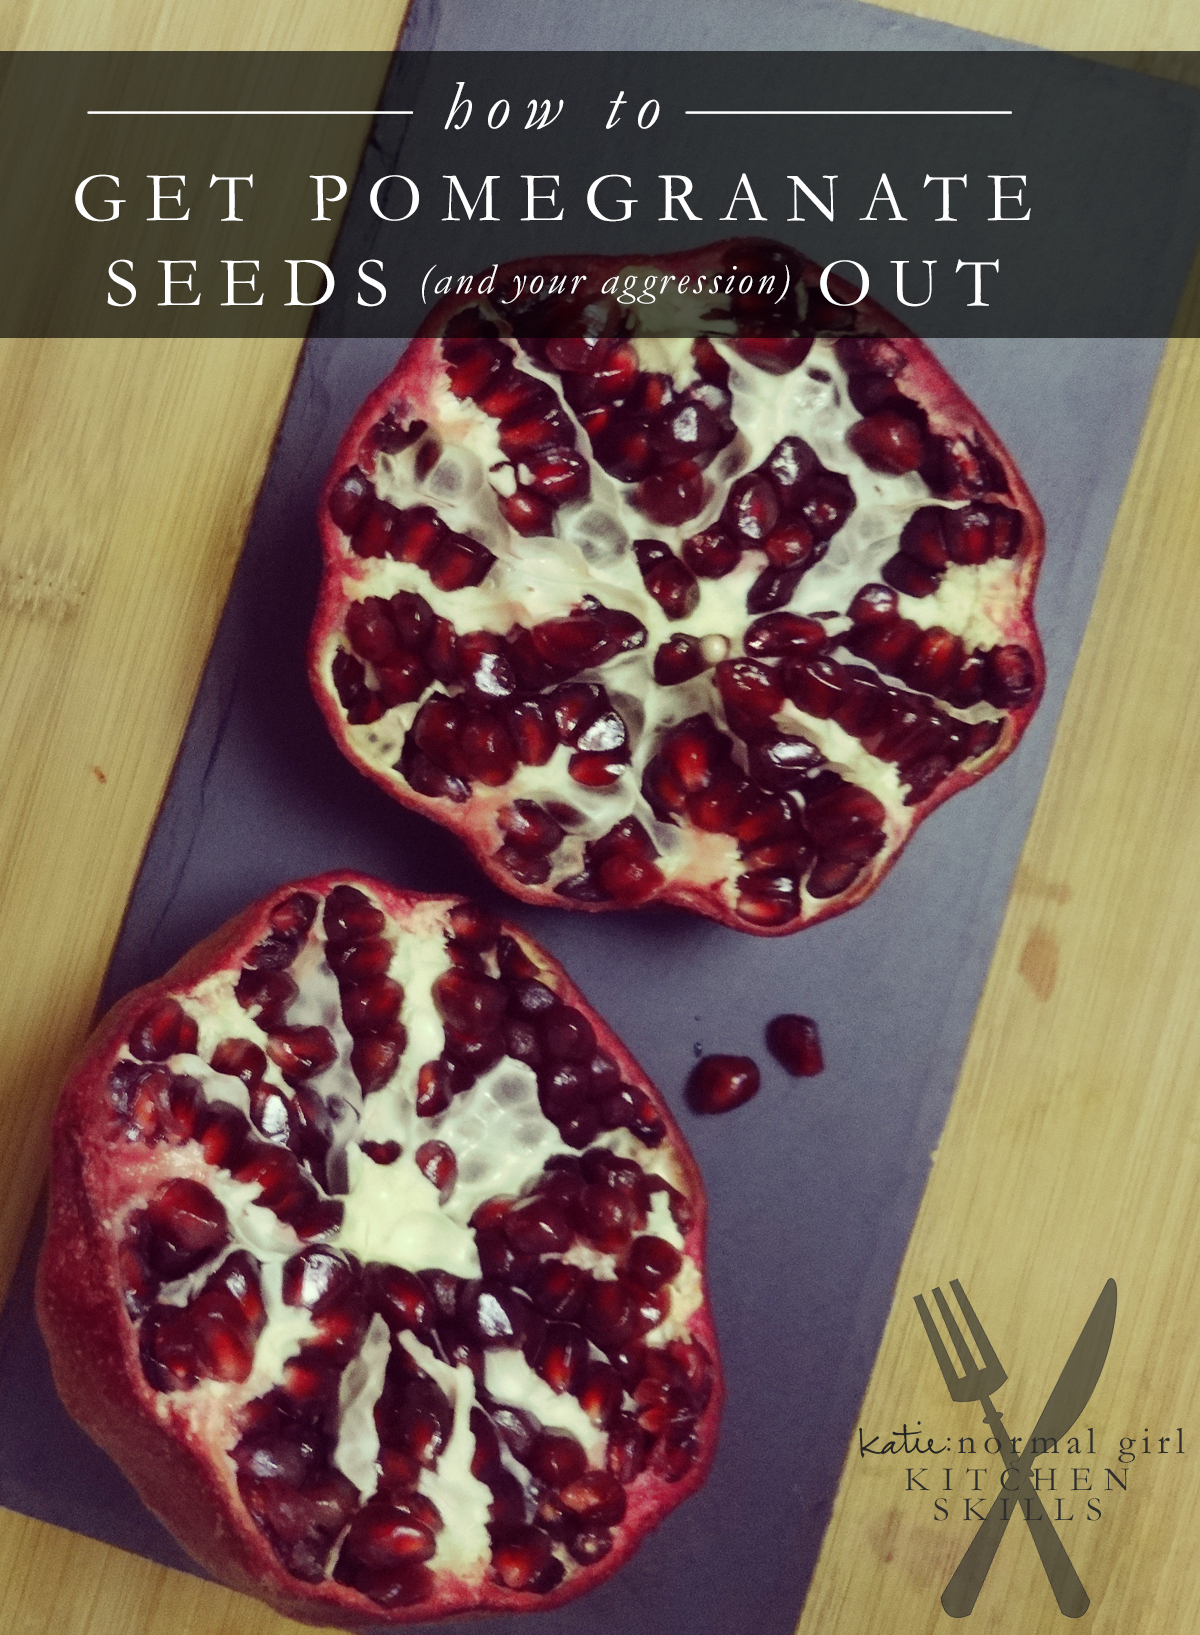
  • Pomegranate seeds, that you harvested yourself using the easy spoon method.
  • HoneyFor just a hint of sweetness, it is, of course, optional.

Toast up your bread, spread a thin layer of yogurt on top, sprinkle with pomegranate seeds and drizzle with honey. Breakfast is served!

katie: normal girl

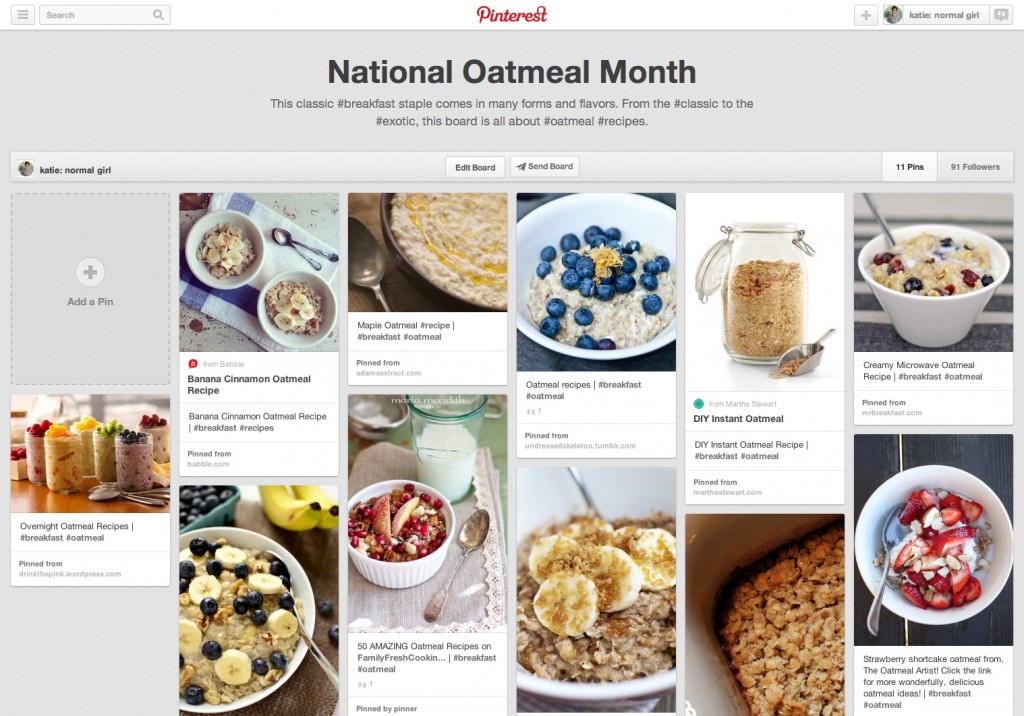
National Oatmeal Month

National Oatmeal Month Pinterest Board from katienormalgirl.com | #oatmeal #recipes #breakfast

I’ve been so caught up enjoying National Hot Tea Month that I almost missed National Oatmeal Month. I know that for some of you, missing out on oatmeal is definitely not a tragedy but I kind of like the stuff. During this month of resolutions and getting healthy, why not give oatmeal another try? I’ve started collecting some inspirational recipes over on Pinterest, join me, won’t you?

katie: normal girl

Let’s Make Dinner: Spaghetti Casserole

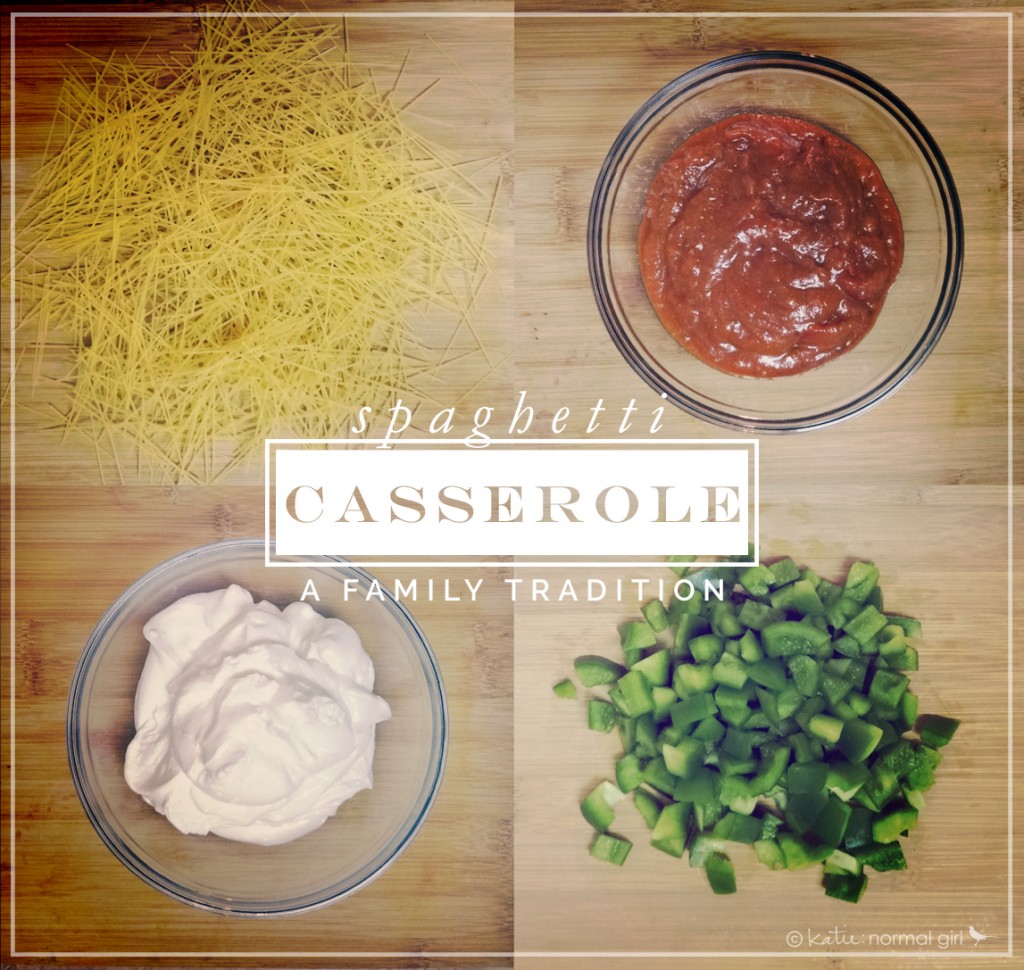
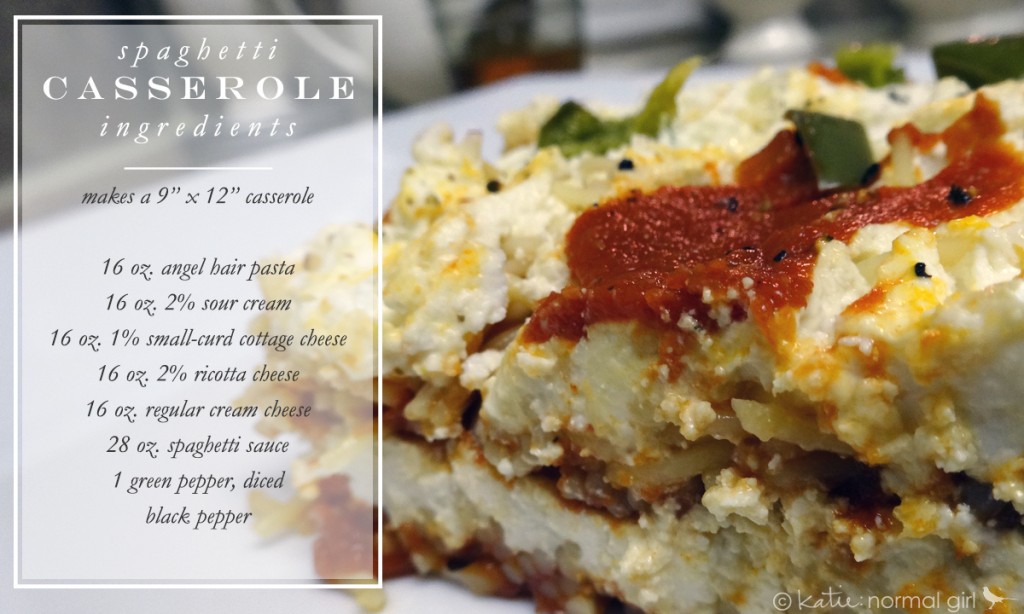
Spaghetti Casserole (pasta and cheese deliciousness) from katienormalgirl.com #meatlessmonday #vegetarian #yum

In honor of National Spaghetti Day (January 4) I wanted to share one of my favorite dinners with you, spaghetti casserole. This recipe is from my great-great grandfather and as far as I know, it hasn’t changed much since the days when he was making it. This is a family-favorite for Christmas Eve dinner, especially for the cook because it’s so easy to make and it can even be made ahead of time and frozen (plus, the red, green and white make it pretty festive).

Spaghetti Casserole (pasta and cheese deliciousness) from katienormalgirl.com #meatlessmonday #vegetarian #yum

Ingredients: 16 oz. angel hair pasta | 16 oz. 2% sour cream | 16 oz. 1% small-curd cottage cheese
16 oz. 2% ricotta cheese | 16 oz. regular cream cheese | 28 oz. spaghetti sauce
1 green pepper, diced | black pepper

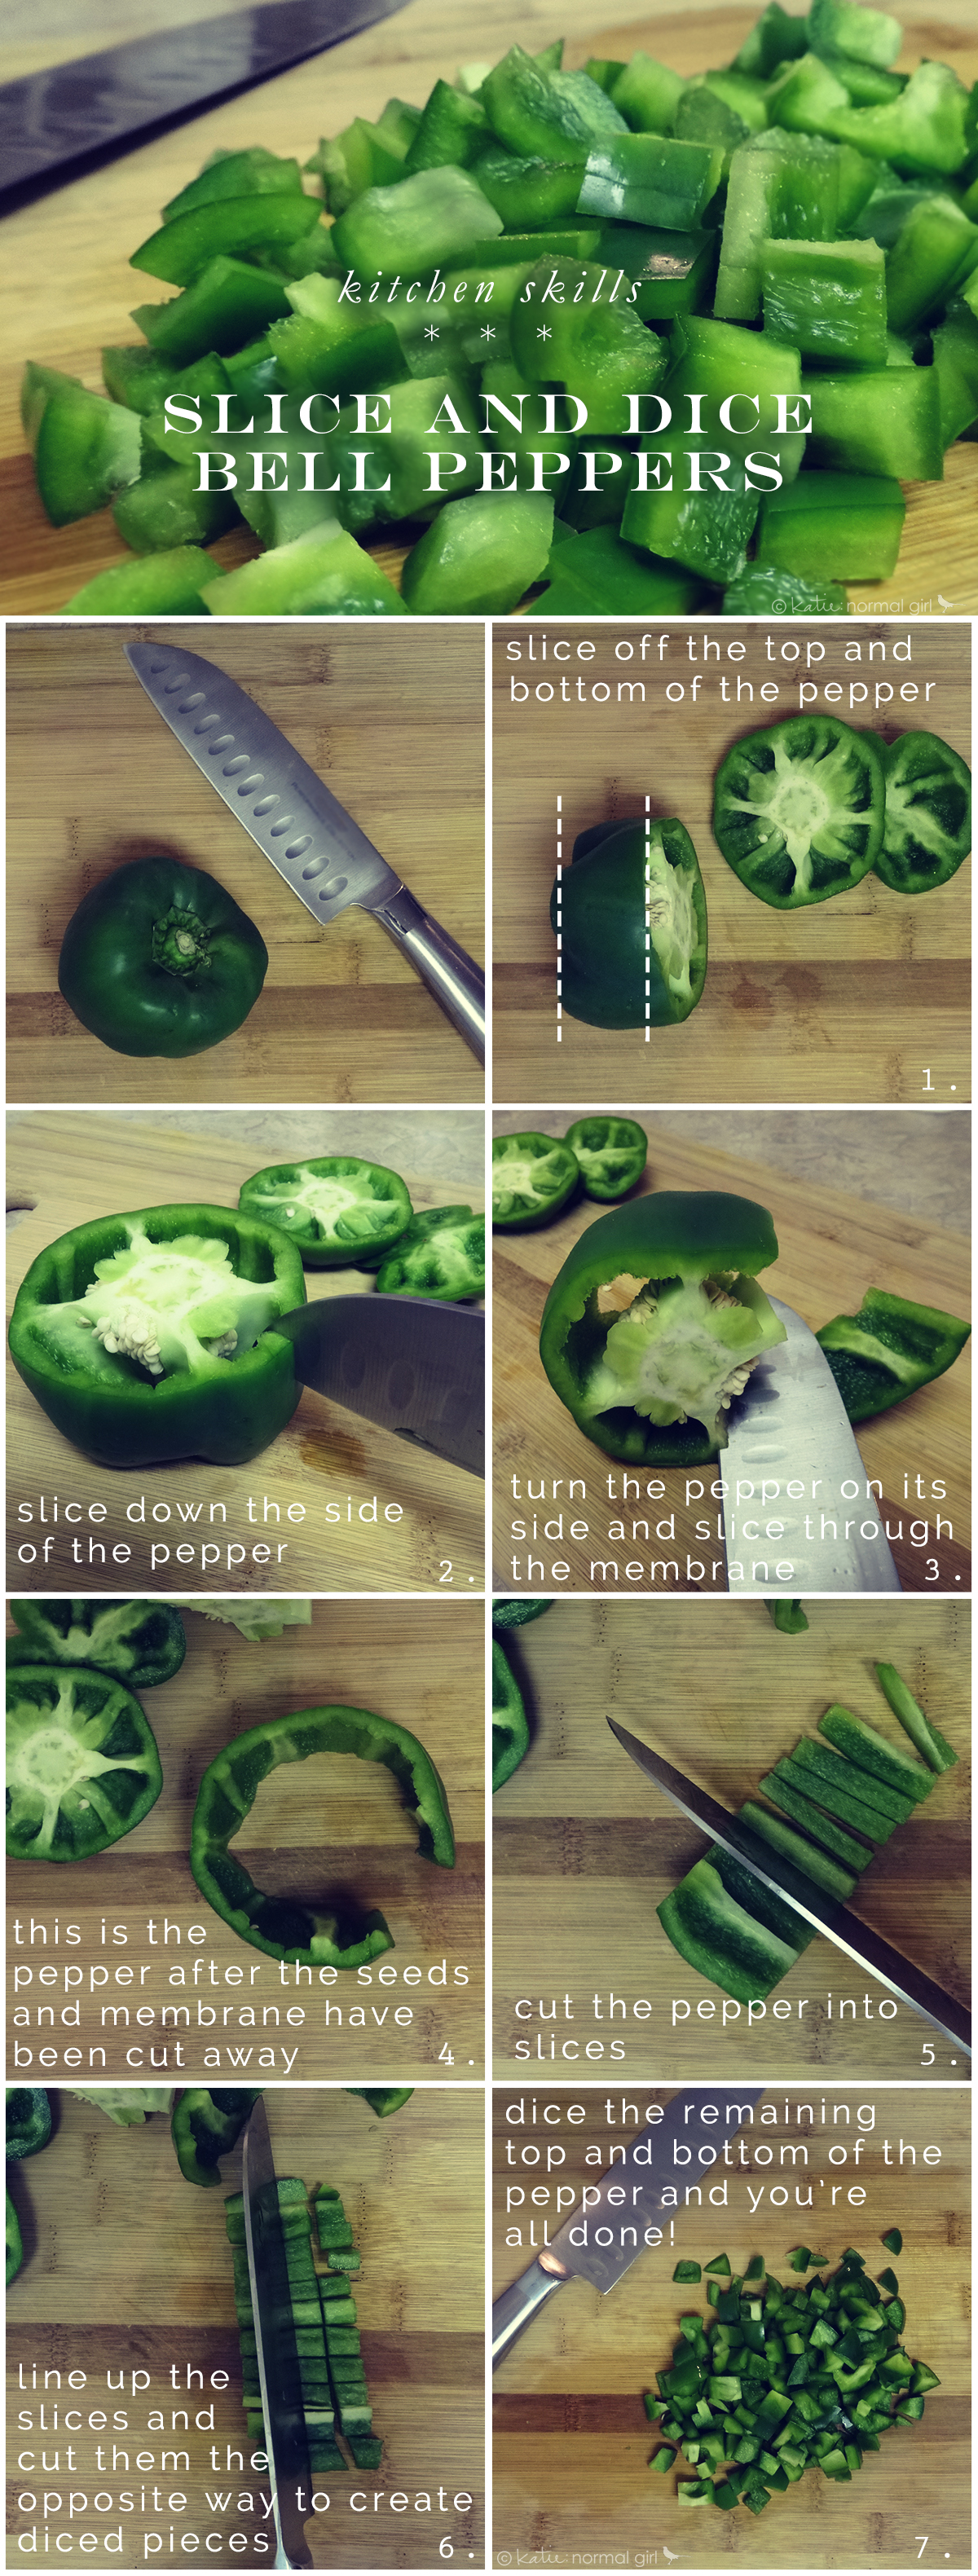
This is a layered dish, so you’ll need to setup your assembly station. Start by mixing all of the cheeses together in a bowl (it goes a little easier if the cream cheese is at room temperature). Then break your uncooked pasta into 2″-3″ pieces. Dice your green peppers (the easy way) and finally, pour the spaghetti sauce into a bowl that it can be easily ladled out of.

1 | Layer the bottom of a 9″ x 12″ casserole dish with spaghetti sauce.
2 | Top with a layer of uncooked pasta.
3 | Spread the cheese mixture over the pasta.
4 | Sprinkle a few of the diced green pepper pieces and a bit of black pepper over the cheese.
5 | Repeat steps 1-4 until you’ve filled the dish, being careful to fully cover your top layer of pasta noodles with sauce and cheese so they’ll cook properly.
6 | Bake at 350°F for 40 minutes, rotating the dish half-way through the cooking time.
7 | Allow it to sit at room temperature for 10-15 minutes before serving.

If you have any extra sauce, you can serve it on the side.

From my family to yours, enjoy!

katie: normal girl

Looking for more meat-free meals? Check out the Vegetarian Eats area.

DIY Sugar Shapes

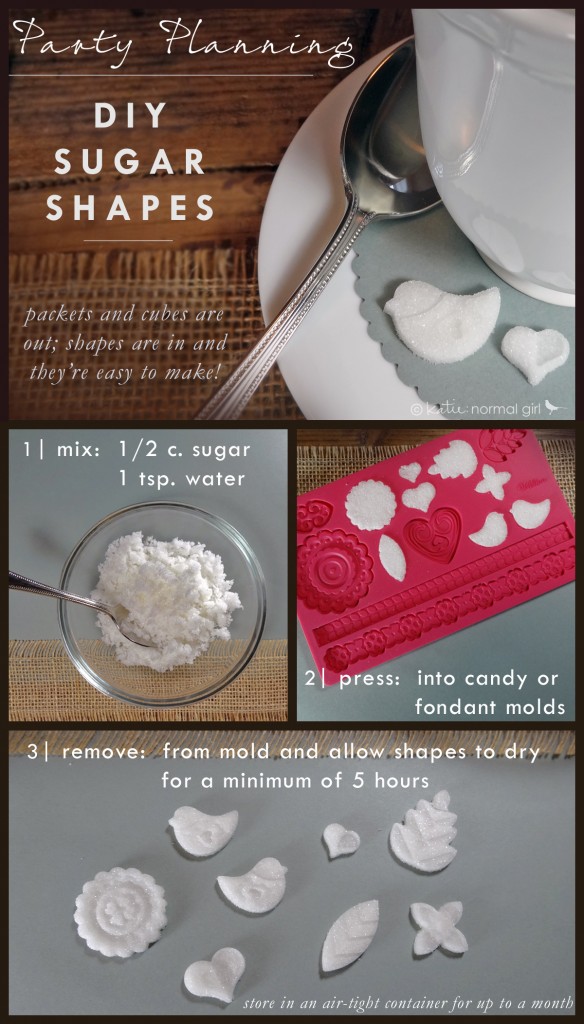
Just in time for National Hot Tea Month, DIY Sugar Shapes from katienormalgirl.com #diy #partyplanning #teaJust in time for National Hot Tea Month, sugar shapes! These fun little guys are a cinch to make and are great fun for a party or as a special treat for yourself.

Here’s a few extra tips to get you started:

  • If you want to add coloring to your sugar shapes, add a few drops of food color in your teaspoon, then fill the rest of the spoon with plain water and mix with the sugar.
  • When selecting a mold, be sure to select one that will make shapes that aren’t too large so you don’t end up with shapes that are three tablespoons of sugar each! Also be careful to select a mold that isn’t too shallow or your shapes may break easily.
  • It is a small amount of liquid and doesn’t seem like enough to wet all of the sugar but just keep working at it and it will all come together. In the end you’ll have a relatively dry mixture that presses into the mold really well.
  • After pressing the sugar into the mold, use the back of a knife to flatten the shapes.
  • The consistency of the mixture is the right combination of dry and wet that you only need to leave the sugar in the mold for a few minutes. If you have really shallow molds (not recommended but it certainly can’t hurt to try) I’d leave them in there for about 10-15 minutes before removing from the mold.
  • To get the shapes out, place a flat, rigid surface (like a small cookie sheet or I used a book with foil wrapped around it) on the top of the mold and flip the whole thing over. That way you’re not try to do the quick-flip-slam onto a counter top.

Have a good time making these and stop by for more tea bits all month long!

katie: normal girl


P.S. This is also a great way to make snow for a gingerbread house!

Easy Cinnamon Peanut Brittle

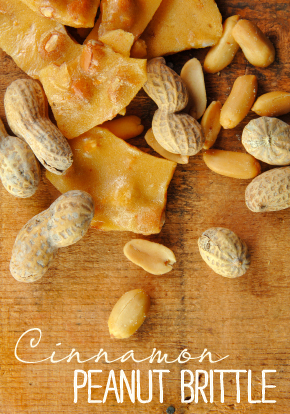
Cinnamon Peanut Brittle recipe from katienormalgirl.com #giftideas #homemade

This time of year always puts me in the mood for peanut brittle but not just any peanut brittle…I want cinnamon peanut brittle.

There are so many peanut brittle recipes out there, so if you already have a favorite, you can try this take on it by just adding cinnamon to your existing recipe. If you don’t have a favorite then I’d love for you to give this version a try.  It makes a yummy treat that can be wrapped up and given as gifts to your co-workers, family, and friends.

You’ll need:

– 1 1/3 c. sugar
– 6 1/2 oz. shelled, salted peanuts
– 1 1/2 tsp. ground cinnamon
– butter to grease cookie sheet and spoon backs
– two metal spoons

Thoroughly grease a cookie sheet with butter, being sure to cover the entire bottom and sides. Next you’ll need to prepare for cooking the sugar. Once the sugar is ready you’ll need to add the peanuts and cinnamon, stir and pour into the cookie sheet pretty quickly so have everything you need (peanuts, cinnamon, metal spoons) setup and ready to go.