Tag: how to

Easiest Way To Cook And Shuck Corn On The Cob

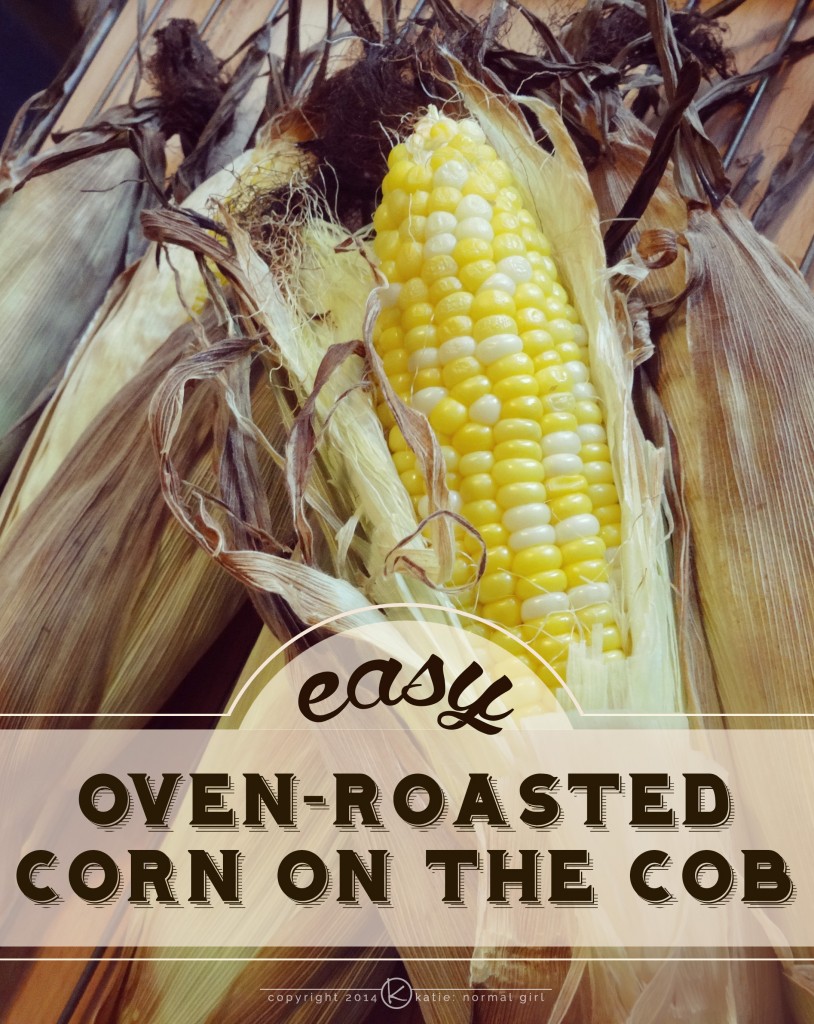
Easy Oven Roasted Corn on the Cob - easiest way to cook and shuck corn ever!

For years I would buy fresh corn on the cob, shuck it and get the sticky silks all over the place and somehow there were still more on the cob. Not to get too infomercial on you, but I wished there was a better way…and there is! Oven-roast those suckers!

When my friend first told me how to do this, I was convinced that shoving paper-like husks into a hot oven would result in roasted corn and an epic house fire. I’m happy to say that only one of those things happened. (It was the corn thing; if it were the house thing then this would be a terrible method for cooking corn.) The corn comes out of the oven cooked to perfection and the silks are magically stuck to the husk instead of the corn. Just peel the husk off and the silks come too!

How to make this fabulous corn on the cob

  1. Place corn on the cob (still in the husk) directly onto the racks of your 400°F oven and bake for 30 minutes.
  2. (Optional) Continuously open the oven door to peek inside and make sure the corn is not on fire…despite your friend’s insistence that it is not.
  3. Once the corn is done roasting, remove it from the oven and let it cool for about 10 – 15 minutes before asking your dinner guests to shuck a 400°F object (lesson learned).

That’s all there is to it! (And you thought the house was going to burn down…)

Want to learn more about corn? Check out my Bounty From The Farm: Sweet Corn post and coming on June 11 (National Corn on the Cob Day) I’ve got a great Edamame, Corn and Tomato Salad that makes a great side dish at outdoor barbecues.

katie: normal girl

Bounty From The Farm: Sweet Corn

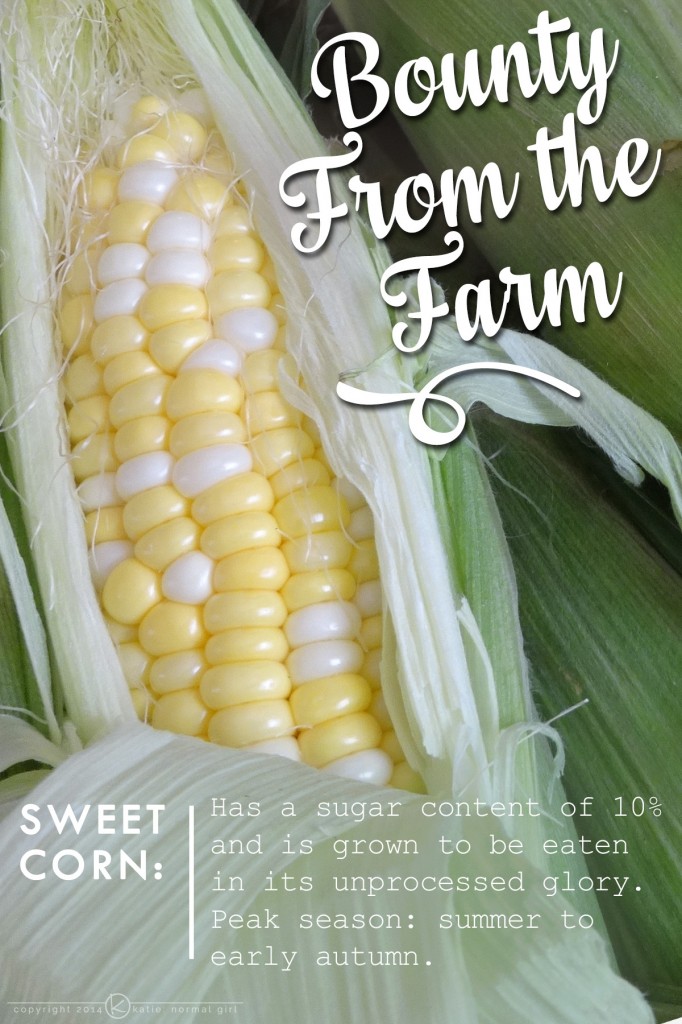
Bounty From The Farm-Sweet Corn from katienormalgirl

While milling around my local farmer’s market last weekend I visited one of my favorite local farmers where I found a lovely pile of sweet corn. He had just harvested the corn earlier that morning so it was about as fresh as I could get without growing it myself! Armed with my bushel of corn, I decided that I just had to tell you about one of my favorite veggies: sweet corn.

Is all corn “sweet corn”?

Sweet corn has a higher sugar concentration than its counterparts, flint and dent corn and popcorn – all of which have a high-starch content. Flint and dent corns are typically grown with the intention of processing into corn meal and flour for many corn-based foods like tortilla chips, polenta and grits. Sweet corn is grown to be consumed as a whole kernel, whether cut from the cob, frozen or canned.

Is it ripe?

As soon as sweet corn is harvested, its sugars begin to breakdown, so the smaller you can make the farm-to-table gap, the better. Corn is ready for harvest (and eating) when the silks begin to turn brown but aren’t dry.

Peel the husk down a little bit; if the kernels go to the top and are plump (not dimpled) then you’ve got a fresh ear of corn. As a final test, puncture a kernel and if the juice is milky then you’ve got corn at its peak of freshness. Time to eat it!

If you’re ready to get cooking, this is (in my humble, corn-loving opinion) the easiest way to cook and shuck corn.

katie: normal girl


Just in case you didn’t know… 

Husk – the green, leafy covering over your corn.

Silk – the stringy bits at the top of corn. Along with the husk, they are removed before eating the corn.

Shuck – the processes of removing the husk and silk from the corncob or just another word for peeling – you peel a banana; you shuck corn on the cob.

Ear of corn – refers to a single cob of corn, in or out of the husk.

Check out more from my Bounty From the Farm series.

Bounty From The Farm: What are pullet eggs?

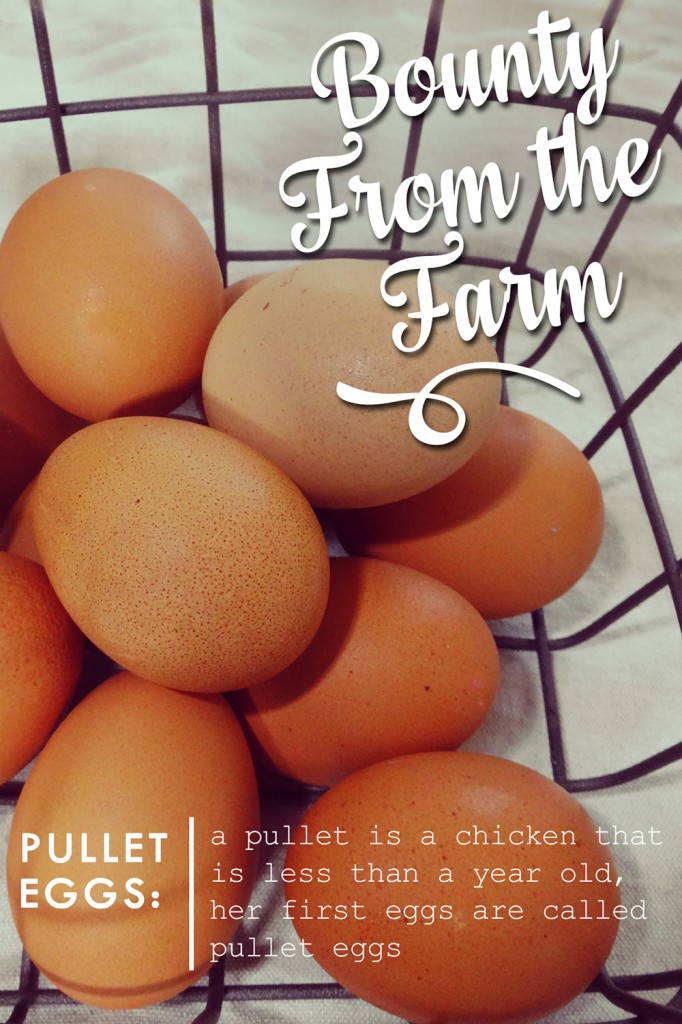
Bounty From The Farm: Pullet Eggs from katienormalgirl.com | #food #eggs

This past weekend I visited an adorable little farm out in the country, Lake Meadow Naturals. There’s a gravel lot where you park between the duck coop and the goats, and in front of you is a lovely field with rolling hills, huge oak trees and grazing horses. It’s as close to perfection as you can get.

On this little farm they also have turkeys, bunnies, beehives and, of course, chickens. The happy little hens have a massive coop with a big open yard for them to go wandering about. This is where you’ll find the pullets and their eggs. These female chickens are under a year old and have just begun to lay eggs. After they are a year old, they will be referred to as hens. A sign in the farm’s store explains the eggs:

The most special, and most precious, of pullet eggs are their first lay. These eggs have in them all of the vital essences of the chicken, which it has stored up its entire life. No subsequent eggs will ever taste the same. They are in limited supply as they only lay them in the first few weeks.

Once the pullets start laying regularly, their small pullet eggs become mediums, then large and sometimes extra large. You don’t typically see pullet eggs in the grocery store because their small size makes them less desirable to consumers and they are often sent to processing facilitates to become scrambled or powdered eggs. However, if you can find them at a local farm or farmer’s market, I suggest giving them a try. They are tasty on their own with a rich yolk that fries up nice but they are also great for making baked goods and are often coveted by pasty chefs for their rich flavor and consistency.

If you decide to bake with pullet eggs, be sure to check your recipe measurements. Most recipes call for large or extra large eggs which average about 3 tablespoons of egg. Pullet eggs are much smaller, so you may need to use 2 for every 1 large or extra large.

Now you know what pullet eggs are and that you should definitely try them. Happy egg hunting!

katie: normal girl


Check out more from my Bounty From the Farm series.

Host a Craft-ernoon Party

Valentines Glitter Jars from katienormalgirl.com | #valentinesday #crafts

Today I’m a guest blogger over on Oak & Oats where I’m sharing tips for hosting a craft-ernoon party. I love to host a good party filled with food, crafts and glitter. If you’d like to make these glitter jars and host a party of your own, hop on over and check out this Valentine’s Day craft!

katie: normal girl

DIY Monogrammed Vases

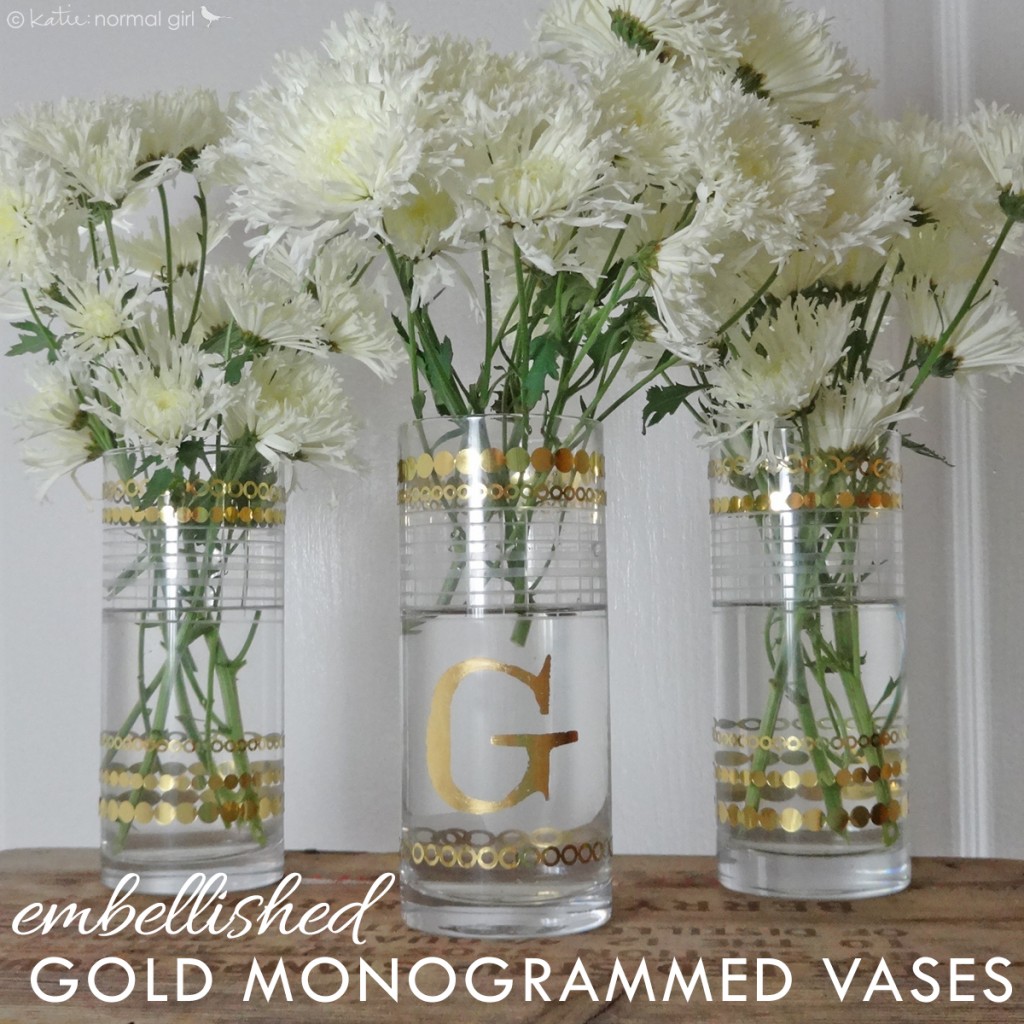
Gold Monogrammed Flower Vases from katienormalgirl.com | #DIY #crafts #homemadeI found these fun glasses at a thrift store recently and decided that with a little bit of shine, they would make perfect little flower vases. I just can’t resist fresh cut flowers at the farmer’s market so I’m always in need of a vase or two.

The glasses already had a great etched pattern on them so I just added bits of gold trim and a gold-leafed “G”. The whole process was a lot easier than you might think.

DIY Sugar Shapes

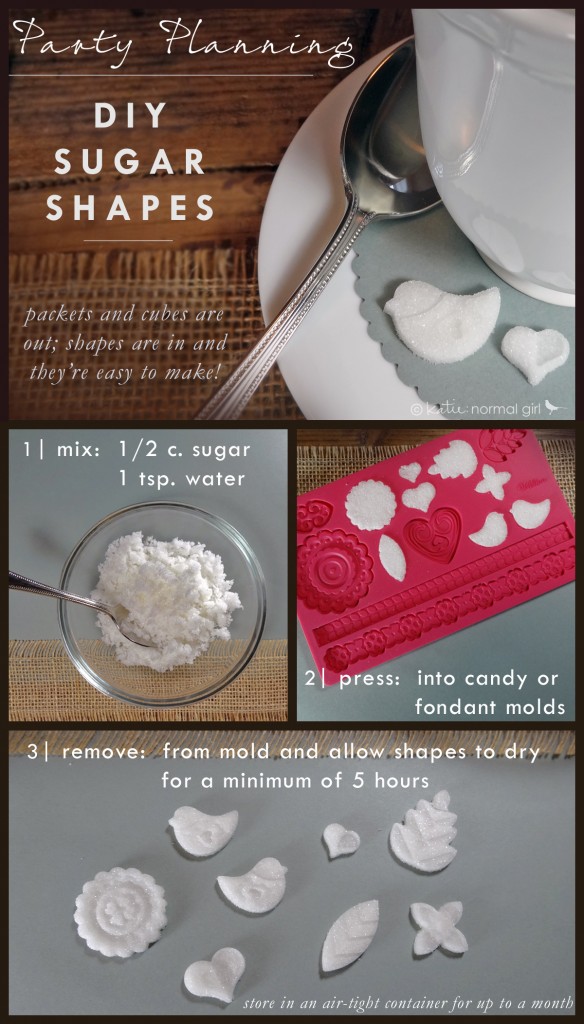
Just in time for National Hot Tea Month, DIY Sugar Shapes from katienormalgirl.com #diy #partyplanning #teaJust in time for National Hot Tea Month, sugar shapes! These fun little guys are a cinch to make and are great fun for a party or as a special treat for yourself.

Here’s a few extra tips to get you started:

  • If you want to add coloring to your sugar shapes, add a few drops of food color in your teaspoon, then fill the rest of the spoon with plain water and mix with the sugar.
  • When selecting a mold, be sure to select one that will make shapes that aren’t too large so you don’t end up with shapes that are three tablespoons of sugar each! Also be careful to select a mold that isn’t too shallow or your shapes may break easily.
  • It is a small amount of liquid and doesn’t seem like enough to wet all of the sugar but just keep working at it and it will all come together. In the end you’ll have a relatively dry mixture that presses into the mold really well.
  • After pressing the sugar into the mold, use the back of a knife to flatten the shapes.
  • The consistency of the mixture is the right combination of dry and wet that you only need to leave the sugar in the mold for a few minutes. If you have really shallow molds (not recommended but it certainly can’t hurt to try) I’d leave them in there for about 10-15 minutes before removing from the mold.
  • To get the shapes out, place a flat, rigid surface (like a small cookie sheet or I used a book with foil wrapped around it) on the top of the mold and flip the whole thing over. That way you’re not try to do the quick-flip-slam onto a counter top.

Have a good time making these and stop by for more tea bits all month long!

katie: normal girl


P.S. This is also a great way to make snow for a gingerbread house!