Category: HOMEMADE AND DIY

Host a Craft-ernoon Party

Valentines Glitter Jars from katienormalgirl.com | #valentinesday #crafts

Today I’m a guest blogger over on Oak & Oats where I’m sharing tips for hosting a craft-ernoon party. I love to host a good party filled with food, crafts and glitter. If you’d like to make these glitter jars and host a party of your own, hop on over and check out this Valentine’s Day craft!

katie: normal girl

DIY Monogrammed Vases

Gold Monogrammed Flower Vases from katienormalgirl.com | #DIY #crafts #homemadeI found these fun glasses at a thrift store recently and decided that with a little bit of shine, they would make perfect little flower vases. I just can’t resist fresh cut flowers at the farmer’s market so I’m always in need of a vase or two.

The glasses already had a great etched pattern on them so I just added bits of gold trim and a gold-leafed “G”. The whole process was a lot easier than you might think.

DIY Sugar Shapes

Just in time for National Hot Tea Month, DIY Sugar Shapes from katienormalgirl.com #diy #partyplanning #teaJust in time for National Hot Tea Month, sugar shapes! These fun little guys are a cinch to make and are great fun for a party or as a special treat for yourself.

Here’s a few extra tips to get you started:

  • If you want to add coloring to your sugar shapes, add a few drops of food color in your teaspoon, then fill the rest of the spoon with plain water and mix with the sugar.
  • When selecting a mold, be sure to select one that will make shapes that aren’t too large so you don’t end up with shapes that are three tablespoons of sugar each! Also be careful to select a mold that isn’t too shallow or your shapes may break easily.
  • It is a small amount of liquid and doesn’t seem like enough to wet all of the sugar but just keep working at it and it will all come together. In the end you’ll have a relatively dry mixture that presses into the mold really well.
  • After pressing the sugar into the mold, use the back of a knife to flatten the shapes.
  • The consistency of the mixture is the right combination of dry and wet that you only need to leave the sugar in the mold for a few minutes. If you have really shallow molds (not recommended but it certainly can’t hurt to try) I’d leave them in there for about 10-15 minutes before removing from the mold.
  • To get the shapes out, place a flat, rigid surface (like a small cookie sheet or I used a book with foil wrapped around it) on the top of the mold and flip the whole thing over. That way you’re not try to do the quick-flip-slam onto a counter top.

Have a good time making these and stop by for more tea bits all month long!

katie: normal girl


P.S. This is also a great way to make snow for a gingerbread house!

Giving Thanks: Keeping it Simple

Gratitude Jar from katienormalgirl.com

My gratitude story.

‘Tis the season for giving thanks. It’s about taking a moment to stop and look around you with the specific intention of being grateful – and sometimes I need the reminder. I get so caught up in goal setting and goal accomplishing and I tend to neglect being grateful for all of the wonderful, little things that have already happened.

I also feel like there can be an inherent pressure in giving thanks. As though I must be deeply profound when declaring gratitude. Is a simple, “thank you for a good hair day,” enough? I also worry that I’m not being grateful often enough. Some people write five things per day, others don’t do any at all. I know that I want to be somewhere in the middle but who has the time?

Pearl Earring Tutorial and A Quick Geology Lesson

Birthstone Earring of the Month Tutorial, Pearl Earrings from katienormalgirl.com

June Birthstones: Pearls, Moonstone and Alexandrite

Is a Pearl a Stone? A Quick Geology Lesson.

As you may have guessed, a pearl is not a stone. Here’s a quick layman’s summary of the differences between minerals, rocks, stones and gemstones…and why a pearl is none of these things.

Handcrafted Thanksgiving Pinecone Turkeys

Pinecone Turkey

From the archives: This project was originally posted last year but I thought that it was so fun, I should post again this year. Enjoy!

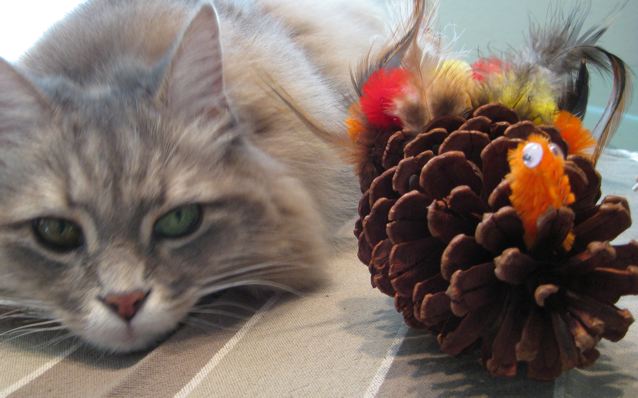
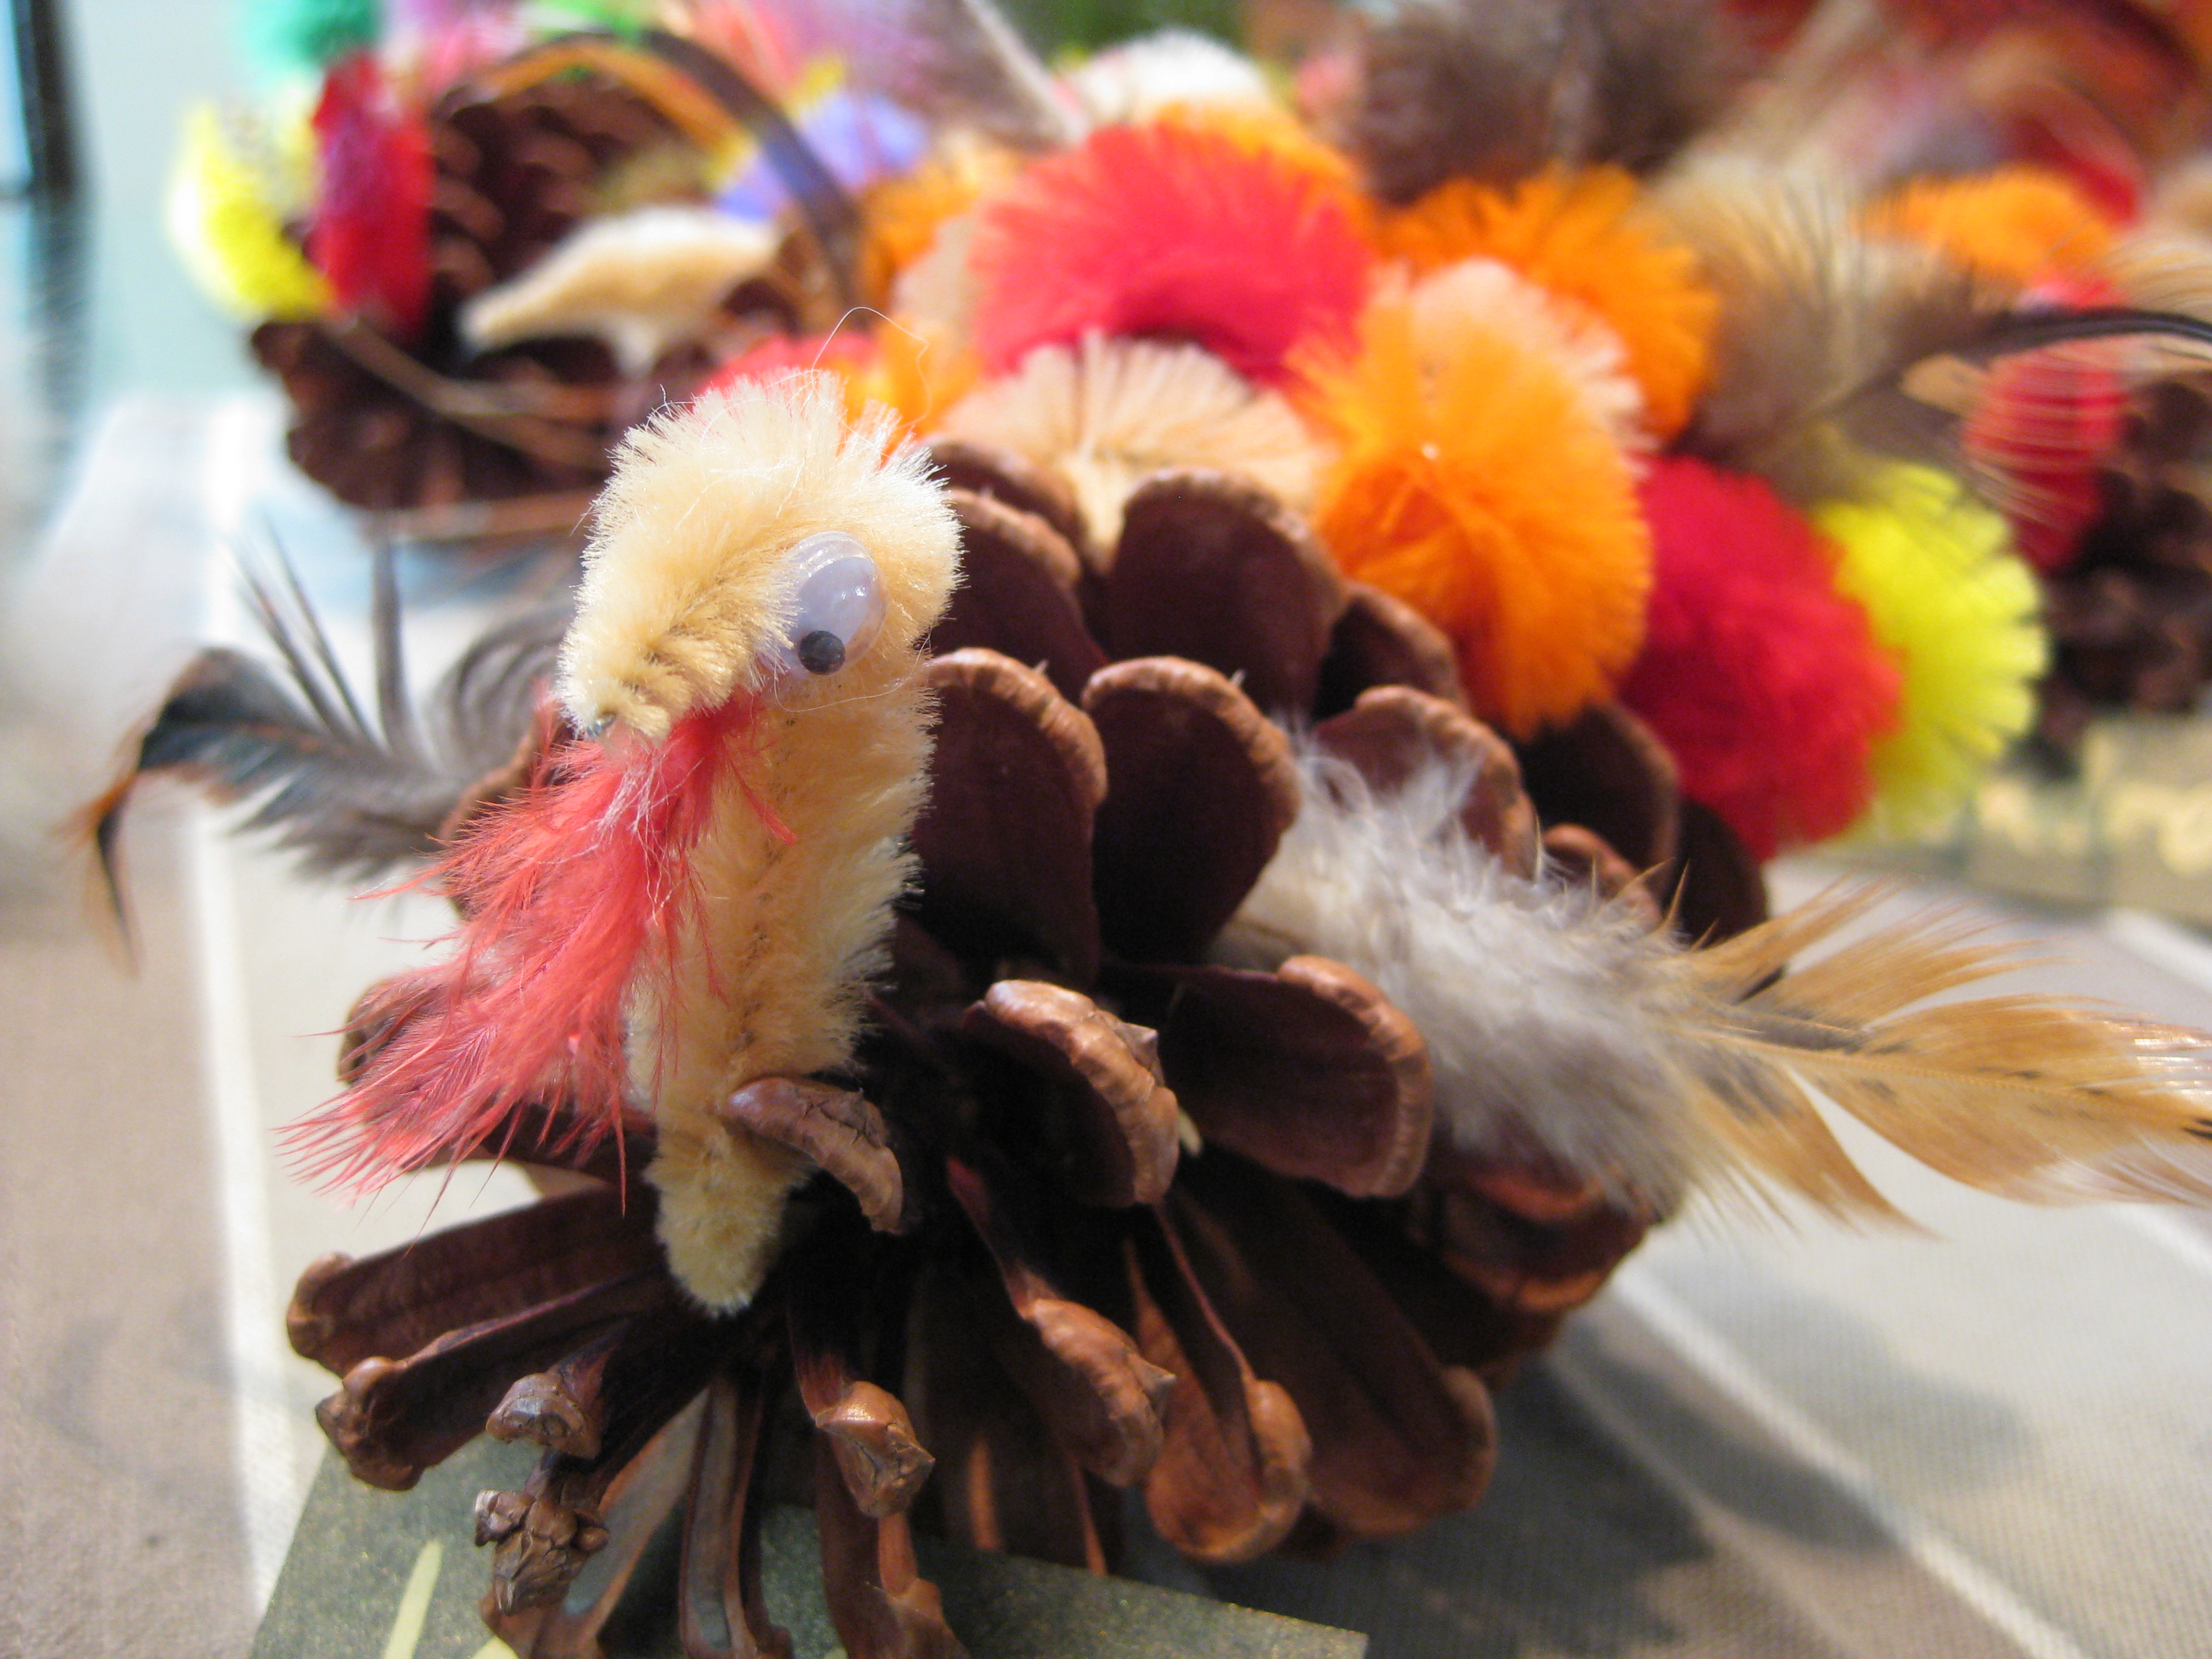
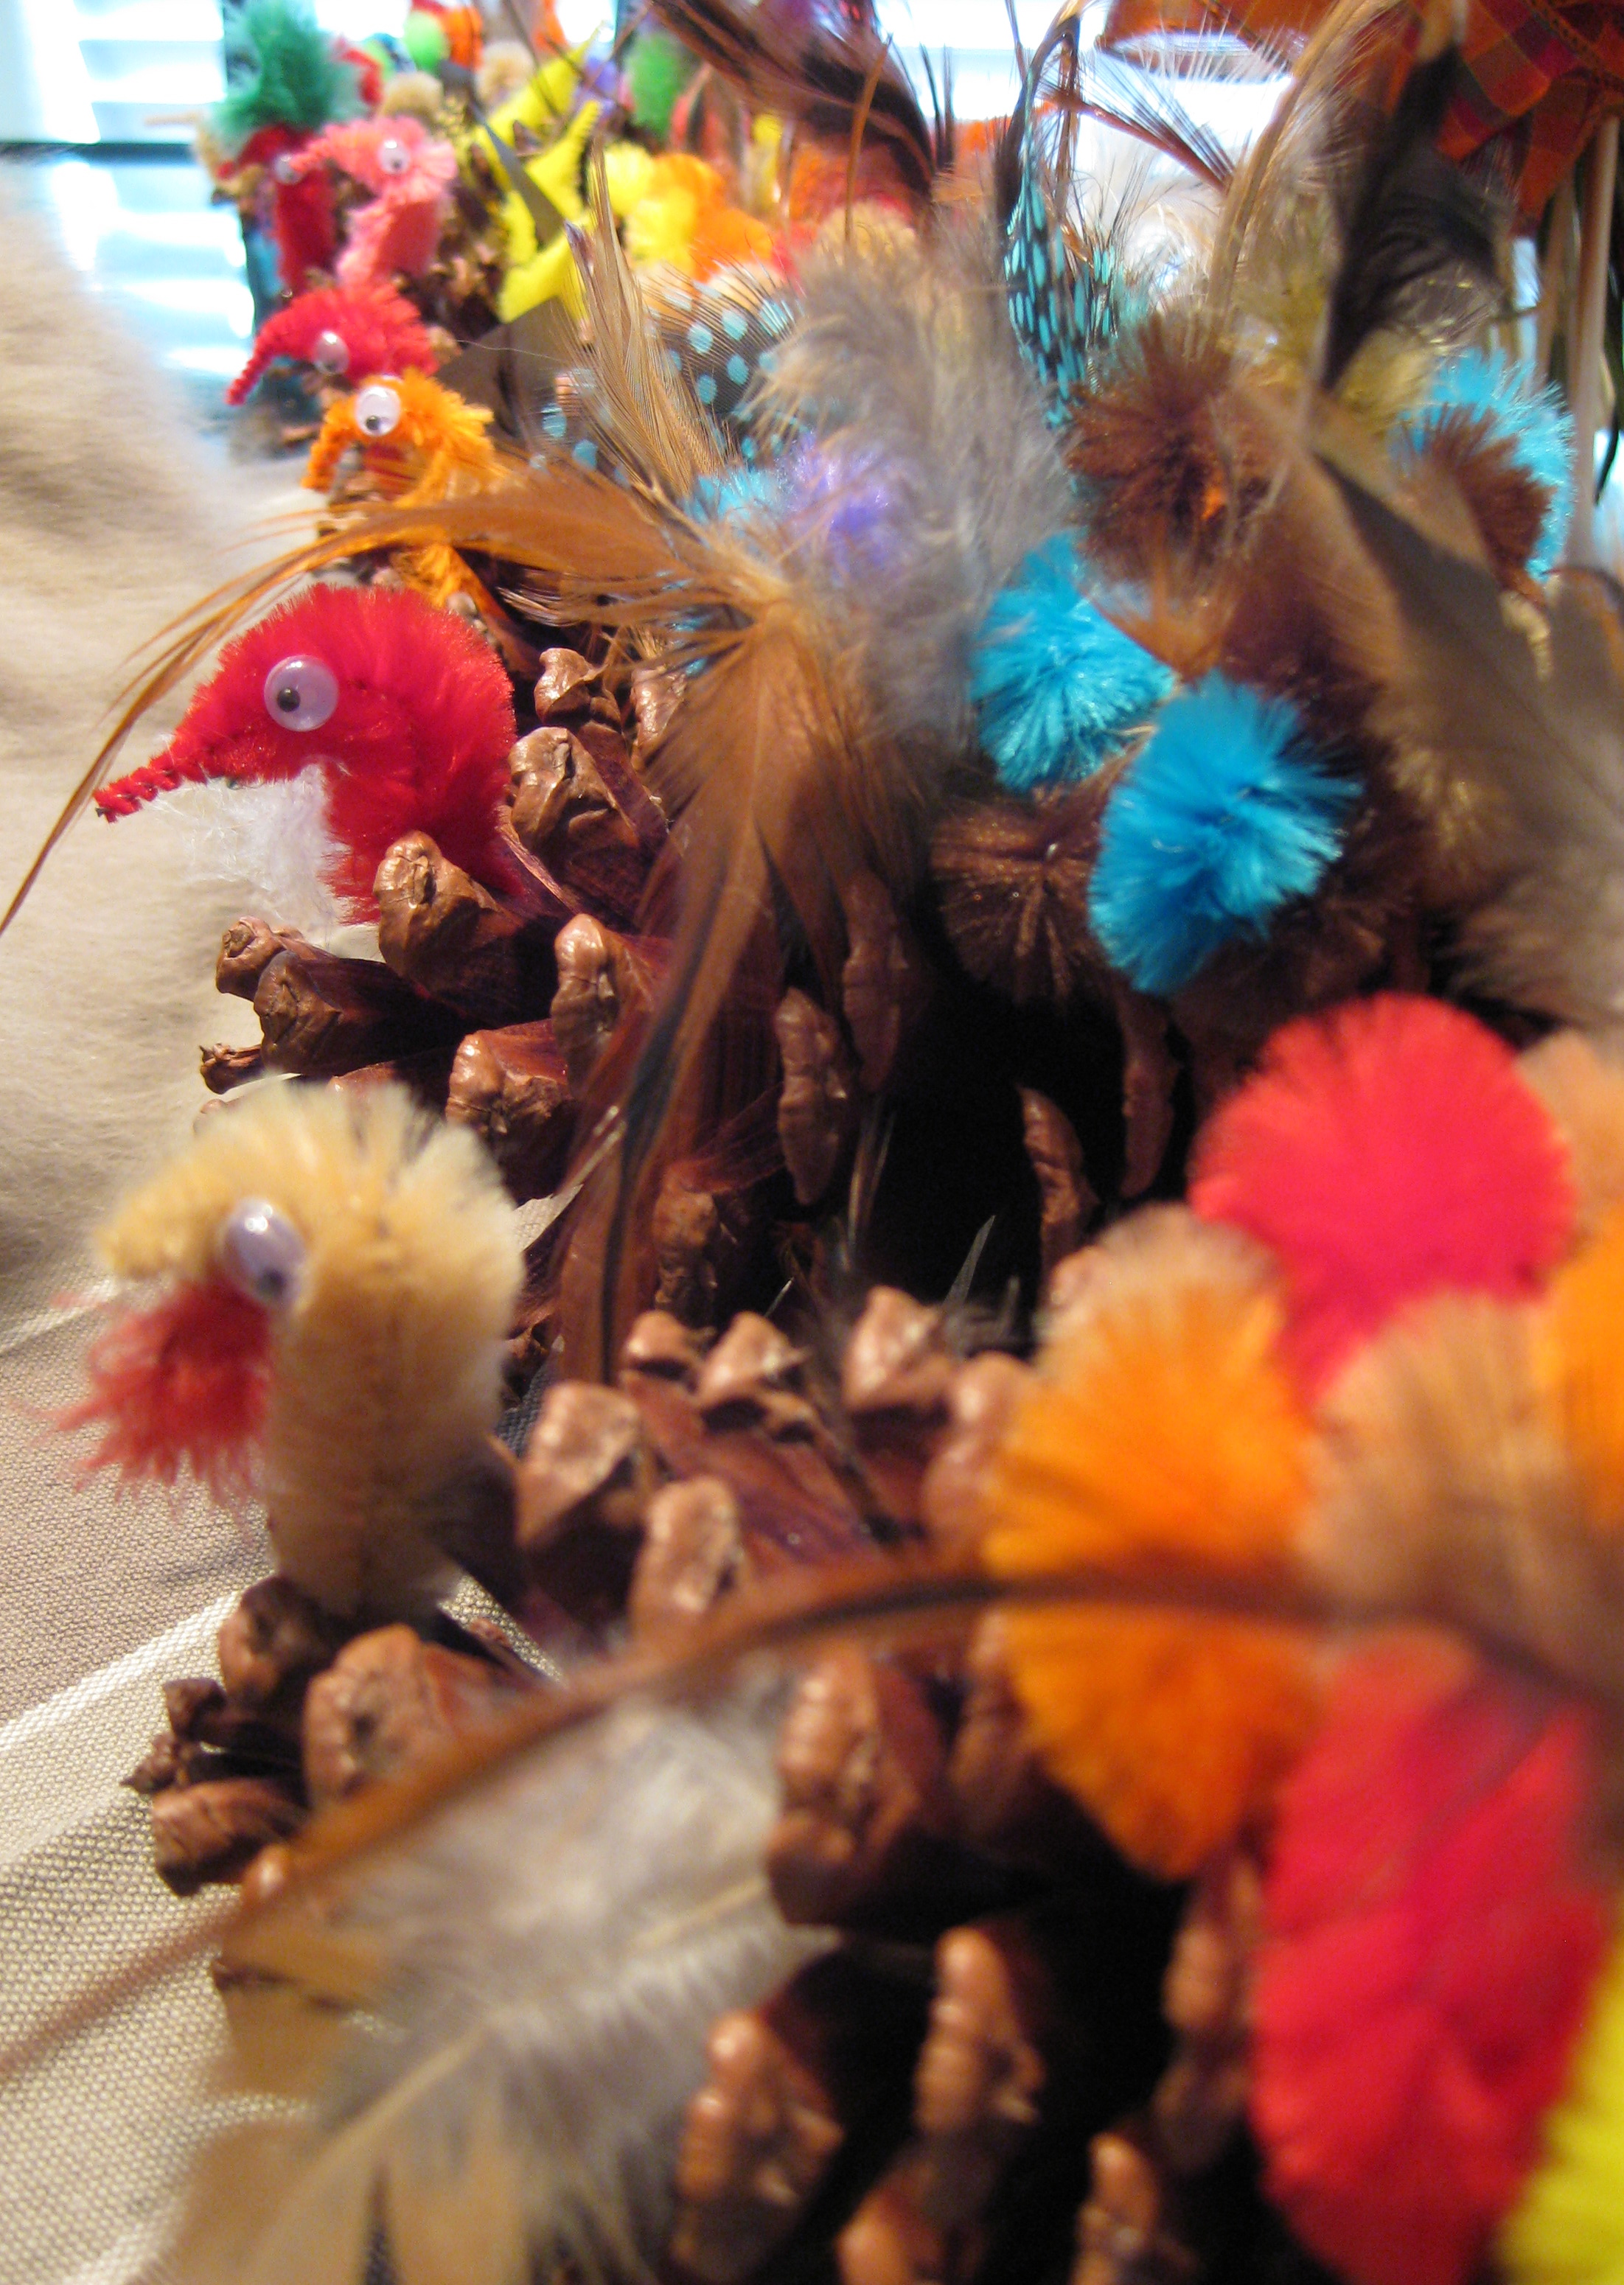
My kitchen sink is stacked with dishes, my dining room table is a mess, there’s food everywhere, and I had the best time!  I invited my family over for a crafting day and we revived a holiday tradition from my childhood…Thanksgiving Pinecone Turkeys.  Normally we would craft these before Thanksgiving Dinner, but this year I invited everyone over for an early crafting day so I could share this tradition with you in time for this year’s Thanksgiving celebration. You can see all of their wonderful creations in the Inspiration Gallery, at the end of this post.

These adorable little birds can be made by each guest before Thanksgiving dinner and used as “place cards” on the holiday table.  While guests are snacking on appetizers and waiting for dinner, have them gather around the table and create their own personalized Pinecone Turkey.

Set up a folding table, which you can cover with a plastic tablecloth if you prefer.  Then you’ll need:

  • Pinecones – 1 per person, medium sized.  If you’re lucky enough to have pinecones in the backyard, then save the gathering activity for the kids when they arrive for dinner.  I didn’t have pinecones, but before heading to the craft store to buy them, I asked my family to bring some.  I also put up a notice at work and a co-worker was more than happy to bring me a large bag full!
  • Craft Glue – several small bottles
  • Pipe Cleaners in a variety of colors – the kind with bumps
  • Wire cutters (to clip the pipe cleaners, scissors usually won’t do it)
  • Fancy Paper for name tags
  • 1 or 2 Paint Markers that coordinate with the name tag paper you choose
  • Googley Eyes
  • Any additional embellishments that you can’t live without!  (My family also likes to use small craft feathers in a variety of colors.)

Making Pinecone Turkeys

1. Start by shaking out the pinecones to make sure they are free of bugs and debris.  Set the pinecone on its side, in a position where it doesn’t wobble back and forth.

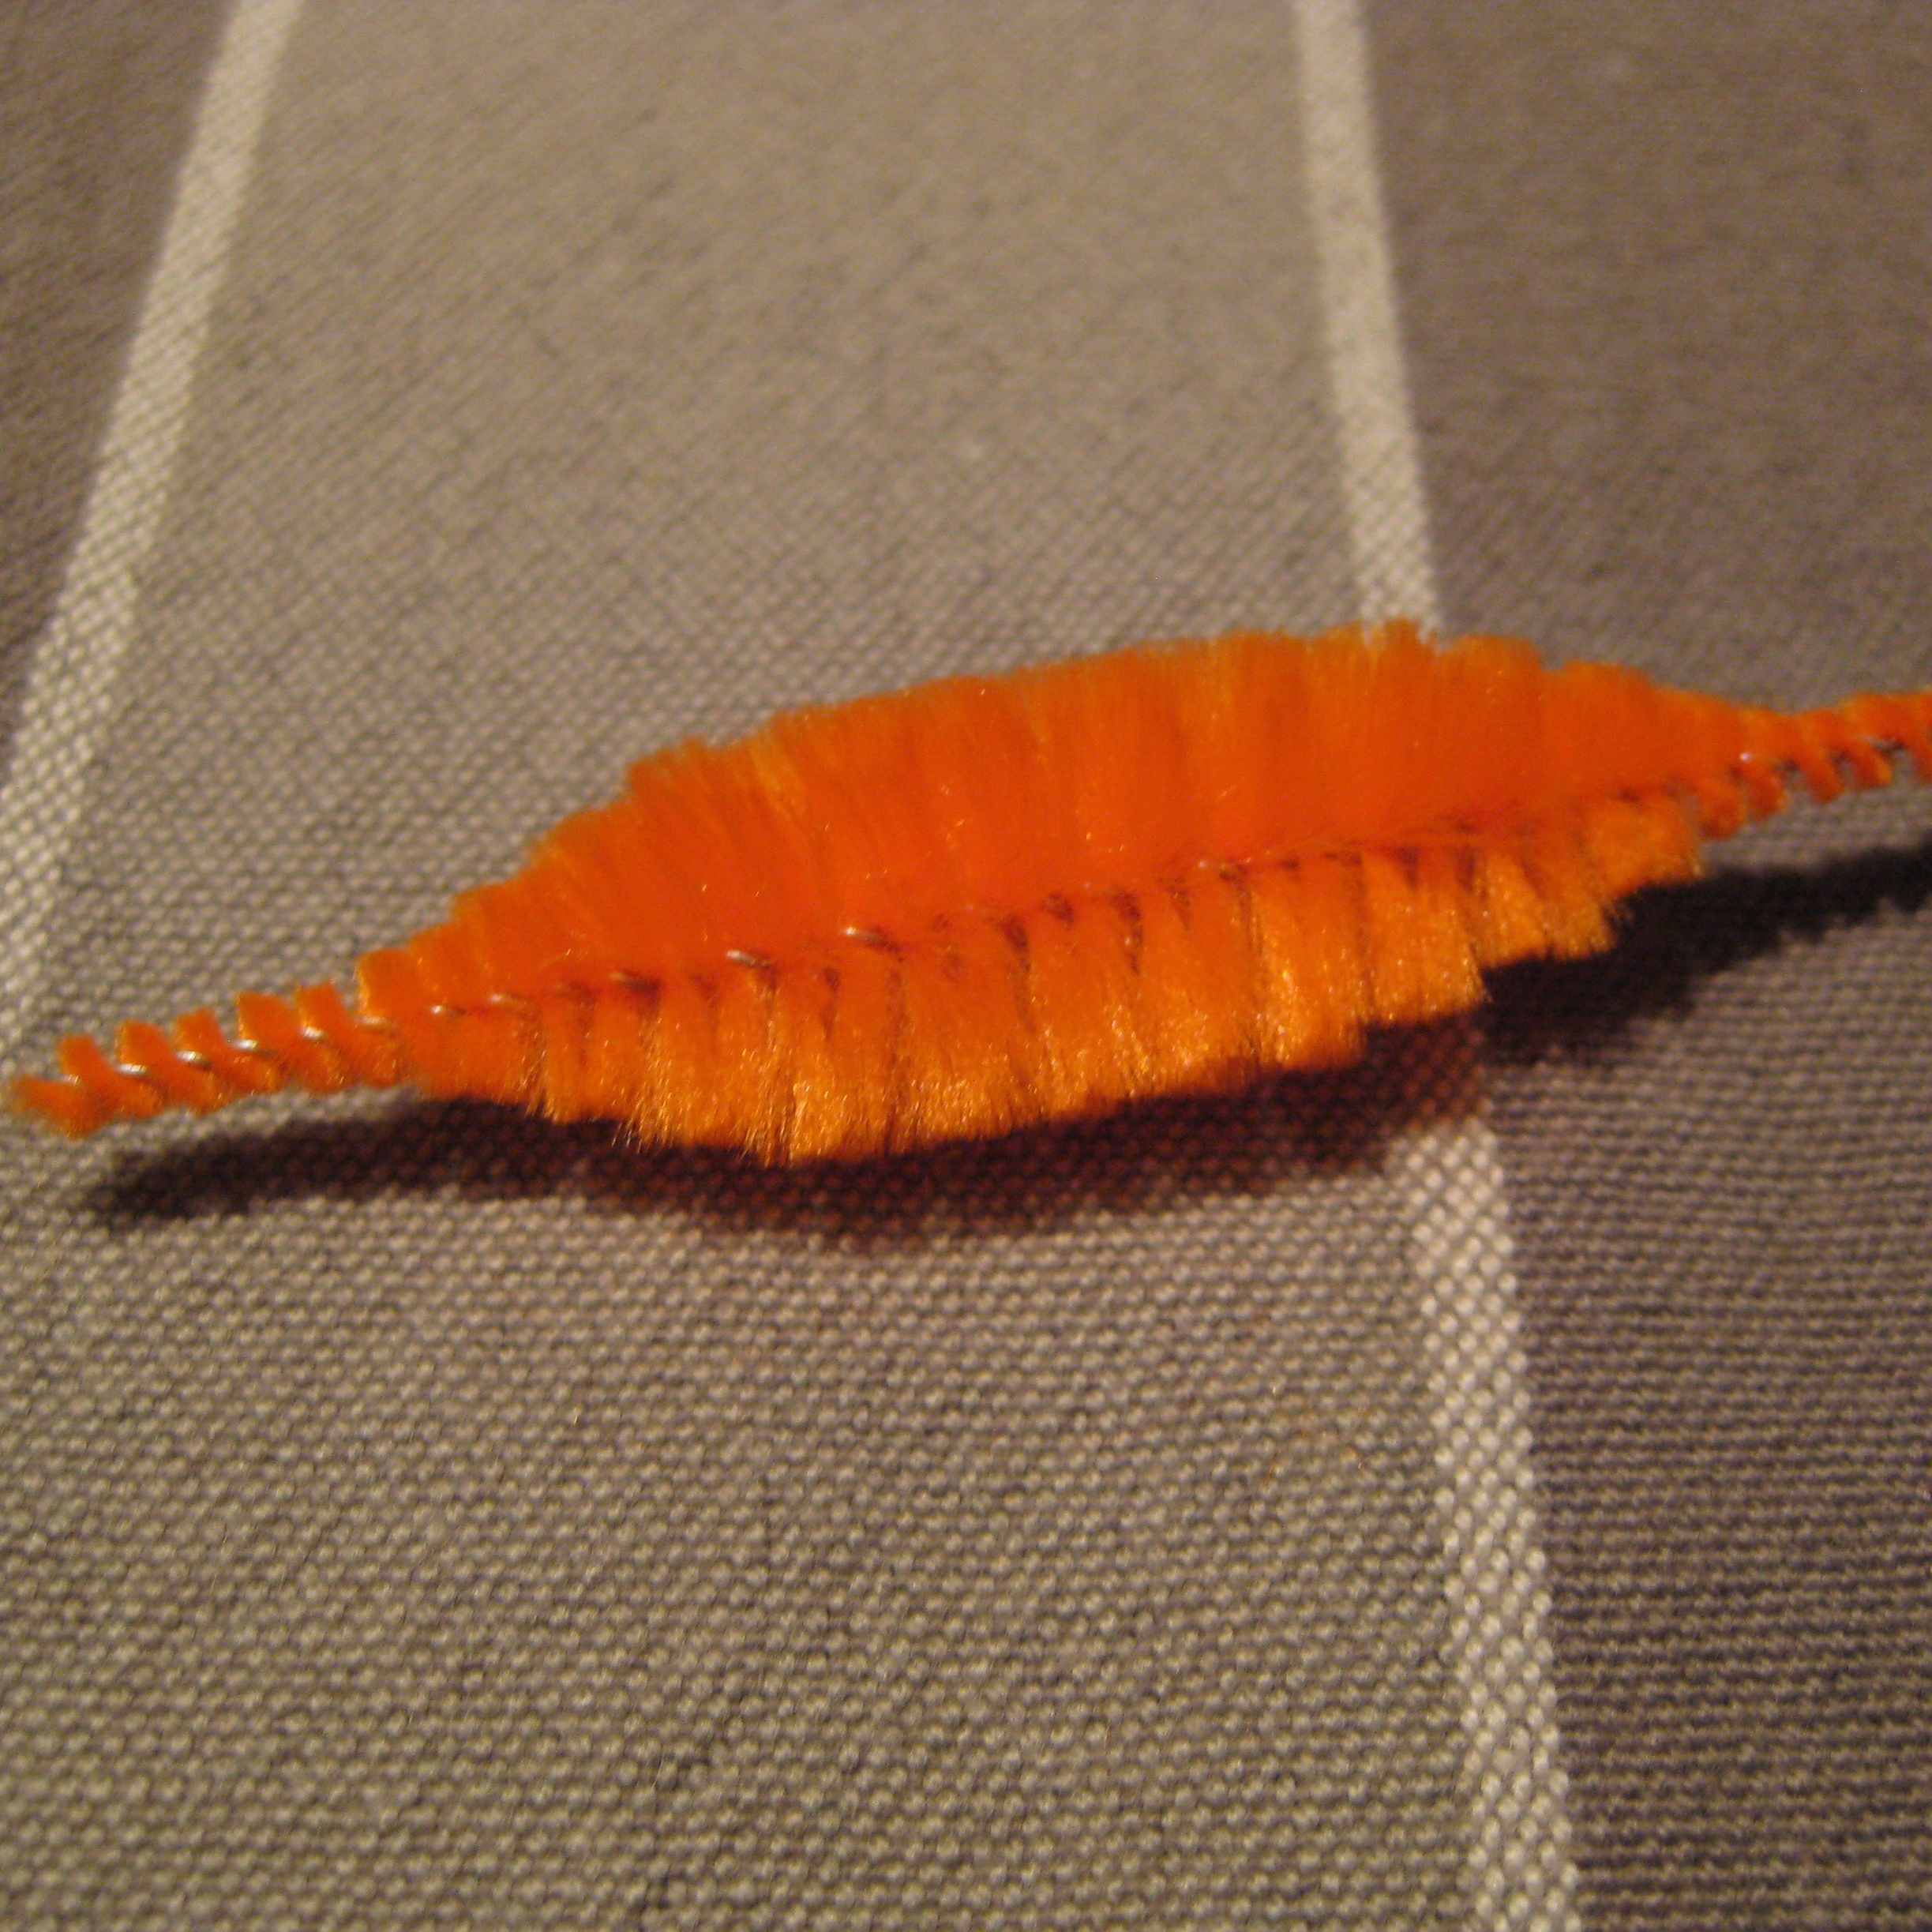
2. Use the wire cutters to cut the pipe cleaners between each bump.  I like to do this part before everyone arrives.
pipe cleaner bump
.

.

.

.

.

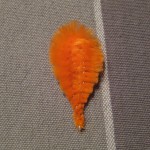
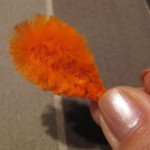
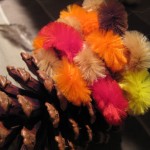
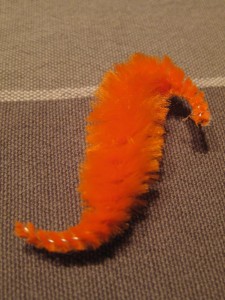
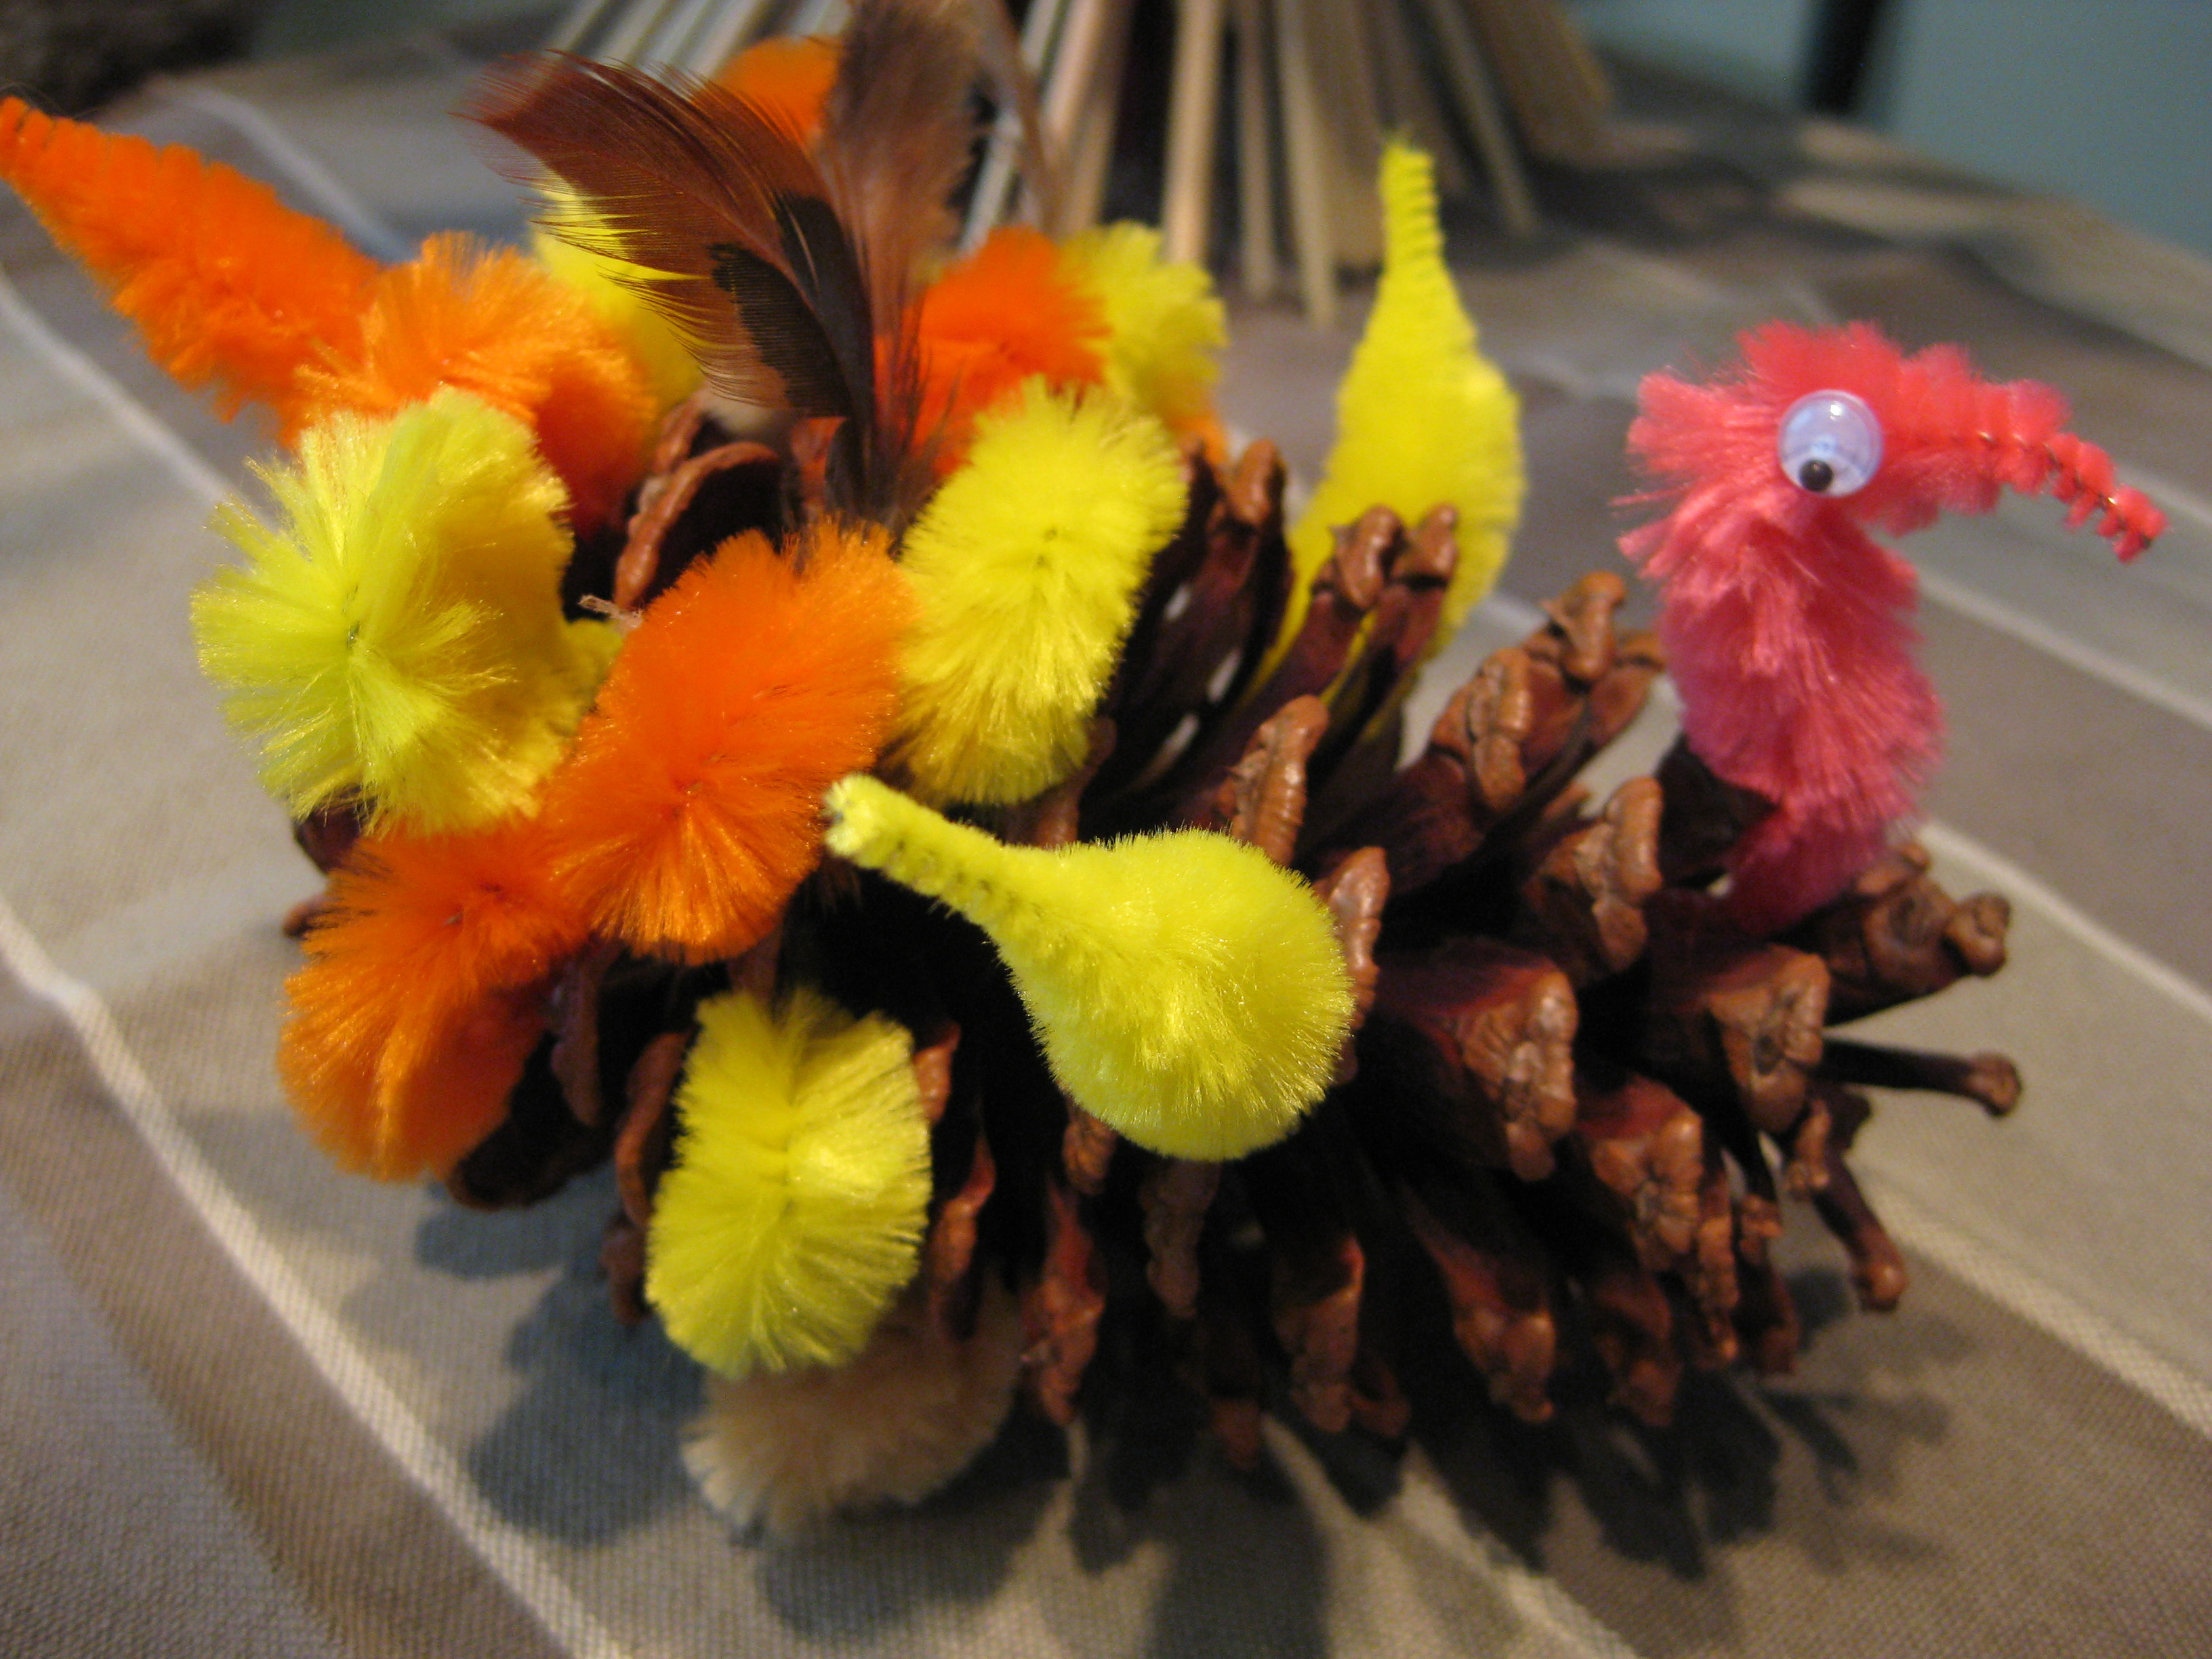
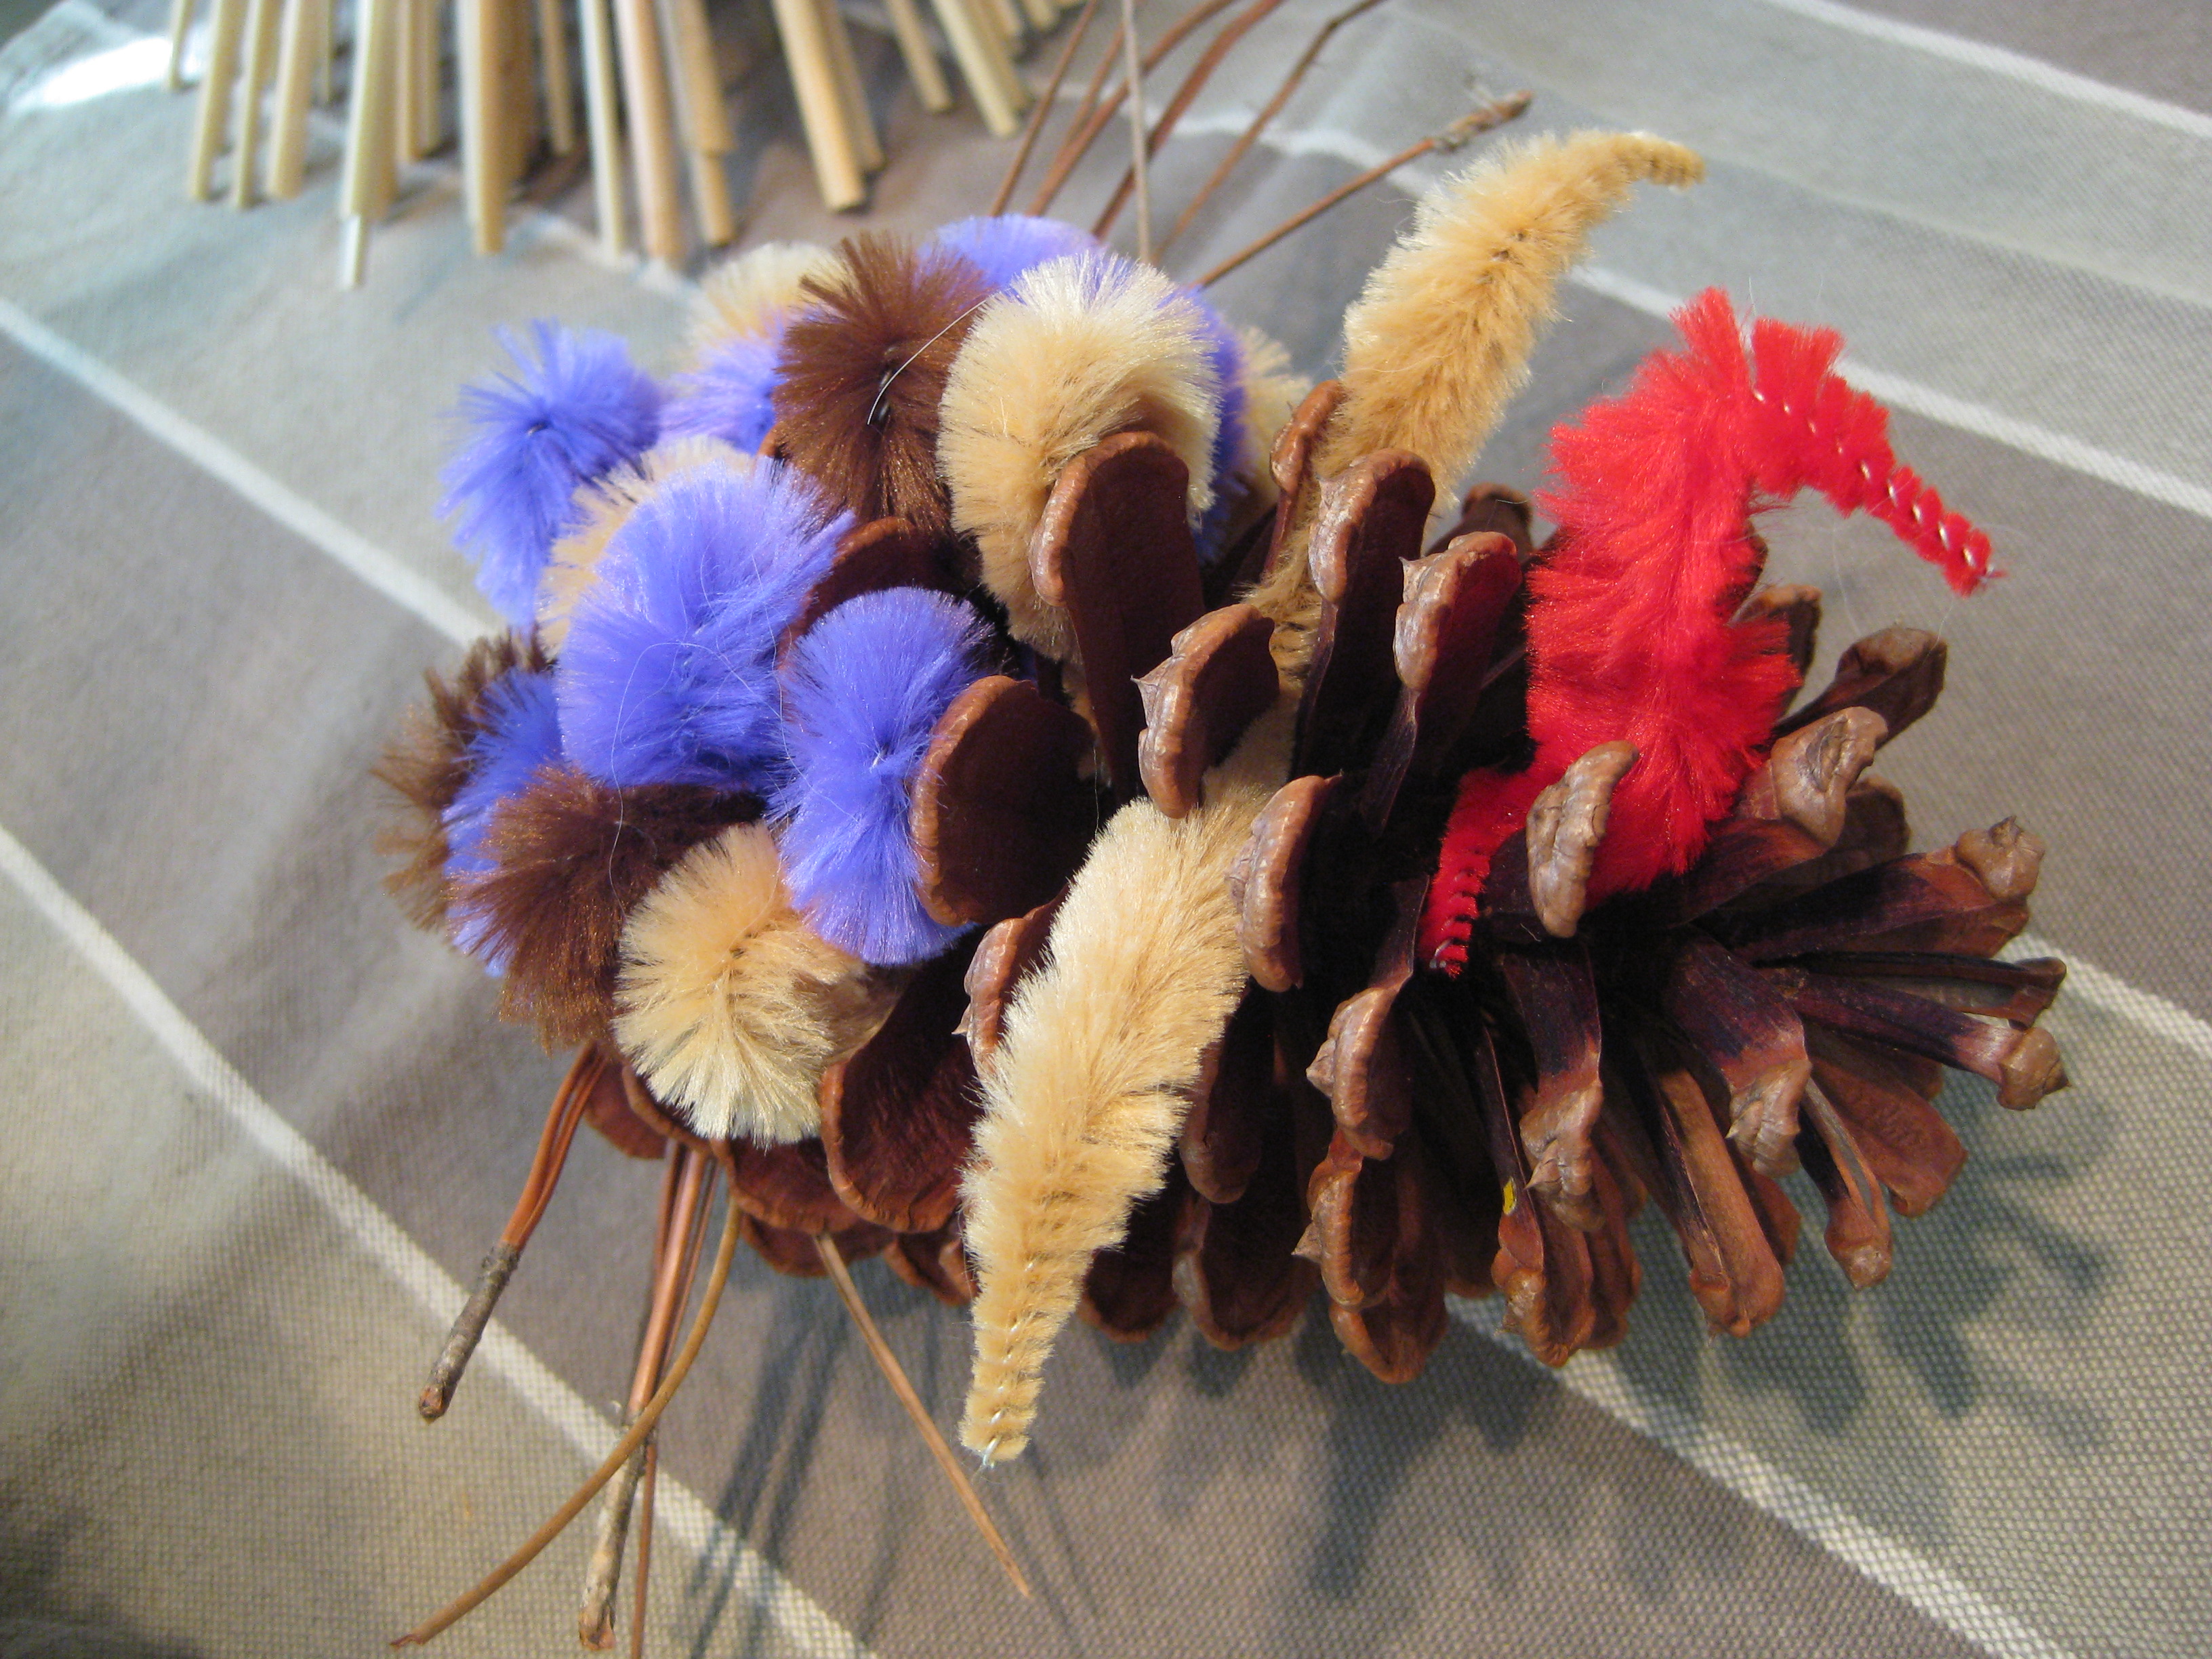
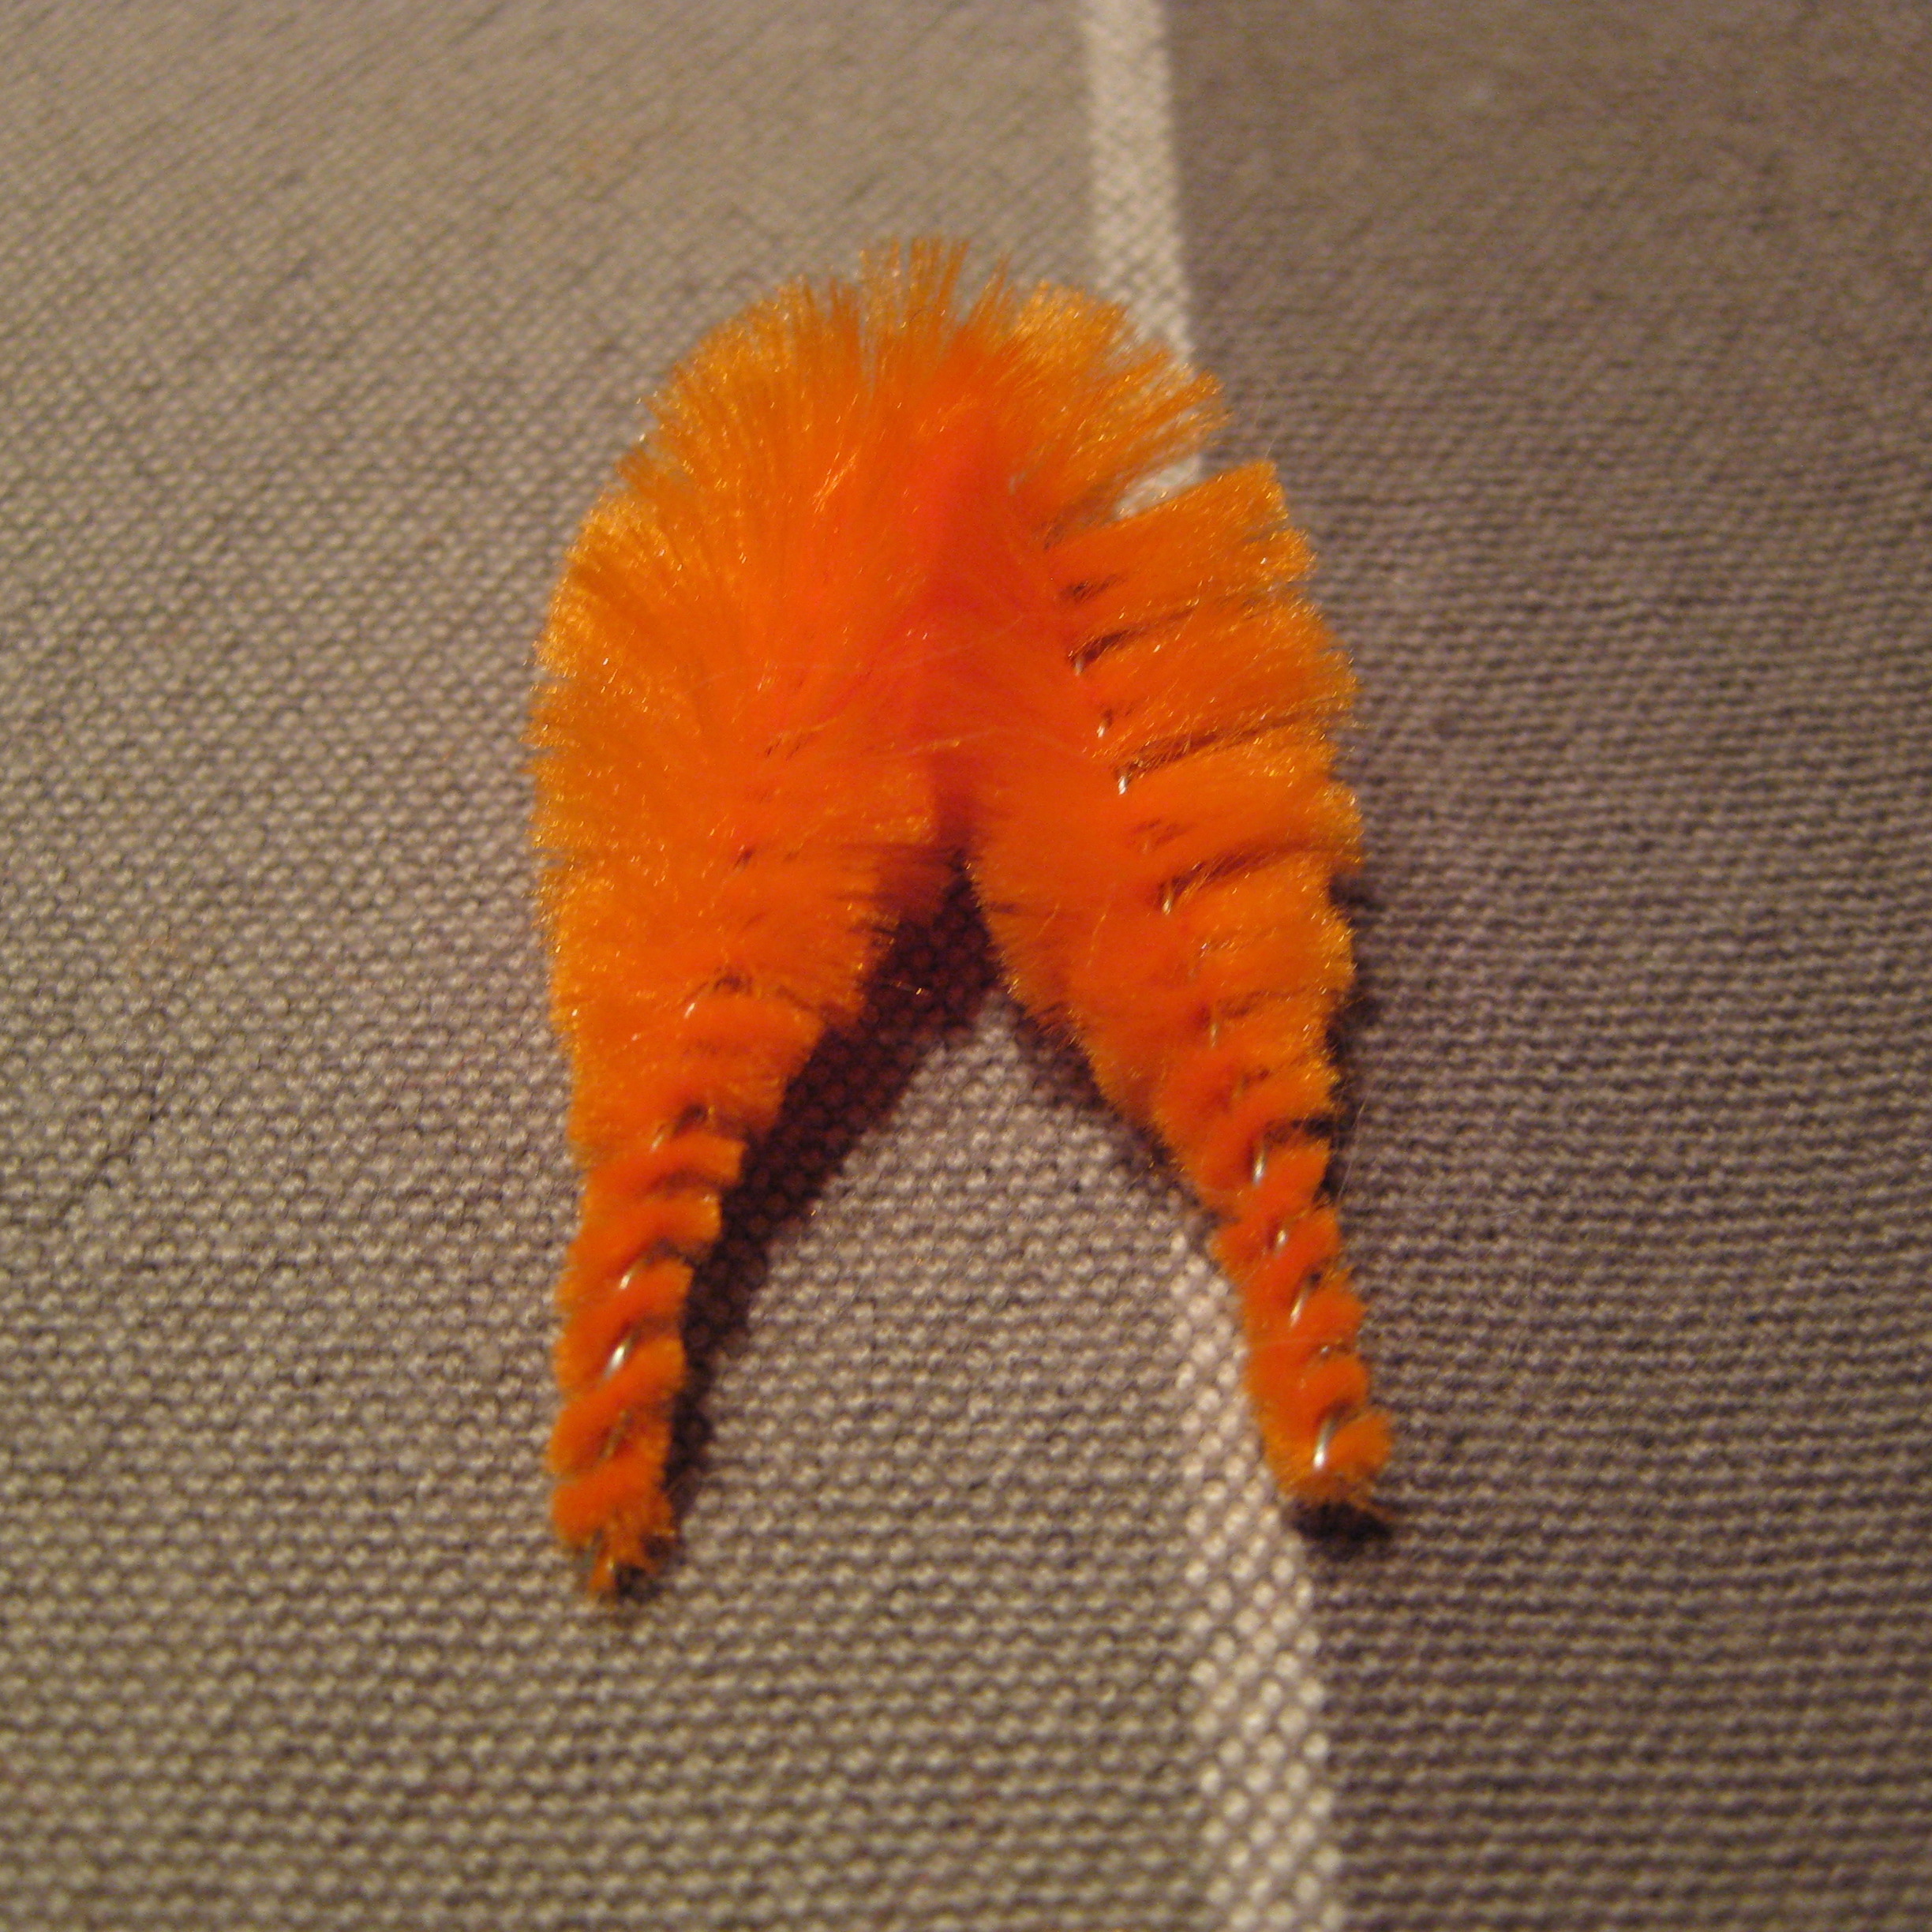
3. Select a pipe cleaner bump and bend it in half to form a drop, and then twist the ends slightly so they stay together.

fold in halftwist the ends together    turkey tail feather
.

.

.

.

.

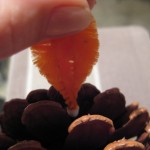
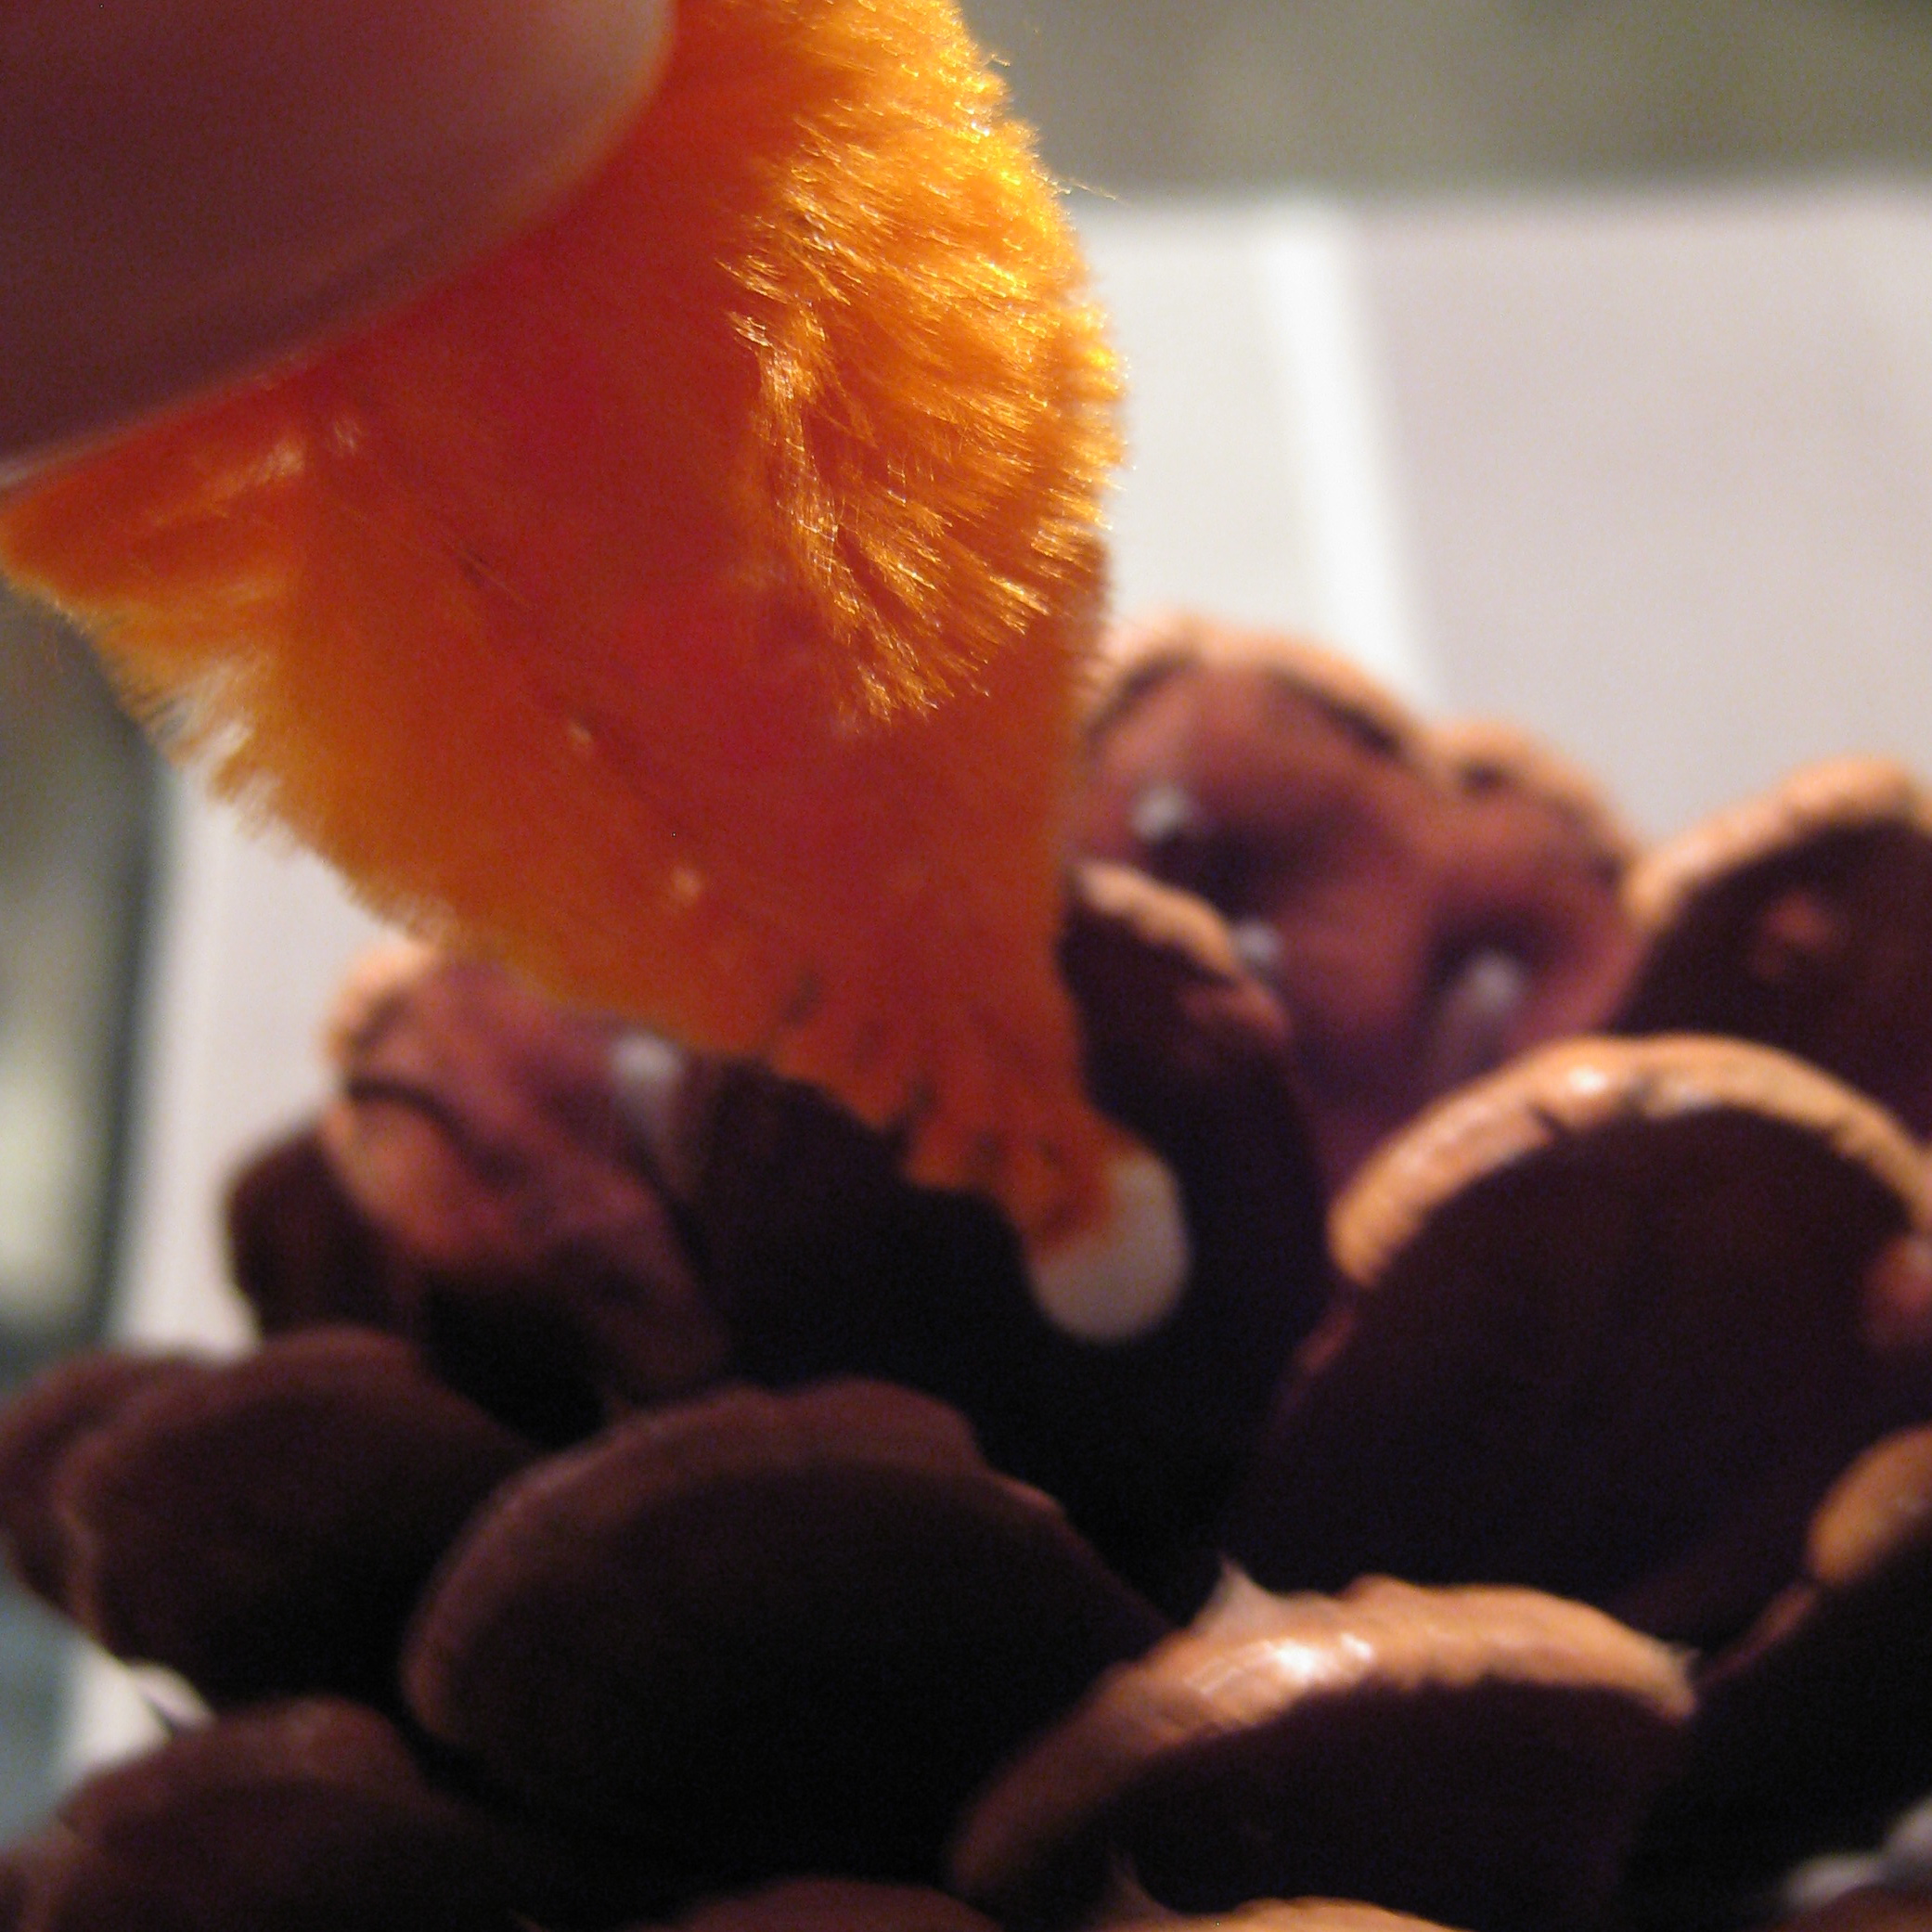
4. Dab a little glue on the end and tuck it into the back (the larger end) of the pinecone.

insert tail featherinsert tail feather tail feather
.

.

.

.

.

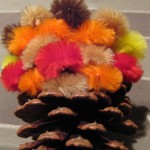
5. Continue to do this, making several rows until you’ve formed the turkey’s tail.

back of turkeytail feathers
.

.

.

.

.

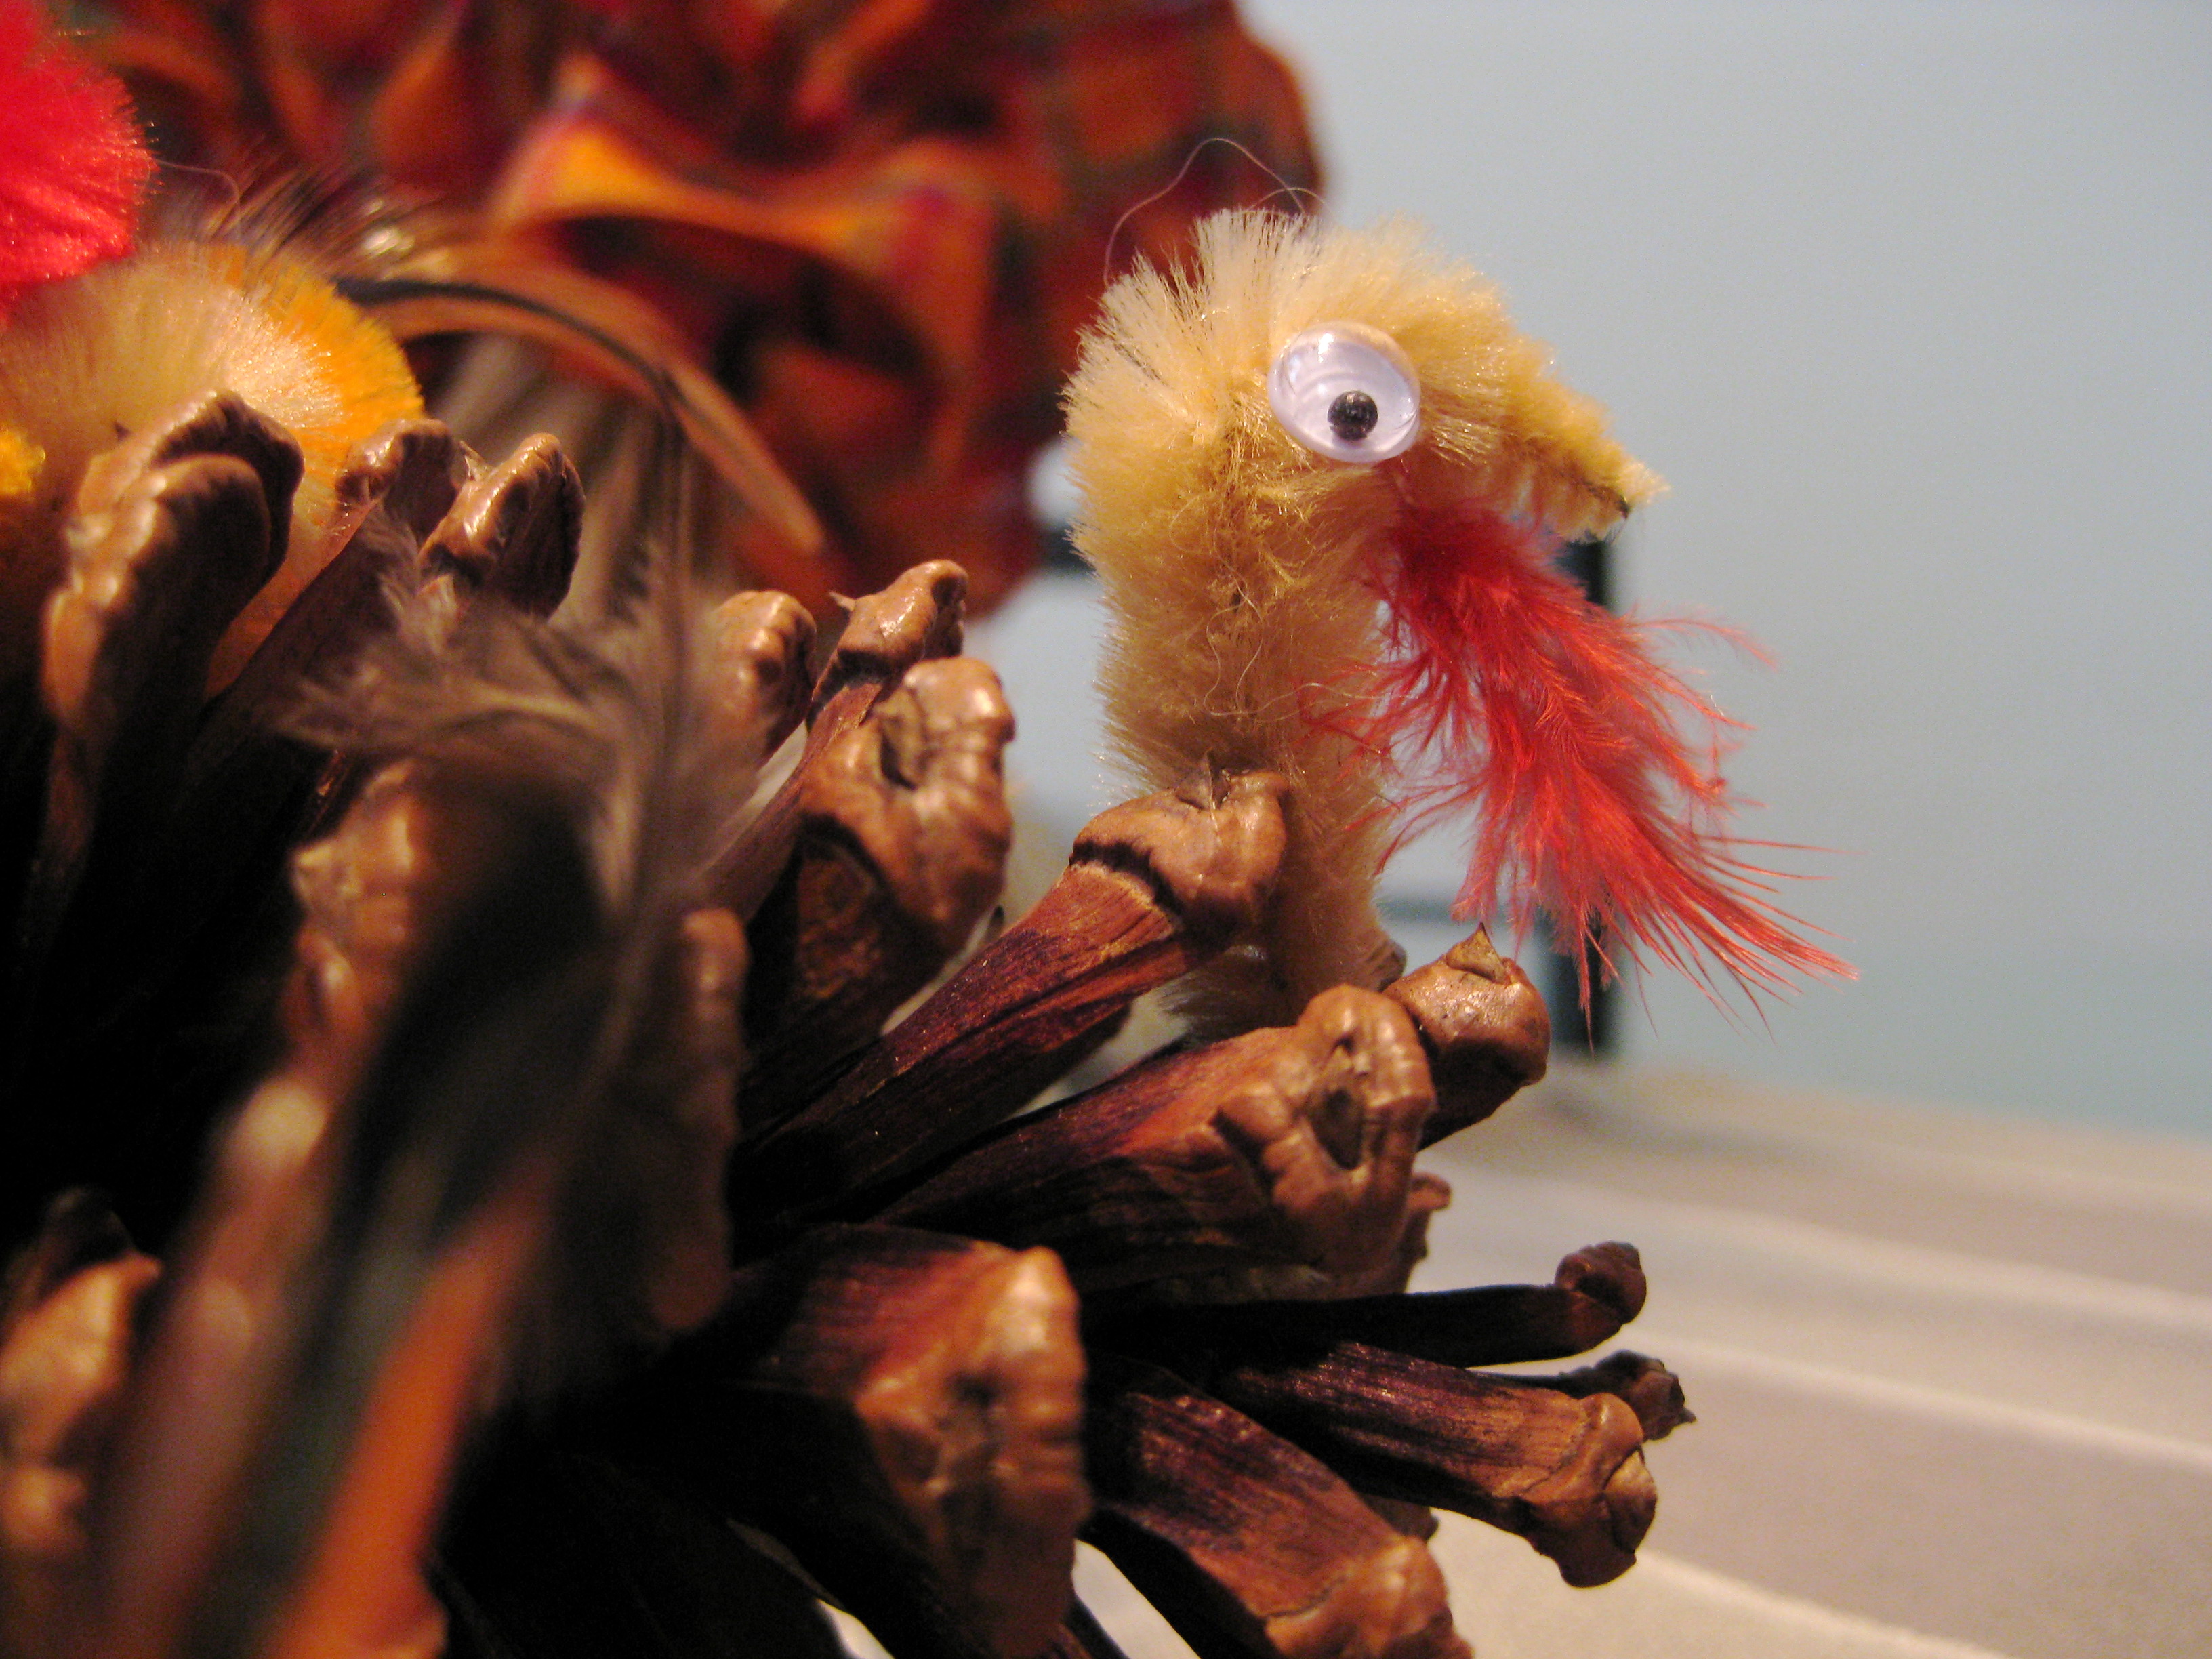
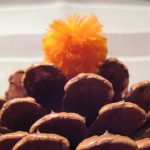
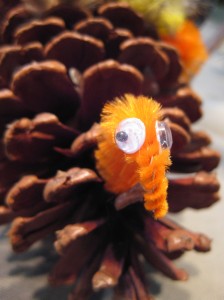
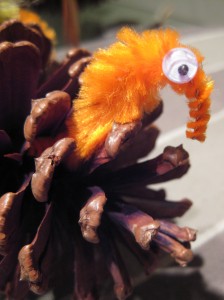
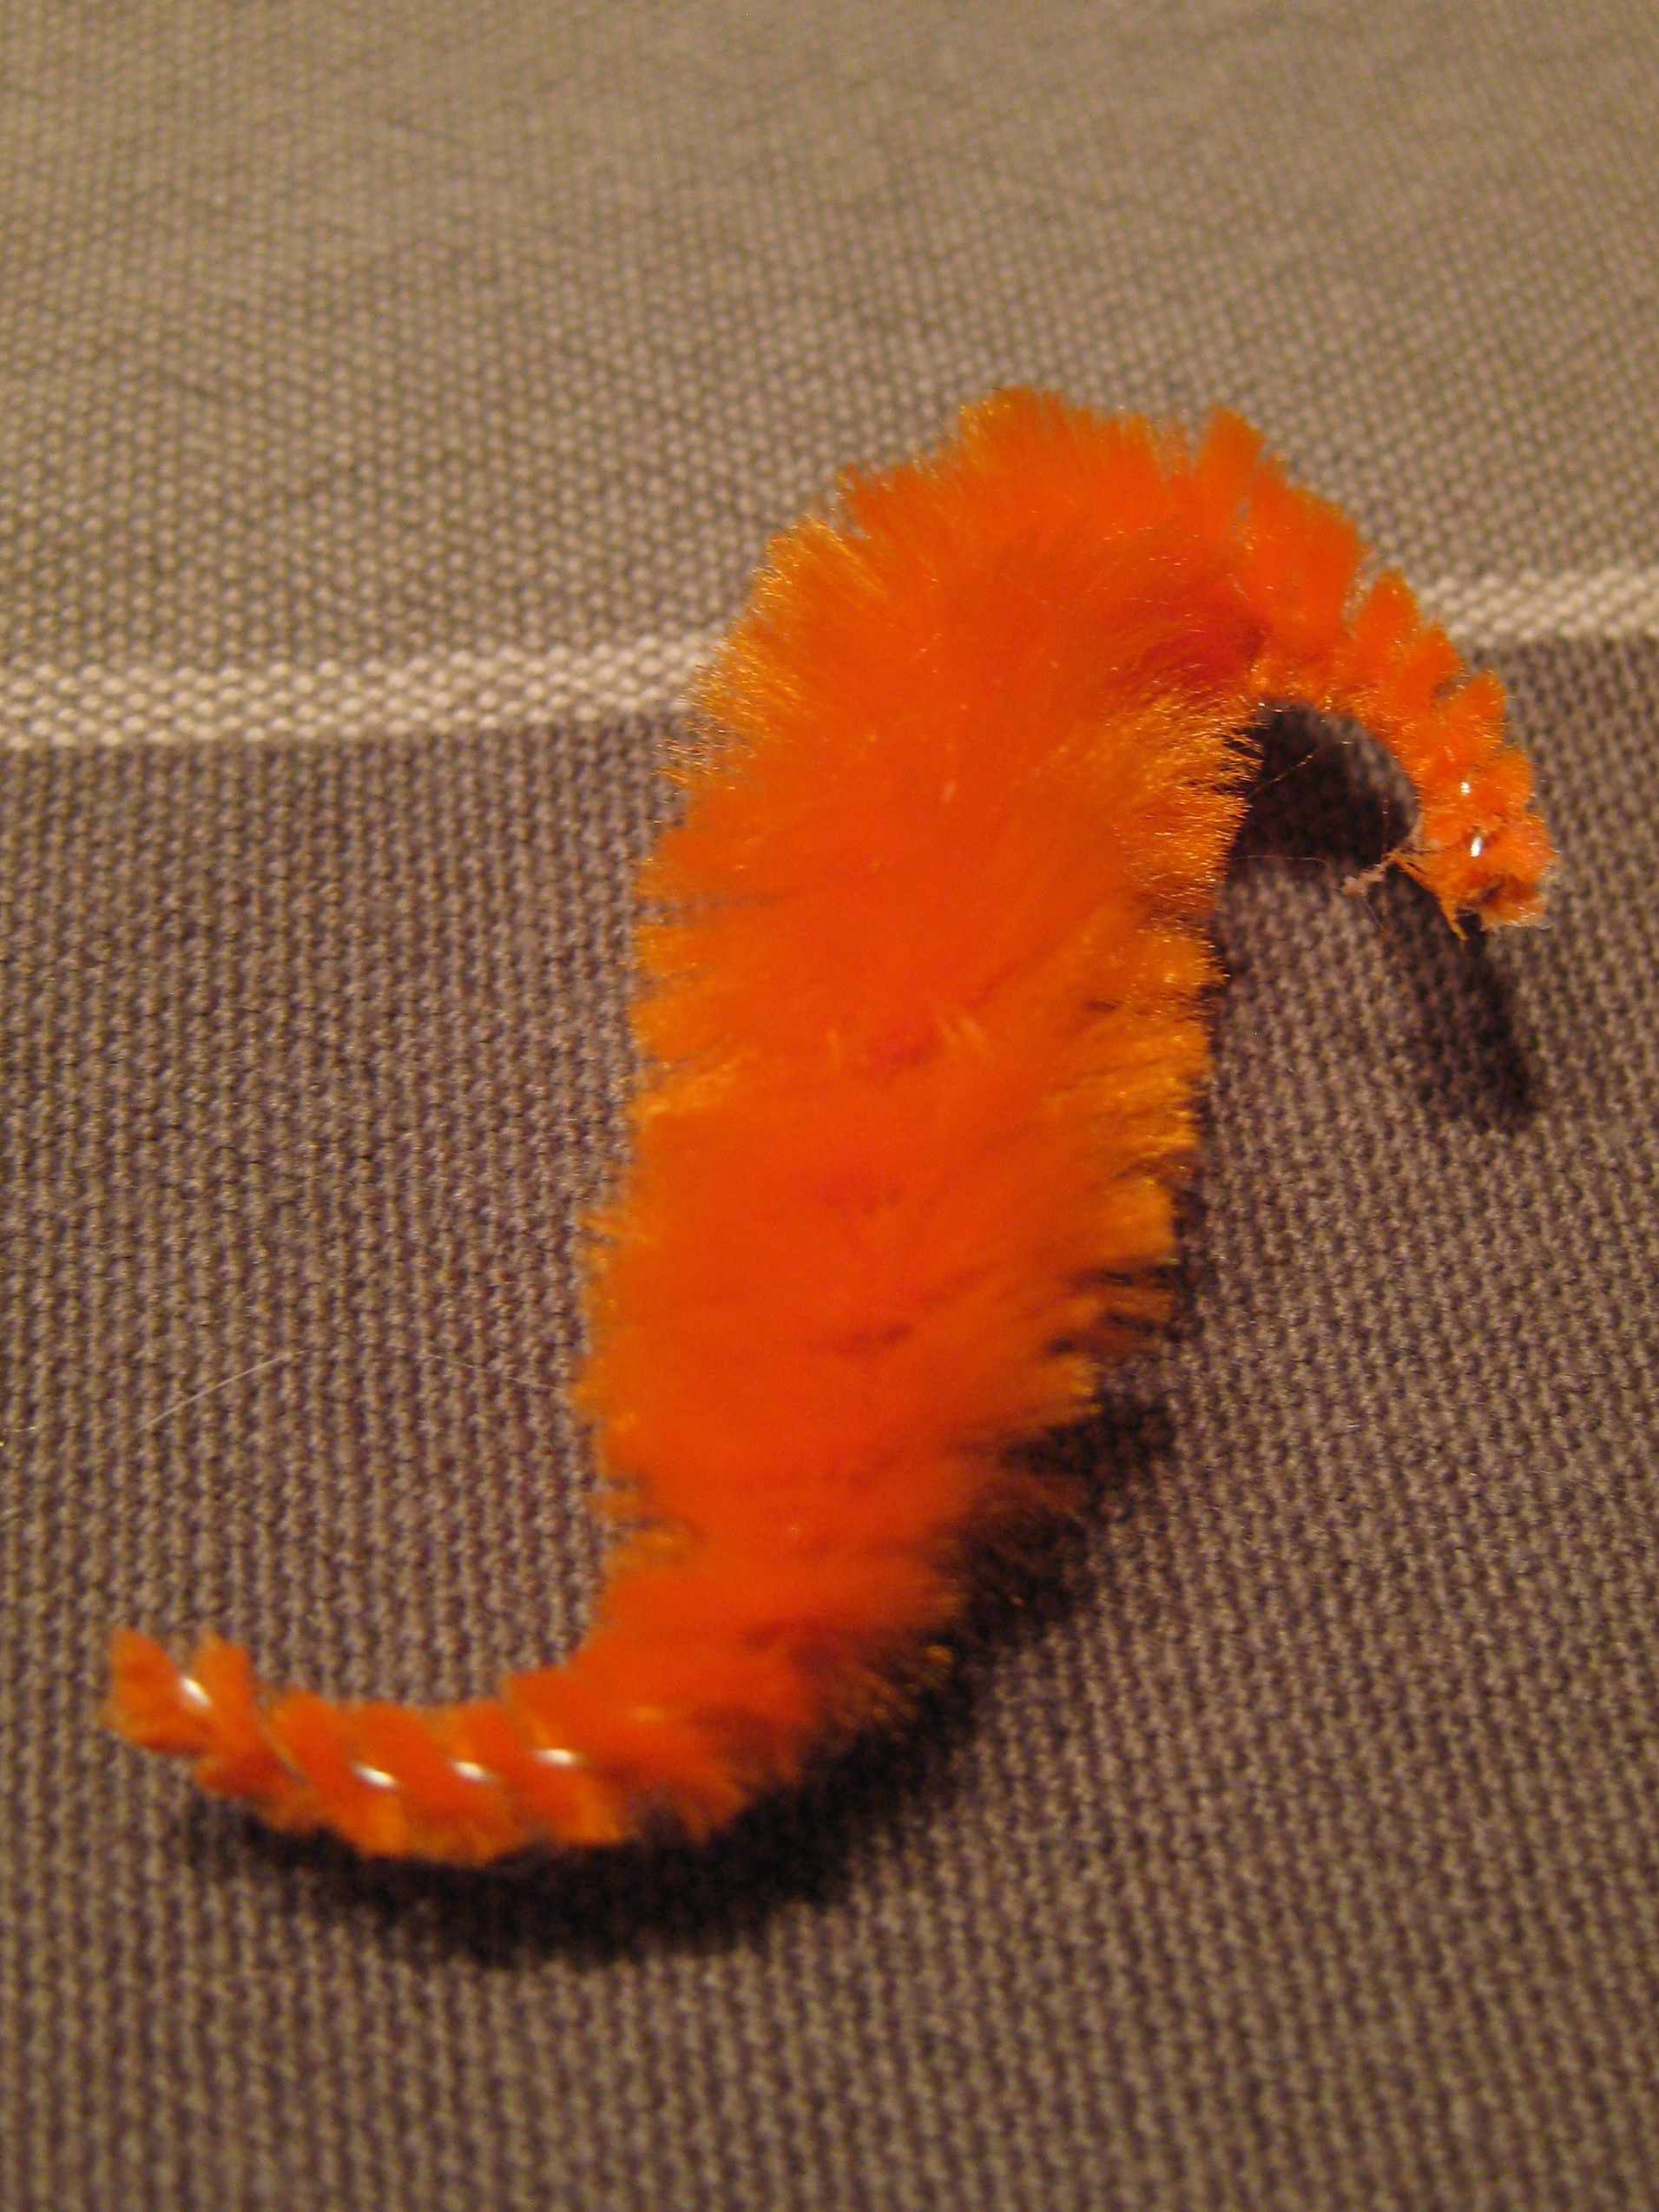
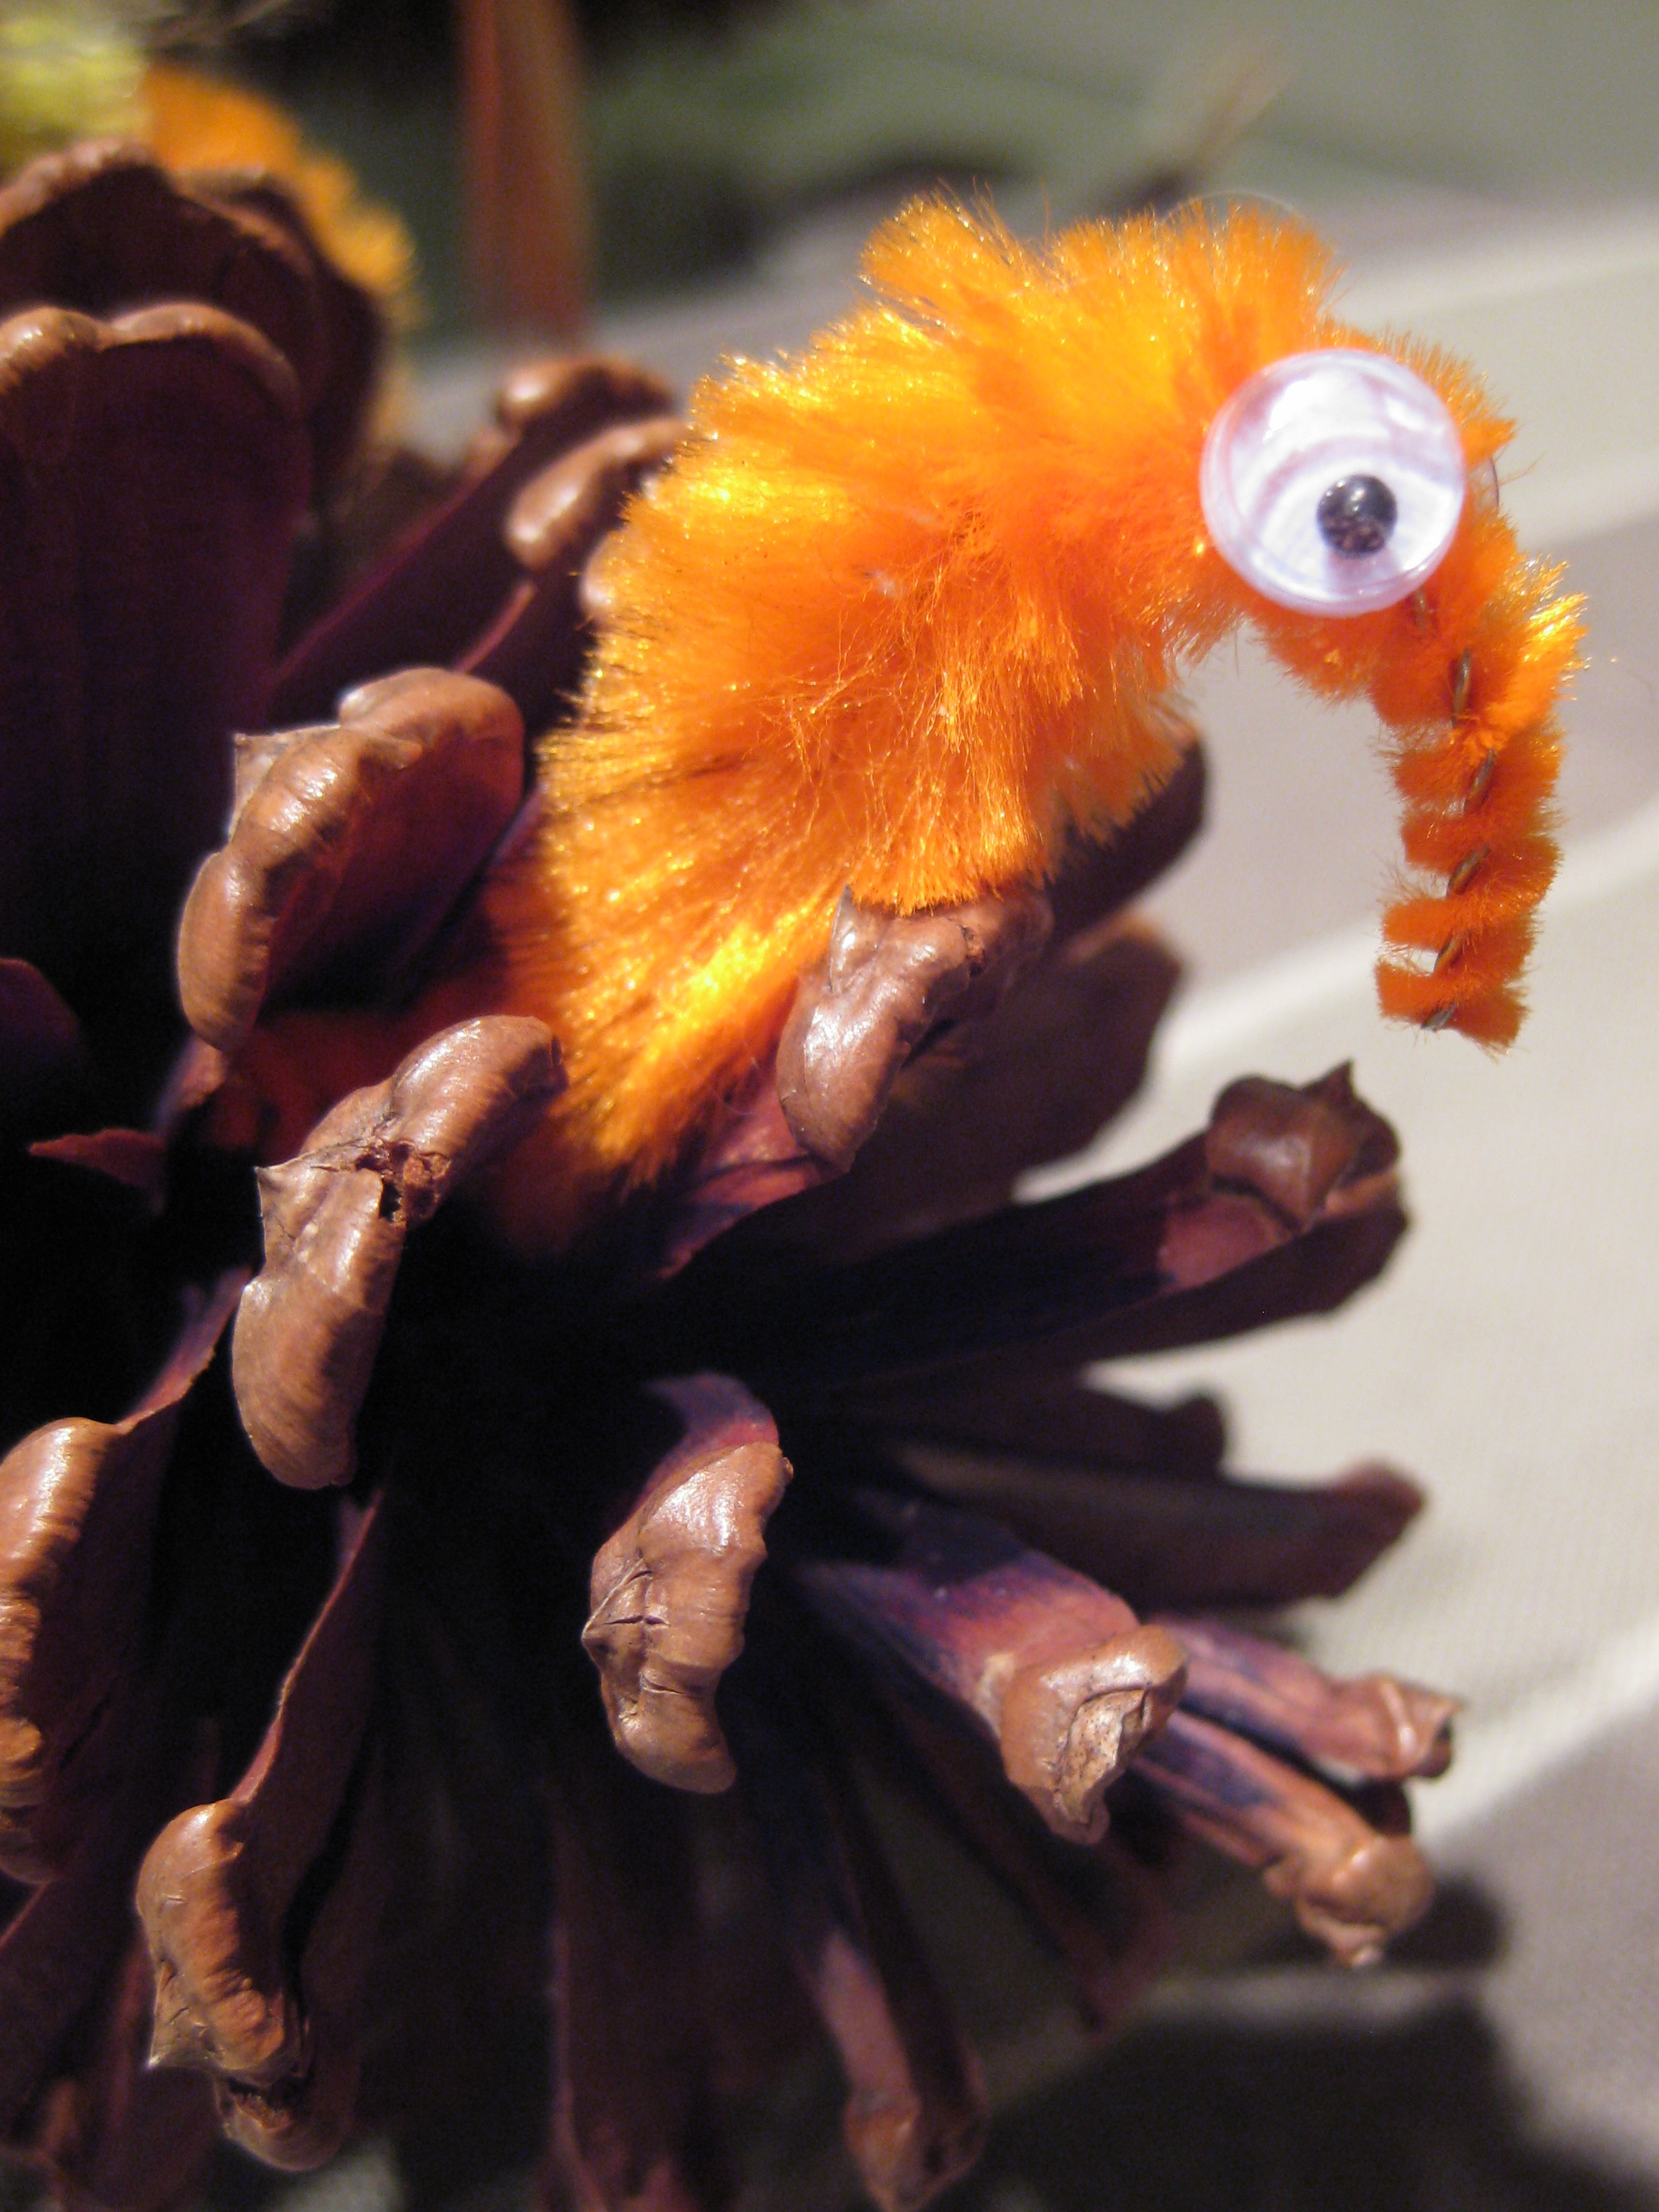
6. Next you’ll want to add the turkey’s head. Choose a pipe cleaner bump and bend it into a loose “S” shape and glue one googley eye on each side of the head. Then dab glue at the base of the head and tuck it into the front of the pinecone.

turkey head  turkey with google eyesside view of google eyes
.

.

.

.

.

.

.

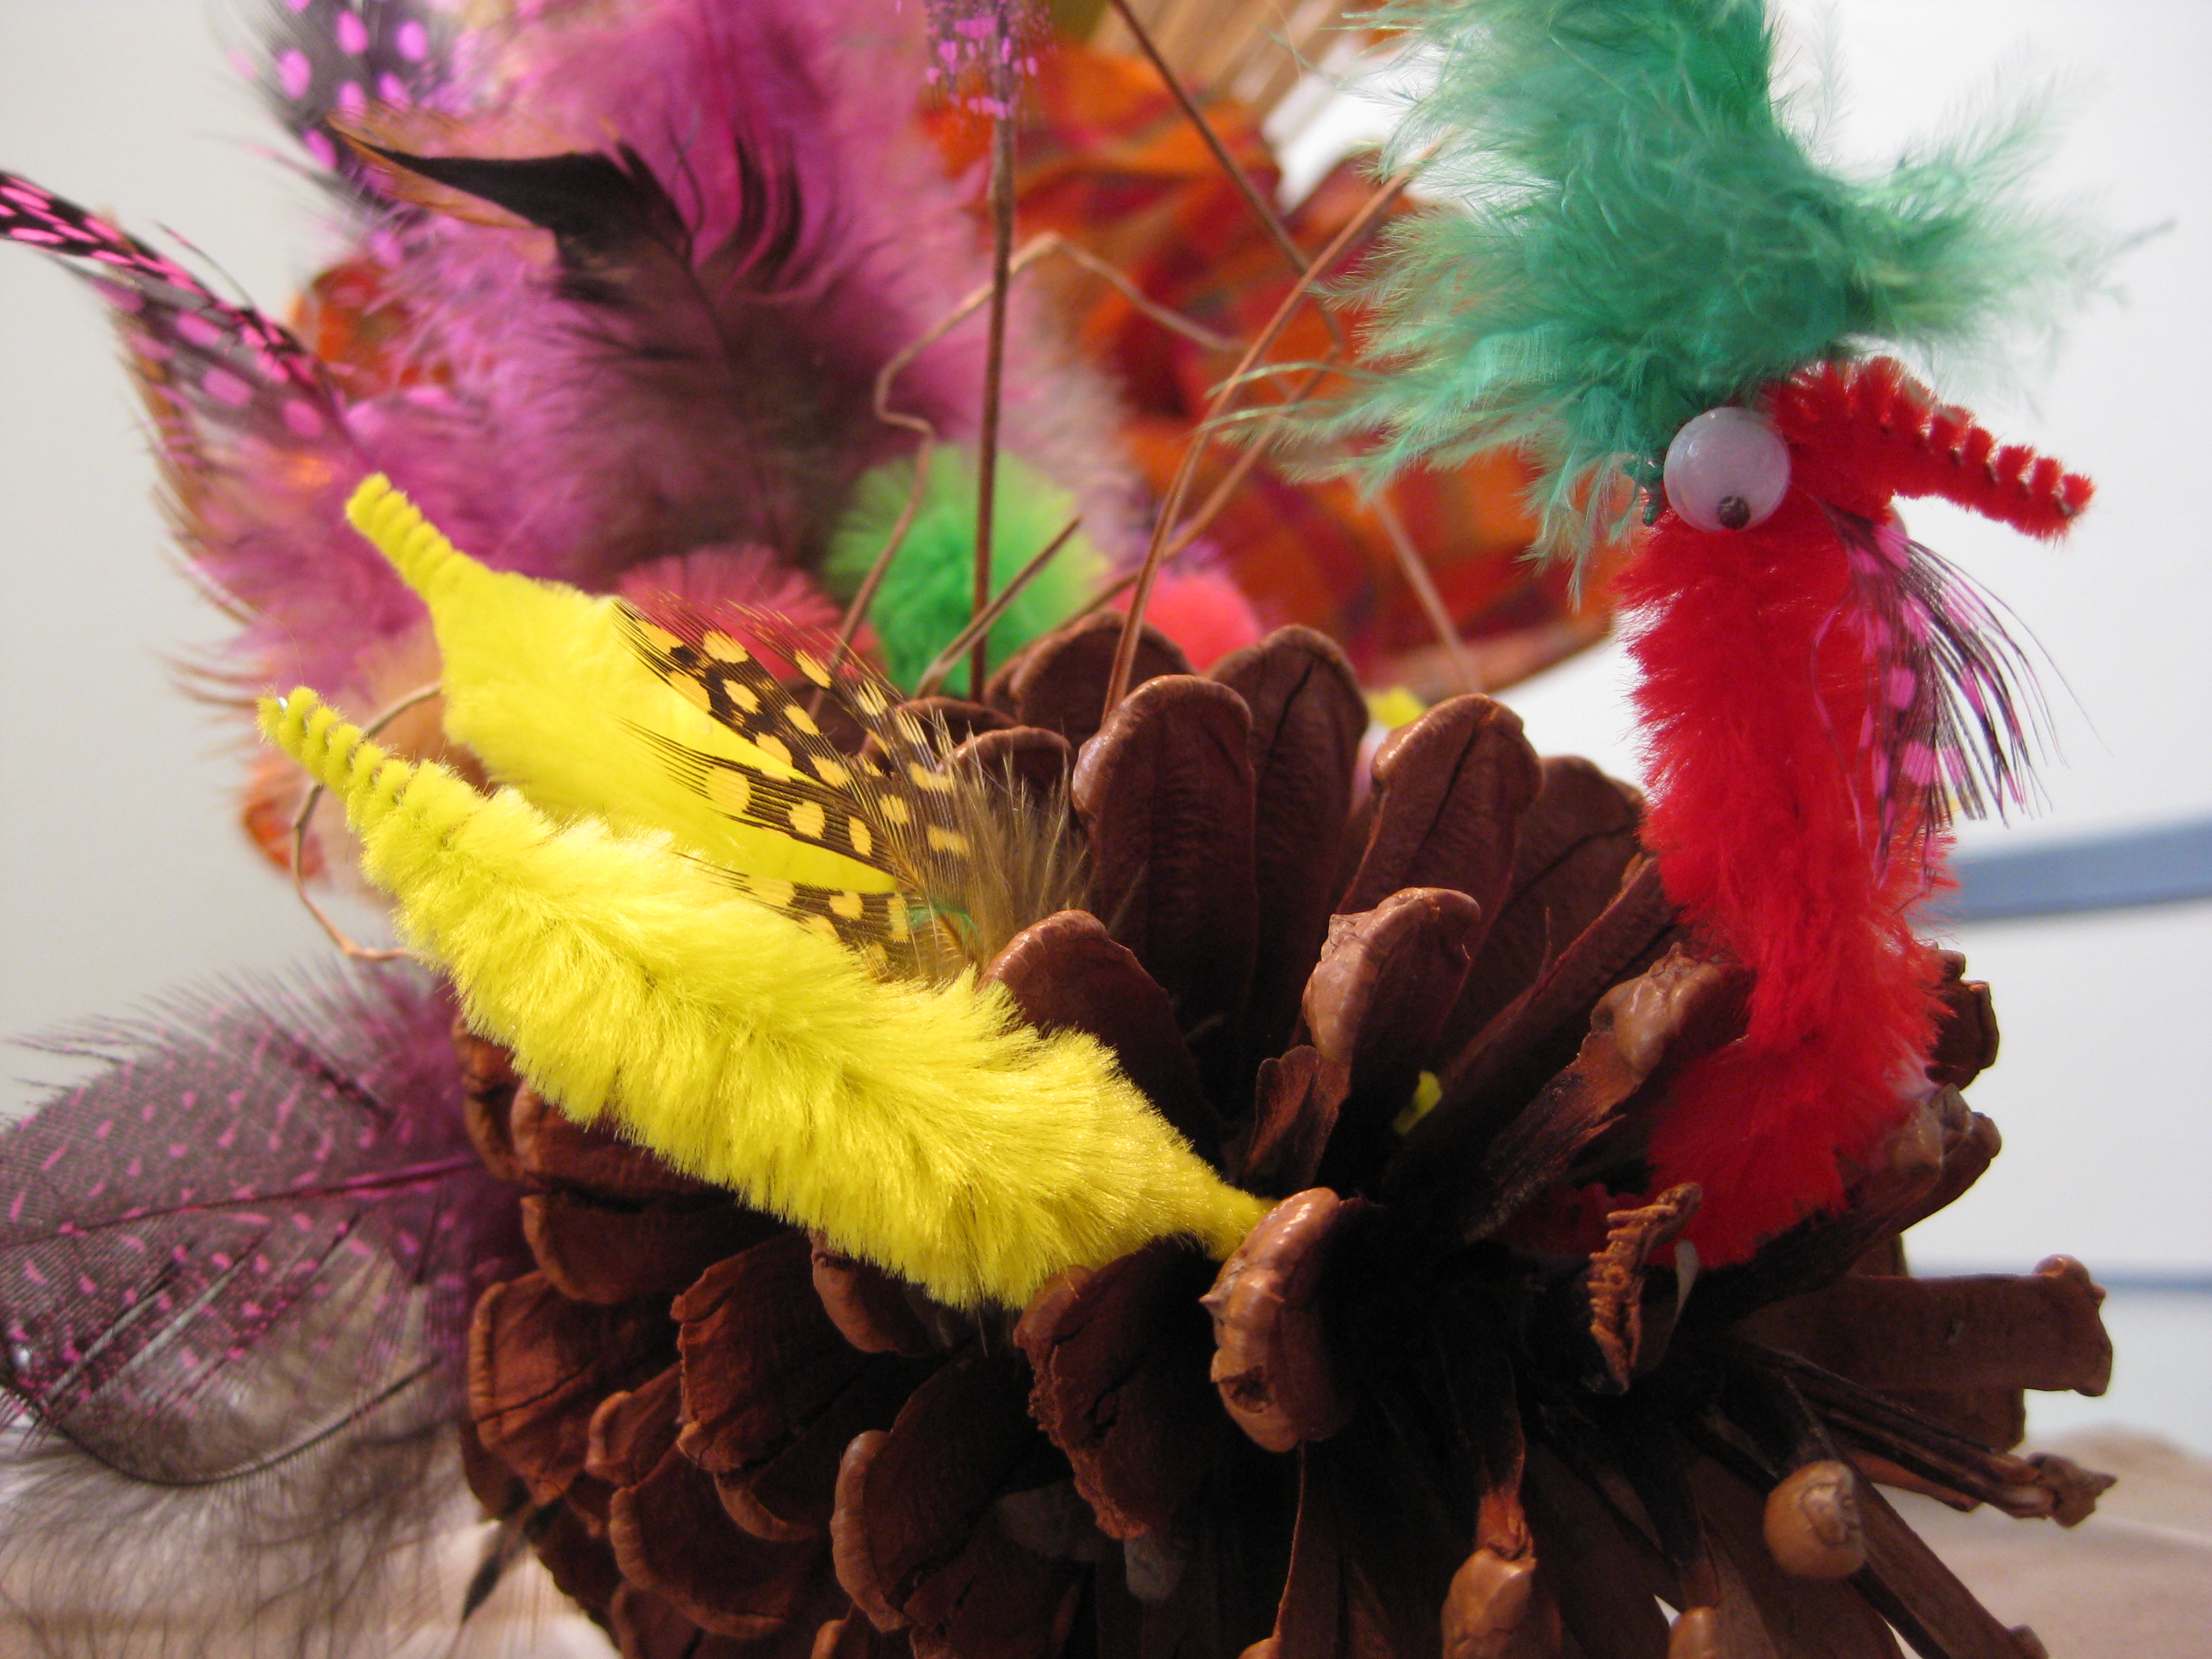
7. Add any additional embellishments that you like!

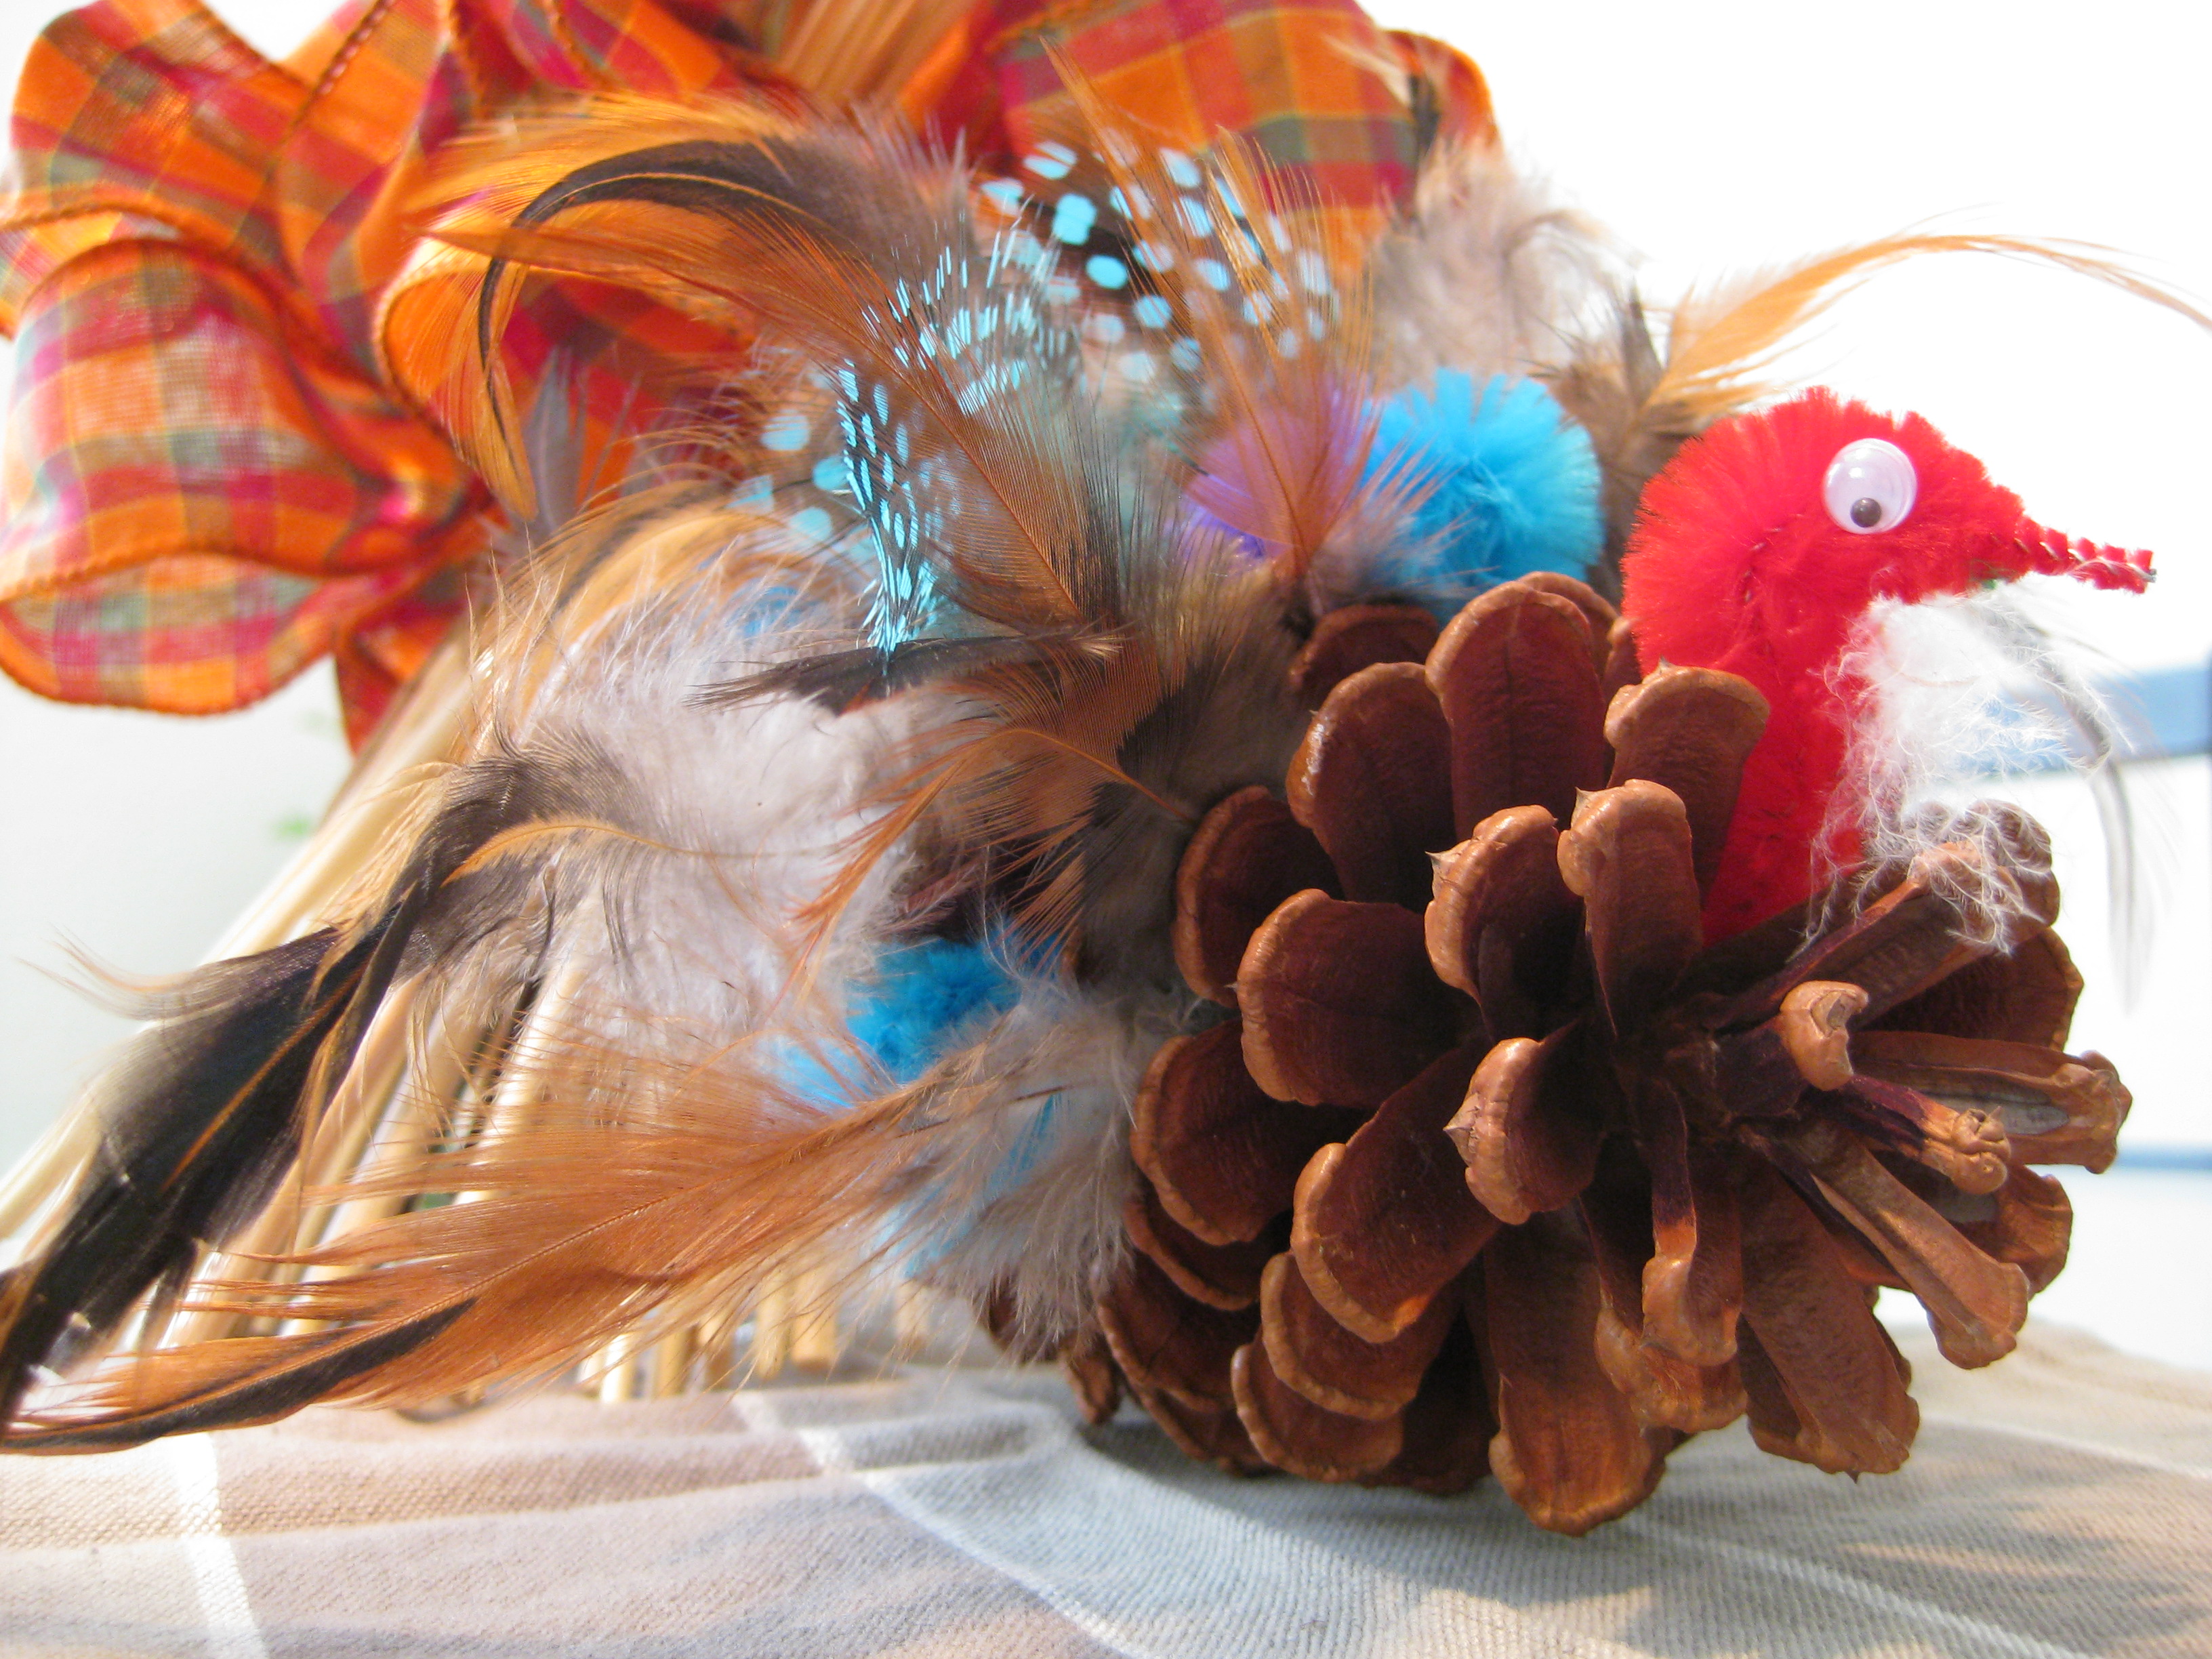
You can add wings to the turkey’s side using pipe cleaner bumps or small craft feathers, which you can also tuck into the tail.  There were some pine needles in with the pinecones, which a couple of people used as embellishment.  Some of us used very small feathers to create a “wobble” under the turkey’s chin and my mother even created a green feather fascinator* for her turkey!  For a final touch, use the paint marker to write your name on the fancy paper and have your guests display the name in front of their turkey, tucked into the turkey’s back or, like some of my family did, glue it to the turkey’s “butt”.

I hope you enjoy sharing this holiday tradition with your friends and family and feel free to send me pictures of the fun!

katie-only signature

.

.

*If you’re not in the “know” about fascinators, those are the tiny embellished headpieces worn by the British at high society events…like the royal wedding.

Inspiration Gallery

Pine Cone Turkey, Mom Aunt Judy Turkey & predator katie: normal turkey Pine Cone Turkey, Steve DadKeithJustice...she's blindHappy Thanksgiving To All Of The Pine Cone TurkeysHappy Thanksgiving!

Homemade Holiday Gifts: Cinnamon Peanut Brittle

I have studied herbalism for many years and enjoy using the knowledge that I have gained to create both simple and complex herbal remedies, delicious teas, tisanes and brews, and to make natural skin and hair care products.  I get to share a lot of this knowledge in my weekly column on hellogiggles.com as The 21st Century Herbalist.  Once a week I like to repost the column here, just in case you missed it!

Original publish date: October 11, 2012

s we continue to celebrate the multi-generational traditions of women, I can’t help but think of all of the wonderful recipes that have been passed down through the women in my family.  This time of year always puts me in the mood for peanut brittle but not just any peanut brittle, I look forward to my great-grandmother’s cinnamon peanut brittle.  It’s that little bit of cinnamon that makes this treat feel unique to my family and always makes me nostalgic.

The cinnamon tree is native to India and can now be found in many parts of the world.  The bark has long been used as a delicious flavoring in many types of food but it also has many medicinal benefits too.  This spicy bark is warming and works as a mild, yet effective, digestive aid.  It also has antiviral properties that make it great for fighting infection.

There are so many peanut brittle recipes out there, so feel free to just add a bit of cinnamon to one of your favorites.  If you don’t have a favorite, then I’d love for you to share in my family’s tradition and make the version below.  It makes a yummy treat that can be wrapped up and given as treats to your co-workers, family and friends.

…read more (you’ll be redirected to my column on hellogiggles.com)

Birth-mineral Earrings of the Month: Golden Citrine

.

may be a bit parital since my birthday is in November but Citrine has always been one of my favorite minerals. The golden color always catches my eye and I just want to touch it!  Citrine is a mineral that is known for its cleansing and balancing properties. Wear this crystal when you are seeking personal balance, confidence and clarity.

November Birthstone: Topaz  November Birth-mineral: Citrine

Thread the post through the bead and use the pliers to bend a small hook into the base of the post that will hold the bead on it.  Now thread one of the earring hooks onto the post and to finish the earring, bend the post in half and tuck it into the bead.

.

.

.

.

.

.

.

.

.
Let me know if you give these a try and I’d love to see pictures!

Moisturizing Pumpkin Body Whip

I have studied herbalism for many years and enjoy using the knowledge that I have gained to create both simple and complex herbal remedies, delicious teas, tisanes and brews, and to make natural skin and hair care products.  I get to share a lot of this knowledge in my weekly column on hellogiggles.com as The 21st Century Herbalist.  Once a week I like to repost the column here, just in case you missed it!

Original publish date: September 27, 2012

or those of us in the northern hemisphere, Autumn is officially here!  Bring on the pumpkin flavored lattes, bagels, cream cheese, muffins and any other food we can flavor with delicious pumpkin and spice flavors!  Mmmm…I love it all.  Along with all of those yummy foods it’s also pumpkin season for your skin.  Yup, pumpkin for your skin.  It is so moisturizing and packed with nutrients that help bring out the subtle glow of your skin.

Next time you’re in the grocery store or at the farmer’s market pick up a pie pumpkin and give this great body whip treatment a try.  It’s a great way to pamper yourself after a long week of studying, working or before a big date. Later, as winter weather sets in and your skin starts to get a little dry, use this recipe to rehydrate your skin and even your hair.

This recipe is part of this month’s celebration of the multi-generational traditions of women.  It is a classic recipe that goes back generations and uses simple, natural ingredients to soothe and moisturize your skin.

Ingredients:

  • A small to medium sized pie pumpkin
  • 1 c. full-fat, unflavored yogurt
  • 1-2 tbsp. olive oil

…read more (you’ll be redirected to my column on hellogiggles.com)