Category: HOMEMADE AND DIY

The Healing Powers of Drippy Ducks

It’s officially summer!  Let the outdoor-free from school-fun begin!  Of course, with all of that fun will come bumps, scrapes and bruises, especially for the little kidos in your life and Drippy Ducks are great way to make things all better.  My mom used to make these for my brother and I when we were little and I can attest to the fact that they definitely help make booboos better…faster.  Just insert an ice cube into the Drippy Duck’s bill and hold on the injury.

Edit: My mom just found the Drippy Duck rhyme that she made up when my brother and I were little, scroll all the way down to see it!

In addition to these fun little duckies, check out my column on hellogiggles.com.  This week I’m talking about three great herbal remedies for healing those minor summertime booboos.

I hope your summer is off to a great start!  I’d love to see pictures and hear your stories if you give this fun crafty project a try!


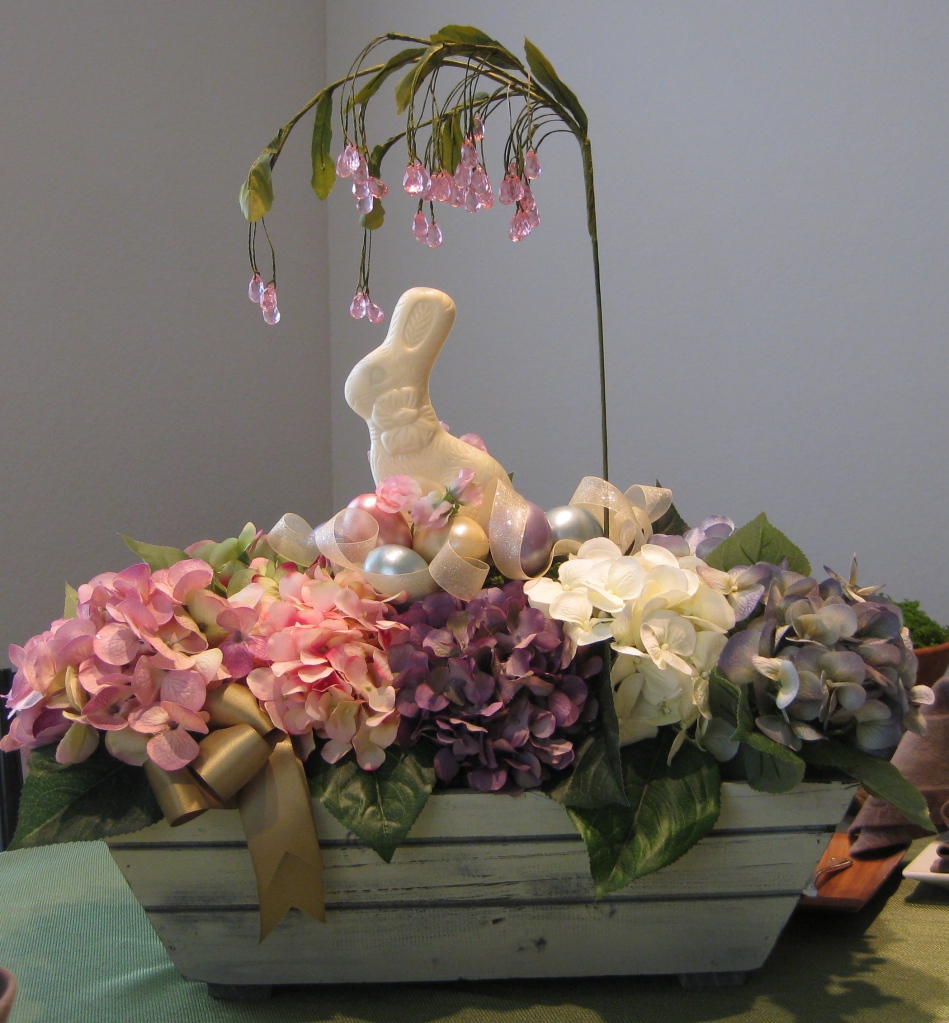
White Chocolate Bunny Easter Arrangement For Your Table

Easter will be early this year, on April 8th to be exact, and Mom has created a wonderful silk flower centerpiece for this year’s table scape.  I love the unique element of having a white chocolate bunny on top that is being haloed by a pretty, pink jewel umbrella above it.  This centerpiece comes together pretty quickly and will make a lovely addition to your Easter table.

Ditch the Dryer Sheets…Freshen Laundry Naturally with Herbs

Use herbal dryer sachets to prevent static in the dryer from katienormalgirl.com | #DIY #natural #sustainability

Ditch your dryer sheets and embrace the latest trend in simple, sustainable living…dryer sachets!  These chemical-free, all-natural alternative to dryer sheets have been growing in popularity as people try to eliminate unnecessary chemicals from their homes, but have you ever wondered how they work?  In this week’s column, I’ll tell you why they work and show you how to make your own.

What Is A Dryer Sachet And Why Does It Work?
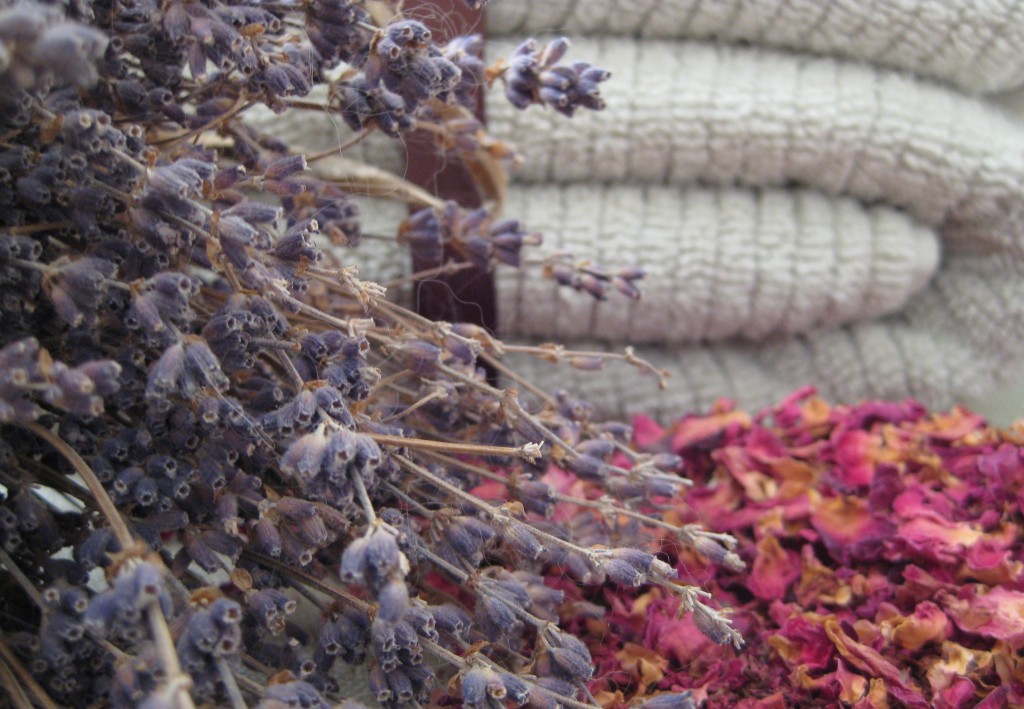
A dryer sachet is a lot like any other sachet, it’s a bag or pouch made of porous fabric that is filled with fragrant herbs. What distinguishes dryer sachets from their culinary counterparts, is the type of herbs that are used in it. Most dryer sachets are made exclusively with lavender because it is a highly fragrant herb that eliminates static cling, and the residual smell left on clothing, repels moths. I’ve added fragrant rose petals in the custom herbal blend below, because I enjoy the light scent in combination with the lavender.

Dryer Sachet Herb Blend
The ingredients for this dryer sachet mix are gentle enough for sensitive skin and can be used when laundering children’s and infant’s clothing.

You’ll Need:

  • 1/4 c. dried rose petals
  • 1/4 c. dried lavender buds
  • 4-5 drops lavender essential oil (optional)
  • 1 dryer sachet*

*Dryer sachets can be purchased online or you can make your own using an old sock or stockings. You can also sew your own reusable and refillable dryer sachets, using fabric scraps or an old t-shirt.

Assembly:
Place the herbs in the dryer sachet of your choice and add the essential oil drops. If using an old sock or stockings, add the herbs and securely tie the end, or ends, into a knot.  If you have enough fabric, you can tie a double knot to be safe.

To Use:
Each sachet can be used 7-10 times (the sachets can be used more than 10 times if you don’t mind a reduction in scent). Before each drying cycle, remove the sachet and pinch it between your fingers a few times, to release the herbal essences.

When you’ve used the bag and no longer notice a strong scent in your laundry, you can deodorize and freshen your vacuum cleaner by sprinkling the herbs on the floor and vacuuming them up!

katie: normal girl

DIY: Reusable AND Refillable Dryer Sachets

DIY reusable AND refillable herbal dryer sachets from katienormalgirl.com | #DIY #natural #home

It’s time to ditch your dryer sheets and embrace the latest trend in simple, sustainable living…dryer sachets!  These chemical-free, all-natural alternative to dryer sheets have been growing in popularity, and this week I’m going to show you how to make your own dryer sachet, that is both reusable and refillable.

Often dryer sachets are sewn shut on all sides and are not refillable without some difficulty and it’s this ability to refill them, that makes this project unique.

These dryer sachets are an easy-sew project, perfect for beginners and can be done by hand or using a sewing machine. It’s also a great opportunity to upcycle old t-shirts, or use up old scraps of fabric from other projects.

I like to take some time on a Sunday afternoon to make a batch of these that can be kept in a basket next to my dryer. As you’re making them for yourself, remember that they also make great housewarming gifts, teacher presents or can be a unique addition to a baby shower gift basket.DIY reusable AND refillable herbal dryer sachets from katienormalgirl.com | #DIY #natural #home

Tools & Materials Needed:

  • Iron and firm surface to iron on
  • Scissors
  • Measuring tape or quilter’s square
  • Sewing machine or needle (if sewing by hand)
  • 4 1/2″ x 9 1/2″ piece of fabric (cotton or linen) and coordinating thread
  • 4″ strip of industrial strength or decor velcro*

*Make sure you are using industrial strength or decor grade velcro for this project. It has double-sided “teeth” that are strong enough to stay closed while tumbling around in the dryer. It can be sew-on or stick-on, for added security, you’ll want to sew it into the sachet, either way.

DIY: Valentine’s Day Floral Arrangement

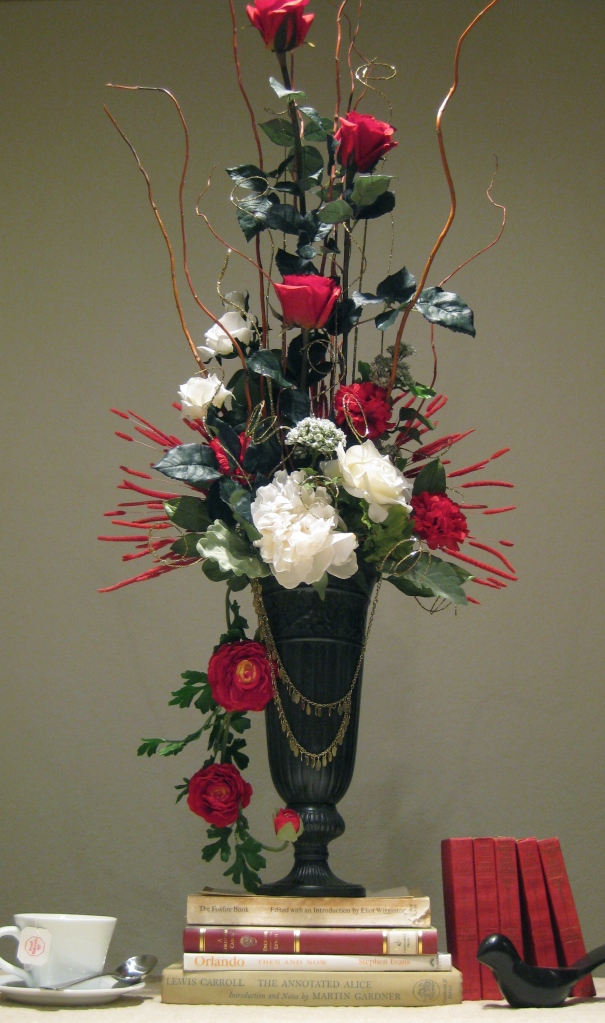
This week I bring you a special treat…floral arranging with Mom! My mom has always made the most beautiful flower arrangements and when I asked her to create one for the blog, she excitedly agreed.  She created this floral arrangement using silk flowers from local craft and art supplies stores.  The color choices make this an obvious choice for Valentine’s Day, but you can also use it at a wedding reception or pair it with my rose petal tea recipes and have an old fashioned tea party.  I hope you enjoy this fun project!

Arrangement Type: Free-form vertical
Finished Height: Approx. 4′

Mom Tip #1: When getting started on your own floral arrangement, you’ll want to start with an inspiration piece.  It might be a particular type of flower, or like in this case, it was the vase.  Then select flowers of different colors, shapes and petal types. To complete the arrangement you’ll also want to select some greenery.

Mom Tip #2: The general height proportions for any floral arrangement, is to keep the height of the flowers no higher than 1 1/2 the height of the vase you are using.

Mom Tip #3: Sometimes you’ll want to pay more money for your feature flowers, in this case the red roses which were $8 a piece, but SO worth it!  She was able to find nice looking carnations and greenery that didn’t cost as much, but still looked very nice in the arrangement.

Mom Tip #4: Hang a necklace or other jewelry from the vase to add interest.  I found the necklace for this arrangement on clearance!

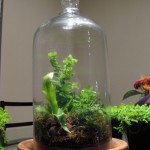
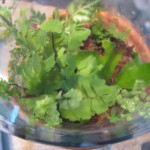
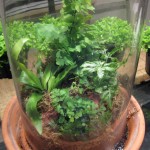
Homemade: Fern Terrarium

Terrarium – a partially or wholly enclosed container, usually glass, used for growing and/or displaying plants.

I have always been intrigued by terrariums.  They are a whole tiny world under glass, containing miniature displays, and nooks and crannies of entire eco-systems.  The man credited with discovering terrariums, Nathaniel Ward, accidentally created a terrarium during an experiment and the plants in his terrarium thrived for four years without any additional watering.  So how do these micro-worlds exist without care for so many years?  When a terrarium is initially assembled, the plants are watered and the soil moistened, this provides the initial water source.  Once the terrarium is sealed and placed in sunlight, condensation will form on the walls of the display.  At night, the water drips and slides back down to the soil and waters the plants.  This is, of course, the basic principle and if you’re interested in learning more, you can read Nathaniel Ward’s book on the topic, “On the Growth of Plants in Closely Glazed Cases” for free at Google Books.

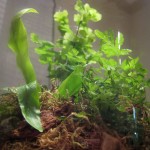
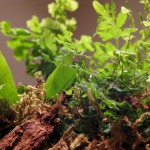
This past weekend I stopped into my favorite local plant nursery, Palmer’s Garden and Goods, and I found the best little ferns. They were small and specifically designed for use in a terrarium, and for less than $2 each, I couldn’t pass them up! I bought four different styles, two with delicate leaves, one with broad, glossy, light green leaves and one with variegated green and white pointed leaves.

1. Adiantum raddianum ‘Pacific Maid’, Delta Maidenhair Fern  2. Asplenium goudeyi, Miniature Bird’s Nest Fern  3. Adiantum raddianum ‘Gracillimum’, Delta Maidenhair Fern  4. Athyrium niponicum ‘Pictum’, Japanese Painted Fern

Materials you’ll need for assembly:

1. damp soil  2. orchid bark  3. clay saucer and paper ring*  4. decorative moss of your choice and small sticks  5. glass cloche or any decorative, clear cover

*The paper ring is used to hold the base materials, in this case orchid bark and soil, during assembly.  You will remove the ring prior to covering your terrarium, with the cloche.  To make the paper ring, fold two sheets of paper to a height of 2.5″ each.  The final size of the ring should be the size of the inside of your cloche.  To measure it, put the two sheets of folded paper inside the cloche and adjust until they form a ring, then tape the ends to secure.  Remove the ring from the cloche and cover it with plastic wrap, so it doesn’t absorb water from the damp soil you’ll be using.

I’ve always had a “cabinet of curiosities” style decor in my home, so the fact that I have a cloche on-hand wasn’t too surprising.  For most people you may want to purchase one and there are a lot of great terrarium covers available online.  If you’re feeling creative or want to repurpose something you already have, try using an old 2-liter soda bottle, an emptied incandescent lightbulb, a clear cake plate cover, an old spaghetti sauce jar or one of my favorites, a mason jar.

Assembly Instructions:

Today, I’ll be showing you how to make a basic terrarium, which will need to be watered about once a month.

1. Fill the paper ring with orchid bark and top with moistened soil.  Once you remove the paper ring, you’ll be able to see the two layers you’ve created through the clear terrarium cover.

2. Arrange your plants, mounding the soil to create different heights.  I left my plants in the containers they came in, this will make it easier if I want to swap out one of the plants later.  It also keeps them from growing to vigorously and outgrowing the terrarium.

3. Cover the pots with the remaining soil and top with decorative moss.

4. Place bits of pretty orchid bark, sticks and small stones around for added interest.

5. Remove the paper ring carefully.  The moistened soil should hold its shape long enough for you to gingerly set the terrarium cover in place.

Care:

Your terrarium is complete!  Set it in an area where it will get indirect sun and almost immediately, you’ll notice a fine condensation start to form on the inside of the glass.  After a few minutes this will form droplets and the glass will clear a little more, so you can see the wonderful world you just created.  This terrarium will need very little care, aside from a watering about every 4-5 weeks.

Have a good time making your own terrarium, and as always, leave your questions in the comments section and I’ll get back to you!

katie: normal girl

.

.

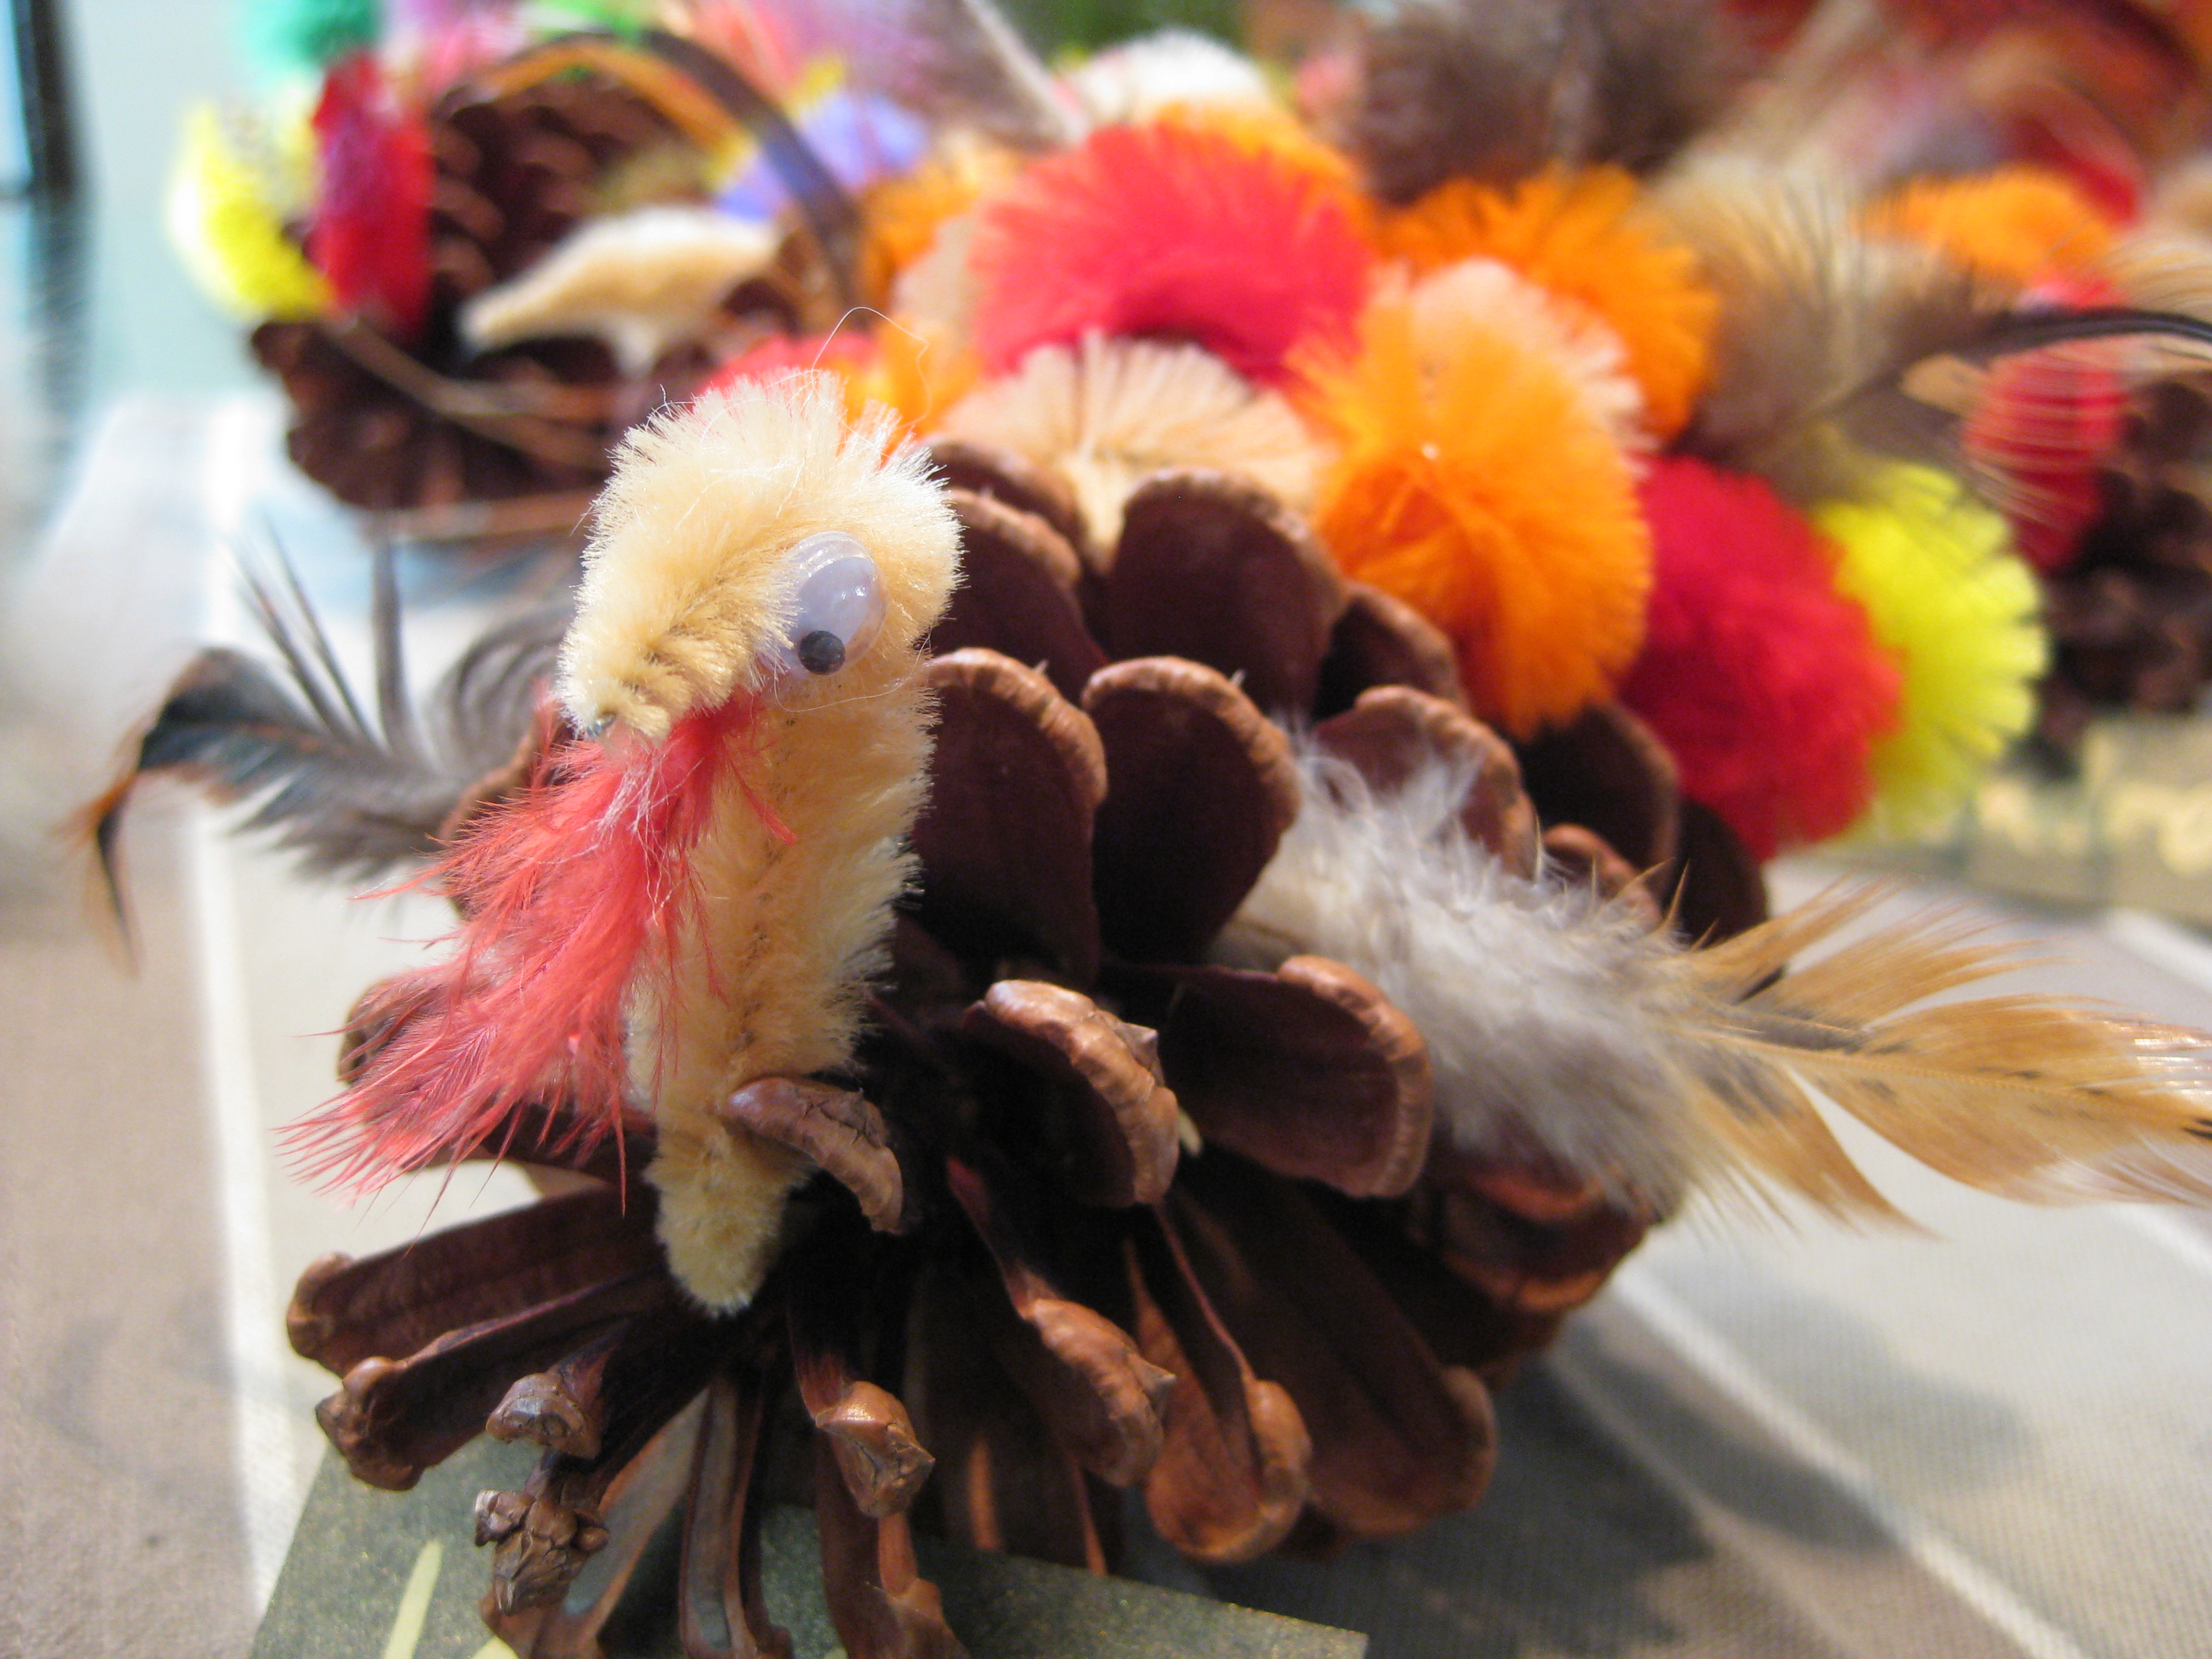
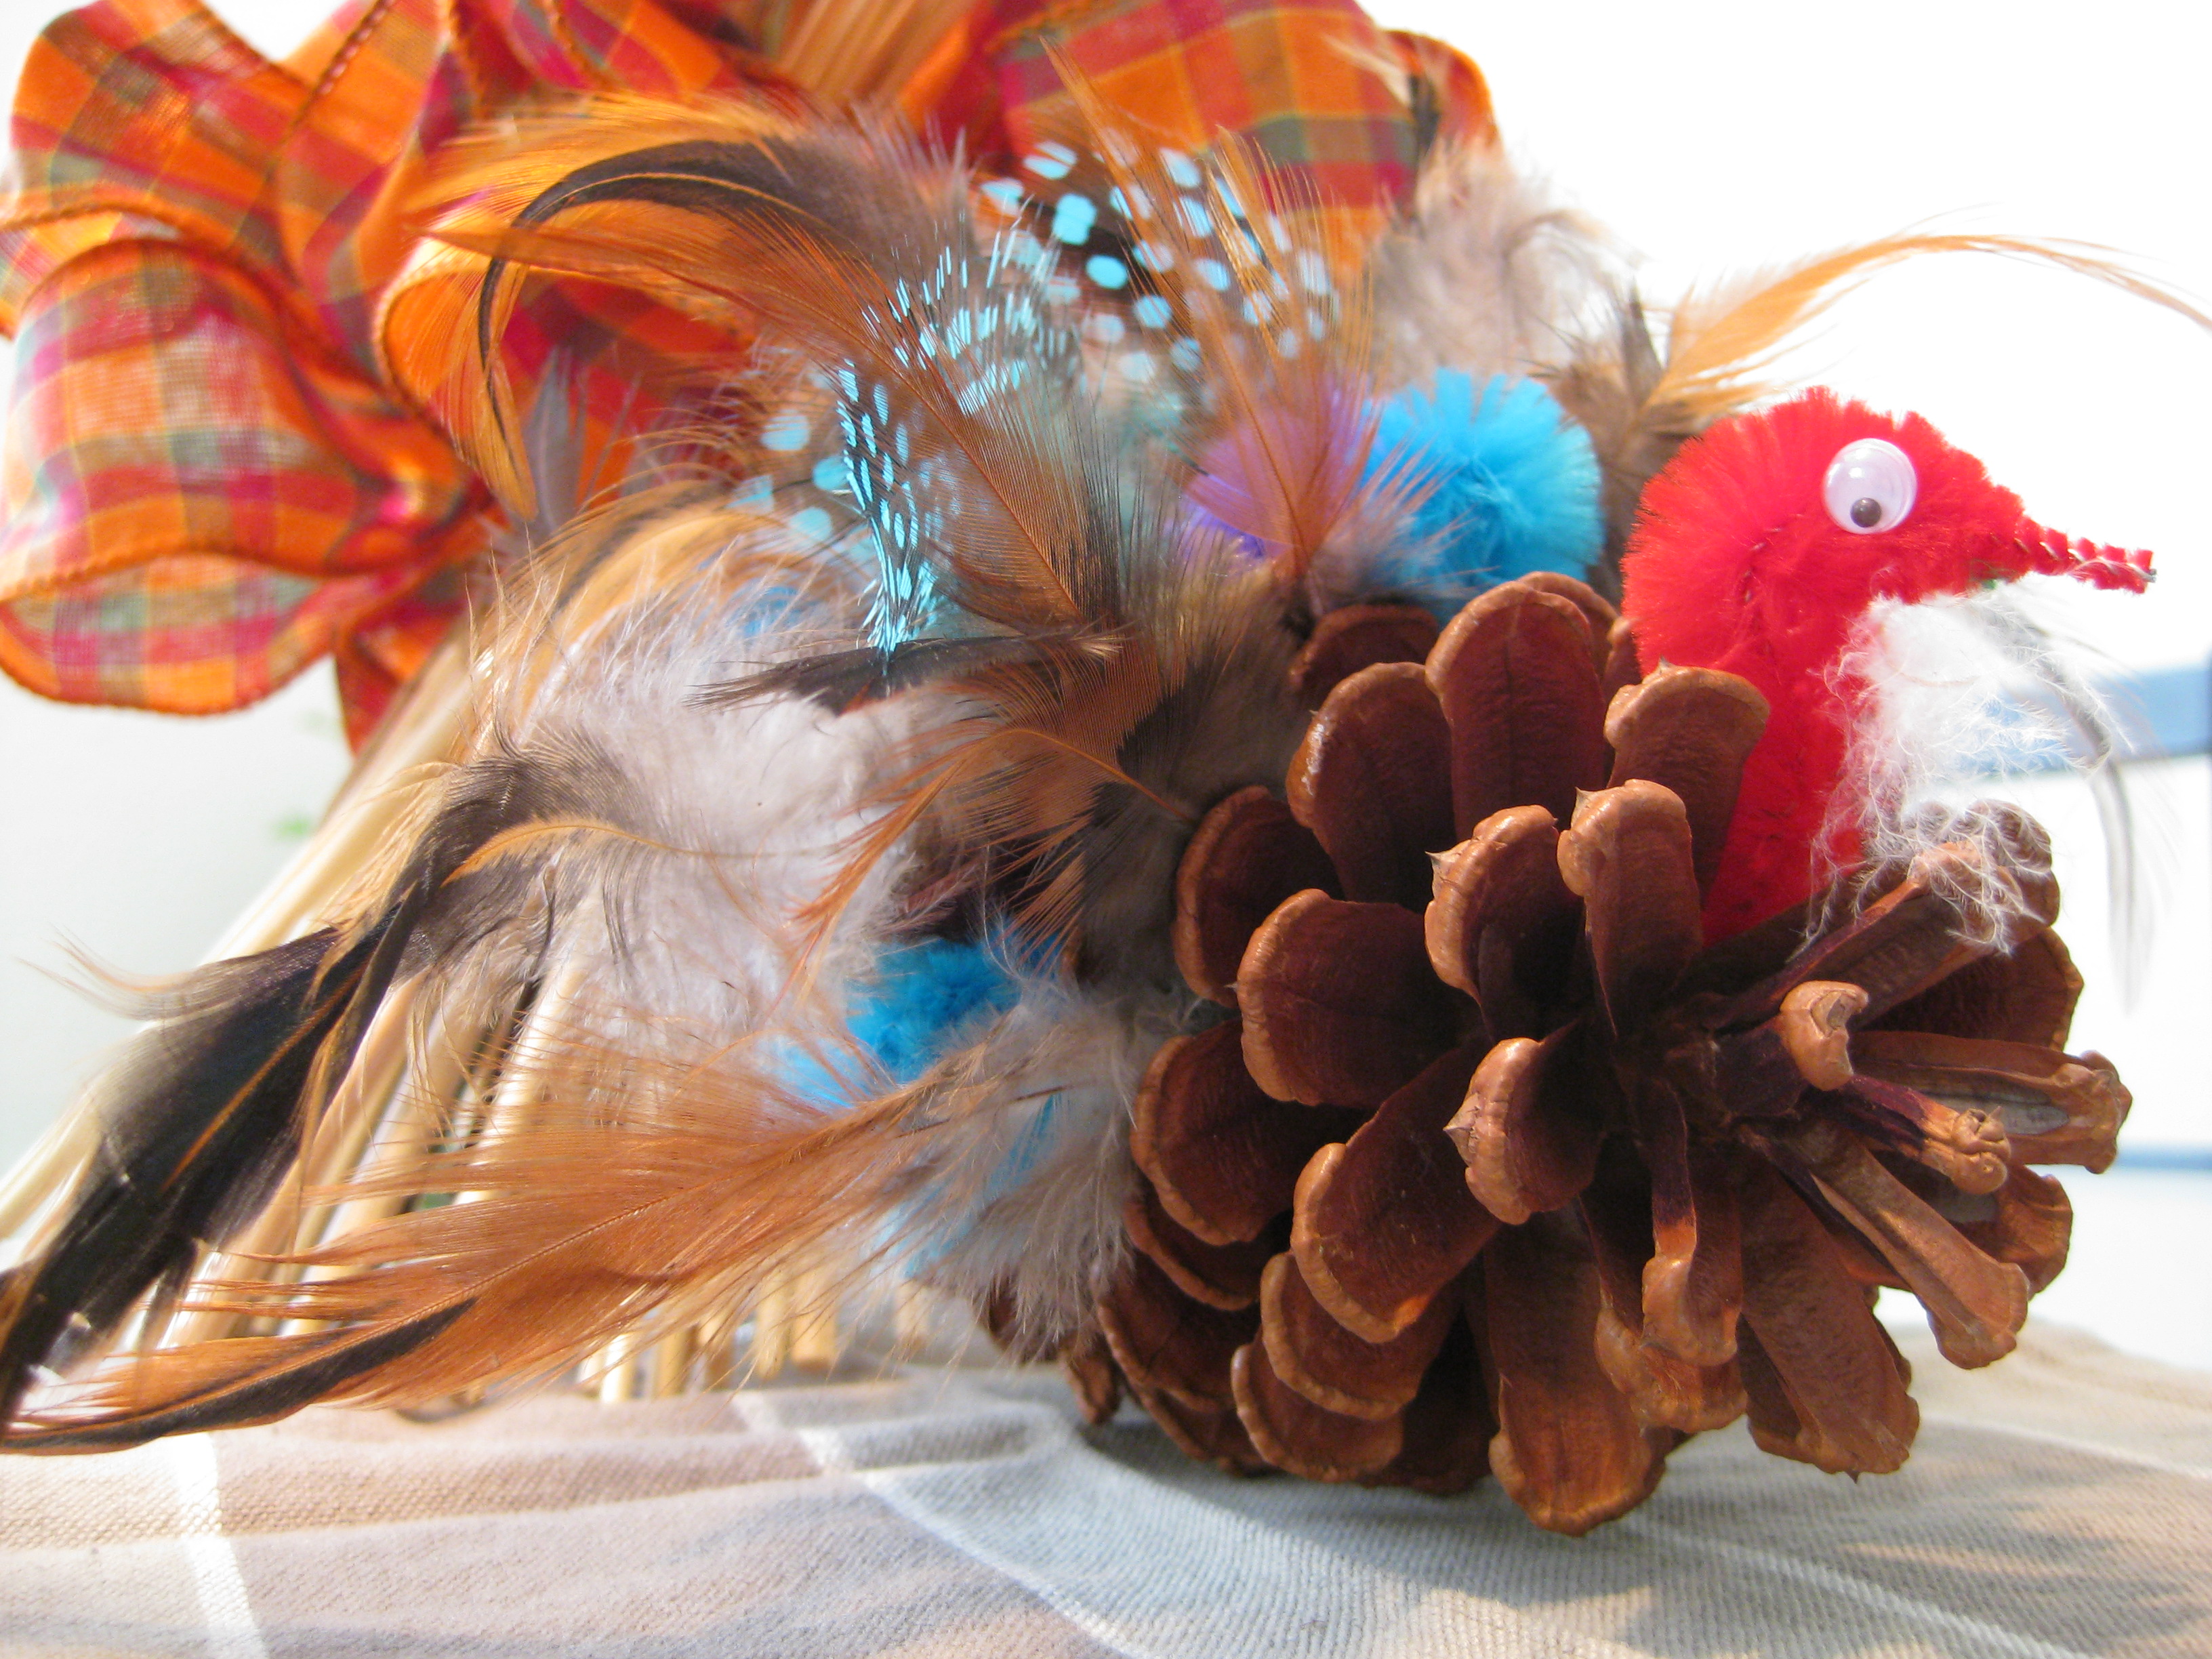
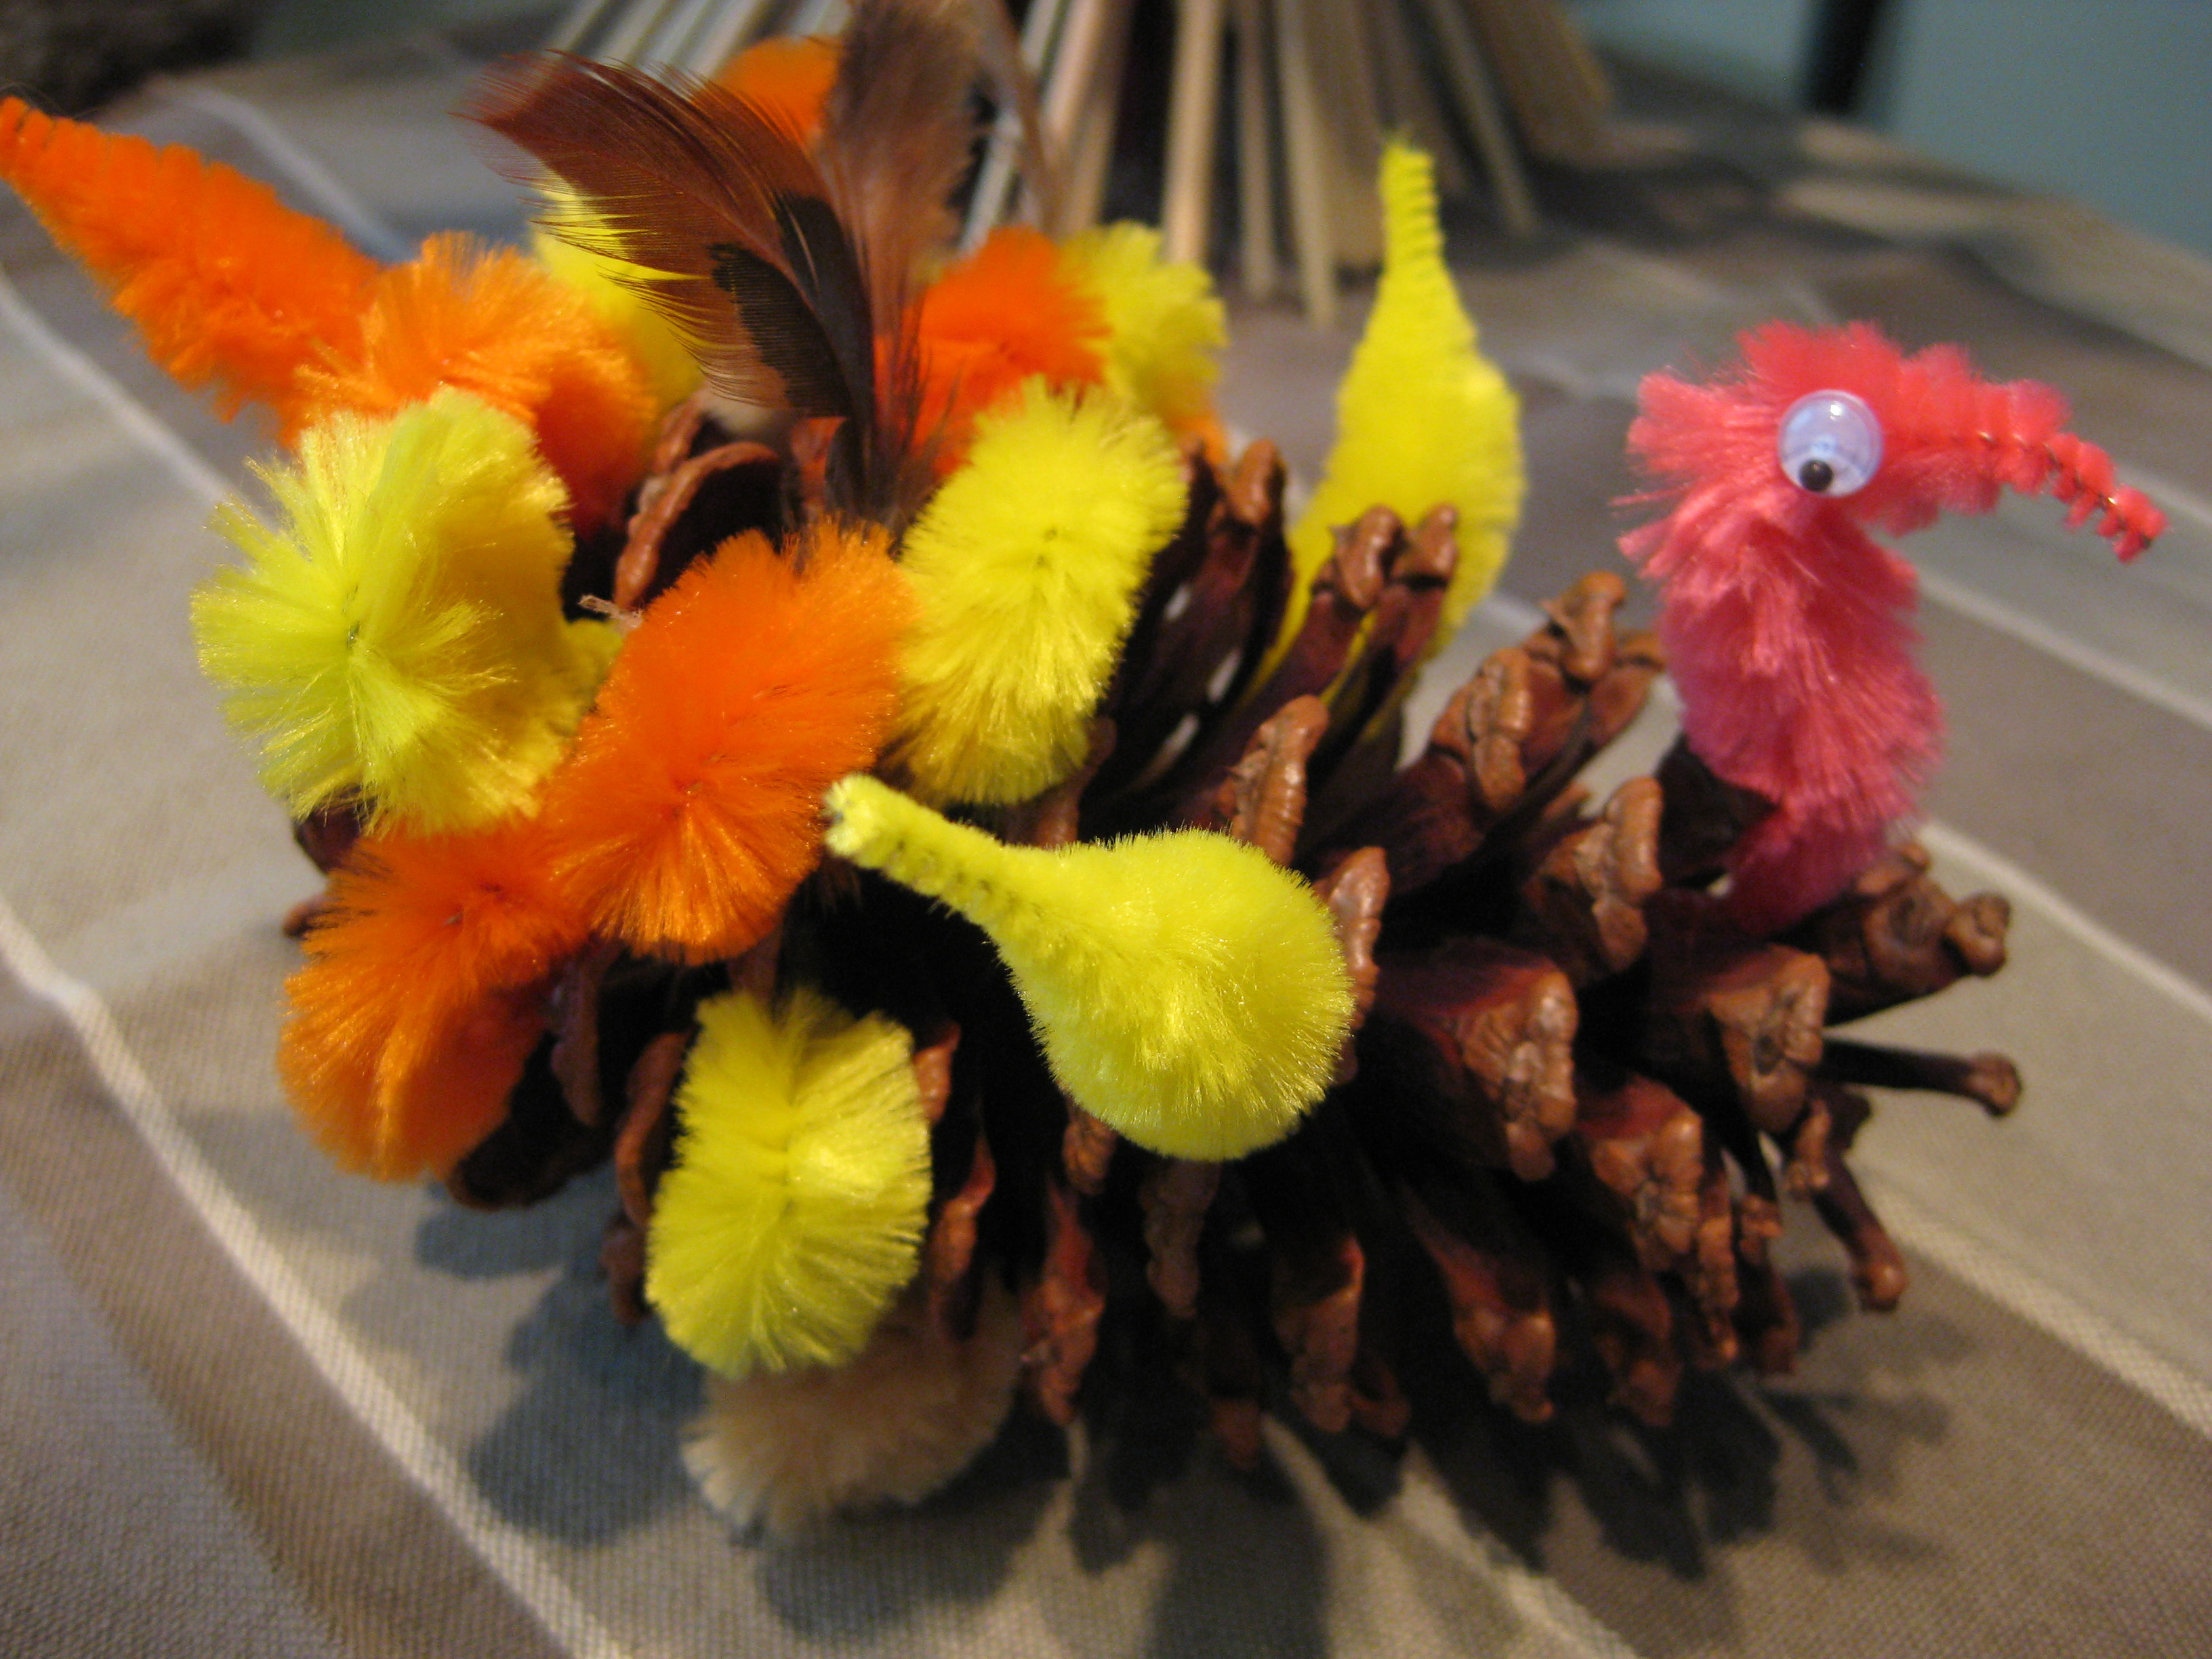
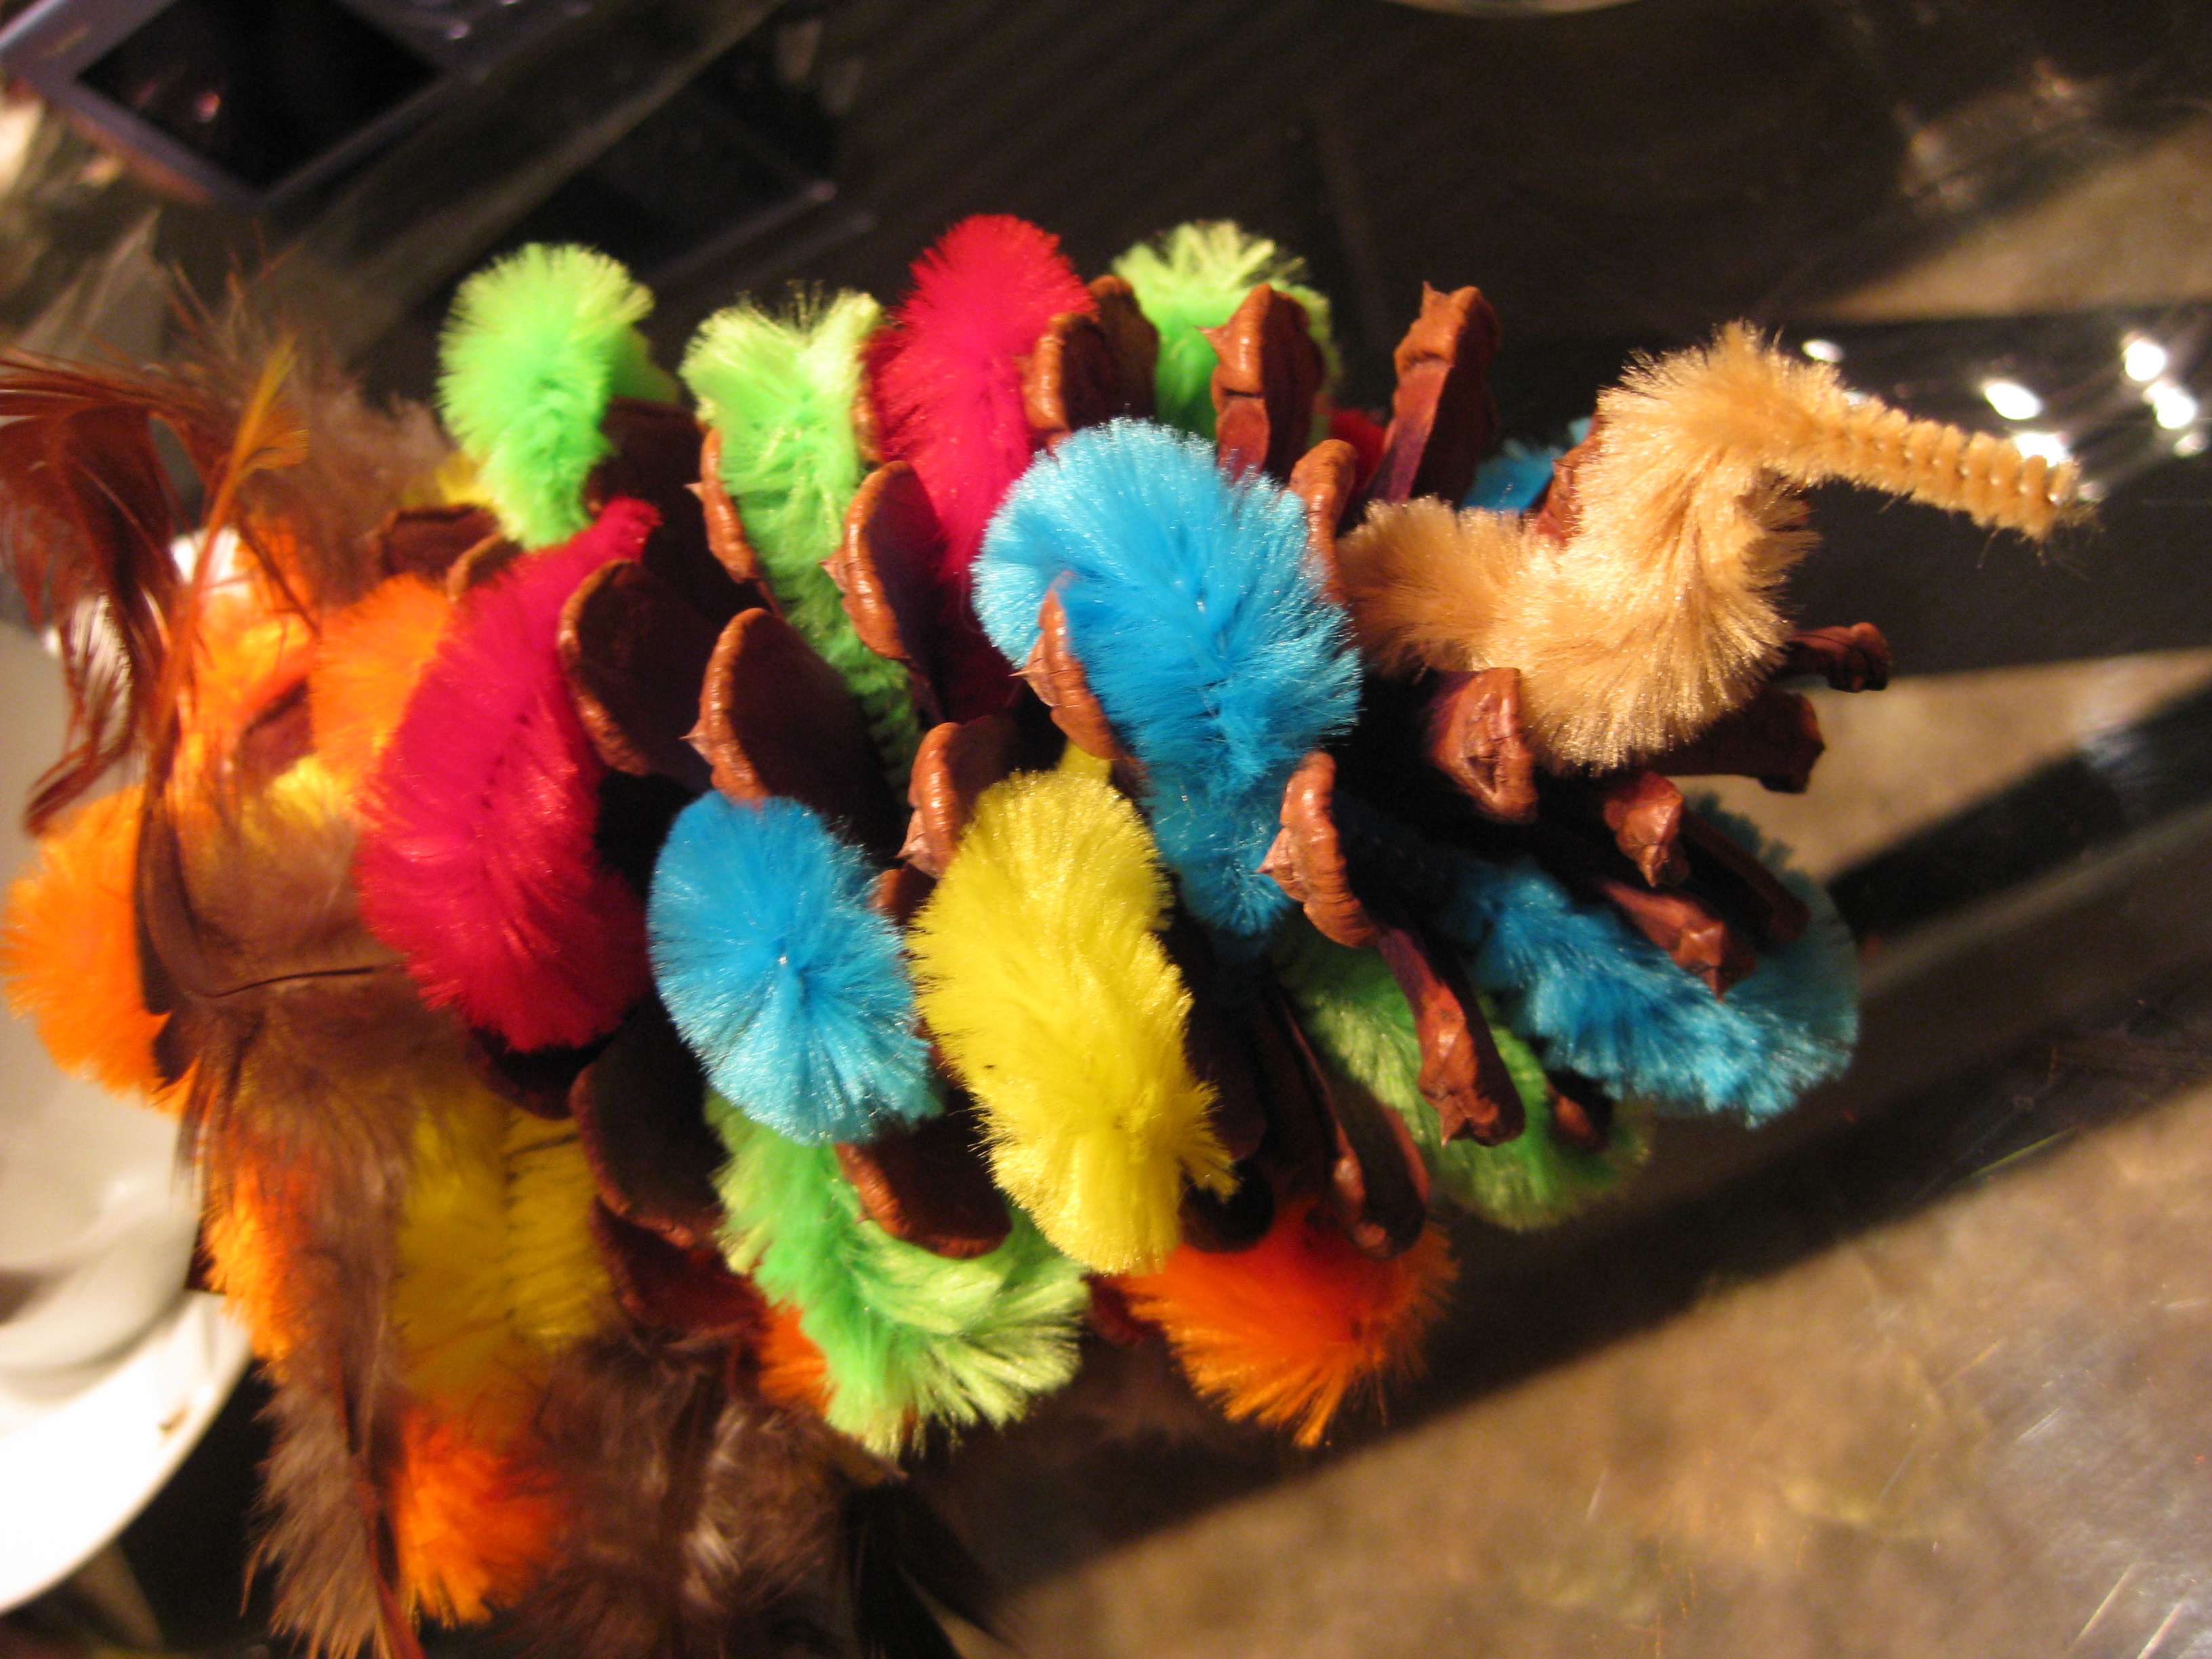
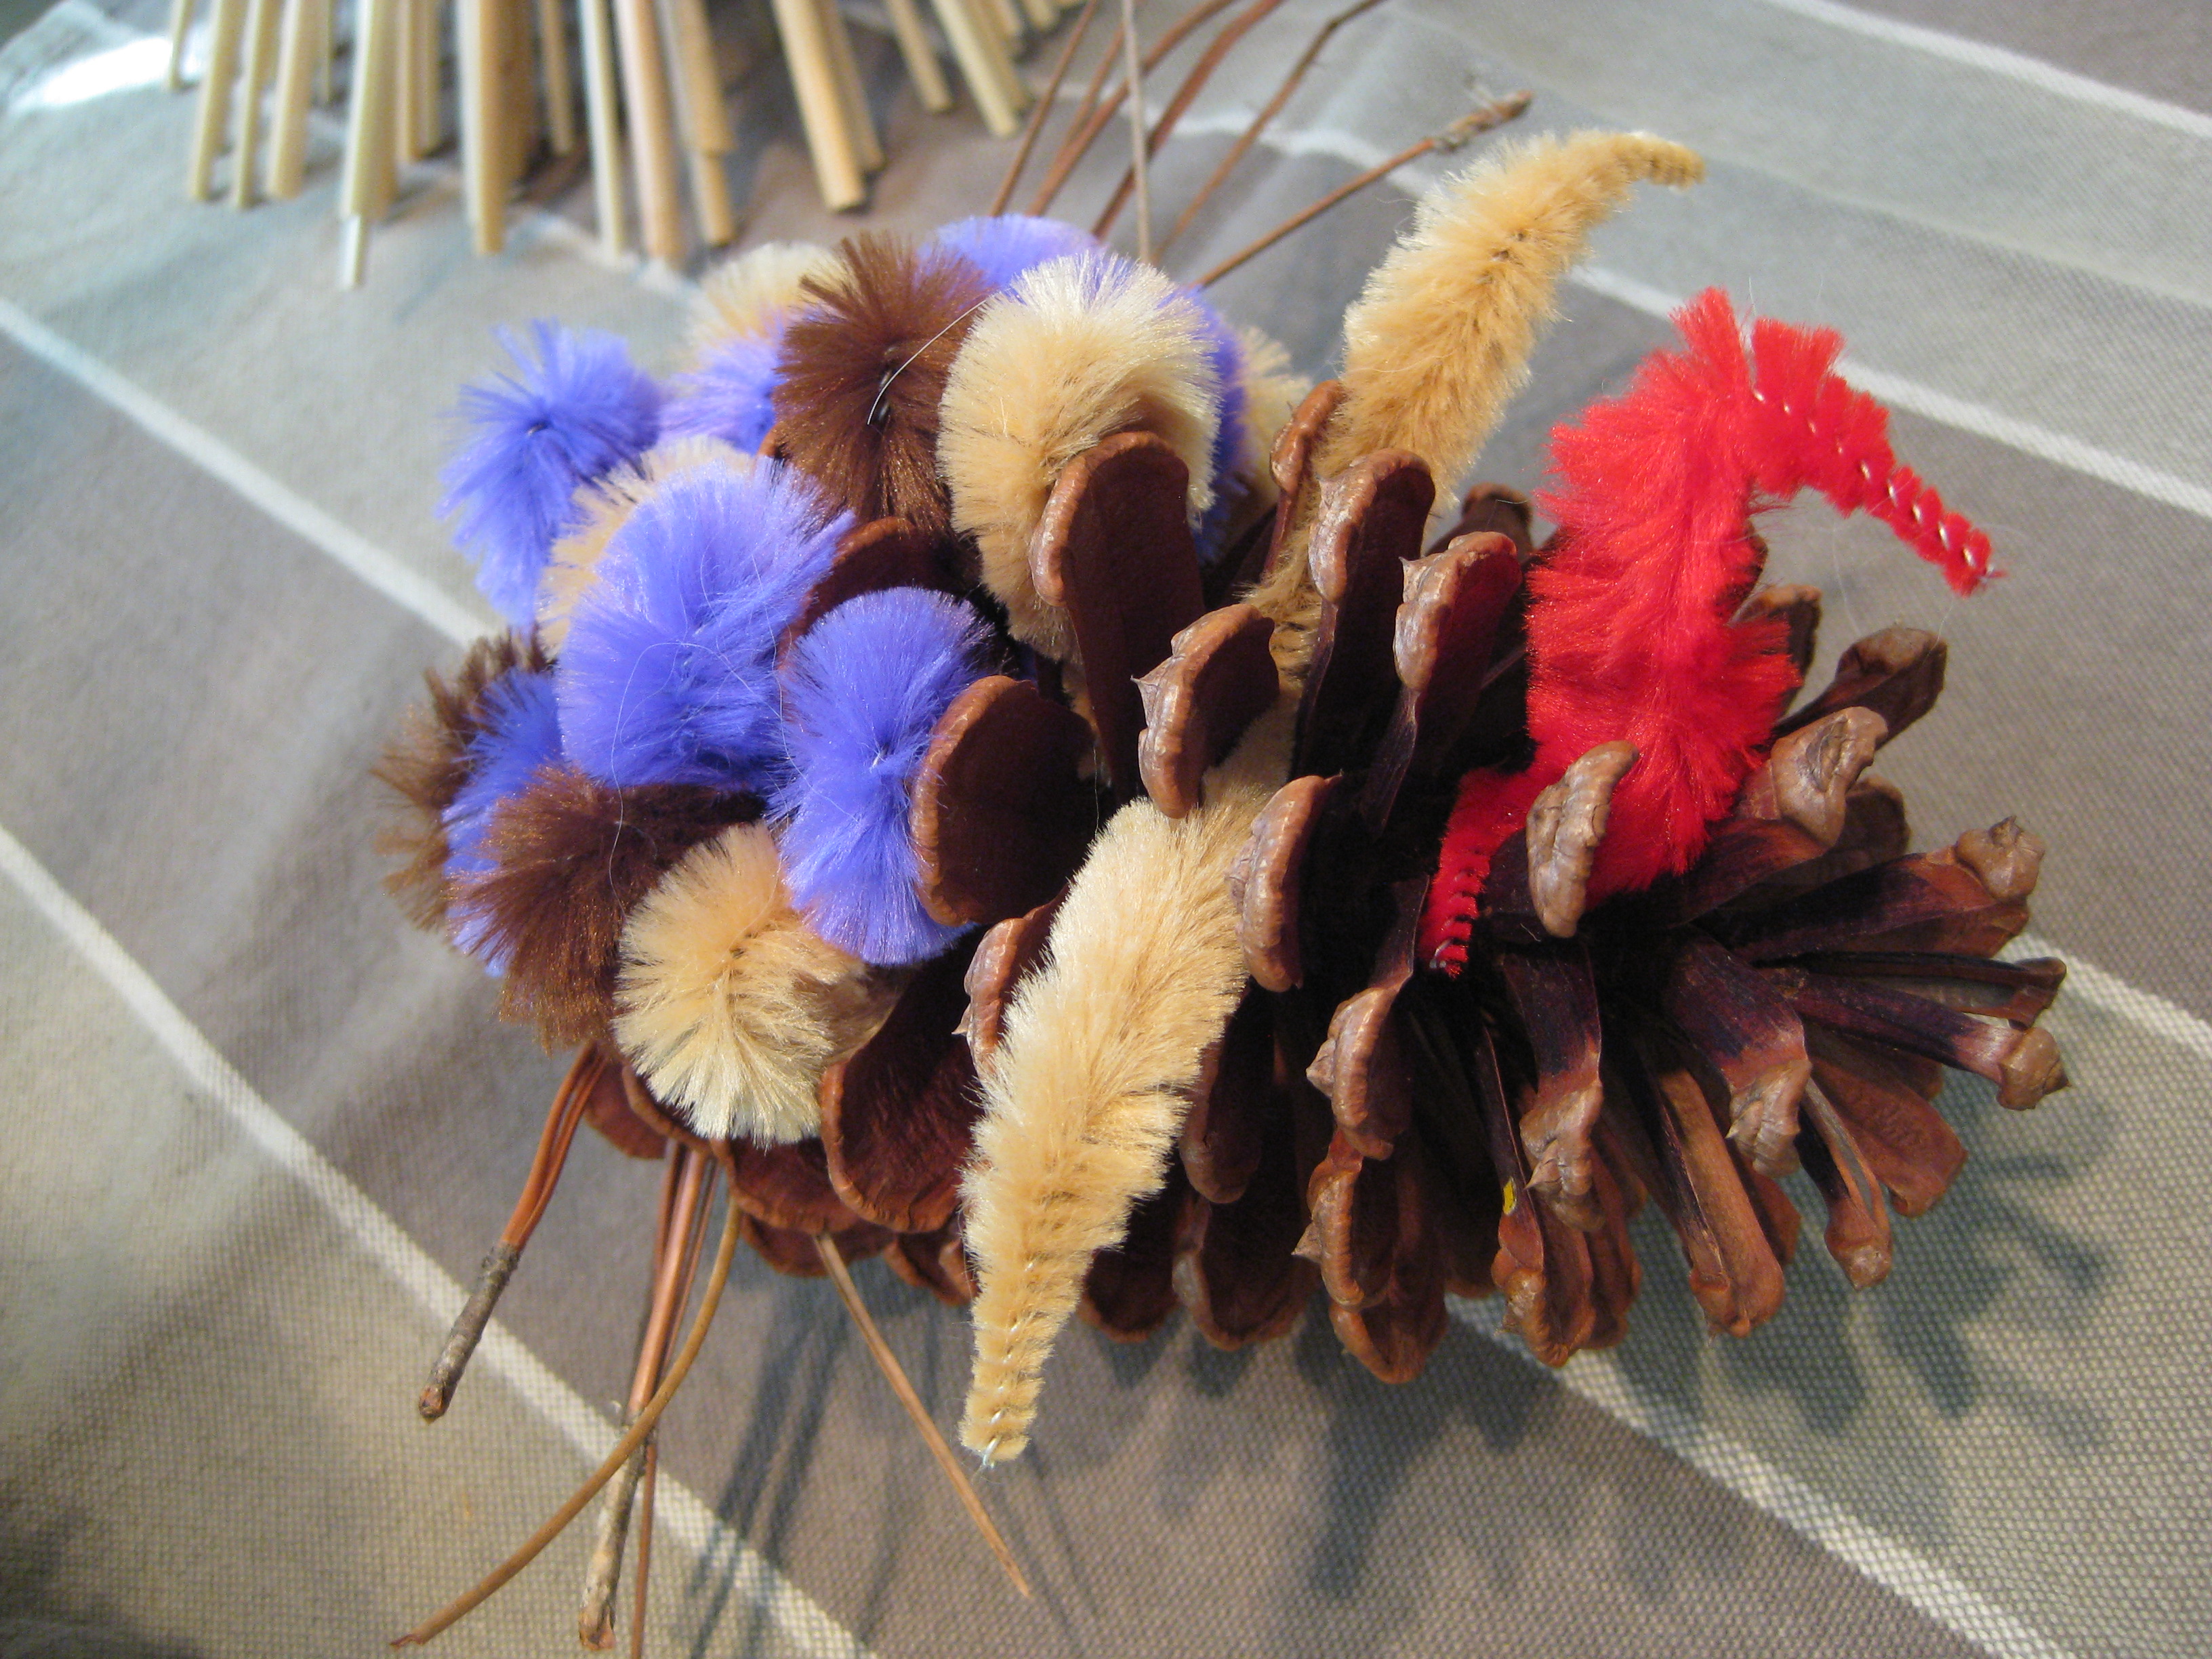
Handcrafted Holidays: Thanksgiving Pine Cone Turkeys

Pinecone Turkey

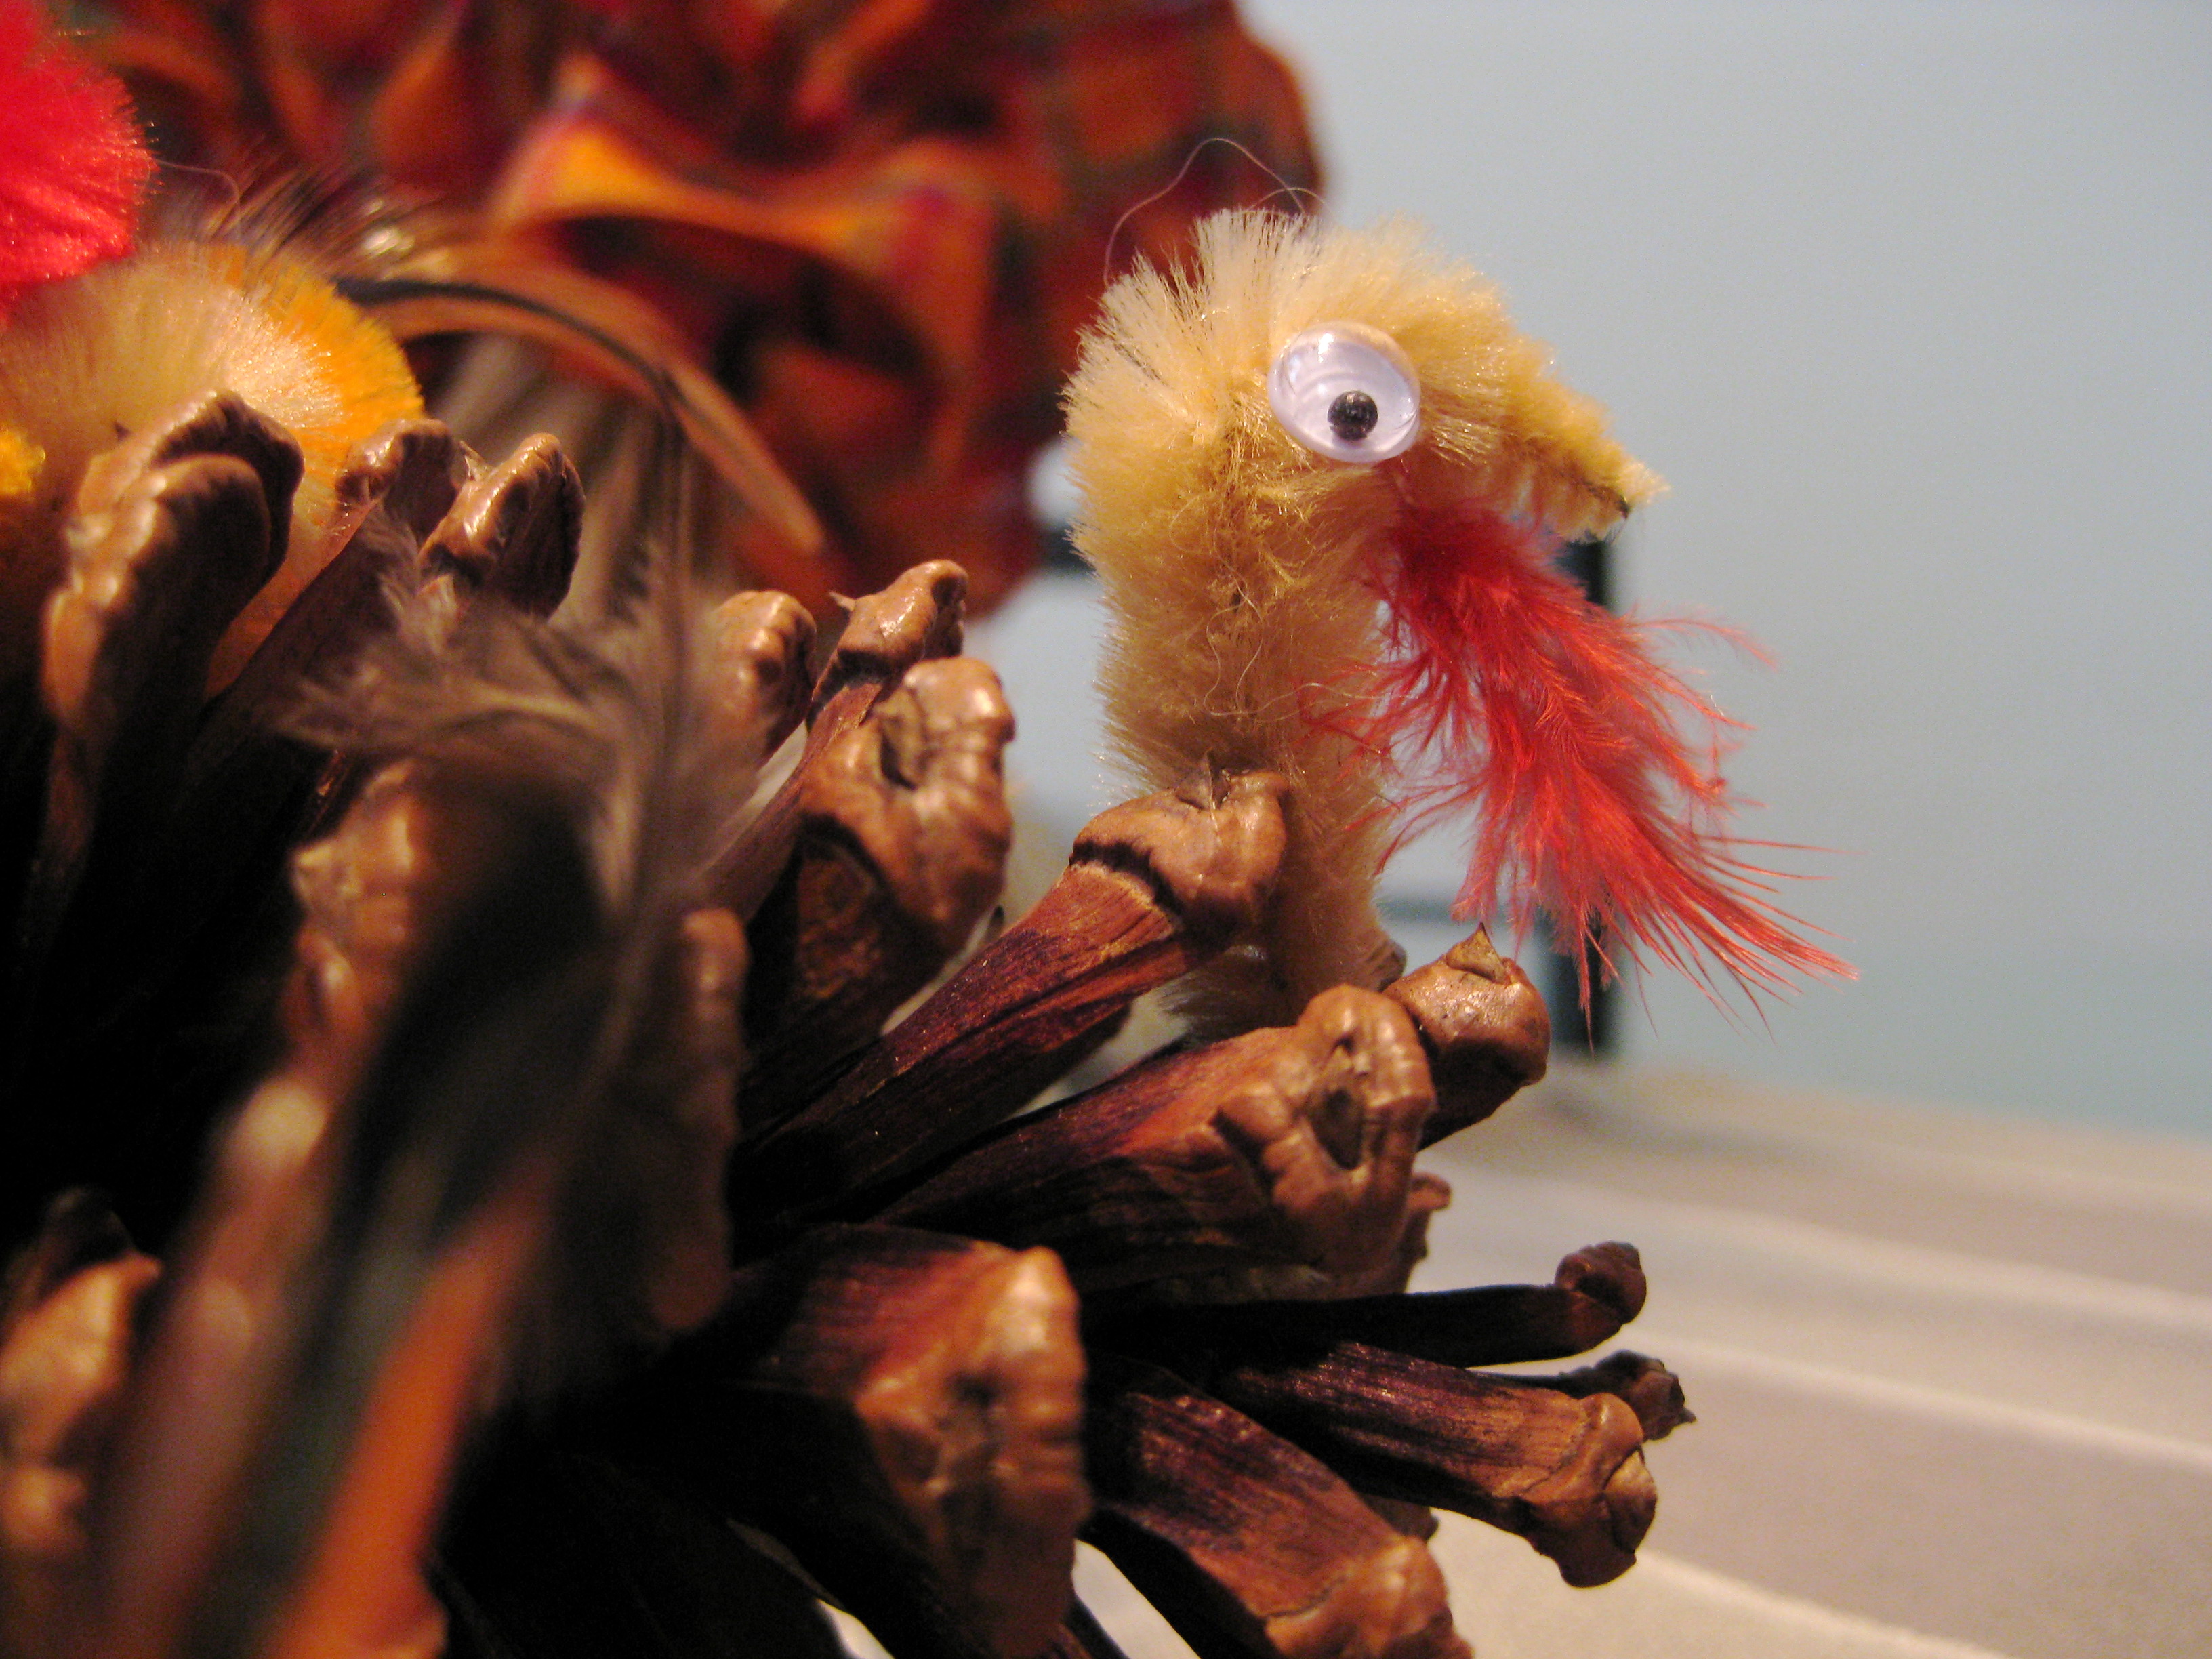
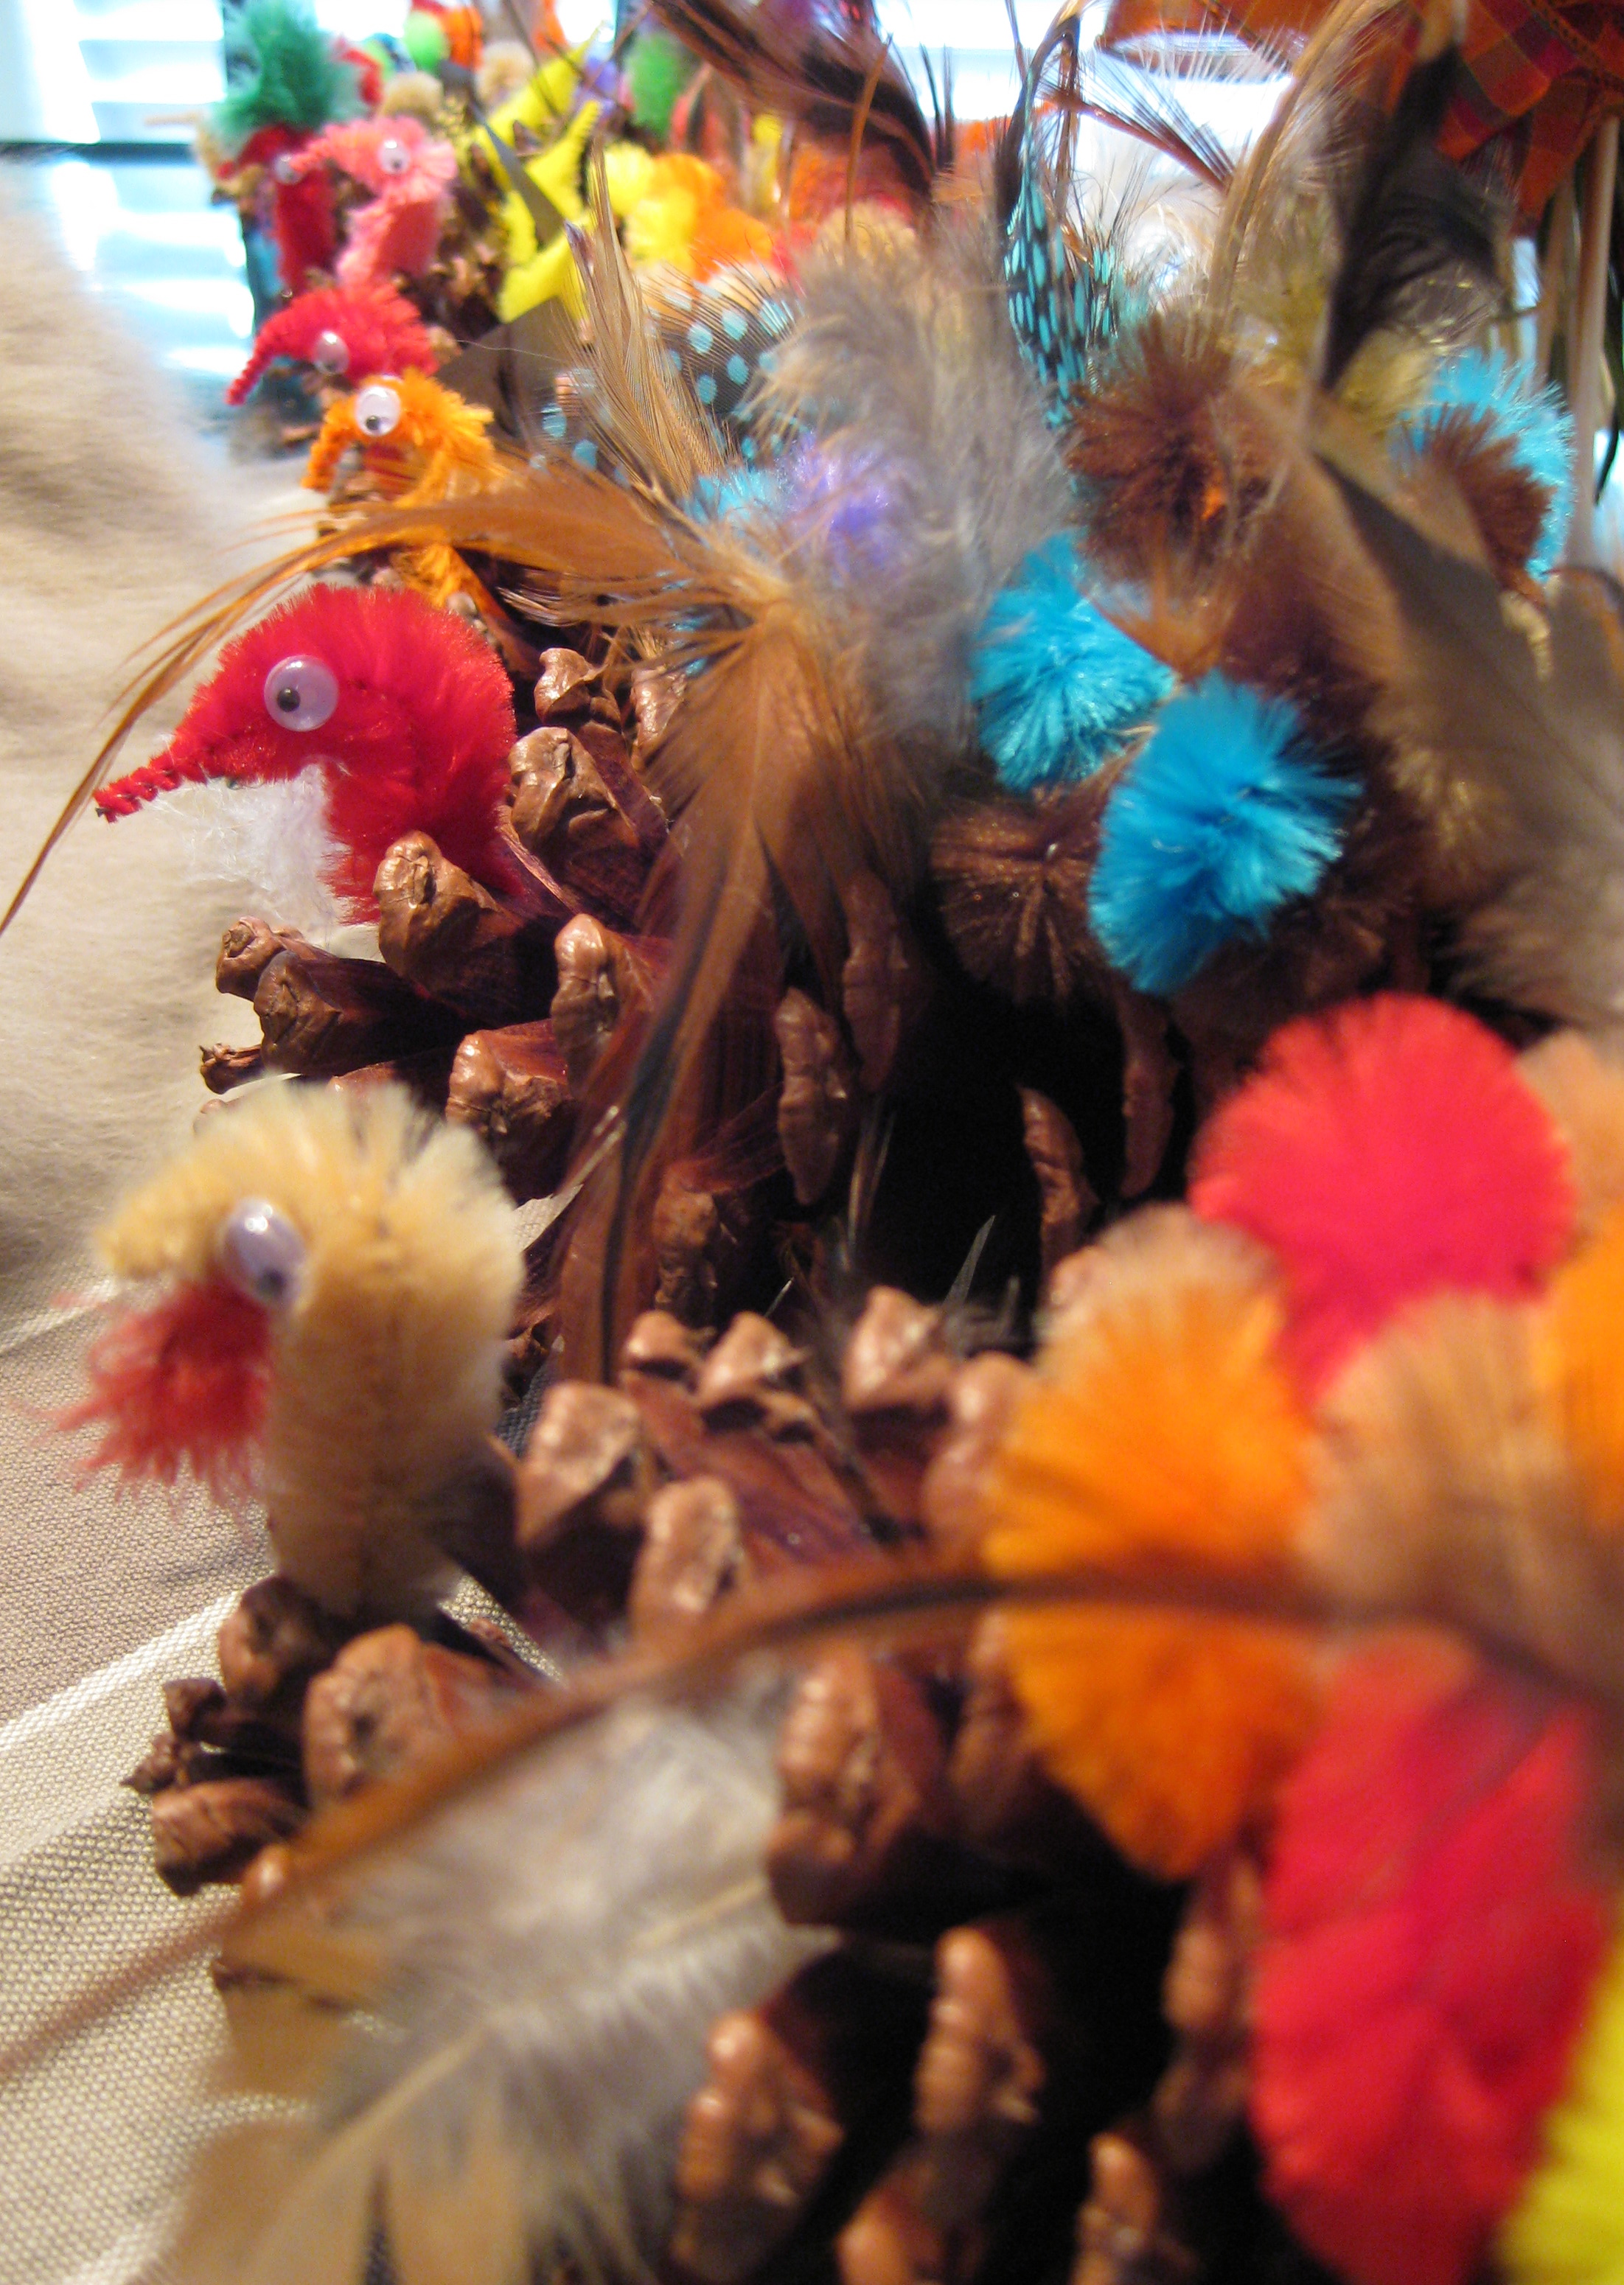
My kitchen sink is stacked with dishes, my dining room table is a mess, there’s food everywhere, and I had the best time!  I invited my family over for a crafting day and we revived a holiday tradition from my childhood…Thanksgiving Pinecone Turkeys.  Normally we would craft these before Thanksgiving Dinner, but this year I invited everyone over for an early crafting day so I could share this tradition with you in time for this year’s Thanksgiving celebration. You can see all of their wonderful creations in the Inspiration Gallery, at the end of this post.

These adorable little birds can be made by each guest before Thanksgiving dinner and used as “place cards” on the holiday table.  While guests are snacking on appetizers and waiting for dinner, have them gather around the table and create their own personalized Pinecone Turkey.

Set up a folding table, which you can cover with a plastic tablecloth if you prefer.  Then you’ll need:

  • Pinecones – 1 per person, medium sized.  If you’re lucky enough to have pinecones in the backyard, then save the gathering activity for the kids when they arrive for dinner.  I didn’t have pinecones, but before heading to the craft store to buy them, I asked my family to bring some.  I also put up a notice at work and a co-worker was more than happy to bring me a large bag full!
  • Craft Glue – several small bottles
  • Pipe Cleaners in a variety of colors – the kind with bumps
  • Wire cutters (to clip the pipe cleaners, scissors usually won’t do it)
  • Fancy Paper for name tags
  • 1 or 2 Paint Markers that coordinate with the name tag paper you choose
  • Googley Eyes
  • Any additional embellishments that you can’t live without!  (My family also likes to use small craft feathers in a variety of colors.)

Making Pinecone Turkeys

1. Start by shaking out the pinecones to make sure they are free of bugs and debris.  Set the pinecone on its side, in a position where it doesn’t wobble back and forth.

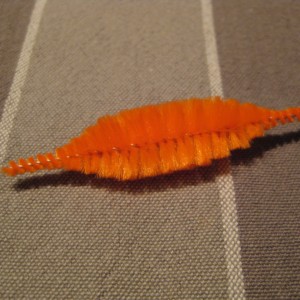
2. Use the wire cutters to cut the pipe cleaners between each bump.  I like to do this part before everyone arrives.
pipe cleaner bump
.

.

.

.

.

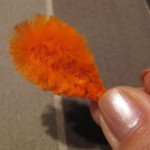
3. Select a pipe cleaner bump and bend it in half to form a drop, and then twist the ends slightly so they stay together.

fold in halftwist the ends together    turkey tail feather
.

.

.

.

.

4. Dab a little glue on the end and tuck it into the back (the larger end) of the pinecone.

insert tail featherinsert tail feather tail feather
.

.

.

.

.

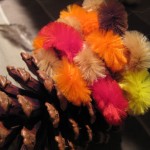
5. Continue to do this, making several rows until you’ve formed the turkey’s tail.

back of turkeytail feathers
.

.

.

.

.

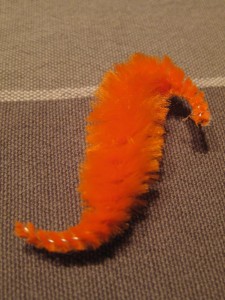
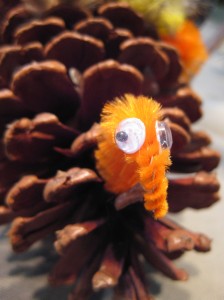
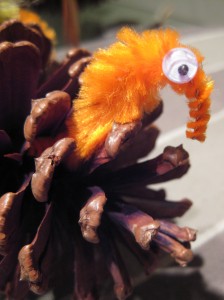
6. Next you’ll want to add the turkey’s head. Choose a pipe cleaner bump and bend it into a loose “S” shape and glue one googley eye on each side of the head. Then dab glue at the base of the head and tuck it into the front of the pinecone.

turkey head  turkey with google eyesside view of google eyes
.

.

.

.

.

.

.

7. Add any additional embellishments that you like!

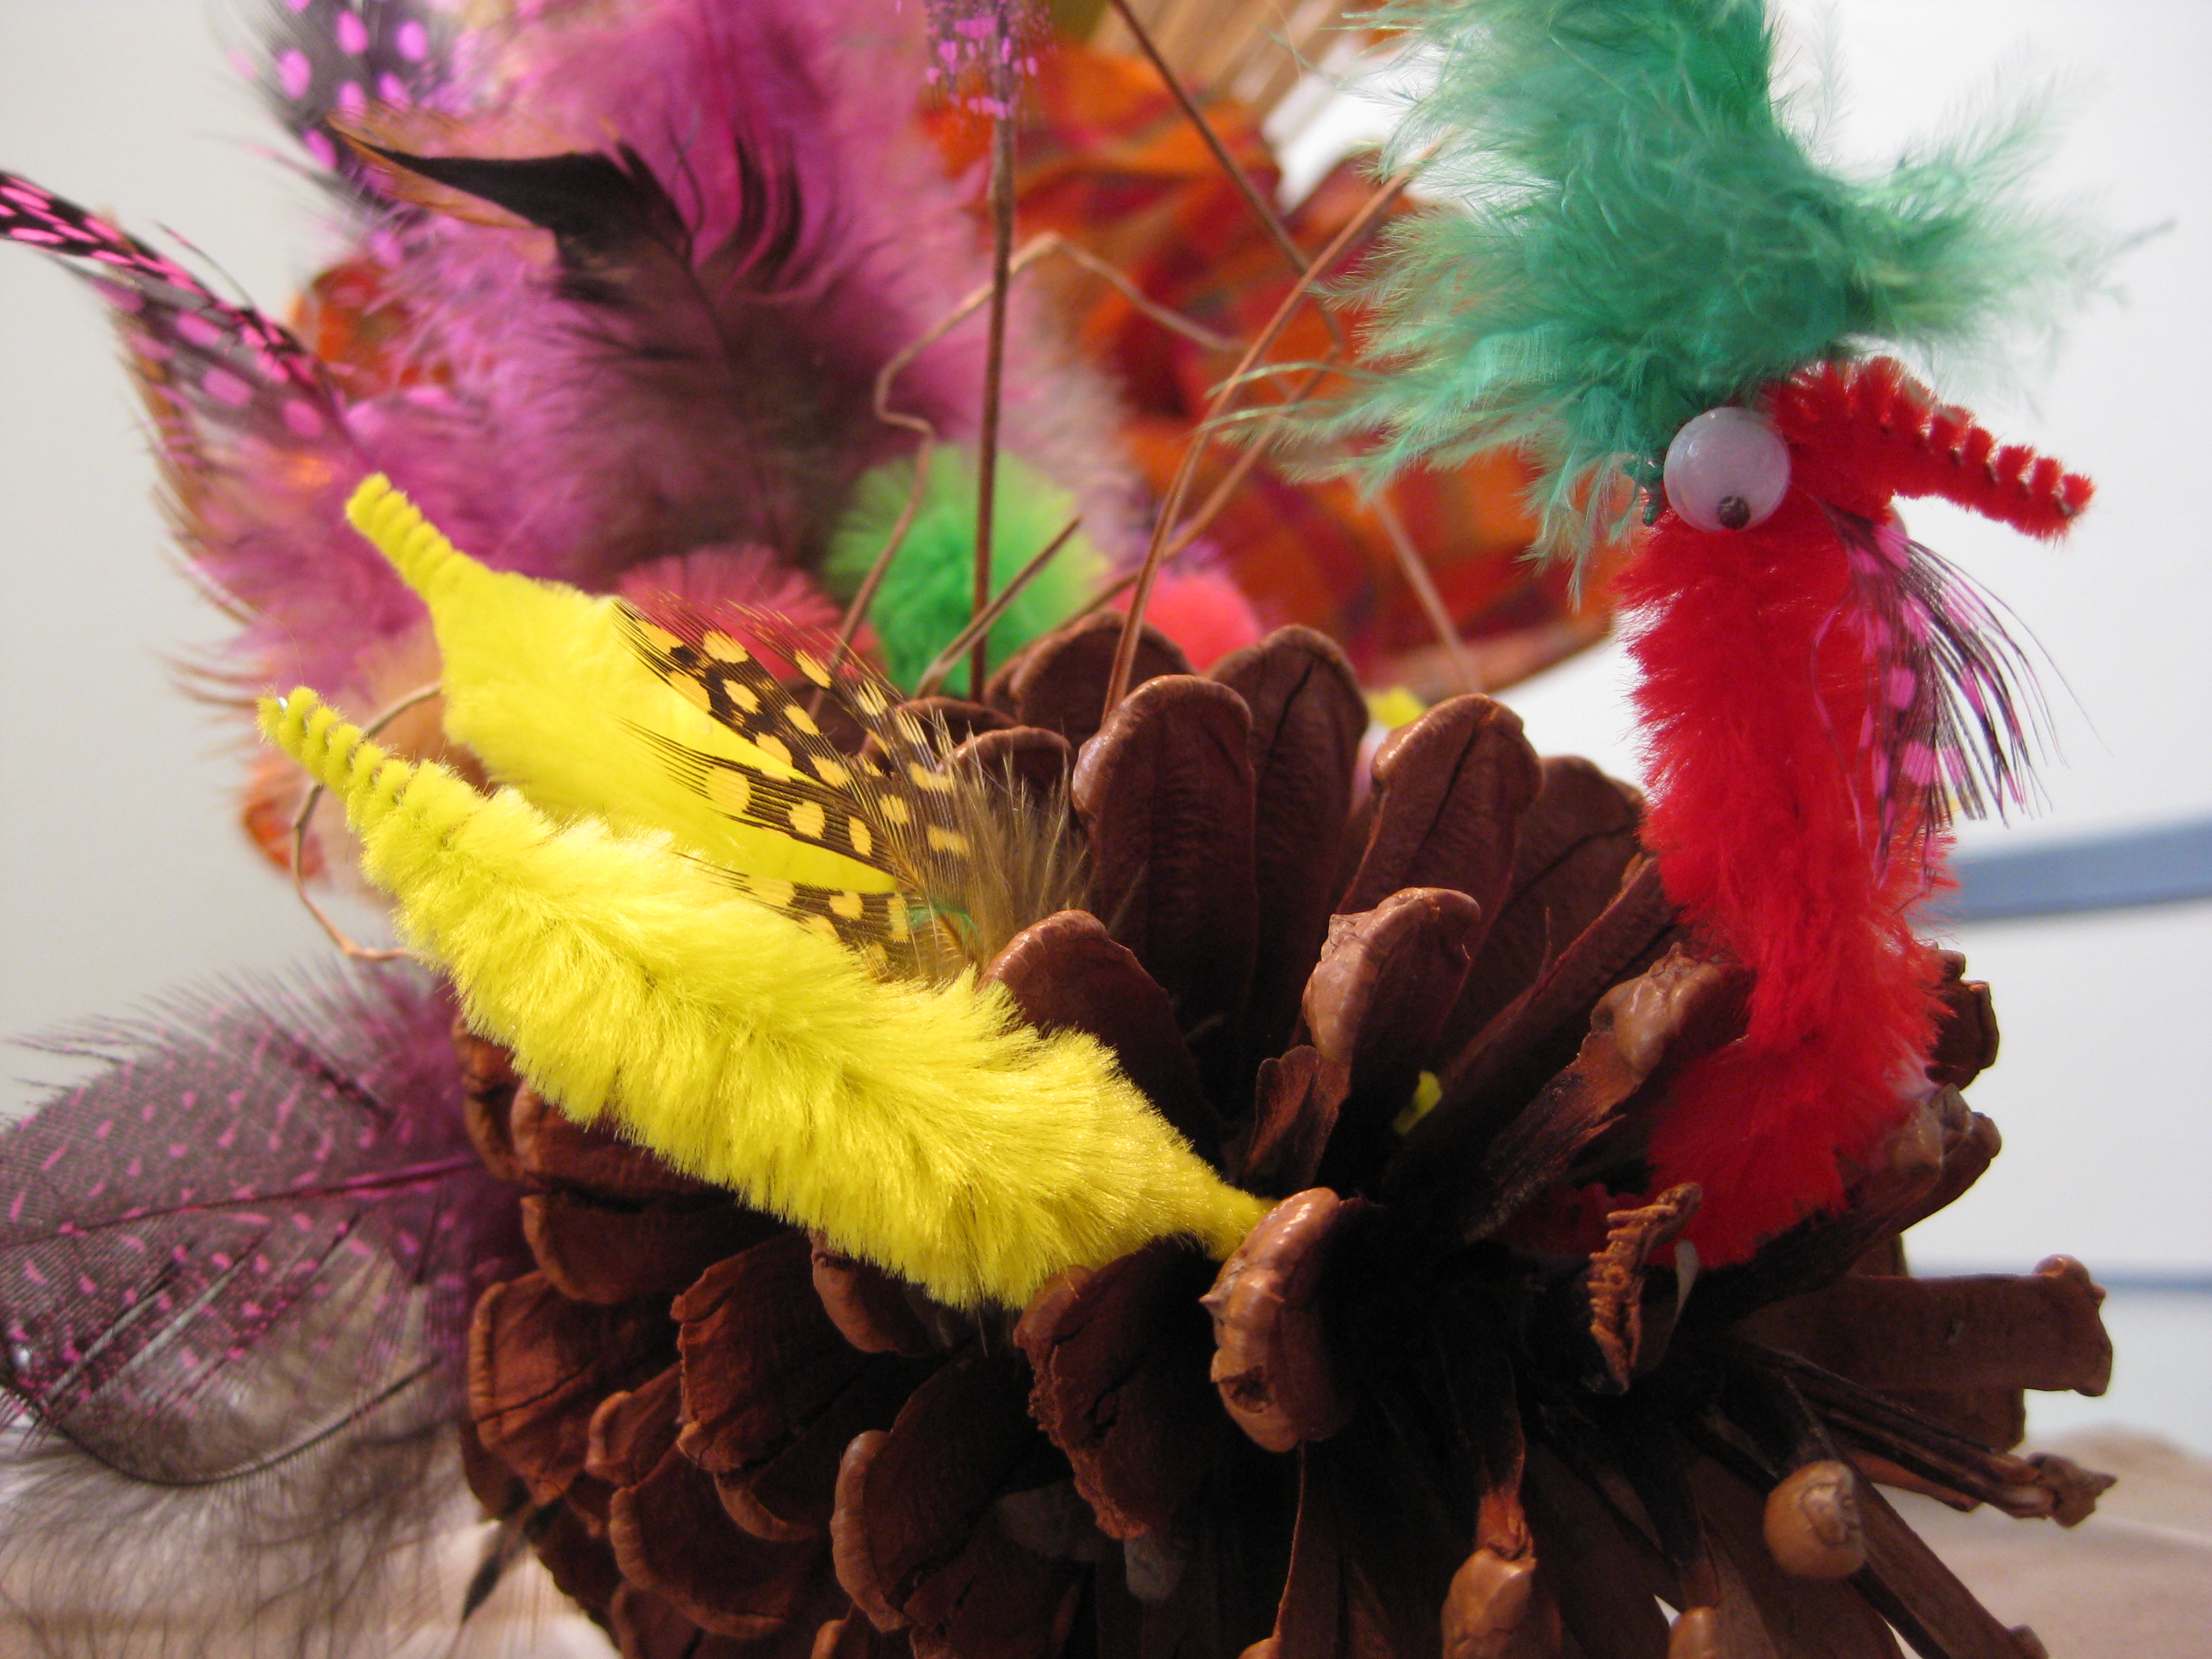
You can add wings to the turkey’s side using pipe cleaner bumps or small craft feathers, which you can also tuck into the tail.  There were some pine needles in with the pinecones, which a couple of people used as embellishment.  Some of us used very small feathers to create a “wobble” under the turkey’s chin and my mother even created a green feather fascinator* for her turkey!  For a final touch, use the paint marker to write your name on the fancy paper and have your guests display the name in front of their turkey, tucked into the turkey’s back or, like some of my family did, glue it to the turkey’s “butt”.

I hope you enjoy sharing this holiday tradition with your friends and family and feel free to send me pictures of the fun!

katie-only signature

.

.

*If you’re not in the “know” about fascinators, those are the tiny embellished headpieces worn by the British at high society events…like the royal wedding.

Inspiration Gallery

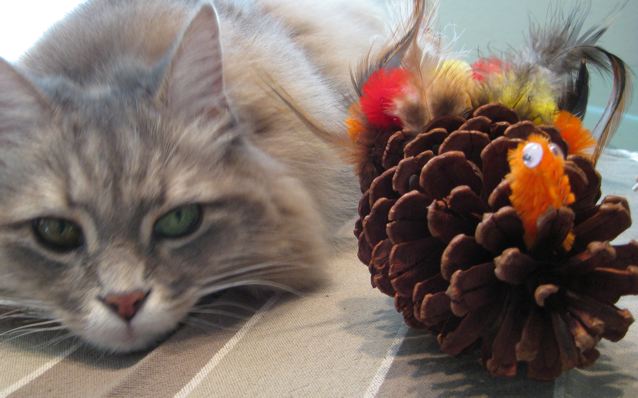
Pine Cone Turkey, Mom Aunt Judy Turkey & predator katie: normal turkey Pine Cone Turkey, Steve DadKeithJustice...she's blindHappy Thanksgiving To All Of The Pine Cone TurkeysHappy Thanksgiving!