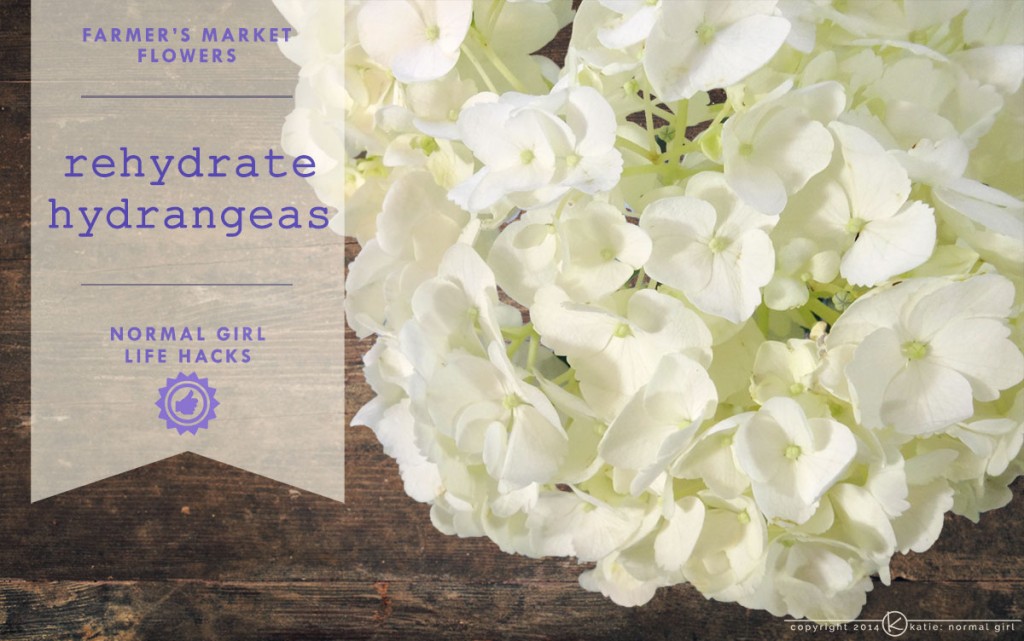
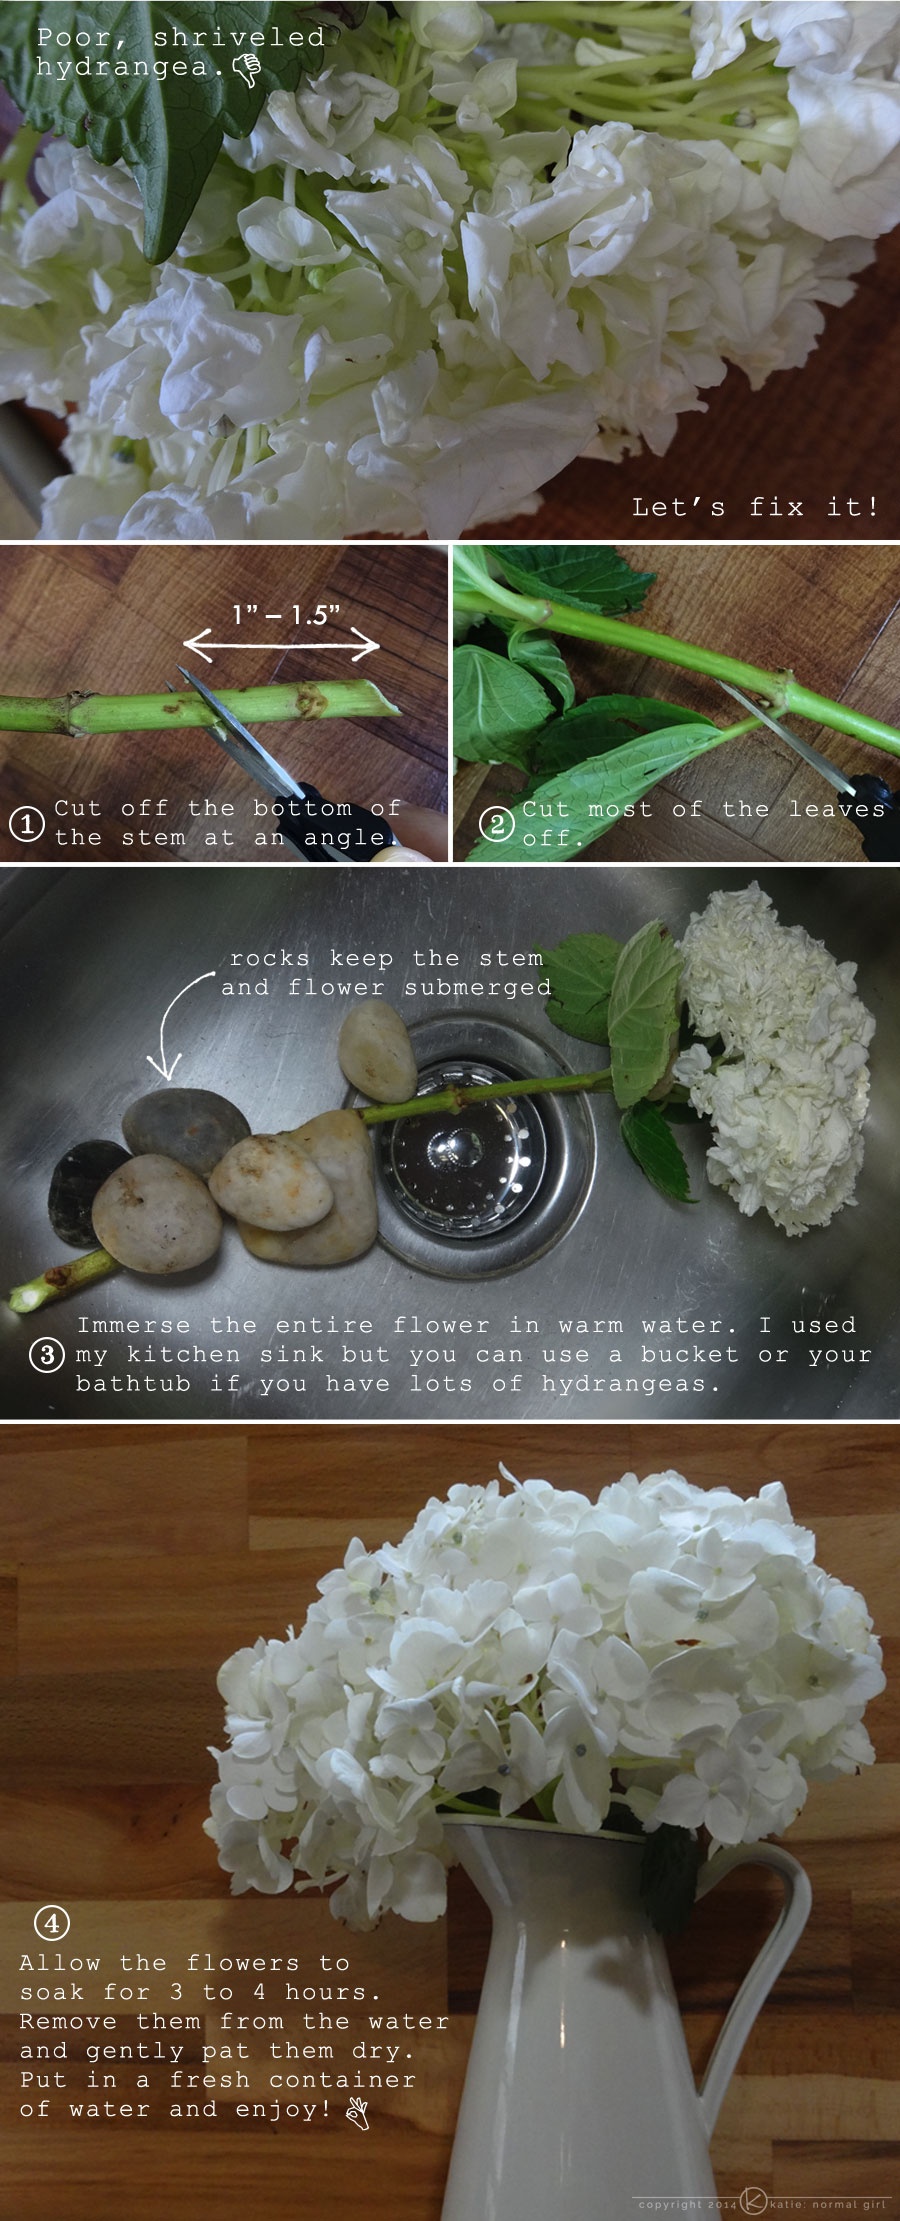
 Don’t you just love a good farmer’s market? I’m lucky to have several near me and each one is a little different. One of my favorite farmer’s markets has an expansive selection of cut flowers. During my last visit I found these beautiful, white hydrangea blooms. I was sold right away and took a bundle home. When I unwrapped them I found a hidden stem that had sagged down and the flower was now shriveled and drooping. Judging by the poor state of the flower, the stem must have been out of the water all morning. For many other flowers that would’ve been the end of it, but not hydrangea flowers, you can bring them back! Follow the steps below when your hydrangeas start to get a little droopy looking, it’ll fluff them right back up and you can enjoy them for a few more days.
Tag: life skills
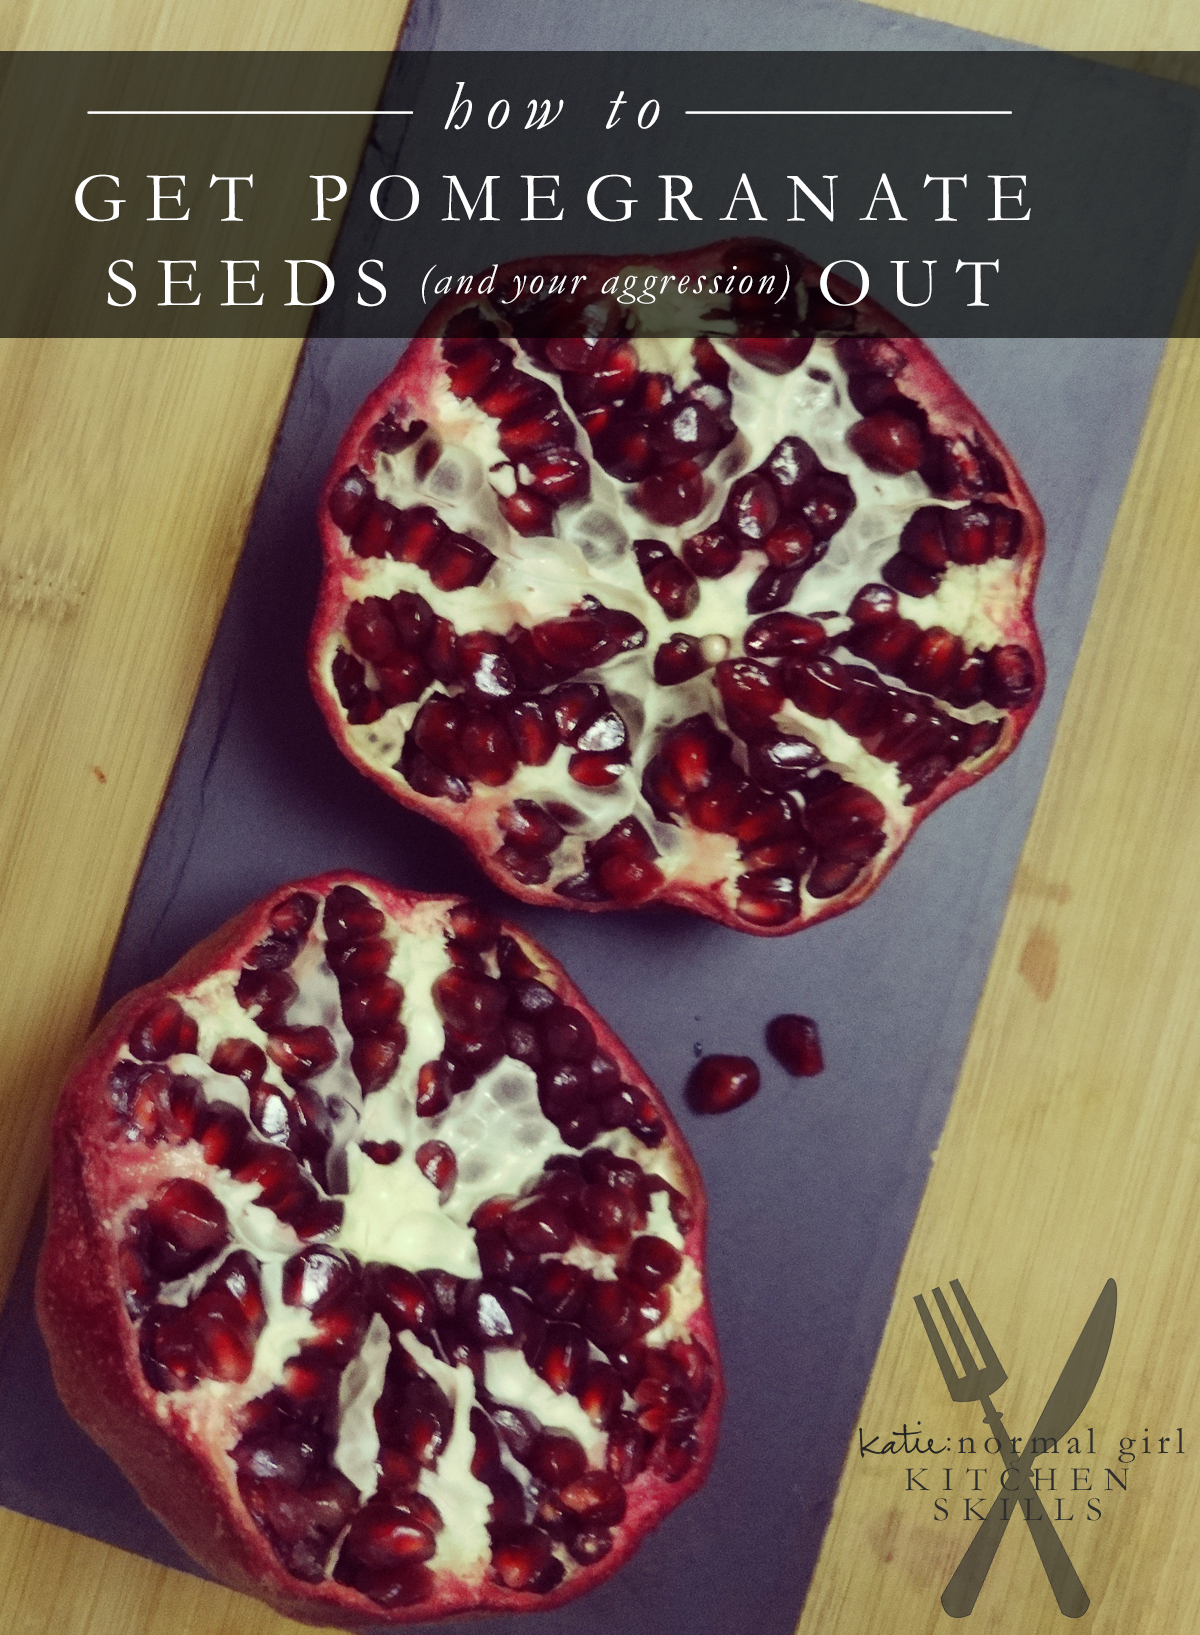
How To Get Pomegranate Seeds Out
Pomegranates are a round fruit that is typically in-season during the cooler months. Depending on where you live it can be anytime from September through April. You eat the flesh covered seeds (also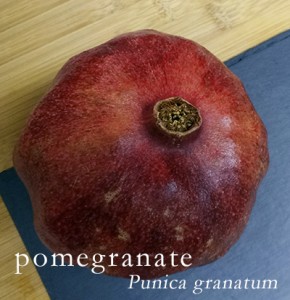 referred to arils, which is actually the red portion that covers the seed) that are found inside, in a white membrane. The seeds have a tart, slightly sour taste that gets sweeter the longer it remains in the fruit. Getting the seeds out of the membrane can be tricky and there are two common methods, the water bowl method and the “beating it with a spoon” method. I prefer the later method. Despite the violent sounding nature of it, using the spoon method will get you a bowl full of seeds that are fully intact and unharmed.
You’ll need:
- a sharp knife
- a wooden spoon
- a medium to large bowl
- an apron/clothing protection
Before you start, you’ll want to put on an apron or drape a tea towel down the front of your clothing to protect it. Juice from the red arils can stain clothing.
Start by using the knife to score the outer skin of the pomegranate and pull it apart. Don’t just cut it in half because you’ll burst some of the arils which will create a mess and you’ll loose some of the seeds you’re working so diligently to harvest.
Next, take half of the pomegranate and pull the sides, stretching it in several places to loosen the seeds. Turn it over in your hand and use the back and side of a wooden spoon to hit the pomegrante. The seeds will start to fall out in your hand, dump them into the bowl and keep on going! Repeat with the other half.
 That’s all there is to it! Now you can enjoy these tasty little delights as a snack by themselves, mixed into yogurt or on top of ice cream. Enjoy!

Want to learn how to cut and prepare more things? Check out Kitchen Skills.
Cutting A Bell Pepper, The Easy Way
You’re a green pepper dicing machine! Now use that diced green pepper in this easy, spaghetti casserole recipe and you’ve got dinner!

Want to learn more things? Check out the Life Skills area.
Ditch the Dryer Sheets…Freshen Laundry Naturally with Herbs
Ditch your dryer sheets and embrace the latest trend in simple, sustainable living…dryer sachets! These chemical-free, all-natural alternative to dryer sheets have been growing in popularity as people try to eliminate unnecessary chemicals from their homes, but have you ever wondered how they work? In this week’s column, I’ll tell you why they work and show you how to make your own.
What Is A Dryer Sachet And Why Does It Work?
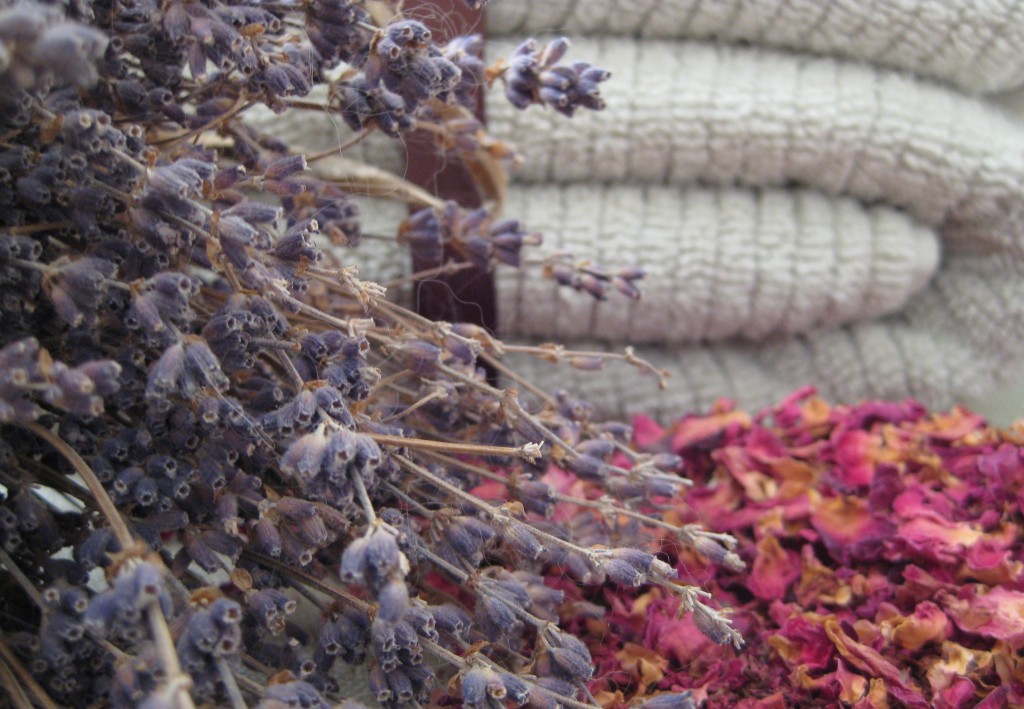
A dryer sachet is a lot like any other sachet, it’s a bag or pouch made of porous fabric that is filled with fragrant herbs. What distinguishes dryer sachets from their culinary counterparts, is the type of herbs that are used in it. Most dryer sachets are made exclusively with lavender because it is a highly fragrant herb that eliminates static cling, and the residual smell left on clothing, repels moths. I’ve added fragrant rose petals in the custom herbal blend below, because I enjoy the light scent in combination with the lavender.
Dryer Sachet Herb Blend
The ingredients for this dryer sachet mix are gentle enough for sensitive skin and can be used when laundering children’s and infant’s clothing.
You’ll Need:
- 1/4 c. dried rose petals
- 1/4 c. dried lavender buds
- 4-5 drops lavender essential oil (optional)
- 1 dryer sachet*
*Dryer sachets can be purchased online or you can make your own using an old sock or stockings. You can also sew your own reusable and refillable dryer sachets, using fabric scraps or an old t-shirt.
Assembly:
Place the herbs in the dryer sachet of your choice and add the essential oil drops. If using an old sock or stockings, add the herbs and securely tie the end, or ends, into a knot. If you have enough fabric, you can tie a double knot to be safe.
To Use:
Each sachet can be used 7-10 times (the sachets can be used more than 10 times if you don’t mind a reduction in scent). Before each drying cycle, remove the sachet and pinch it between your fingers a few times, to release the herbal essences.
When you’ve used the bag and no longer notice a strong scent in your laundry, you can deodorize and freshen your vacuum cleaner by sprinkling the herbs on the floor and vacuuming them up!

Saving Energy: Adjusting Your Water Heater Temperature

It’s officially Autumn in Florida. How do I know? Because this past weekend I adjusted my hot water heater’s temperature gauge. For those of you that don’t know, I adjust my hot water heater’s temperature gauge seasonally. When the outside temperatures drop, I turn the gauge up and when we welcome back warmer temperatures, the gauge goes down. It’s little things like this, that helped contribute to my power costs only being $35 last month.
But back to the reason for the adjustment…
For a cold weather wimp like me, the mornings are chilly (in the mid 60’s…the 60’s you guys!). So I need my shower to have lots of hot water, unlike the summer time when I only need a bit of hot water. I opened up the hot water heater panel, adjusted the gauge and voila!, more hot water.
Perhaps you don’t know how most hot water heaters work and how this can save you money. The simple explanation is this: most hot water heater temperature gauges are set between 120°F-125°F. Your hot water heater, heats water to the set temperature, then the water cools a bit and the heater, heats it back up again. It does this all day long to ensure that the moment you want hot water, it is available. If you’re not using all of the hot water in your tank, then you can turn the temperature down to save money. That’s what I do in the summer, when I set the gauge to 100°F. But now I’m cold (in the 60’s, remember?), so I adjusted it up to 115°F and as it gets colder, I’ll adjust it up to 125°F.
Want to try it yourself? It’s easy! Grab your screwdriver and I’ll show you how.

