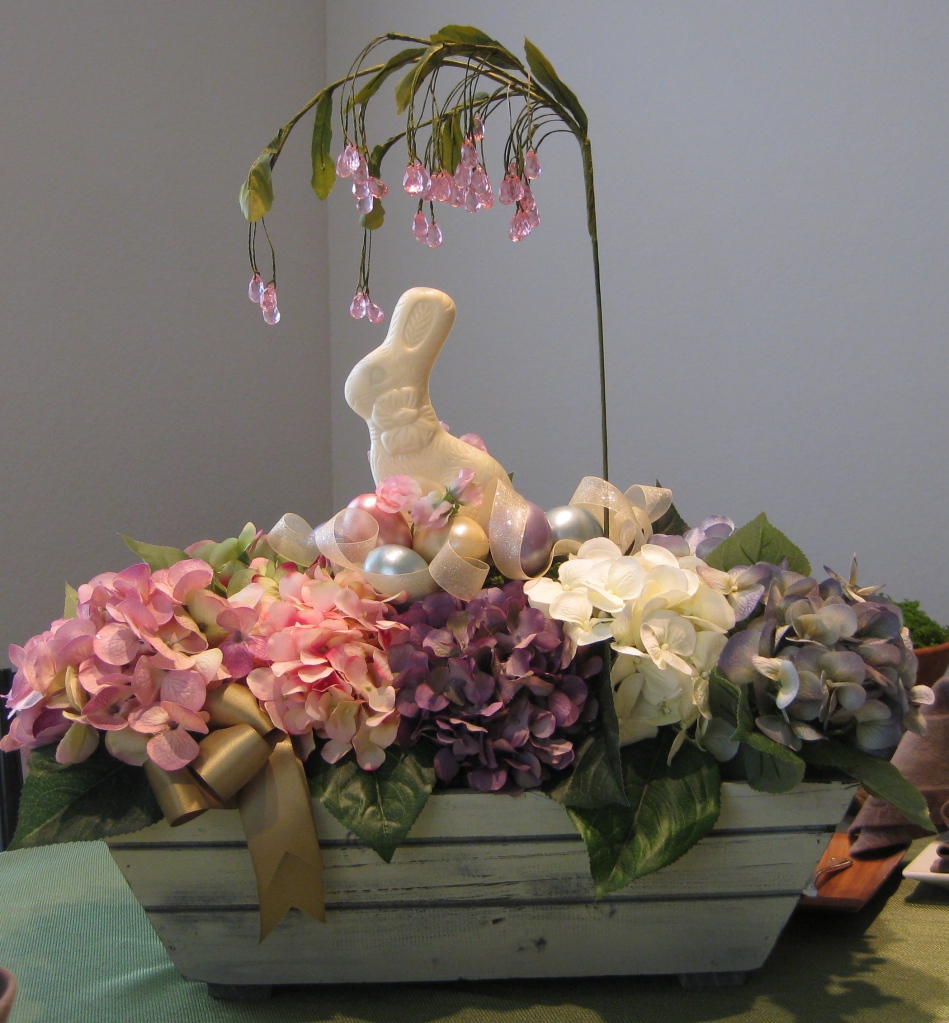
Easter will be early this year, on April 8th to be exact, and Mom has created a wonderful silk flower centerpiece for this year’s table scape. I love the unique element of having a white chocolate bunny on top that is being haloed by a pretty, pink jewel umbrella above it. This centerpiece comes together pretty quickly and will make a lovely addition to your Easter table.
Tag: how to make
Ditch the Dryer Sheets…Freshen Laundry Naturally with Herbs
Ditch your dryer sheets and embrace the latest trend in simple, sustainable living…dryer sachets! These chemical-free, all-natural alternative to dryer sheets have been growing in popularity as people try to eliminate unnecessary chemicals from their homes, but have you ever wondered how they work? In this week’s column, I’ll tell you why they work and show you how to make your own.
What Is A Dryer Sachet And Why Does It Work?
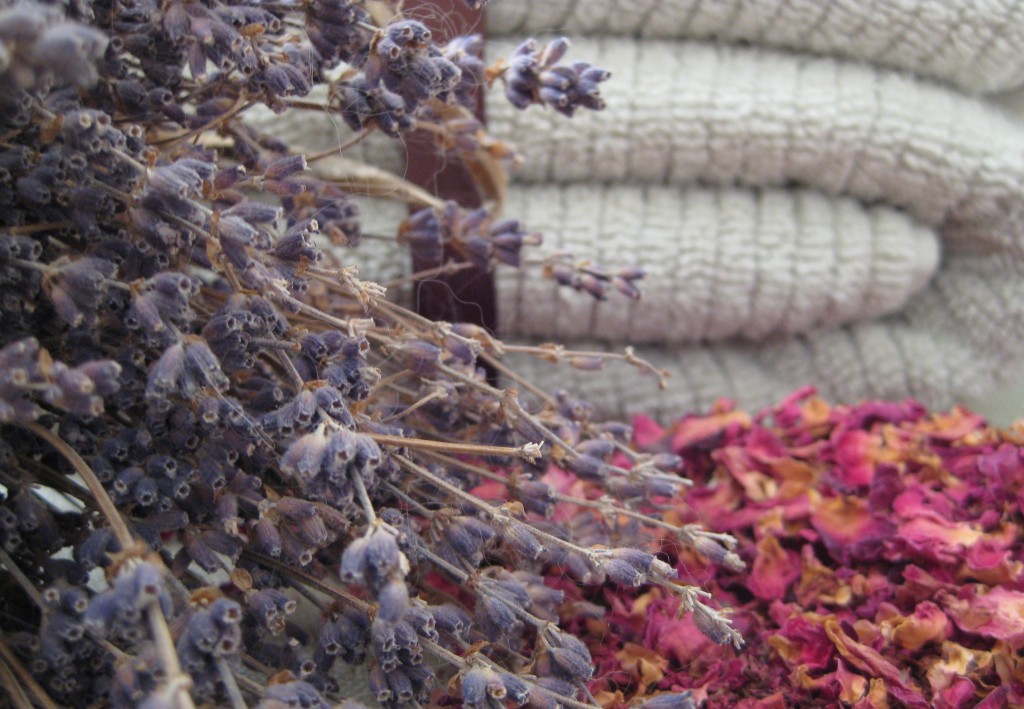
A dryer sachet is a lot like any other sachet, it’s a bag or pouch made of porous fabric that is filled with fragrant herbs. What distinguishes dryer sachets from their culinary counterparts, is the type of herbs that are used in it. Most dryer sachets are made exclusively with lavender because it is a highly fragrant herb that eliminates static cling, and the residual smell left on clothing, repels moths. I’ve added fragrant rose petals in the custom herbal blend below, because I enjoy the light scent in combination with the lavender.
Dryer Sachet Herb Blend
The ingredients for this dryer sachet mix are gentle enough for sensitive skin and can be used when laundering children’s and infant’s clothing.
You’ll Need:
- 1/4 c. dried rose petals
- 1/4 c. dried lavender buds
- 4-5 drops lavender essential oil (optional)
- 1 dryer sachet*
*Dryer sachets can be purchased online or you can make your own using an old sock or stockings. You can also sew your own reusable and refillable dryer sachets, using fabric scraps or an old t-shirt.
Assembly:
Place the herbs in the dryer sachet of your choice and add the essential oil drops. If using an old sock or stockings, add the herbs and securely tie the end, or ends, into a knot. If you have enough fabric, you can tie a double knot to be safe.
To Use:
Each sachet can be used 7-10 times (the sachets can be used more than 10 times if you don’t mind a reduction in scent). Before each drying cycle, remove the sachet and pinch it between your fingers a few times, to release the herbal essences.
When you’ve used the bag and no longer notice a strong scent in your laundry, you can deodorize and freshen your vacuum cleaner by sprinkling the herbs on the floor and vacuuming them up!

DIY: Reusable AND Refillable Dryer Sachets

It’s time to ditch your dryer sheets and embrace the latest trend in simple, sustainable living…dryer sachets! These chemical-free, all-natural alternative to dryer sheets have been growing in popularity, and this week I’m going to show you how to make your own dryer sachet, that is both reusable and refillable.
Often dryer sachets are sewn shut on all sides and are not refillable without some difficulty and it’s this ability to refill them, that makes this project unique.
I like to take some time on a Sunday afternoon to make a batch of these that can be kept in a basket next to my dryer. As you’re making them for yourself, remember that they also make great housewarming gifts, teacher presents or can be a unique addition to a baby shower gift basket.
Tools & Materials Needed:
- Iron and firm surface to iron on
- Scissors
- Measuring tape or quilter’s square
- Sewing machine or needle (if sewing by hand)
- 4 1/2″ x 9 1/2″ piece of fabric (cotton or linen) and coordinating thread
- 4″ strip of industrial strength or decor velcro*
 *Make sure you are using industrial strength or decor grade velcro for this project. It has double-sided “teeth” that are strong enough to stay closed while tumbling around in the dryer. It can be sew-on or stick-on, for added security, you’ll want to sew it into the sachet, either way.
The Many Uses of Olive Oil, Part 1: Basic Skin Care
 Olive oil has many wonderful uses outside of the culinary world. In my new series, “The Many Uses of Olive Oil”, I’ll share some great alternative uses that you may not have considered before. Let’s start with some basic uses…no mixing, no blending, no fuss required!
I like to keep a small bottle of olive oil (ideally pure olive oil, not extra-virgin or virgin) next to my bathroom sink, to make application easier. As you’re getting ready for bed, give each of these a try.
Cuticle Moisturizer
Shake the open olive oil bottle with your finger over the bottle’s opening, this will get enough olive oil on the tip of your finger to apply to your cuticles. Repeat until you’ve massaged some olive oil into each cuticle, that’s it! This will keep your nail beds healthy and prevent dry, cracked cuticles.
Lip Balm
Once you’ve got some olive oil on your finger tip, just apply it to your lips as well…they’ll thank you for it!
Deep Moisturizer for Eyes
Use your ring finger for this application, as it is the weakest finger and the skin around your eyes is very delicate. Gently dab a small amount of olive oil beneath your lash line. Then starting at the outside corner of your eye (remember to use your ring finger), gently move your finger under the lash line to the inner corner of your eye, then up into the crease above your eye. Try not to apply directly along the upper lash line, it’s an easy way to get olive oil in your eye (ouch). The natural oils in your skin, will mingle with the oil you rubbed into the crease of your eye and this process will moisturize the lid of your eye, up to the lash line. Continue to gently massage the oil around your eye in this clockwise circle until you’ve rubbed a thin layer all the way around. No additional eye moisturizer required.
Rub any extra olive oil into your hands and have a good nights sleep!
Additional Information
– Olive oil is great for every skin type, especially for those with dry or allergy prone skin.
– Olive oil won’t clog your pores.
– It seems counter intuitive but olive oil is very beneficial to those with oily and acne prone skin.
Homemade: Easy, All-Natural, pH Balancing Facial Toner
.
.
.
.
.
It’s a bonus week for Sundays Homemade! Now that you’ve brewed your own Herbal Floral Water, you’ve got a bi-product that shouldn’t be lost down the drain. Turn it into an all-natural, pH balancing facial toner that’s great for all skin types, especially combination and acne prone skin.
You’ll Need:
- 4 cup, seal-able container (I prefer a large mason jar)
- 2 cups reserved Herbal Floral Water (dark water)*
- 1/2 cup apple cider vinegar
- 10 drops peppermint oil
*If you haven’t made the Herbal Floral Water and would like to make this toner: simmer herbs (see herbal floral water for suggested herbs) in distilled water for 1-2 hours, then follow the steps below.
- Strain the boiled herbs and their dark water through a fine-mesh strainer, lined with cheese cloth, into a large mason jar.
- Add the vinegar and peppermint oil, seal the jar and shake.
- After cleansing your face, apply toner and let dry before applying any lotions or creams.
I like to pour some of the final mixture into a container with a smaller opening than the mason jar, making it easier to wet a cloth or cotton pad, for application. The vinegar will act as a preservative, so the smaller batch does not need to be refrigerated; however, I do like to store the remaining mixture in the refrigerator.
Home Brewed: Herbal Floral Water
DIY: Brewing Herbal Floral Water
(Scroll down to view a video version of these instructions)
Growing up, I always adored shelves filled with bottles of potions, lotions and brews. I’ve always been drawn to cabinets lined with jars of herbs, colorful glass bottles, cork stoppers and wooden spoons. Now I am the proud owner of many of these things and there is nothing I enjoy more than creating a new home brew on a rainy Sunday morning.
On this drizzly Sunday morning, I bring you a recipe for a fragrant and oh-so-useful herbal floral water. This water can be used alone as a facial toner, astringent or aftershave, or mixed with additional ingredients to create customized, all natural skin care products.
I like to use the following herbs for my herbal floral water:
- 3 parts Calendula Flowers – natural acne healing and prevention, good for oily, blemish prone, combination and normal skin types
- 2 parts Chamomile Flowers – soothing for acne and blemishes, good for all skin types
- 1 part Yarrow – soothing for acne and blemishes, good for oily, blemish prone, combination and normal skin types
- 1 part Rosemary – especially good for oily and combination skin
- 1 part Sage – especially good for oily and combination skin
- 1 part Lemon Balm – especially good for normal skin types
- 1 part Rose Petals – any skin type, especially good for dry skin
- 1/2 part Comfrey Root – soothing and healing for acne and blemishes, good for all skin types


