Tag: hand crafted

Handcrafted Thanksgiving Pinecone Turkeys

Pinecone Turkey

From the archives: This project was originally posted last year but I thought that it was so fun, I should post again this year. Enjoy!

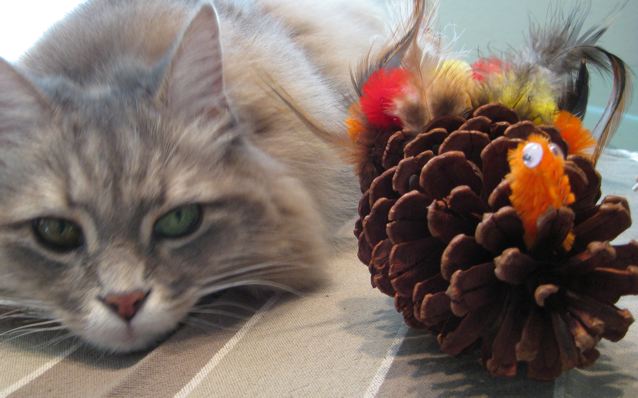
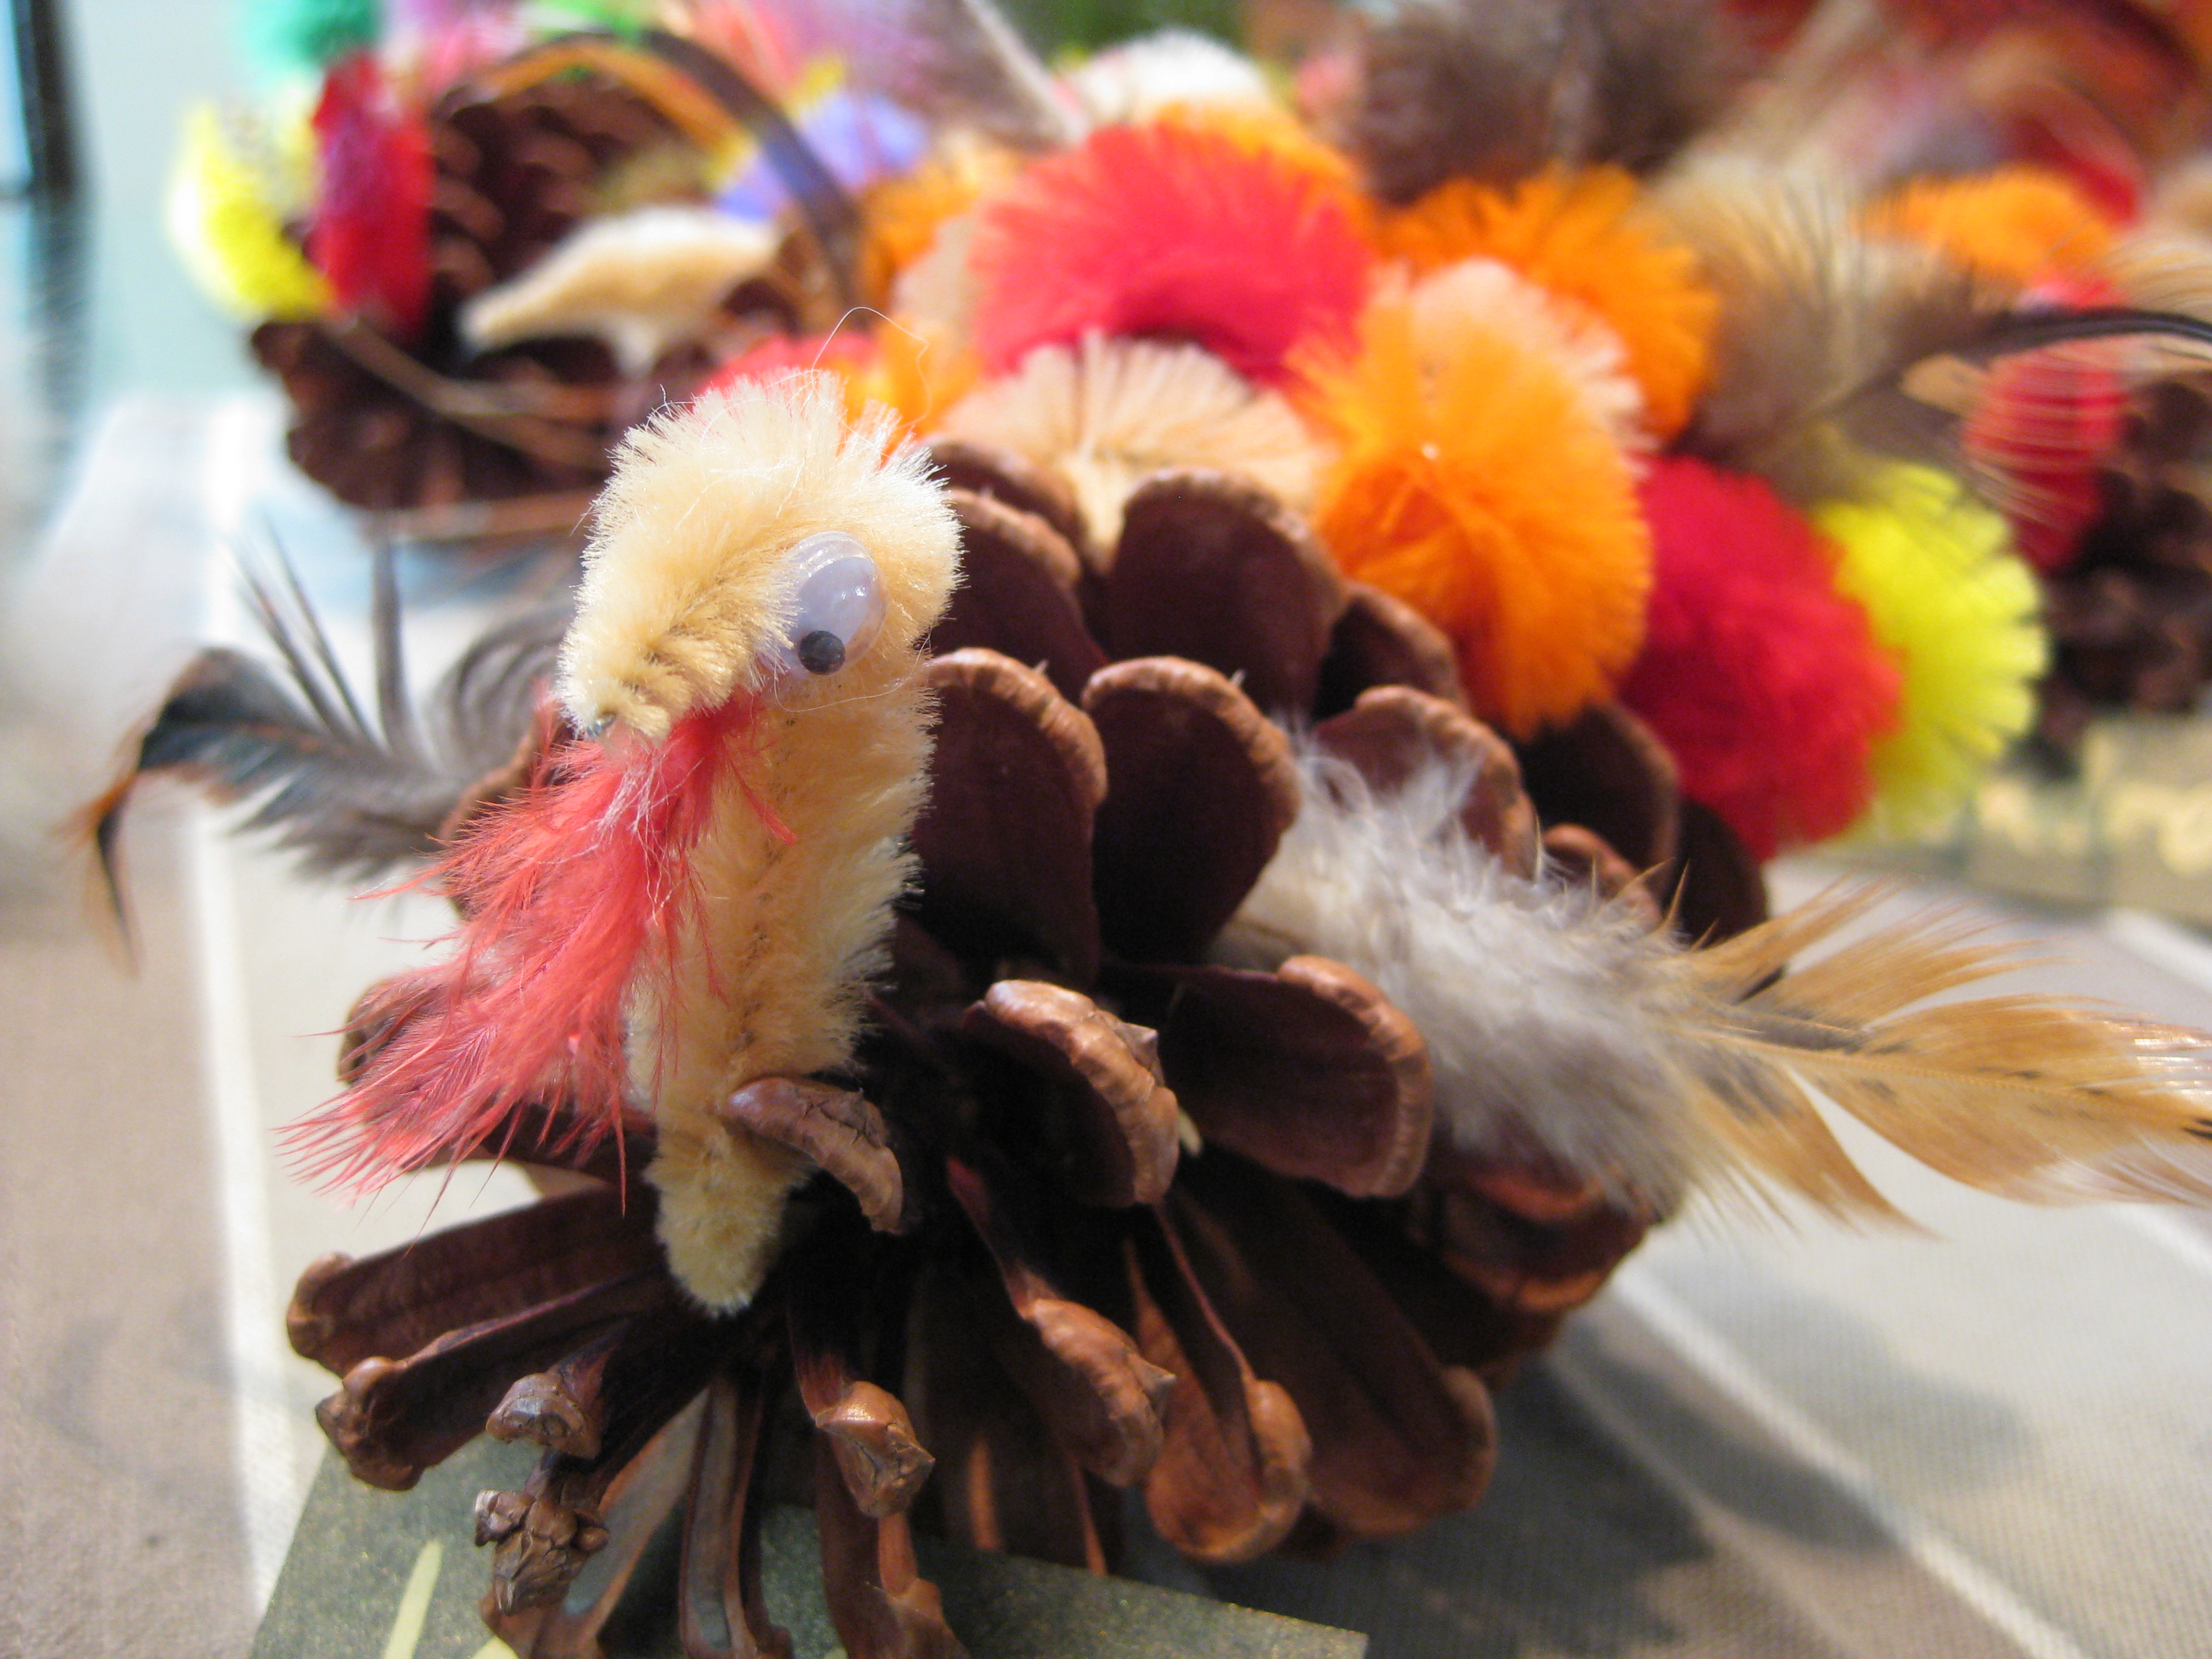
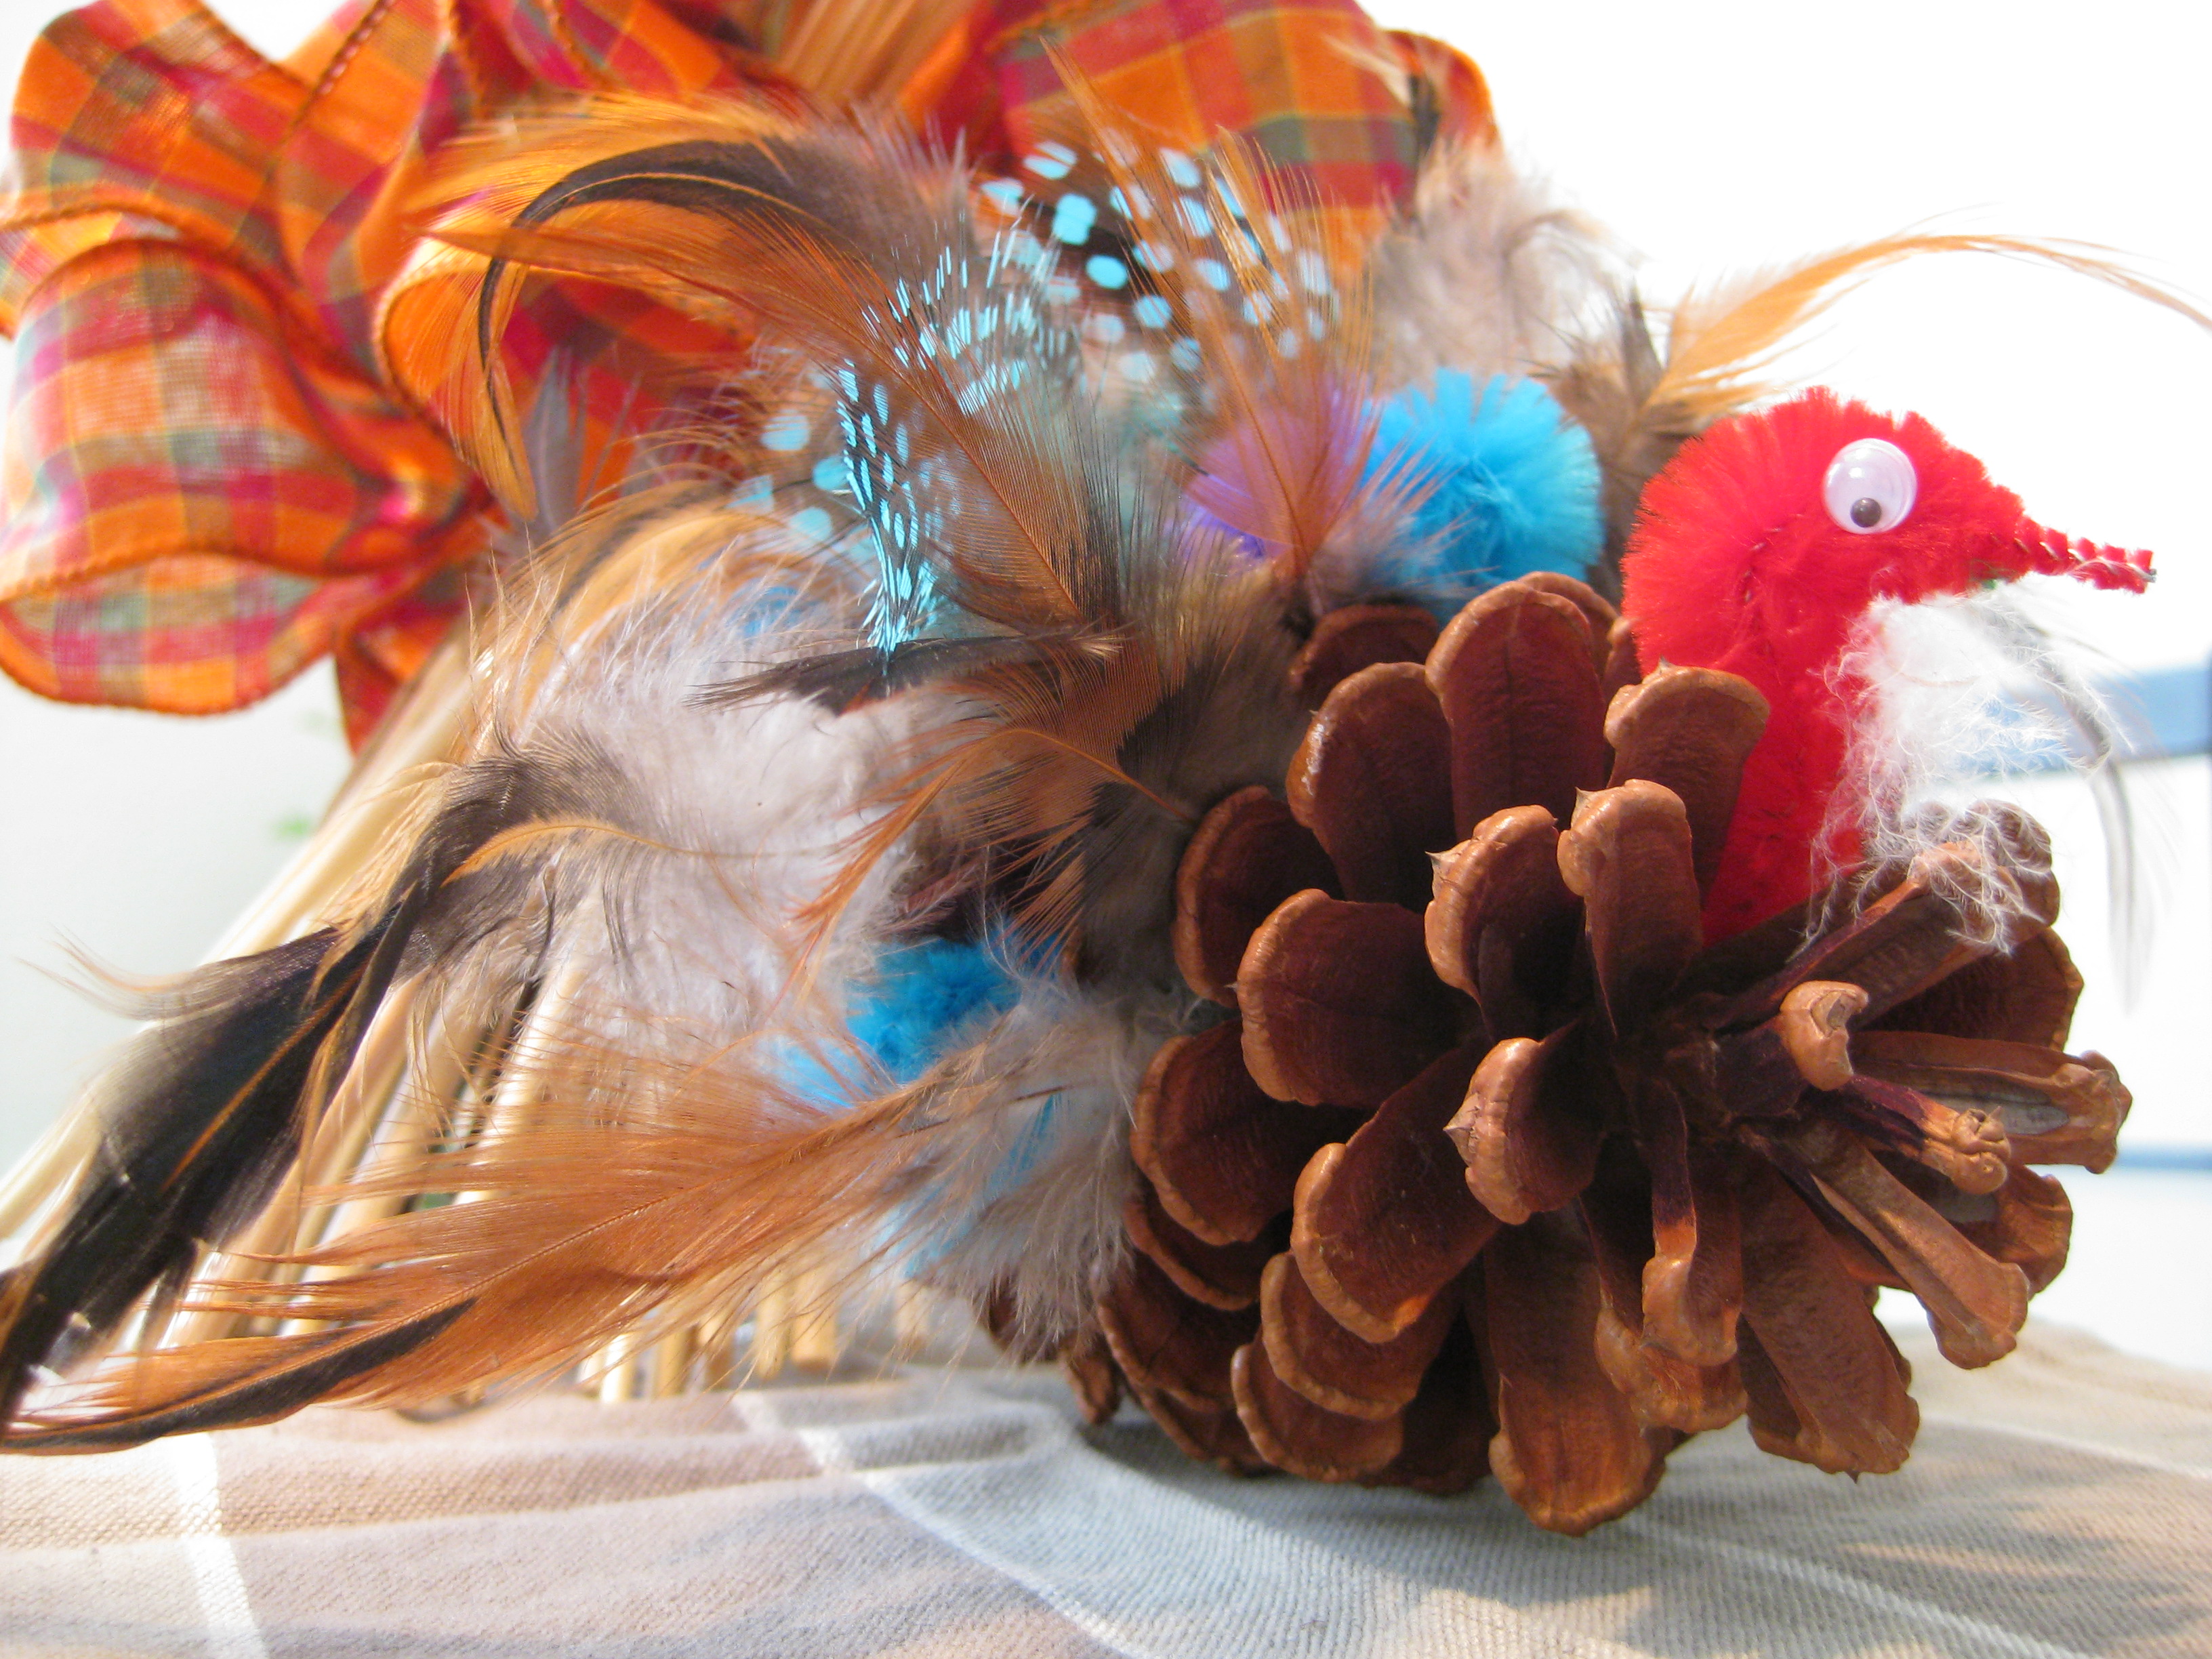
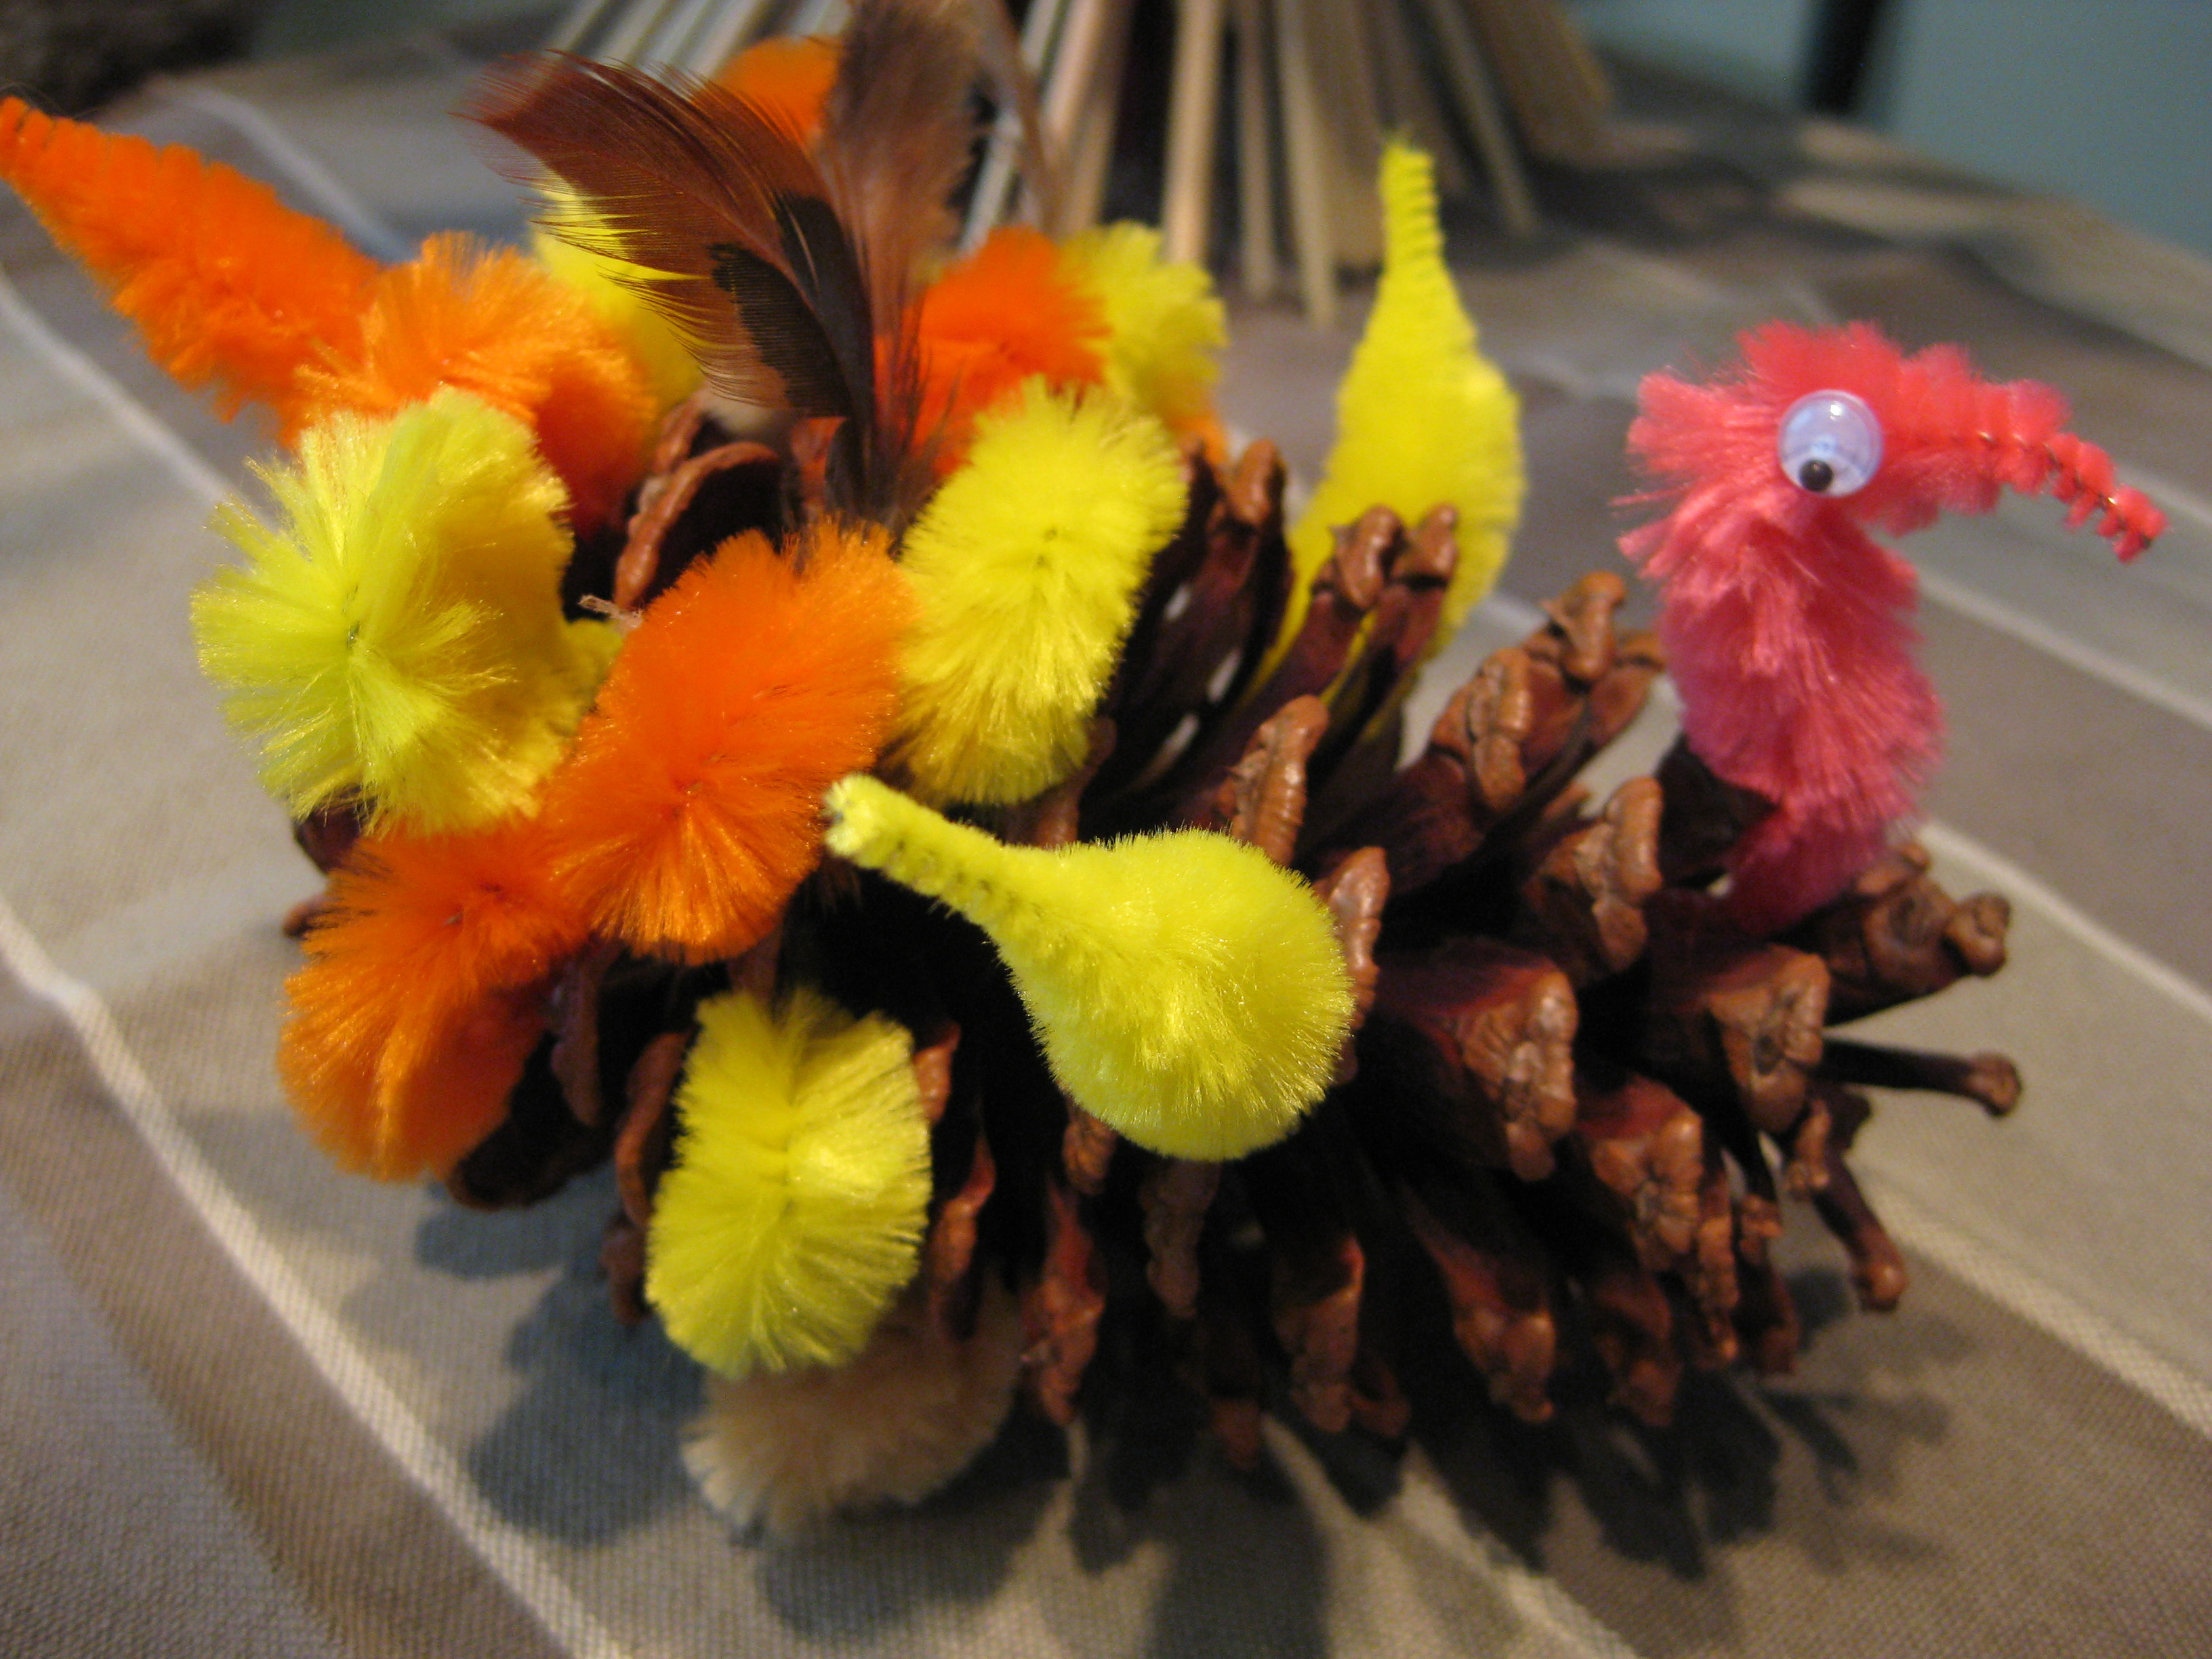
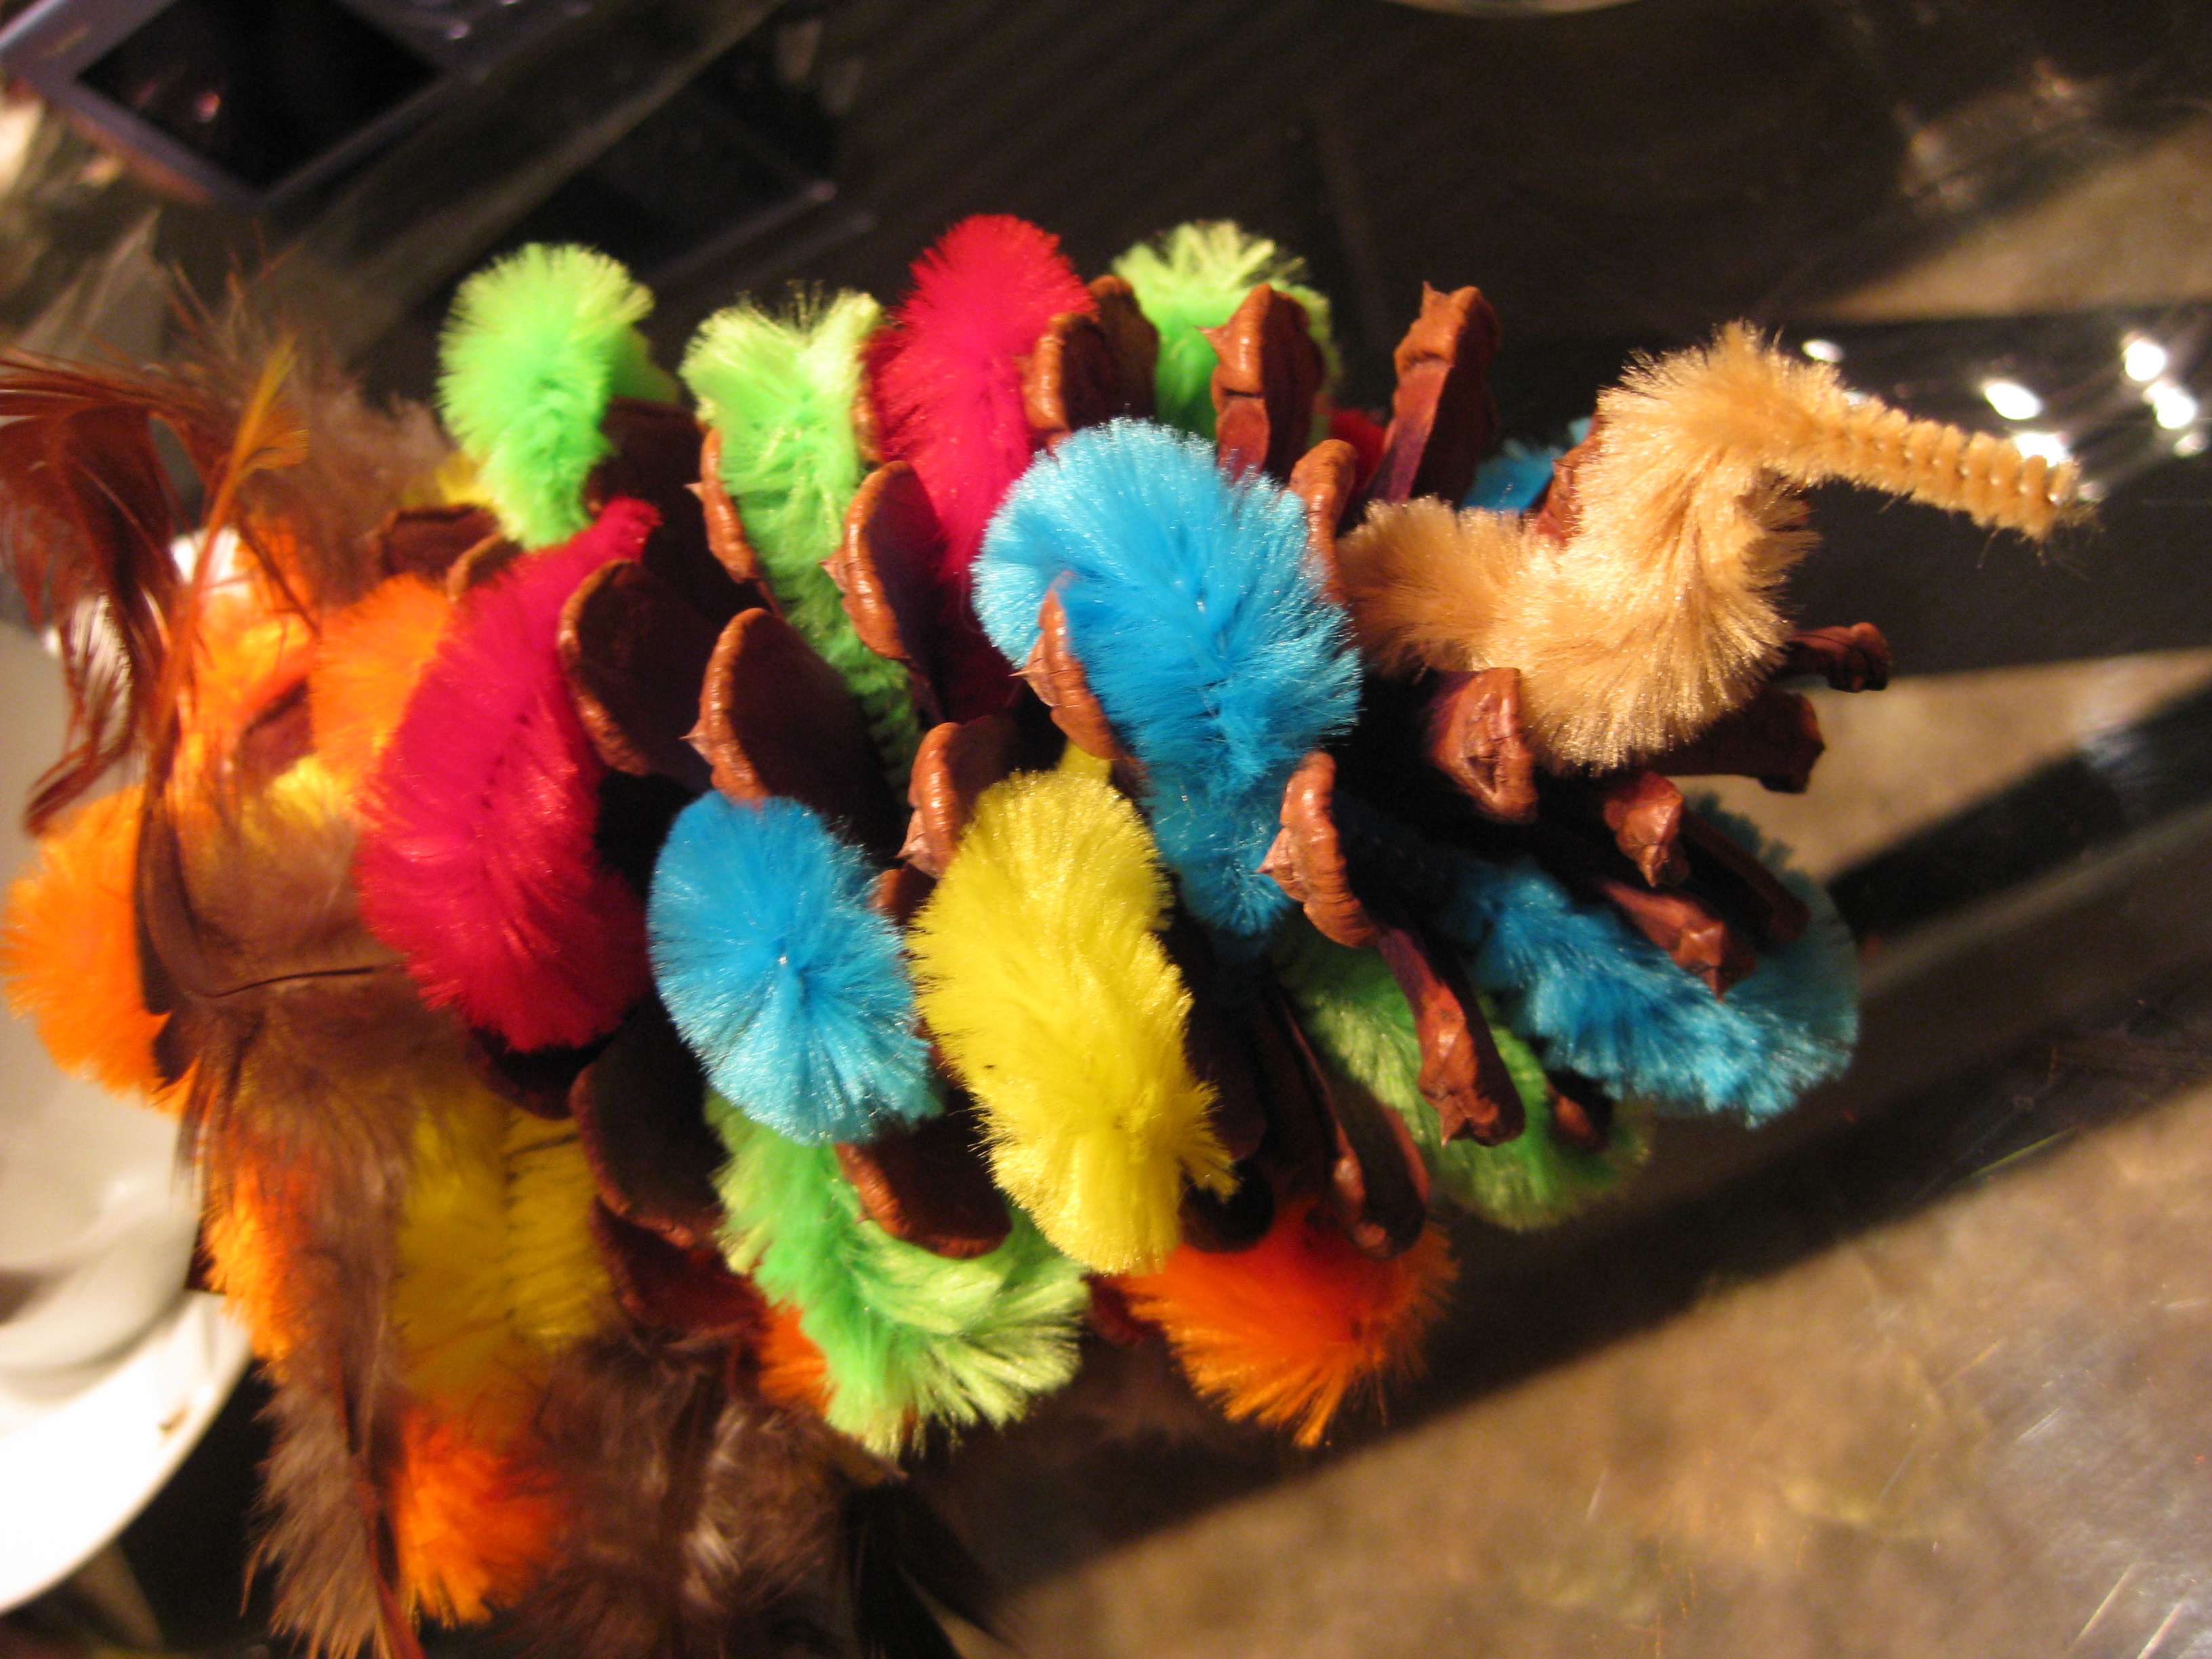
My kitchen sink is stacked with dishes, my dining room table is a mess, there’s food everywhere, and I had the best time!  I invited my family over for a crafting day and we revived a holiday tradition from my childhood…Thanksgiving Pinecone Turkeys.  Normally we would craft these before Thanksgiving Dinner, but this year I invited everyone over for an early crafting day so I could share this tradition with you in time for this year’s Thanksgiving celebration. You can see all of their wonderful creations in the Inspiration Gallery, at the end of this post.

These adorable little birds can be made by each guest before Thanksgiving dinner and used as “place cards” on the holiday table.  While guests are snacking on appetizers and waiting for dinner, have them gather around the table and create their own personalized Pinecone Turkey.

Set up a folding table, which you can cover with a plastic tablecloth if you prefer.  Then you’ll need:

  • Pinecones – 1 per person, medium sized.  If you’re lucky enough to have pinecones in the backyard, then save the gathering activity for the kids when they arrive for dinner.  I didn’t have pinecones, but before heading to the craft store to buy them, I asked my family to bring some.  I also put up a notice at work and a co-worker was more than happy to bring me a large bag full!
  • Craft Glue – several small bottles
  • Pipe Cleaners in a variety of colors – the kind with bumps
  • Wire cutters (to clip the pipe cleaners, scissors usually won’t do it)
  • Fancy Paper for name tags
  • 1 or 2 Paint Markers that coordinate with the name tag paper you choose
  • Googley Eyes
  • Any additional embellishments that you can’t live without!  (My family also likes to use small craft feathers in a variety of colors.)

Making Pinecone Turkeys

1. Start by shaking out the pinecones to make sure they are free of bugs and debris.  Set the pinecone on its side, in a position where it doesn’t wobble back and forth.

2. Use the wire cutters to cut the pipe cleaners between each bump.  I like to do this part before everyone arrives.
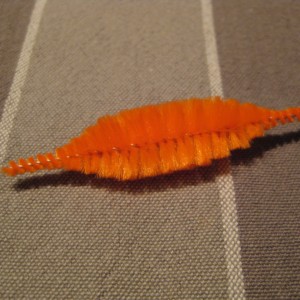
pipe cleaner bump
.

.

.

.

.

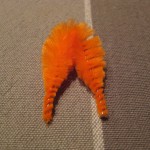
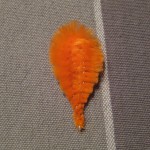
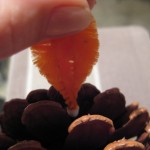
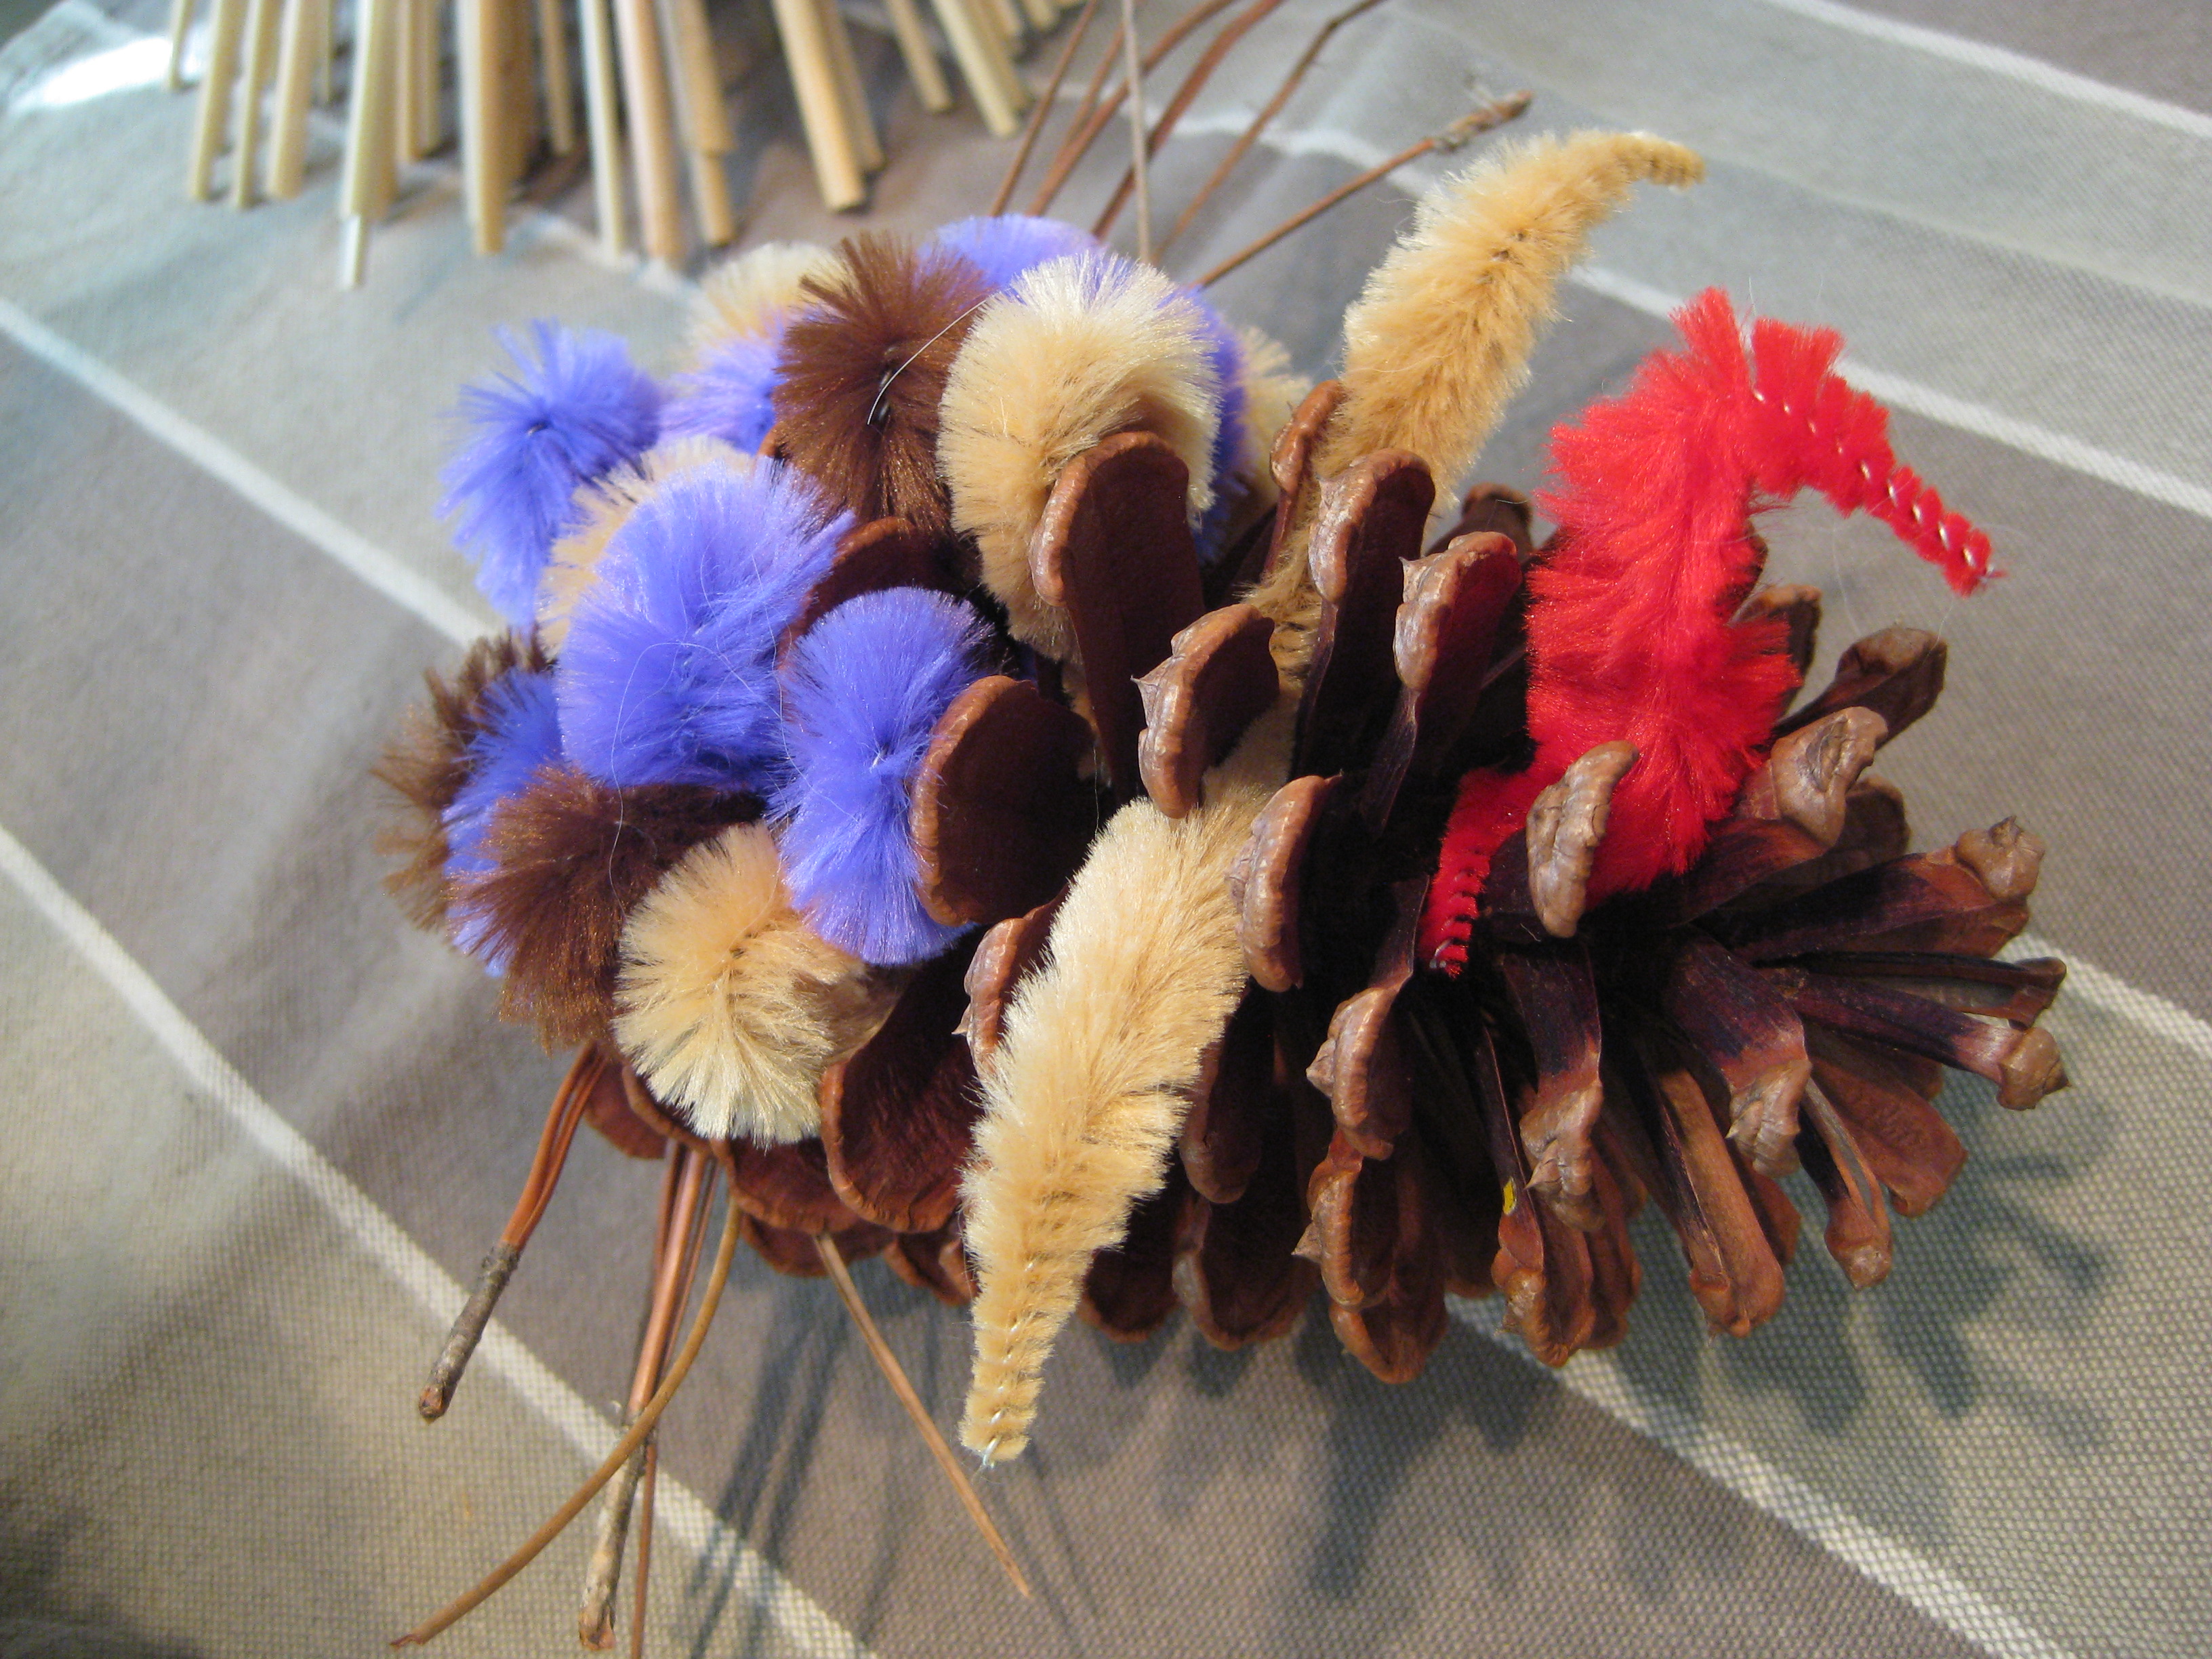
3. Select a pipe cleaner bump and bend it in half to form a drop, and then twist the ends slightly so they stay together.

fold in halftwist the ends together    turkey tail feather
.

.

.

.

.

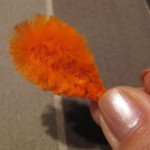
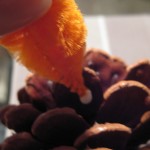
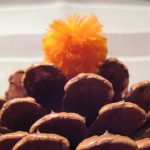
4. Dab a little glue on the end and tuck it into the back (the larger end) of the pinecone.

insert tail featherinsert tail feather tail feather
.

.

.

.

.

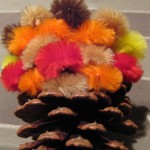
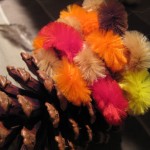
5. Continue to do this, making several rows until you’ve formed the turkey’s tail.

back of turkeytail feathers
.

.

.

.

.

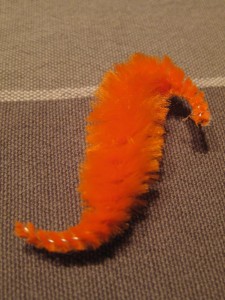
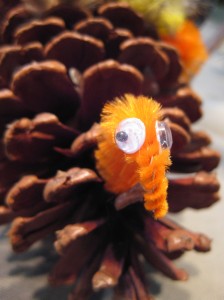
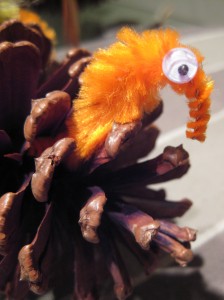
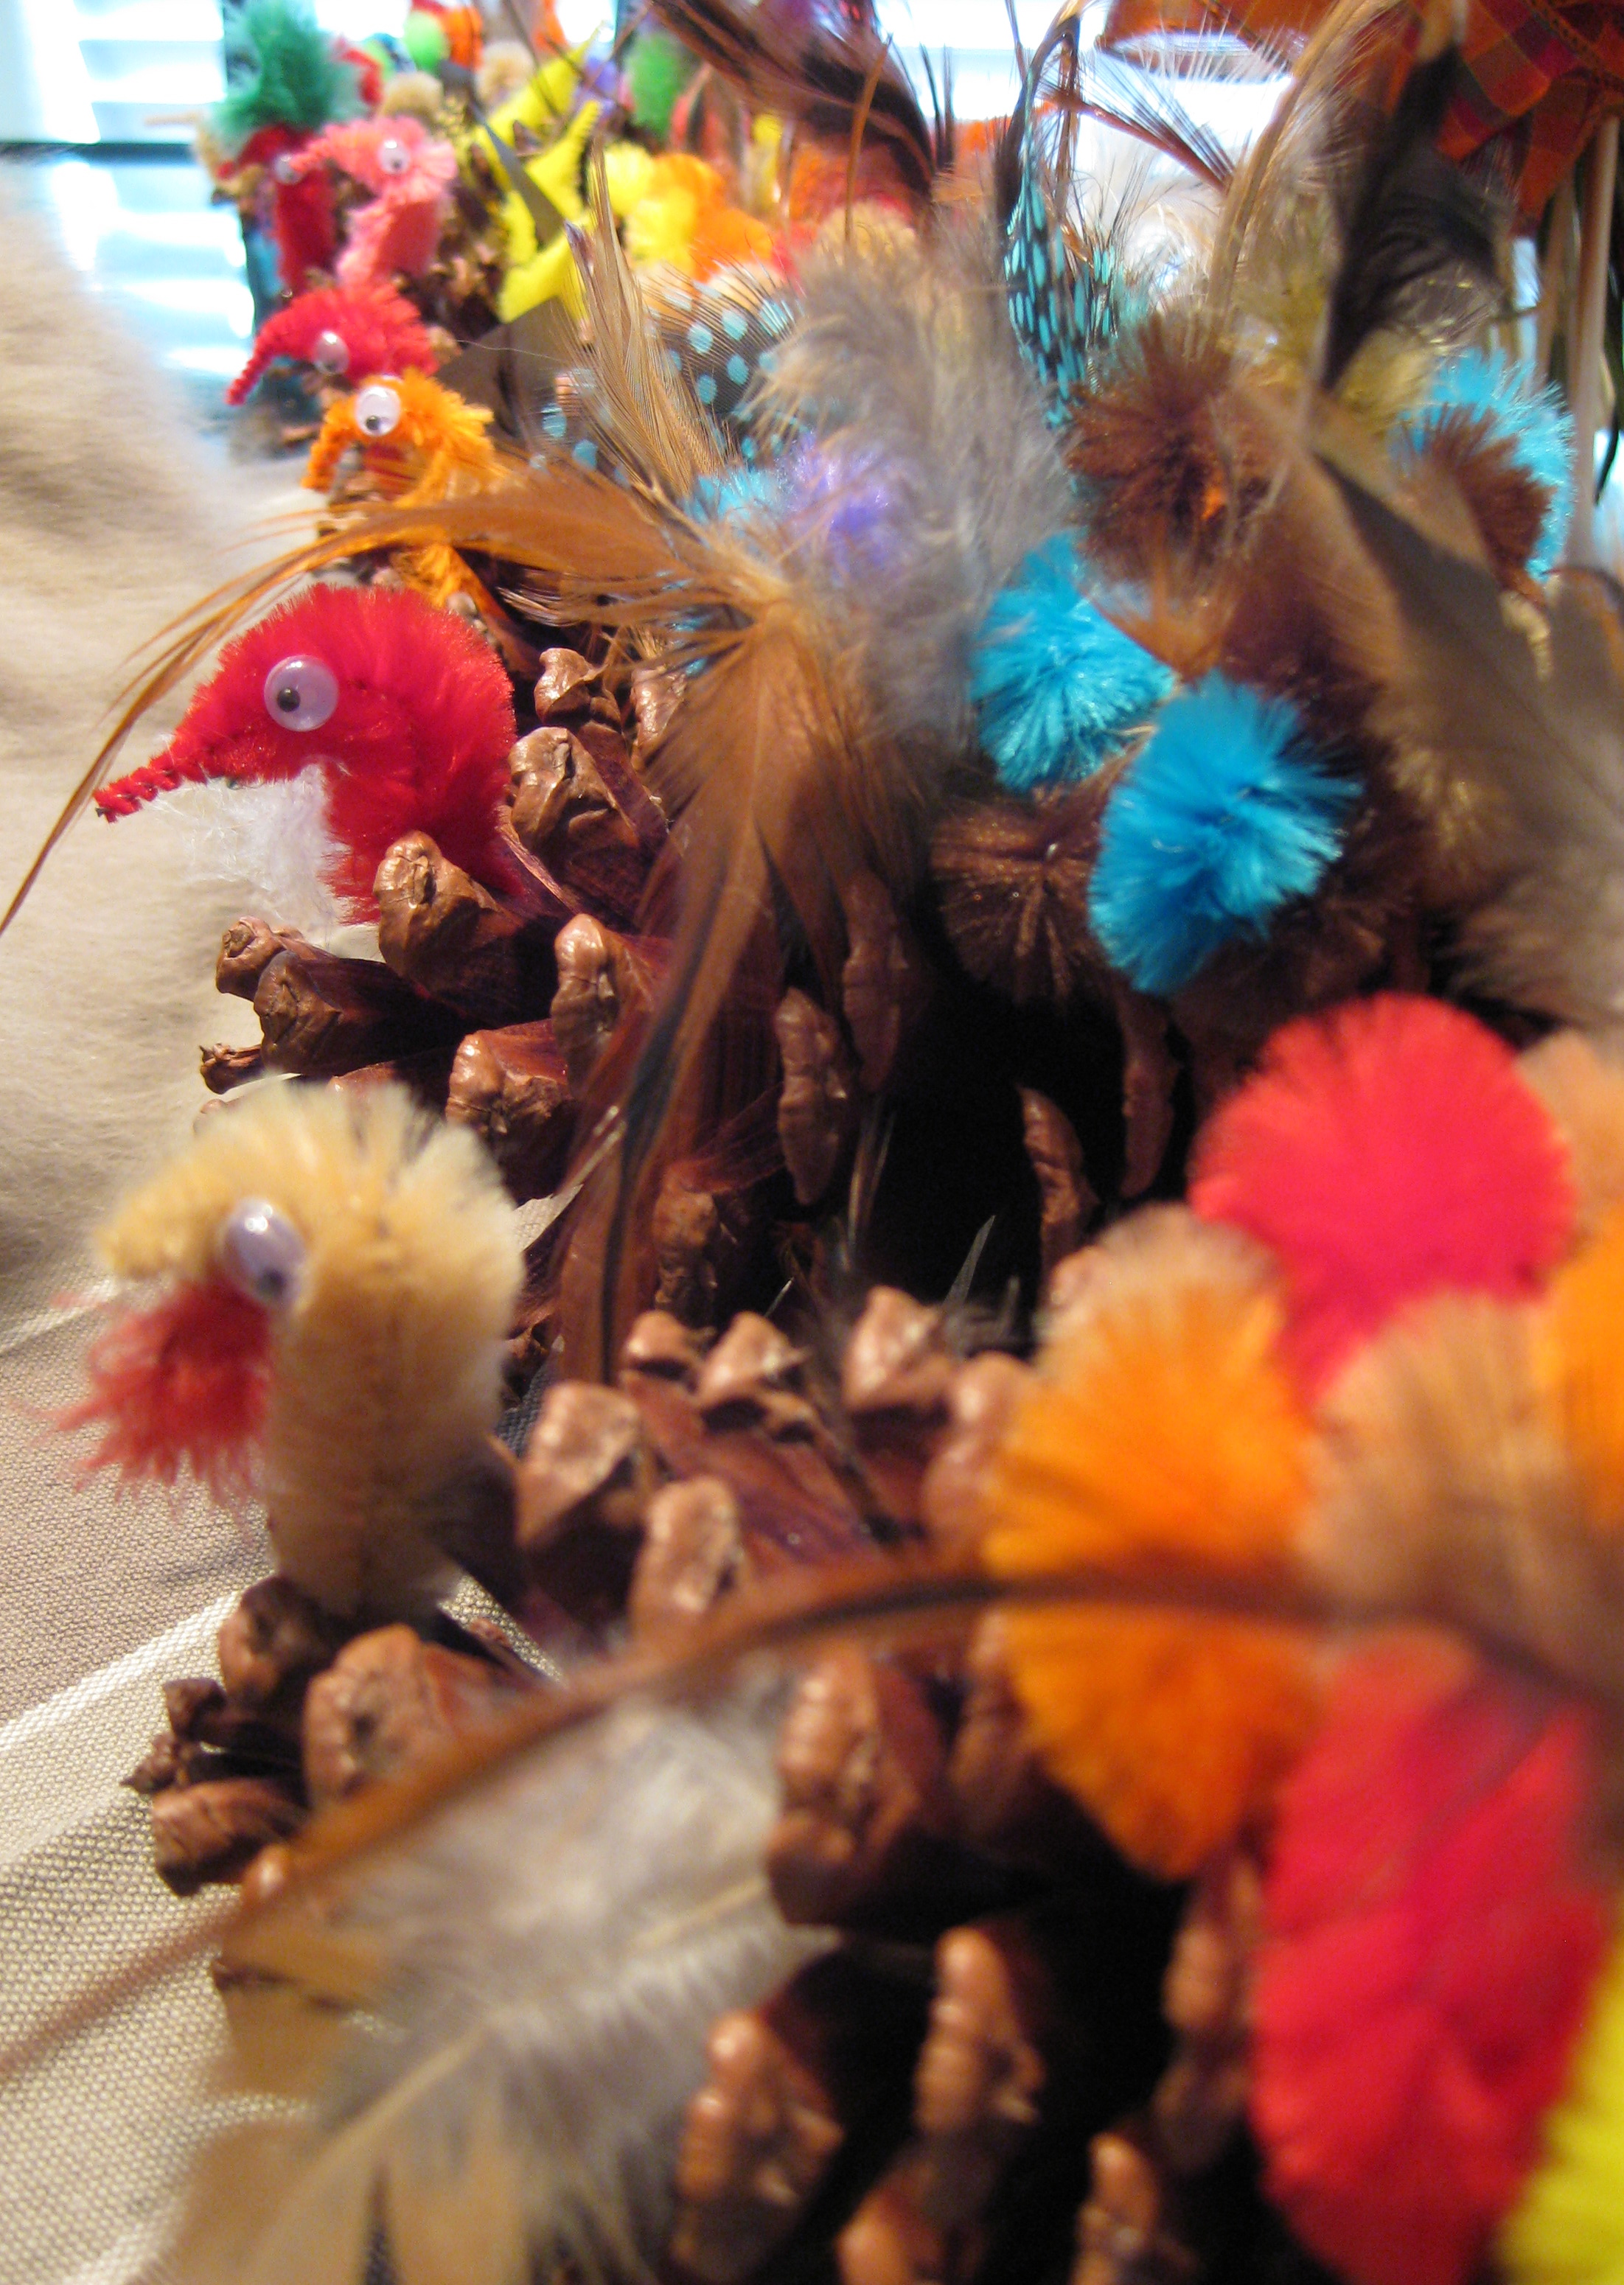
6. Next you’ll want to add the turkey’s head. Choose a pipe cleaner bump and bend it into a loose “S” shape and glue one googley eye on each side of the head. Then dab glue at the base of the head and tuck it into the front of the pinecone.

turkey head  turkey with google eyesside view of google eyes
.

.

.

.

.

.

.

7. Add any additional embellishments that you like!

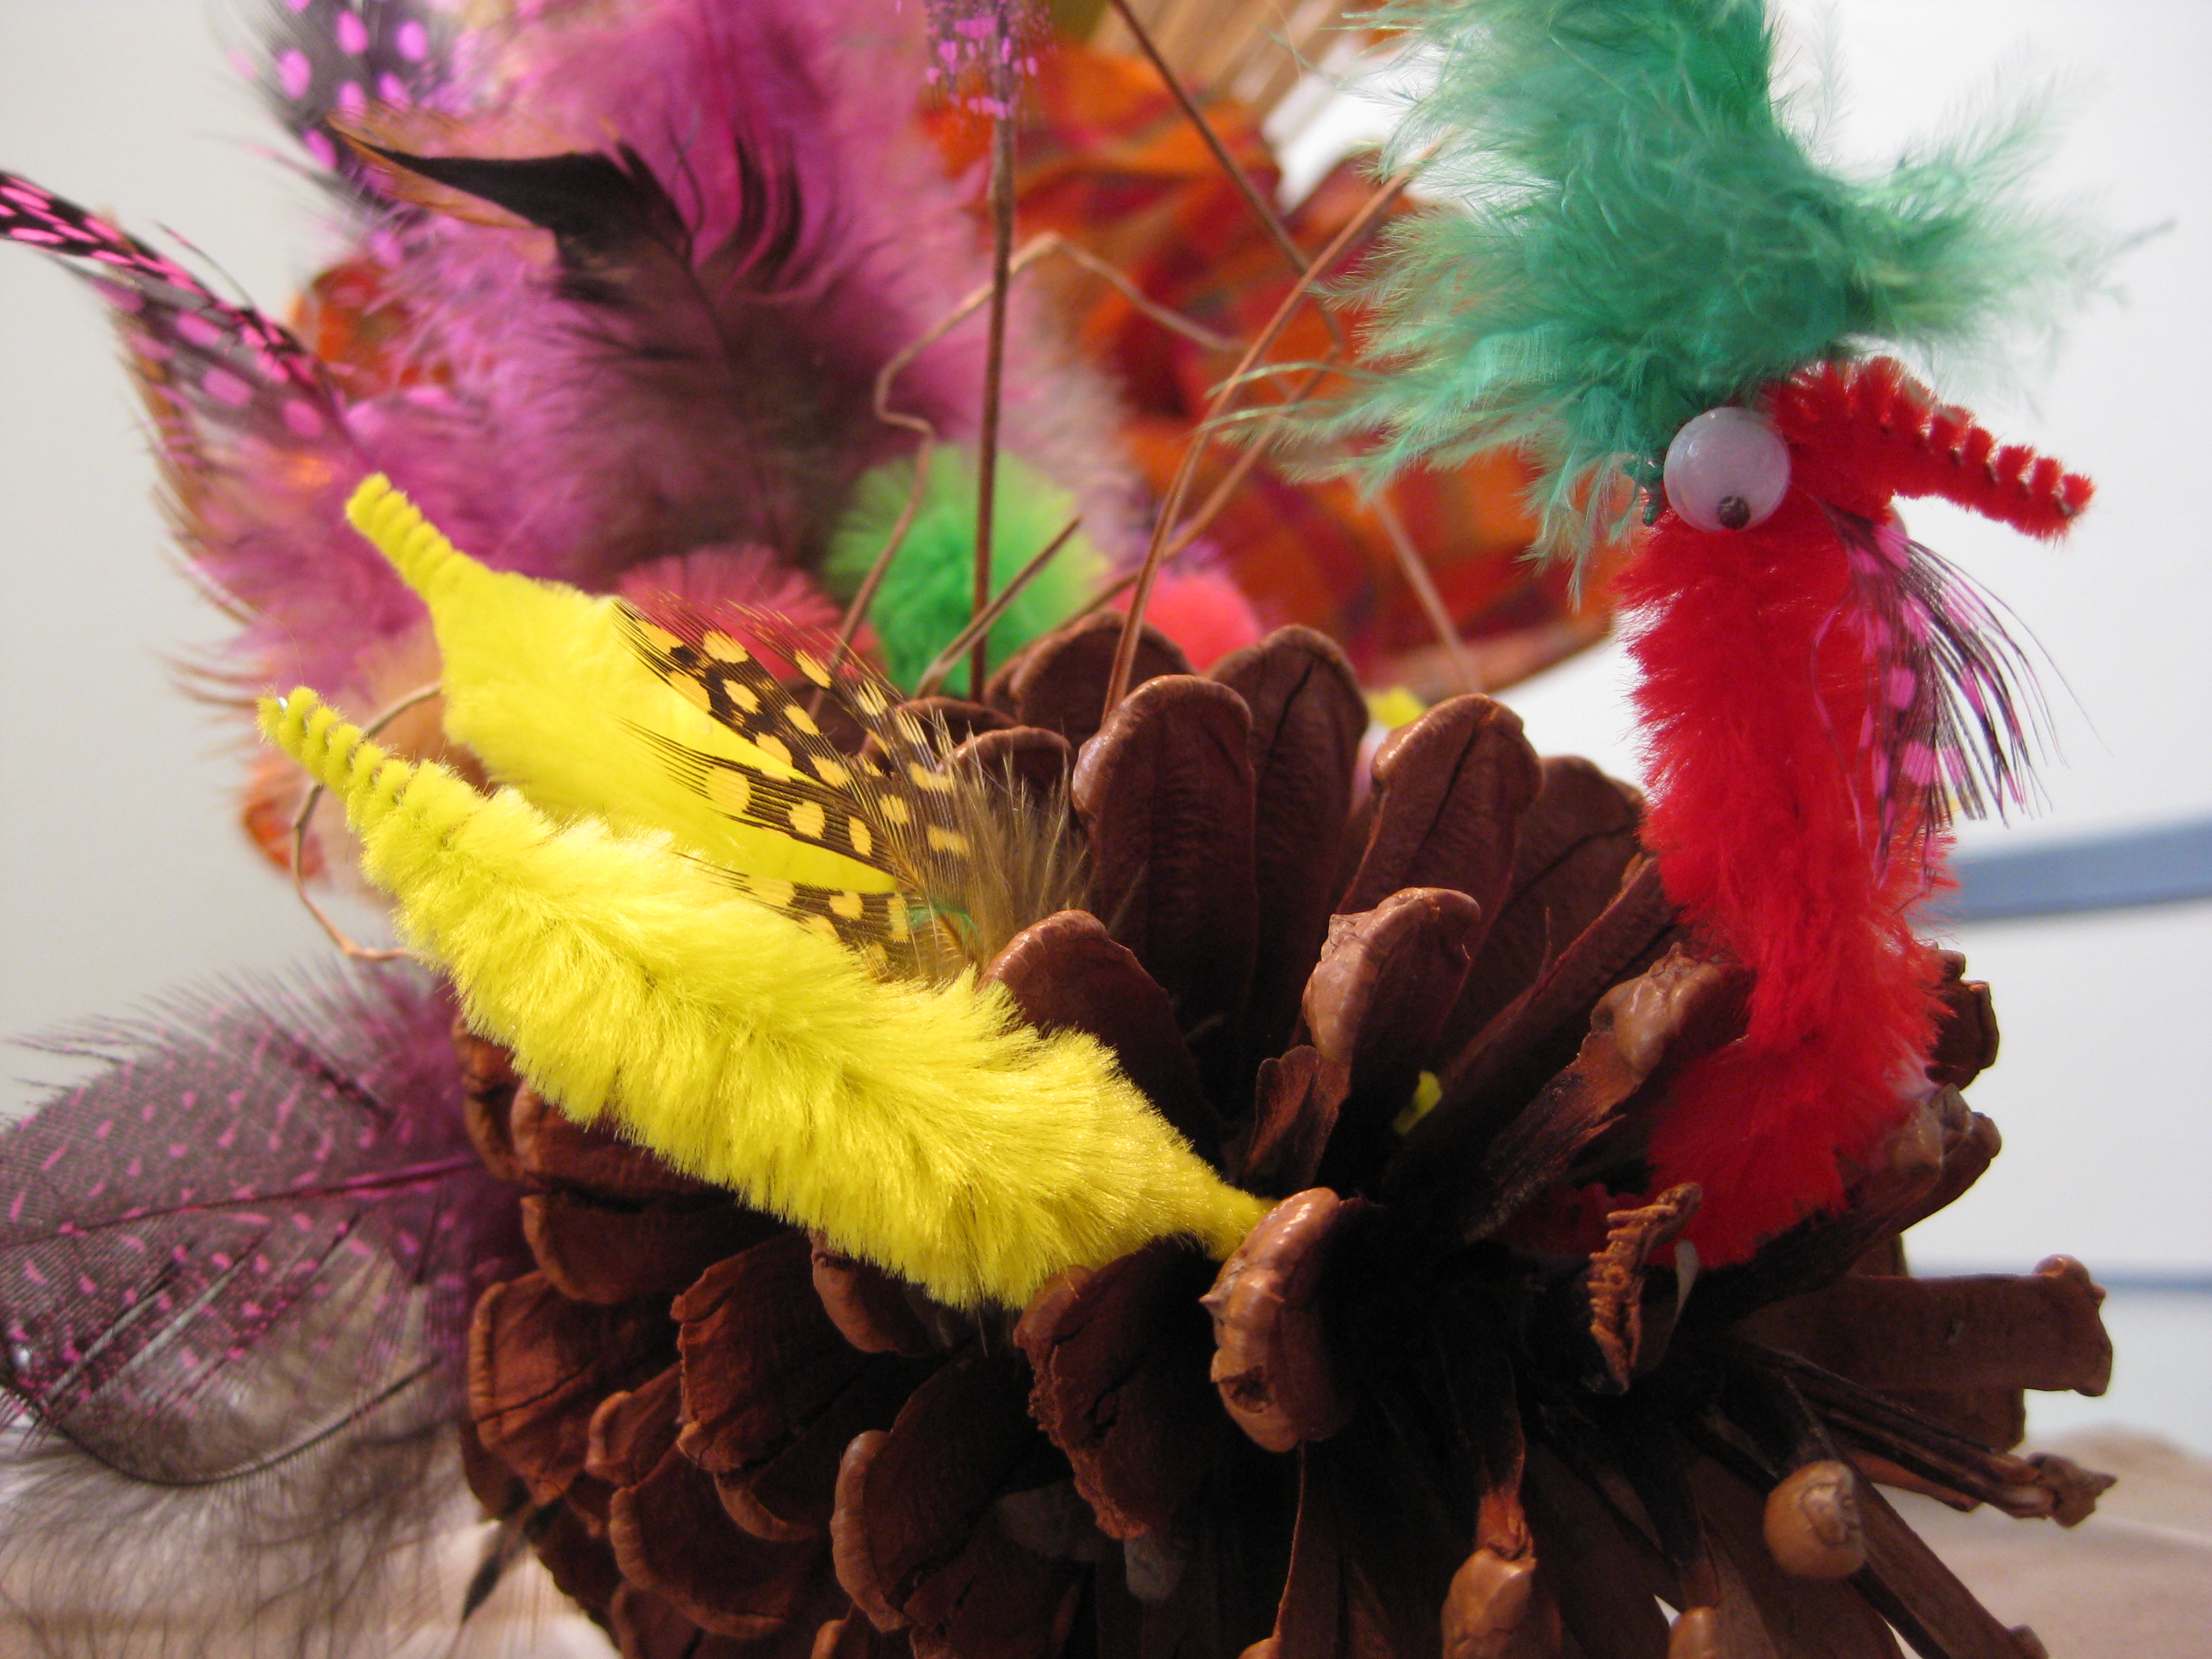
You can add wings to the turkey’s side using pipe cleaner bumps or small craft feathers, which you can also tuck into the tail.  There were some pine needles in with the pinecones, which a couple of people used as embellishment.  Some of us used very small feathers to create a “wobble” under the turkey’s chin and my mother even created a green feather fascinator* for her turkey!  For a final touch, use the paint marker to write your name on the fancy paper and have your guests display the name in front of their turkey, tucked into the turkey’s back or, like some of my family did, glue it to the turkey’s “butt”.

I hope you enjoy sharing this holiday tradition with your friends and family and feel free to send me pictures of the fun!

katie-only signature

.

.

*If you’re not in the “know” about fascinators, those are the tiny embellished headpieces worn by the British at high society events…like the royal wedding.

Inspiration Gallery

Pine Cone Turkey, Mom Aunt Judy Turkey & predator katie: normal turkey Pine Cone Turkey, Steve DadKeithJustice...she's blindHappy Thanksgiving To All Of The Pine Cone TurkeysHappy Thanksgiving!

Birth-mineral Earrings of the Month: Golden Citrine

.

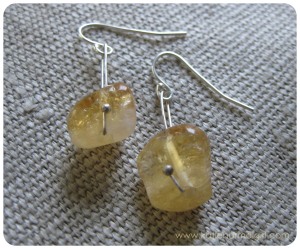
may be a bit parital since my birthday is in November but Citrine has always been one of my favorite minerals. The golden color always catches my eye and I just want to touch it!  Citrine is a mineral that is known for its cleansing and balancing properties. Wear this crystal when you are seeking personal balance, confidence and clarity.

November Birthstone: Topaz  November Birth-mineral: Citrine

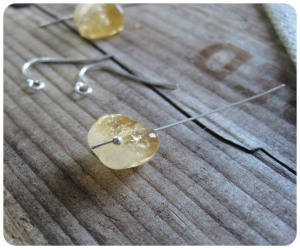
Thread the post through the bead and use the pliers to bend a small hook into the base of the post that will hold the bead on it.  Now thread one of the earring hooks onto the post and to finish the earring, bend the post in half and tuck it into the bead.

.

.

.

.

.

.

.

.

.
Let me know if you give these a try and I’d love to see pictures!

The Healing Powers of Drippy Ducks

It’s officially summer!  Let the outdoor-free from school-fun begin!  Of course, with all of that fun will come bumps, scrapes and bruises, especially for the little kidos in your life and Drippy Ducks are great way to make things all better.  My mom used to make these for my brother and I when we were little and I can attest to the fact that they definitely help make booboos better…faster.  Just insert an ice cube into the Drippy Duck’s bill and hold on the injury.

Edit: My mom just found the Drippy Duck rhyme that she made up when my brother and I were little, scroll all the way down to see it!

In addition to these fun little duckies, check out my column on hellogiggles.com.  This week I’m talking about three great herbal remedies for healing those minor summertime booboos.

I hope your summer is off to a great start!  I’d love to see pictures and hear your stories if you give this fun crafty project a try!


The 21st Century Herbalist: Volume 1, Issue 13

It’s week 2 of “One Ingredient…One Great Fix” Month and this week I’m chatting about hydrogen peroxide. You may know it best by its use as a cleanser for minor cuts and scrapes, and of course by its classic packaging. Found in the first aid section of your local drug store, it’s the one in the dark brown plastic bottle topped with a white cap and a basic label displaying its contents. This brown bottle of hydrogen peroxide is so much more than just a first aid solution, its also the active ingredient for, what I’ve heard is, a billion dollar industry — teeth whitening.

Next time you’re in the drug store, grab a bottle of hydrogen peroxide and walk it over to the oral hygiene aisle.  Check the active ingredient for most of the whitening toothpastes, mouth washes and whitening cream, gel and strip kits, it probably says hydrogen peroxide. If it’s not the active ingredient, I’m willing to bet that it’s still listed somewhere in the ingredients.  That’s the same stuff that you’re holding in the brown bottle and it only costs about $3.

…read more (you’ll be redirected to my column on hellogiggles.com)

White Chocolate Bunny Easter Arrangement For Your Table

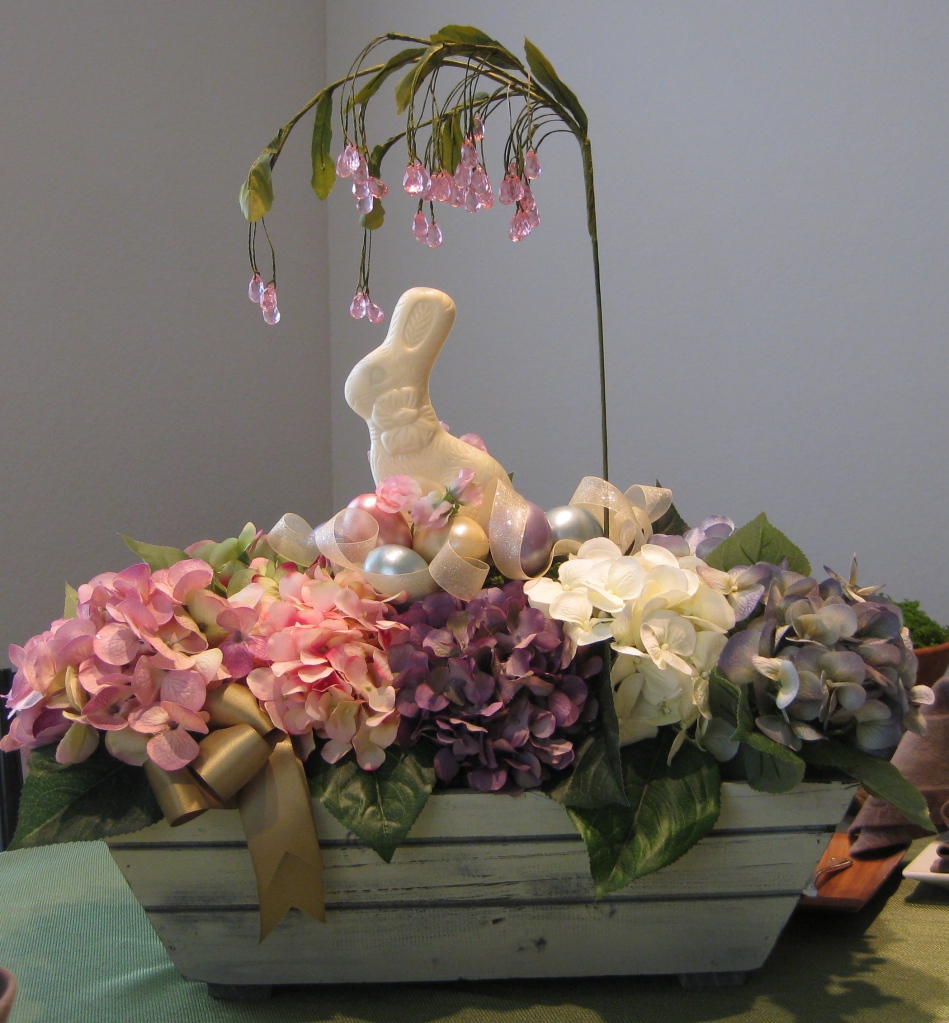
Easter will be early this year, on April 8th to be exact, and Mom has created a wonderful silk flower centerpiece for this year’s table scape.  I love the unique element of having a white chocolate bunny on top that is being haloed by a pretty, pink jewel umbrella above it.  This centerpiece comes together pretty quickly and will make a lovely addition to your Easter table.

DIY: Reusable AND Refillable Dryer Sachets

DIY reusable AND refillable herbal dryer sachets from katienormalgirl.com | #DIY #natural #home

It’s time to ditch your dryer sheets and embrace the latest trend in simple, sustainable living…dryer sachets!  These chemical-free, all-natural alternative to dryer sheets have been growing in popularity, and this week I’m going to show you how to make your own dryer sachet, that is both reusable and refillable.

Often dryer sachets are sewn shut on all sides and are not refillable without some difficulty and it’s this ability to refill them, that makes this project unique.

These dryer sachets are an easy-sew project, perfect for beginners and can be done by hand or using a sewing machine. It’s also a great opportunity to upcycle old t-shirts, or use up old scraps of fabric from other projects.

I like to take some time on a Sunday afternoon to make a batch of these that can be kept in a basket next to my dryer. As you’re making them for yourself, remember that they also make great housewarming gifts, teacher presents or can be a unique addition to a baby shower gift basket.DIY reusable AND refillable herbal dryer sachets from katienormalgirl.com | #DIY #natural #home

Tools & Materials Needed:

  • Iron and firm surface to iron on
  • Scissors
  • Measuring tape or quilter’s square
  • Sewing machine or needle (if sewing by hand)
  • 4 1/2″ x 9 1/2″ piece of fabric (cotton or linen) and coordinating thread
  • 4″ strip of industrial strength or decor velcro*

*Make sure you are using industrial strength or decor grade velcro for this project. It has double-sided “teeth” that are strong enough to stay closed while tumbling around in the dryer. It can be sew-on or stick-on, for added security, you’ll want to sew it into the sachet, either way.

Handcrafted Holidays: Thanksgiving Pine Cone Turkeys

Pinecone Turkey

My kitchen sink is stacked with dishes, my dining room table is a mess, there’s food everywhere, and I had the best time!  I invited my family over for a crafting day and we revived a holiday tradition from my childhood…Thanksgiving Pinecone Turkeys.  Normally we would craft these before Thanksgiving Dinner, but this year I invited everyone over for an early crafting day so I could share this tradition with you in time for this year’s Thanksgiving celebration. You can see all of their wonderful creations in the Inspiration Gallery, at the end of this post.

These adorable little birds can be made by each guest before Thanksgiving dinner and used as “place cards” on the holiday table.  While guests are snacking on appetizers and waiting for dinner, have them gather around the table and create their own personalized Pinecone Turkey.

Set up a folding table, which you can cover with a plastic tablecloth if you prefer.  Then you’ll need:

  • Pinecones – 1 per person, medium sized.  If you’re lucky enough to have pinecones in the backyard, then save the gathering activity for the kids when they arrive for dinner.  I didn’t have pinecones, but before heading to the craft store to buy them, I asked my family to bring some.  I also put up a notice at work and a co-worker was more than happy to bring me a large bag full!
  • Craft Glue – several small bottles
  • Pipe Cleaners in a variety of colors – the kind with bumps
  • Wire cutters (to clip the pipe cleaners, scissors usually won’t do it)
  • Fancy Paper for name tags
  • 1 or 2 Paint Markers that coordinate with the name tag paper you choose
  • Googley Eyes
  • Any additional embellishments that you can’t live without!  (My family also likes to use small craft feathers in a variety of colors.)

Making Pinecone Turkeys

1. Start by shaking out the pinecones to make sure they are free of bugs and debris.  Set the pinecone on its side, in a position where it doesn’t wobble back and forth.

2. Use the wire cutters to cut the pipe cleaners between each bump.  I like to do this part before everyone arrives.
pipe cleaner bump
.

.

.

.

.

3. Select a pipe cleaner bump and bend it in half to form a drop, and then twist the ends slightly so they stay together.

fold in halftwist the ends together    turkey tail feather
.

.

.

.

.

4. Dab a little glue on the end and tuck it into the back (the larger end) of the pinecone.

insert tail featherinsert tail feather tail feather
.

.

.

.

.

5. Continue to do this, making several rows until you’ve formed the turkey’s tail.

back of turkeytail feathers
.

.

.

.

.

6. Next you’ll want to add the turkey’s head. Choose a pipe cleaner bump and bend it into a loose “S” shape and glue one googley eye on each side of the head. Then dab glue at the base of the head and tuck it into the front of the pinecone.

turkey head  turkey with google eyesside view of google eyes
.

.

.

.

.

.

.

7. Add any additional embellishments that you like!

You can add wings to the turkey’s side using pipe cleaner bumps or small craft feathers, which you can also tuck into the tail.  There were some pine needles in with the pinecones, which a couple of people used as embellishment.  Some of us used very small feathers to create a “wobble” under the turkey’s chin and my mother even created a green feather fascinator* for her turkey!  For a final touch, use the paint marker to write your name on the fancy paper and have your guests display the name in front of their turkey, tucked into the turkey’s back or, like some of my family did, glue it to the turkey’s “butt”.

I hope you enjoy sharing this holiday tradition with your friends and family and feel free to send me pictures of the fun!

katie-only signature

.

.

*If you’re not in the “know” about fascinators, those are the tiny embellished headpieces worn by the British at high society events…like the royal wedding.

Inspiration Gallery
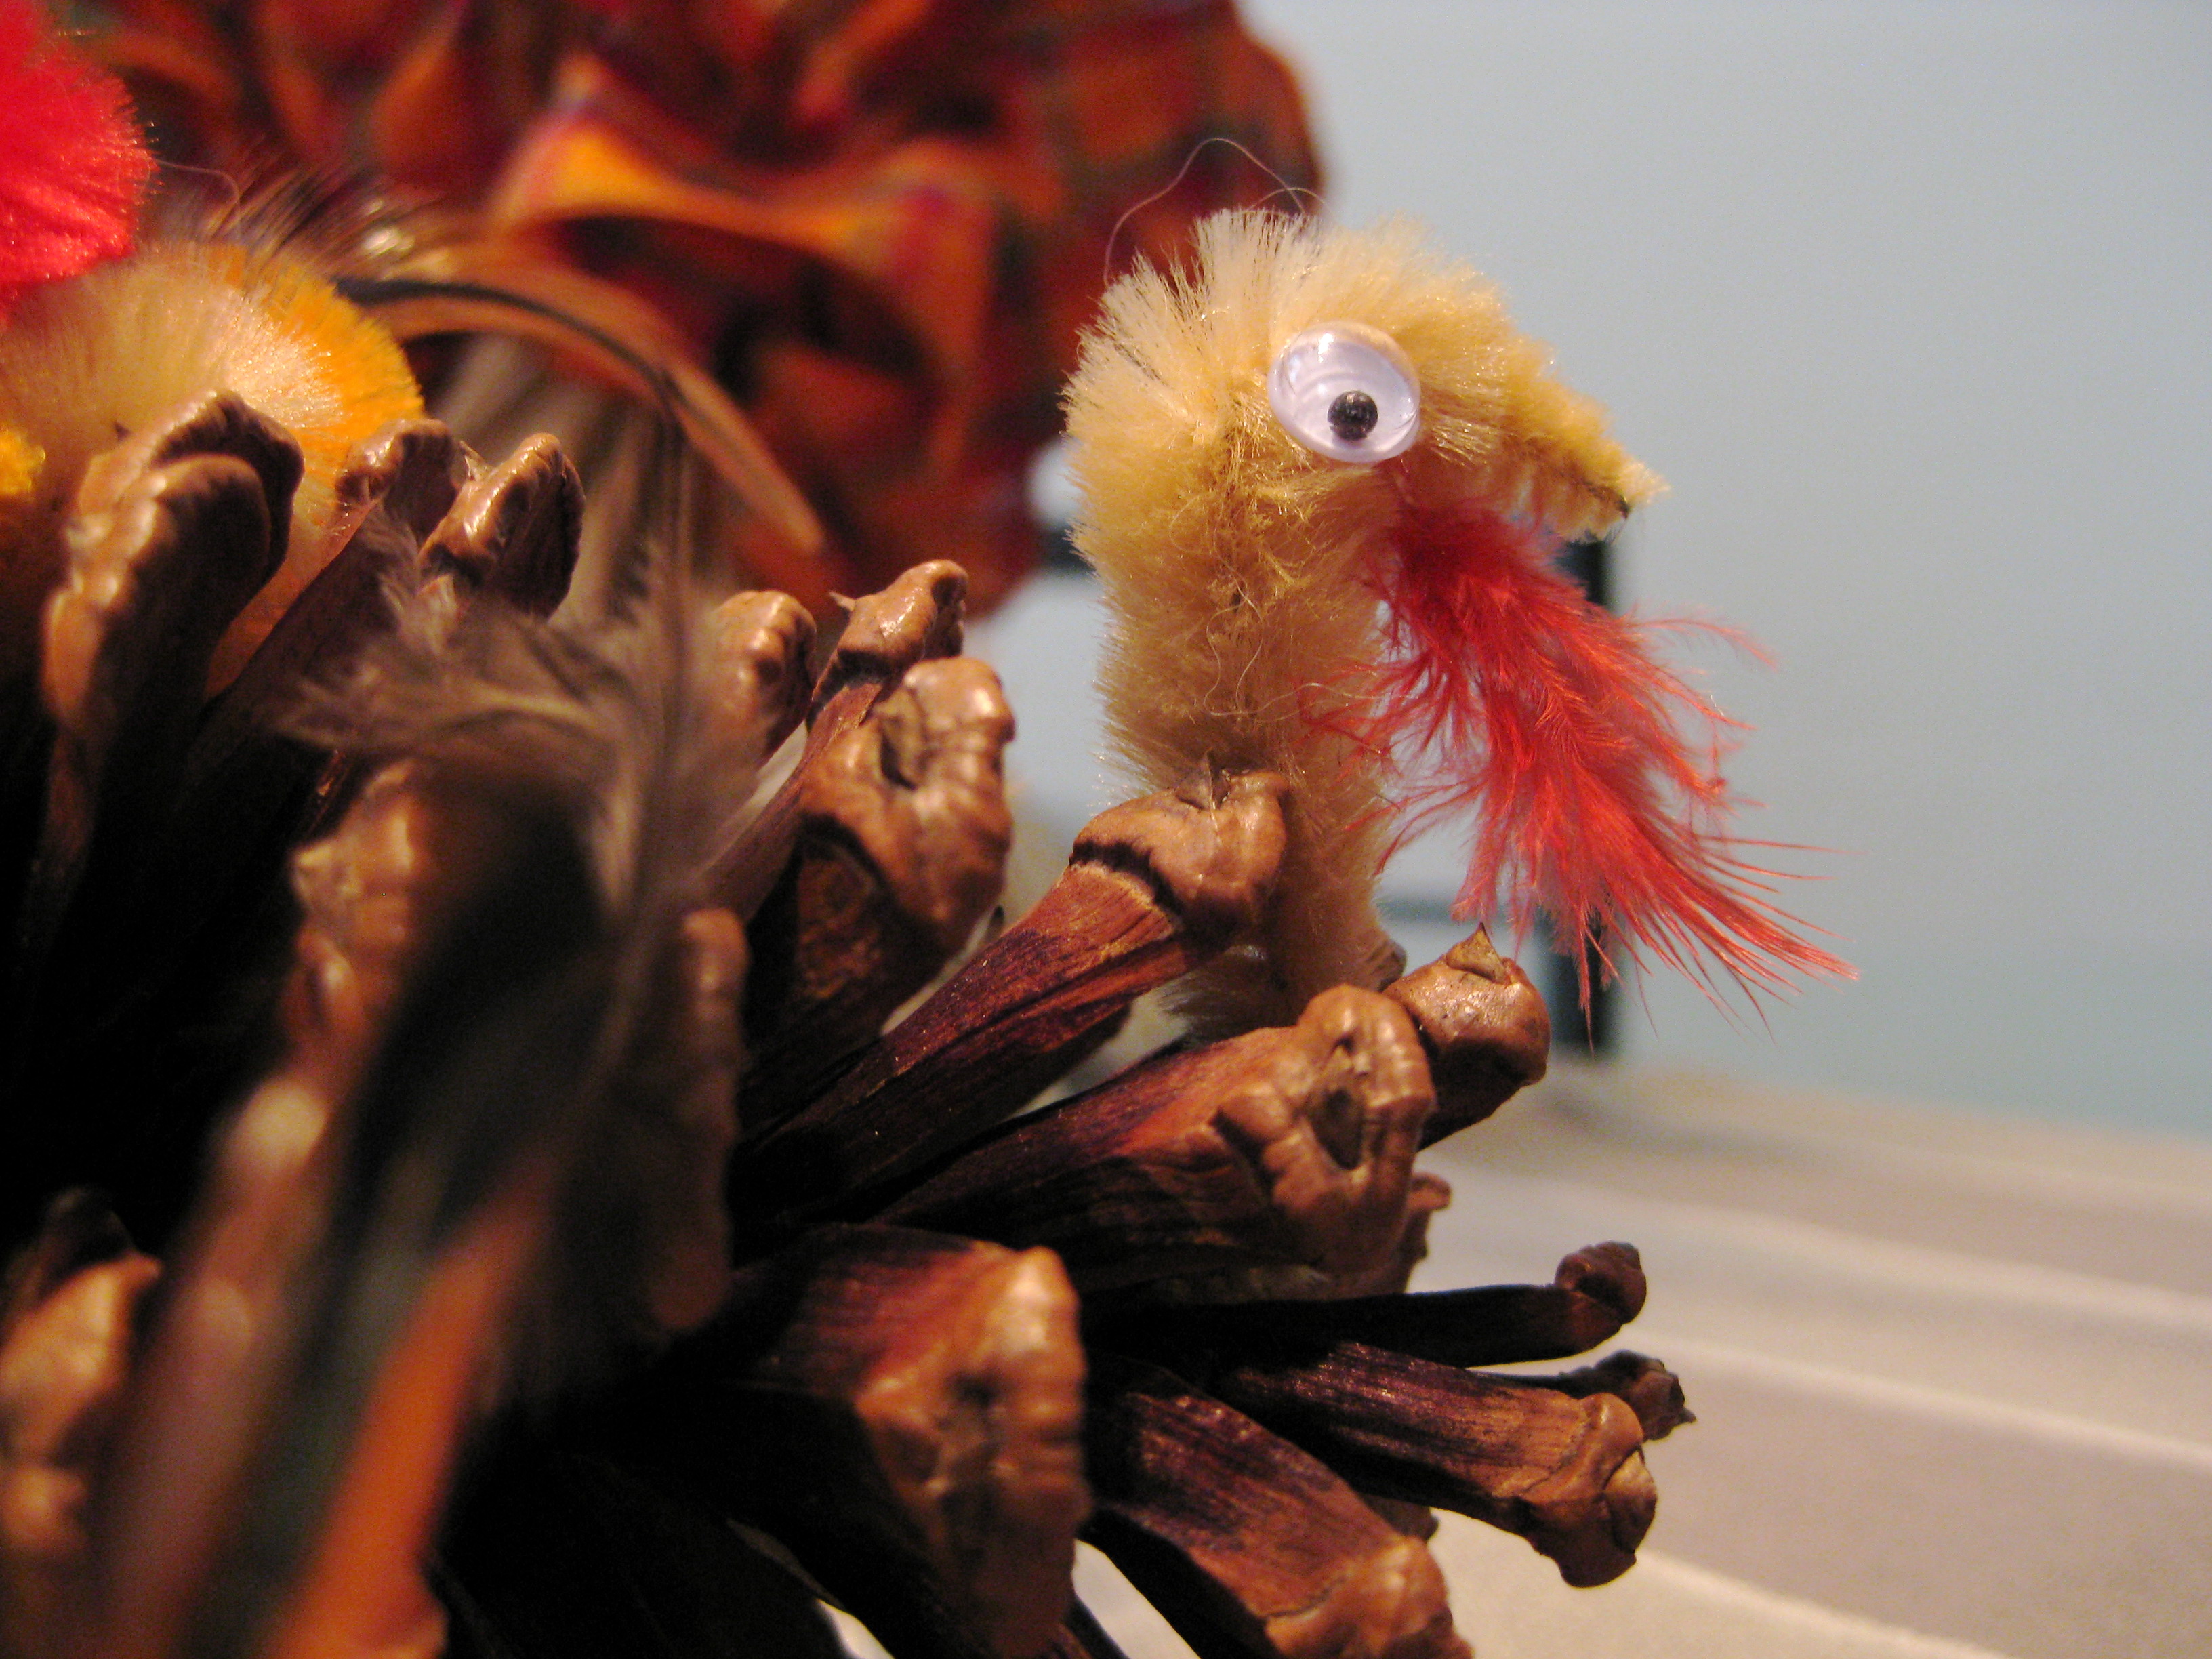
Pine Cone Turkey, Mom Aunt Judy Turkey & predator katie: normal turkey Pine Cone Turkey, Steve DadKeithJustice...she's blindHappy Thanksgiving To All Of The Pine Cone TurkeysHappy Thanksgiving!

Homemade: Easy, All-Natural, pH Balancing Facial Toner

.

.

.

.

.

It’s a bonus week for Sundays Homemade!  Now that you’ve brewed your own Herbal Floral Water, you’ve got a bi-product that shouldn’t be lost down the drain.  Turn it into an all-natural, pH balancing facial toner that’s great for all skin types, especially combination and acne prone skin.

You’ll Need:

  • 4 cup, seal-able container (I prefer a large mason jar)
  • 2 cups reserved Herbal Floral Water (dark water)*
  • 1/2 cup apple cider vinegar
  • 10 drops peppermint oil

*If you haven’t made the Herbal Floral Water and would like to make this toner: simmer herbs (see herbal floral water for suggested herbs) in distilled water for 1-2 hours, then follow the steps below.

  1. Strain the boiled herbs and their dark water through a fine-mesh strainer, lined with cheese cloth, into a large mason jar.
  2. Add the vinegar and peppermint oil, seal the jar and shake.
  3. After cleansing your face, apply toner and let dry before applying any lotions or creams.

I like to pour some of the final mixture into a container with a smaller opening than the mason jar, making it easier to wet a cloth or cotton pad, for application. The vinegar will act as a preservative, so the smaller batch does not need to be refrigerated; however, I do like to store the remaining mixture in the refrigerator.

Home Brewed: Herbal Floral Water

DIY: Brewing Herbal Floral Water

(Scroll down to view a video version of these instructions)

Growing up, I always adored shelves filled with bottles of potions, lotions and brews.  I’ve always been drawn to cabinets lined with jars of herbs, colorful glass bottles, cork stoppers and wooden spoons. Now I am the proud owner of many of these things and there is nothing I enjoy more than creating a new home brew on a rainy Sunday morning.

On this drizzly Sunday morning, I bring you a recipe for a fragrant and oh-so-useful herbal floral water. This water can be used alone as a facial toner, astringent or aftershave, or mixed with additional ingredients to create customized, all natural skin care products.

I like to use the following herbs for my herbal floral water:

  • 3 parts Calendula Flowers – natural acne healing and prevention, good for oily, blemish prone, combination and normal skin types
  • 2 parts Chamomile Flowers – soothing for acne and blemishes, good for all skin types
  • 1 part Yarrow – soothing for acne and blemishes, good for oily, blemish prone, combination and normal skin types
  • 1 part Rosemary – especially good for oily and combination skin
  • 1 part Sage – especially good for oily and combination skin
  • 1 part Lemon Balm – especially good for normal skin types
  • 1 part Rose Petals – any skin type, especially good for dry skin
  • 1/2 part Comfrey Root – soothing and healing for acne and blemishes, good for all skin types