Tag: education

Easiest Way To Cook And Shuck Corn On The Cob

Easy Oven Roasted Corn on the Cob - easiest way to cook and shuck corn ever!

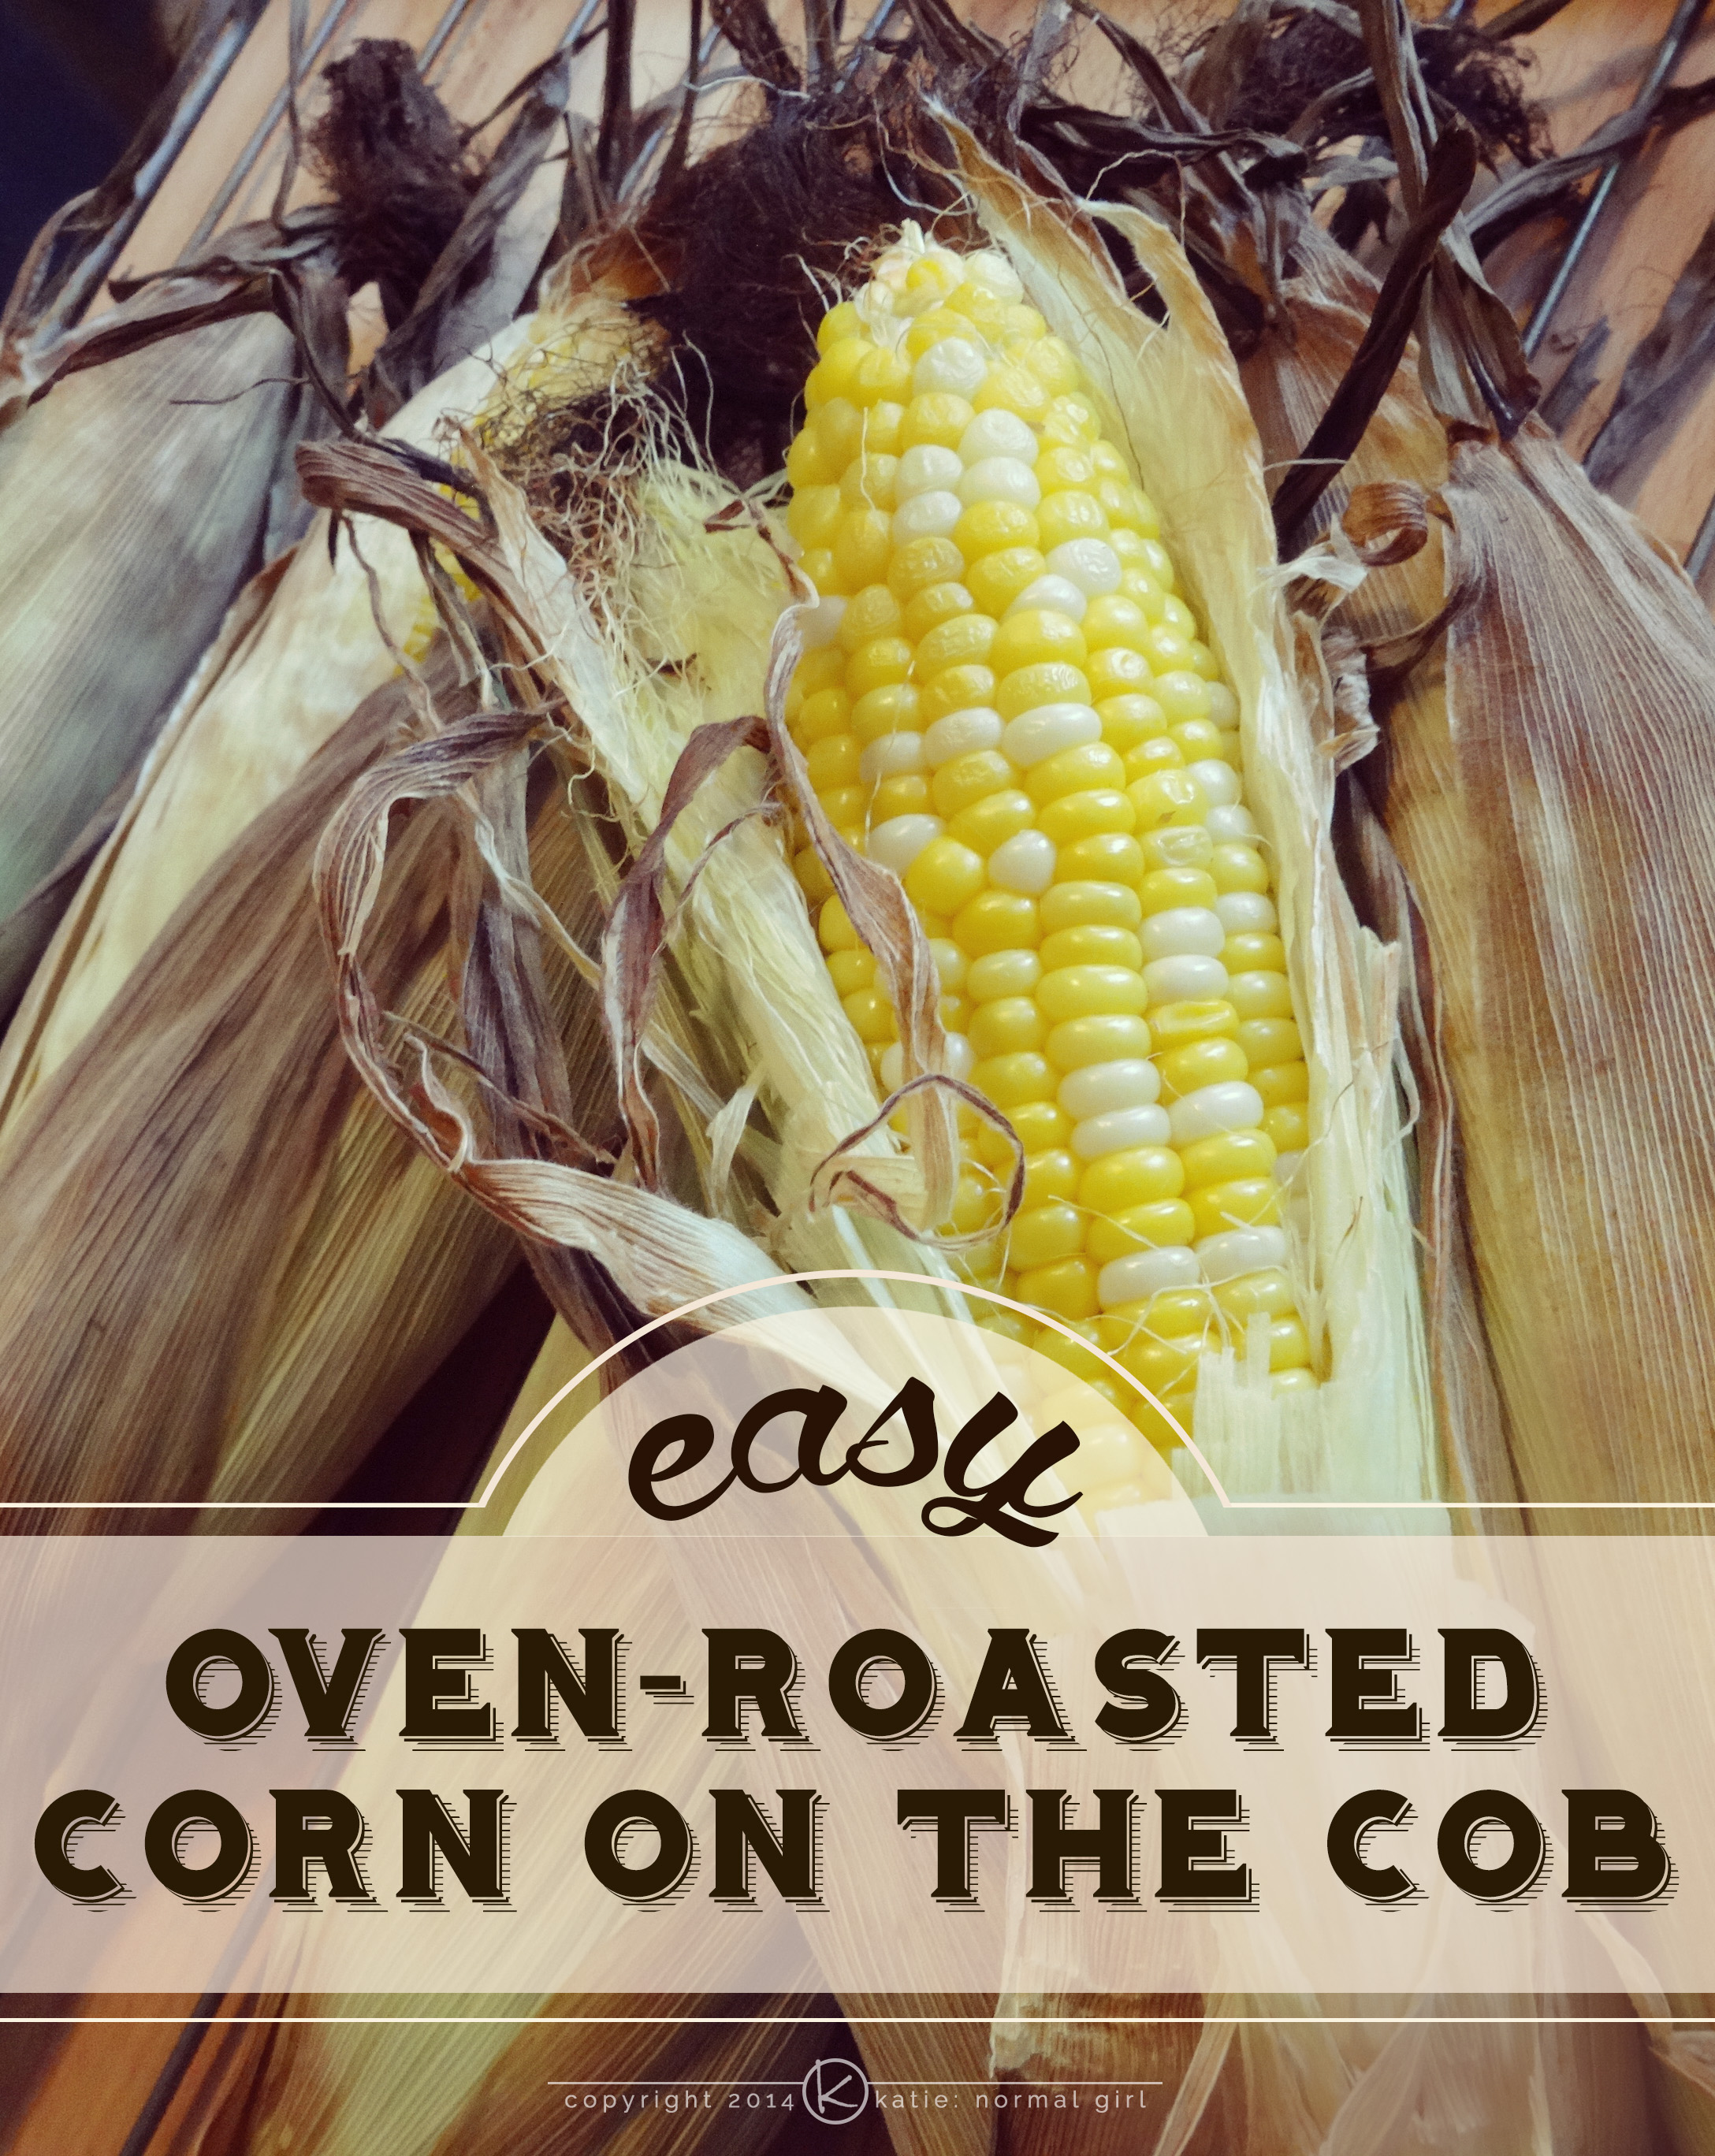
For years I would buy fresh corn on the cob, shuck it and get the sticky silks all over the place and somehow there were still more on the cob. Not to get too infomercial on you, but I wished there was a better way…and there is! Oven-roast those suckers!

When my friend first told me how to do this, I was convinced that shoving paper-like husks into a hot oven would result in roasted corn and an epic house fire. I’m happy to say that only one of those things happened. (It was the corn thing; if it were the house thing then this would be a terrible method for cooking corn.) The corn comes out of the oven cooked to perfection and the silks are magically stuck to the husk instead of the corn. Just peel the husk off and the silks come too!

How to make this fabulous corn on the cob

  1. Place corn on the cob (still in the husk) directly onto the racks of your 400°F oven and bake for 30 minutes.
  2. (Optional) Continuously open the oven door to peek inside and make sure the corn is not on fire…despite your friend’s insistence that it is not.
  3. Once the corn is done roasting, remove it from the oven and let it cool for about 10 – 15 minutes before asking your dinner guests to shuck a 400°F object (lesson learned).

That’s all there is to it! (And you thought the house was going to burn down…)

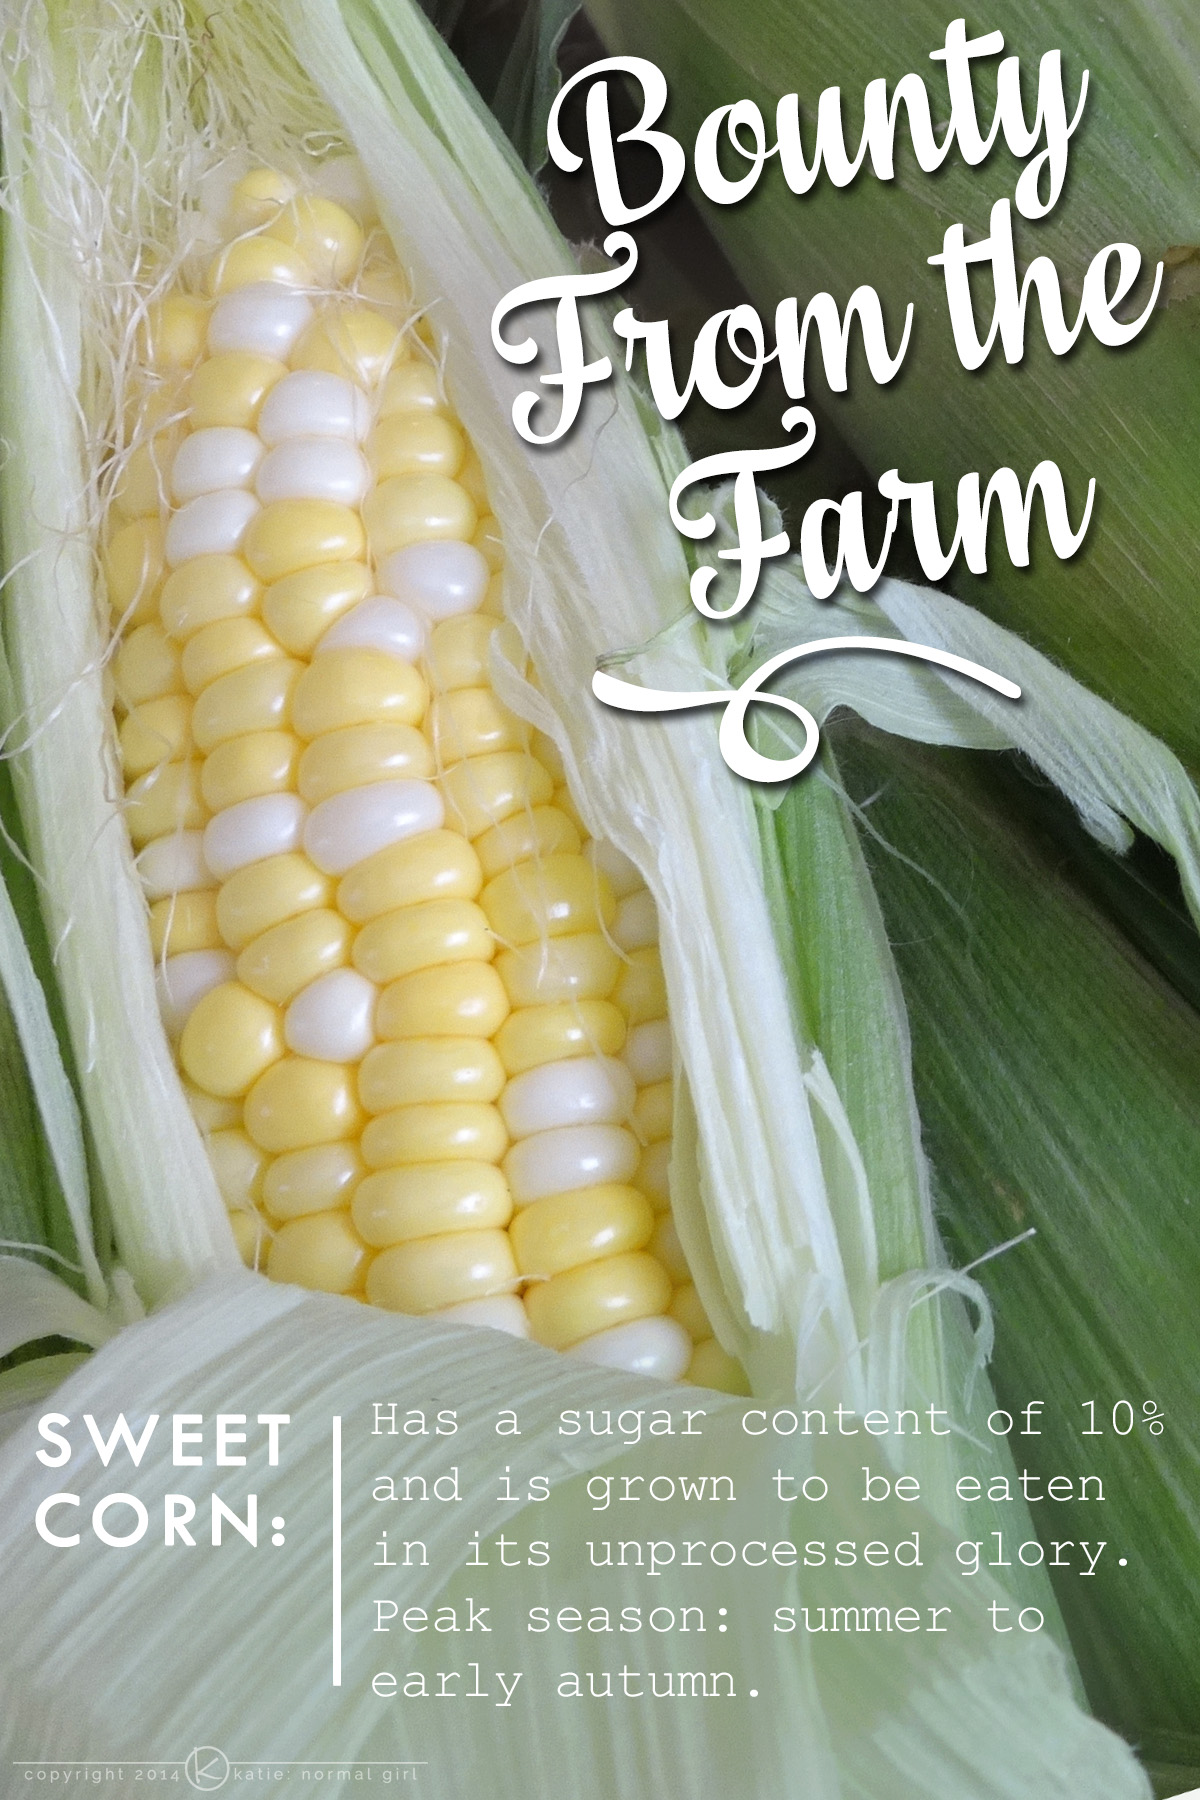
Want to learn more about corn? Check out my Bounty From The Farm: Sweet Corn post and coming on June 11 (National Corn on the Cob Day) I’ve got a great Edamame, Corn and Tomato Salad that makes a great side dish at outdoor barbecues.

katie: normal girl

Bounty From The Farm: Sweet Corn

Bounty From The Farm-Sweet Corn from katienormalgirl

While milling around my local farmer’s market last weekend I visited one of my favorite local farmers where I found a lovely pile of sweet corn. He had just harvested the corn earlier that morning so it was about as fresh as I could get without growing it myself! Armed with my bushel of corn, I decided that I just had to tell you about one of my favorite veggies: sweet corn.

Is all corn “sweet corn”?

Sweet corn has a higher sugar concentration than its counterparts, flint and dent corn and popcorn – all of which have a high-starch content. Flint and dent corns are typically grown with the intention of processing into corn meal and flour for many corn-based foods like tortilla chips, polenta and grits. Sweet corn is grown to be consumed as a whole kernel, whether cut from the cob, frozen or canned.

Is it ripe?

As soon as sweet corn is harvested, its sugars begin to breakdown, so the smaller you can make the farm-to-table gap, the better. Corn is ready for harvest (and eating) when the silks begin to turn brown but aren’t dry.

Peel the husk down a little bit; if the kernels go to the top and are plump (not dimpled) then you’ve got a fresh ear of corn. As a final test, puncture a kernel and if the juice is milky then you’ve got corn at its peak of freshness. Time to eat it!

If you’re ready to get cooking, this is (in my humble, corn-loving opinion) the easiest way to cook and shuck corn.

katie: normal girl


Just in case you didn’t know… 

Husk – the green, leafy covering over your corn.

Silk – the stringy bits at the top of corn. Along with the husk, they are removed before eating the corn.

Shuck – the processes of removing the husk and silk from the corncob or just another word for peeling – you peel a banana; you shuck corn on the cob.

Ear of corn – refers to a single cob of corn, in or out of the husk.

Check out more from my Bounty From the Farm series.

Bounty From The Farm: What are pullet eggs?

Bounty From The Farm: Pullet Eggs from katienormalgirl.com | #food #eggs

This past weekend I visited an adorable little farm out in the country, Lake Meadow Naturals. There’s a gravel lot where you park between the duck coop and the goats, and in front of you is a lovely field with rolling hills, huge oak trees and grazing horses. It’s as close to perfection as you can get.

On this little farm they also have turkeys, bunnies, beehives and, of course, chickens. The happy little hens have a massive coop with a big open yard for them to go wandering about. This is where you’ll find the pullets and their eggs. These female chickens are under a year old and have just begun to lay eggs. After they are a year old, they will be referred to as hens. A sign in the farm’s store explains the eggs:

The most special, and most precious, of pullet eggs are their first lay. These eggs have in them all of the vital essences of the chicken, which it has stored up its entire life. No subsequent eggs will ever taste the same. They are in limited supply as they only lay them in the first few weeks.

Once the pullets start laying regularly, their small pullet eggs become mediums, then large and sometimes extra large. You don’t typically see pullet eggs in the grocery store because their small size makes them less desirable to consumers and they are often sent to processing facilitates to become scrambled or powdered eggs. However, if you can find them at a local farm or farmer’s market, I suggest giving them a try. They are tasty on their own with a rich yolk that fries up nice but they are also great for making baked goods and are often coveted by pasty chefs for their rich flavor and consistency.

If you decide to bake with pullet eggs, be sure to check your recipe measurements. Most recipes call for large or extra large eggs which average about 3 tablespoons of egg. Pullet eggs are much smaller, so you may need to use 2 for every 1 large or extra large.

Now you know what pullet eggs are and that you should definitely try them. Happy egg hunting!

katie: normal girl


Check out more from my Bounty From the Farm series.

Calming Oatmeal Facial

Original publish date: January 19, 2012

DIY Skin Care: Calming Oatmeal Facial from katienormalgirl.com | #DIY #natural #beautyLast nerve frayed?  Winter weather dried out your skin?  No problem.  The chamomile in this mask has natural anti-inflammatory properties that will ease your nerves.  The honey is a natural humectant, pulling moisture from the air and drawing it to your skin.  It will leave you feeling calm and moisturized, and who wouldn’t want that?

You’ll need:
2 1/2 tsp. powdered milk
2 tsp. ground oatmeal
1 tsp. honey
2 chamomile tea bags

Brew…
Place the chamomile tea bags in your favorite mug and pour in 1 cup boiling water.  Put a saucer over the cup to trap the escaping steam, which is now infused with the beneficial constituents of the chamomile flowers.  Let this steep for 10 minutes.

After the tea is done steeping, remove the tea bags, squeeze out any excess water and place them in the refrigerator to cool.

Mix…
In a small bowl, mix together the powdered milk, ground oatmeal, honey and 2 tsp. of the warm chamomile tea.  The warm water will draw out the beneficial elements of the oatmeal and milk, while liquefying the honey, creating a thin paste.

Relax…
Using your fingers, apply the oatmeal mixture to your forehead, then gently sweep down your temples, under your eyes and around your nose.  Move your fingers in small circles as you apply more mixture to your cheeks, around your mouth and down your neck.

As you apply the mixture, pay attention to your breathing, take slow, calm breaths.  Enjoy the light scent of chamomile and honey as you inhale through your nose and exhale through your mouth.  Feel the warm sensation of the oatmeal mixture as you gently spread it over your face.

When you’ve finished applying the mask, rinse your hands in warm water.  Get the cooled tea bags from the refrigerator, then lie down with the tea bags placed over your closed eyes.  Relax for 20 to 30 minutes and let the chamomile calm your skin and soothe your nerves.

And Rinse.
To rinse the mask off, use warm water and a wash cloth.  You do not need to use soap or a cleanser.  The mask will rinse clean without them and you want to allow the delicate essences of the chamomile flowers to linger on your skin.  The honey will rinse off, leaving your skin feeling moisturized, without clogging your pores.  Pat your face dry.

Dispose of (or compost!) the tea bags and finish your facial by sitting with a good book or magazine and sipping on the rest of the chamomile tea that you brewed earlier.  If you’ve got the ingredients on hand, this entire process takes less than 45 minutes and can really replenish your mind and body after a draining day.

Happy brewing!

katie: normal girl


P.S. Who knew? Tea vs. Tisane
Did you know that in order for a beverage to be called “tea,” it actually needs to have tea leaves in it?  So all of the herbal brews, like the chamomile tea you just made, are not actually teas…they’re tisanes, water infused with herbs.  But seriously, who would ever call them that??  Chamomile tisane?

The 21st Century Herbalist: Volume 1, Issue 19

It’s week 4 of DIY Skin Care Month and now that you’ve cleansed and toned, it’s time to moisturize!

Why moisturize?

Lotions don’t just hydrate your skin, they also help protect it.  When you apply a moisturizer to your skin, you are creating a barrier between the epidermis (skin’s upper layer) and the environment around you.  Lotion protects your skin from pollutants and from the drying effects of air-conditioning and heating.

Different Moisturizers for Different Skin Types

It’s important to select a moisturizer blended for your skin type.  Lotions, facial creams especially, are all blended with a certain skin type in mind which is usually marked on the container with indicator words like: hydrating, sensitive or light formula.  Using a light

…read more (you’ll be redirected to my column on hellogiggles.com)

The 21st Century Herbalist: Volume 1, Issue 18

Welcome, Gigglers, to week 3 of DIY Skin Care Month.  Today we’re talking about toners and astringents, and the reasons you should you use them.  Both toners and astringents are water-based solutions that are applied to the skin after cleansing but before moisturizing. They help remove excess oil and perspiration, along with any residue left behind by your cleanser.  They also balance your skin’s pH level while preparing it to better absorb your moisturizer.

Astringent vs. Toner
Astringents are usually stronger than toners, often containing isopropyl alcohol or acetone (yes, the stuff that nail polish remover is made with), which can be drying and harmful to your skin.  Astringents should only be used on oily, combination and normal skin types.  Toners are gentler than astringents and can be used on all skin types but are especially beneficial to those with dry or

…read more (you’ll be redirected to my column on hellogiggles.com)