My kitchen sink is stacked with dishes, my dining room table is a mess, there’s food everywhere, and I had the best time! I invited my family over for a crafting day and we revived a holiday tradition from my childhood…Thanksgiving Pinecone Turkeys. Normally we would craft these before Thanksgiving Dinner, but this year I invited everyone over for an early crafting day so I could share this tradition with you in time for this year’s Thanksgiving celebration. You can see all of their wonderful creations in the Inspiration Gallery, at the end of this post.
These adorable little birds can be made by each guest before Thanksgiving dinner and used as “place cards” on the holiday table. While guests are snacking on appetizers and waiting for dinner, have them gather around the table and create their own personalized Pinecone Turkey.
Set up a folding table, which you can cover with a plastic tablecloth if you prefer. Then you’ll need:
- Pinecones – 1 per person, medium sized. If you’re lucky enough to have pinecones in the backyard, then save the gathering activity for the kids when they arrive for dinner. I didn’t have pinecones, but before heading to the craft store to buy them, I asked my family to bring some. I also put up a notice at work and a co-worker was more than happy to bring me a large bag full!
- Craft Glue – several small bottles
- Pipe Cleaners in a variety of colors – the kind with bumps
- Wire cutters (to clip the pipe cleaners, scissors usually won’t do it)
- Fancy Paper for name tags
- 1 or 2 Paint Markers that coordinate with the name tag paper you choose
- Googley Eyes
- Any additional embellishments that you can’t live without! (My family also likes to use small craft feathers in a variety of colors.)
Making Pinecone Turkeys
1. Start by shaking out the pinecones to make sure they are free of bugs and debris. Set the pinecone on its side, in a position where it doesn’t wobble back and forth.
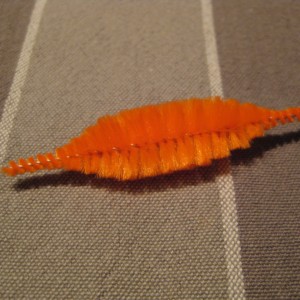
2. Use the wire cutters to cut the pipe cleaners between each bump. I like to do this part before everyone arrives.
.
.
.
.
.
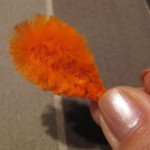
3. Select a pipe cleaner bump and bend it in half to form a drop, and then twist the ends slightly so they stay together.
.
.
.
.
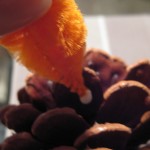
4. Dab a little glue on the end and tuck it into the back (the larger end) of the pinecone.
.
.
.
.
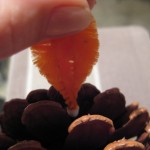
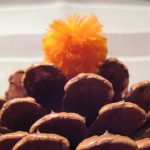
5. Continue to do this, making several rows until you’ve formed the turkey’s tail.
.
.
.
.
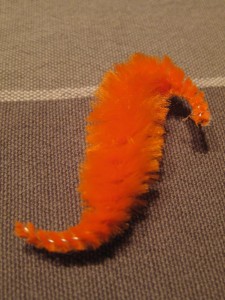
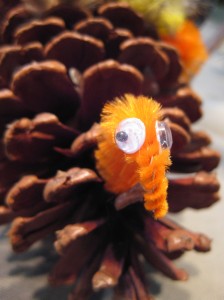
6. Next you’ll want to add the turkey’s head. Choose a pipe cleaner bump and bend it into a loose “S” shape and glue one googley eye on each side of the head. Then dab glue at the base of the head and tuck it into the front of the pinecone.
.
.
.
.
.
.
7. Add any additional embellishments that you like!
You can add wings to the turkey’s side using pipe cleaner bumps or small craft feathers, which you can also tuck into the tail. There were some pine needles in with the pinecones, which a couple of people used as embellishment. Some of us used very small feathers to create a “wobble” under the turkey’s chin and my mother even created a green feather fascinator* for her turkey! For a final touch, use the paint marker to write your name on the fancy paper and have your guests display the name in front of their turkey, tucked into the turkey’s back or, like some of my family did, glue it to the turkey’s “butt”.
I hope you enjoy sharing this holiday tradition with your friends and family and feel free to send me pictures of the fun!

.
.
*If you’re not in the “know” about fascinators, those are the tiny embellished headpieces worn by the British at high society events…like the royal wedding.
Inspiration Gallery

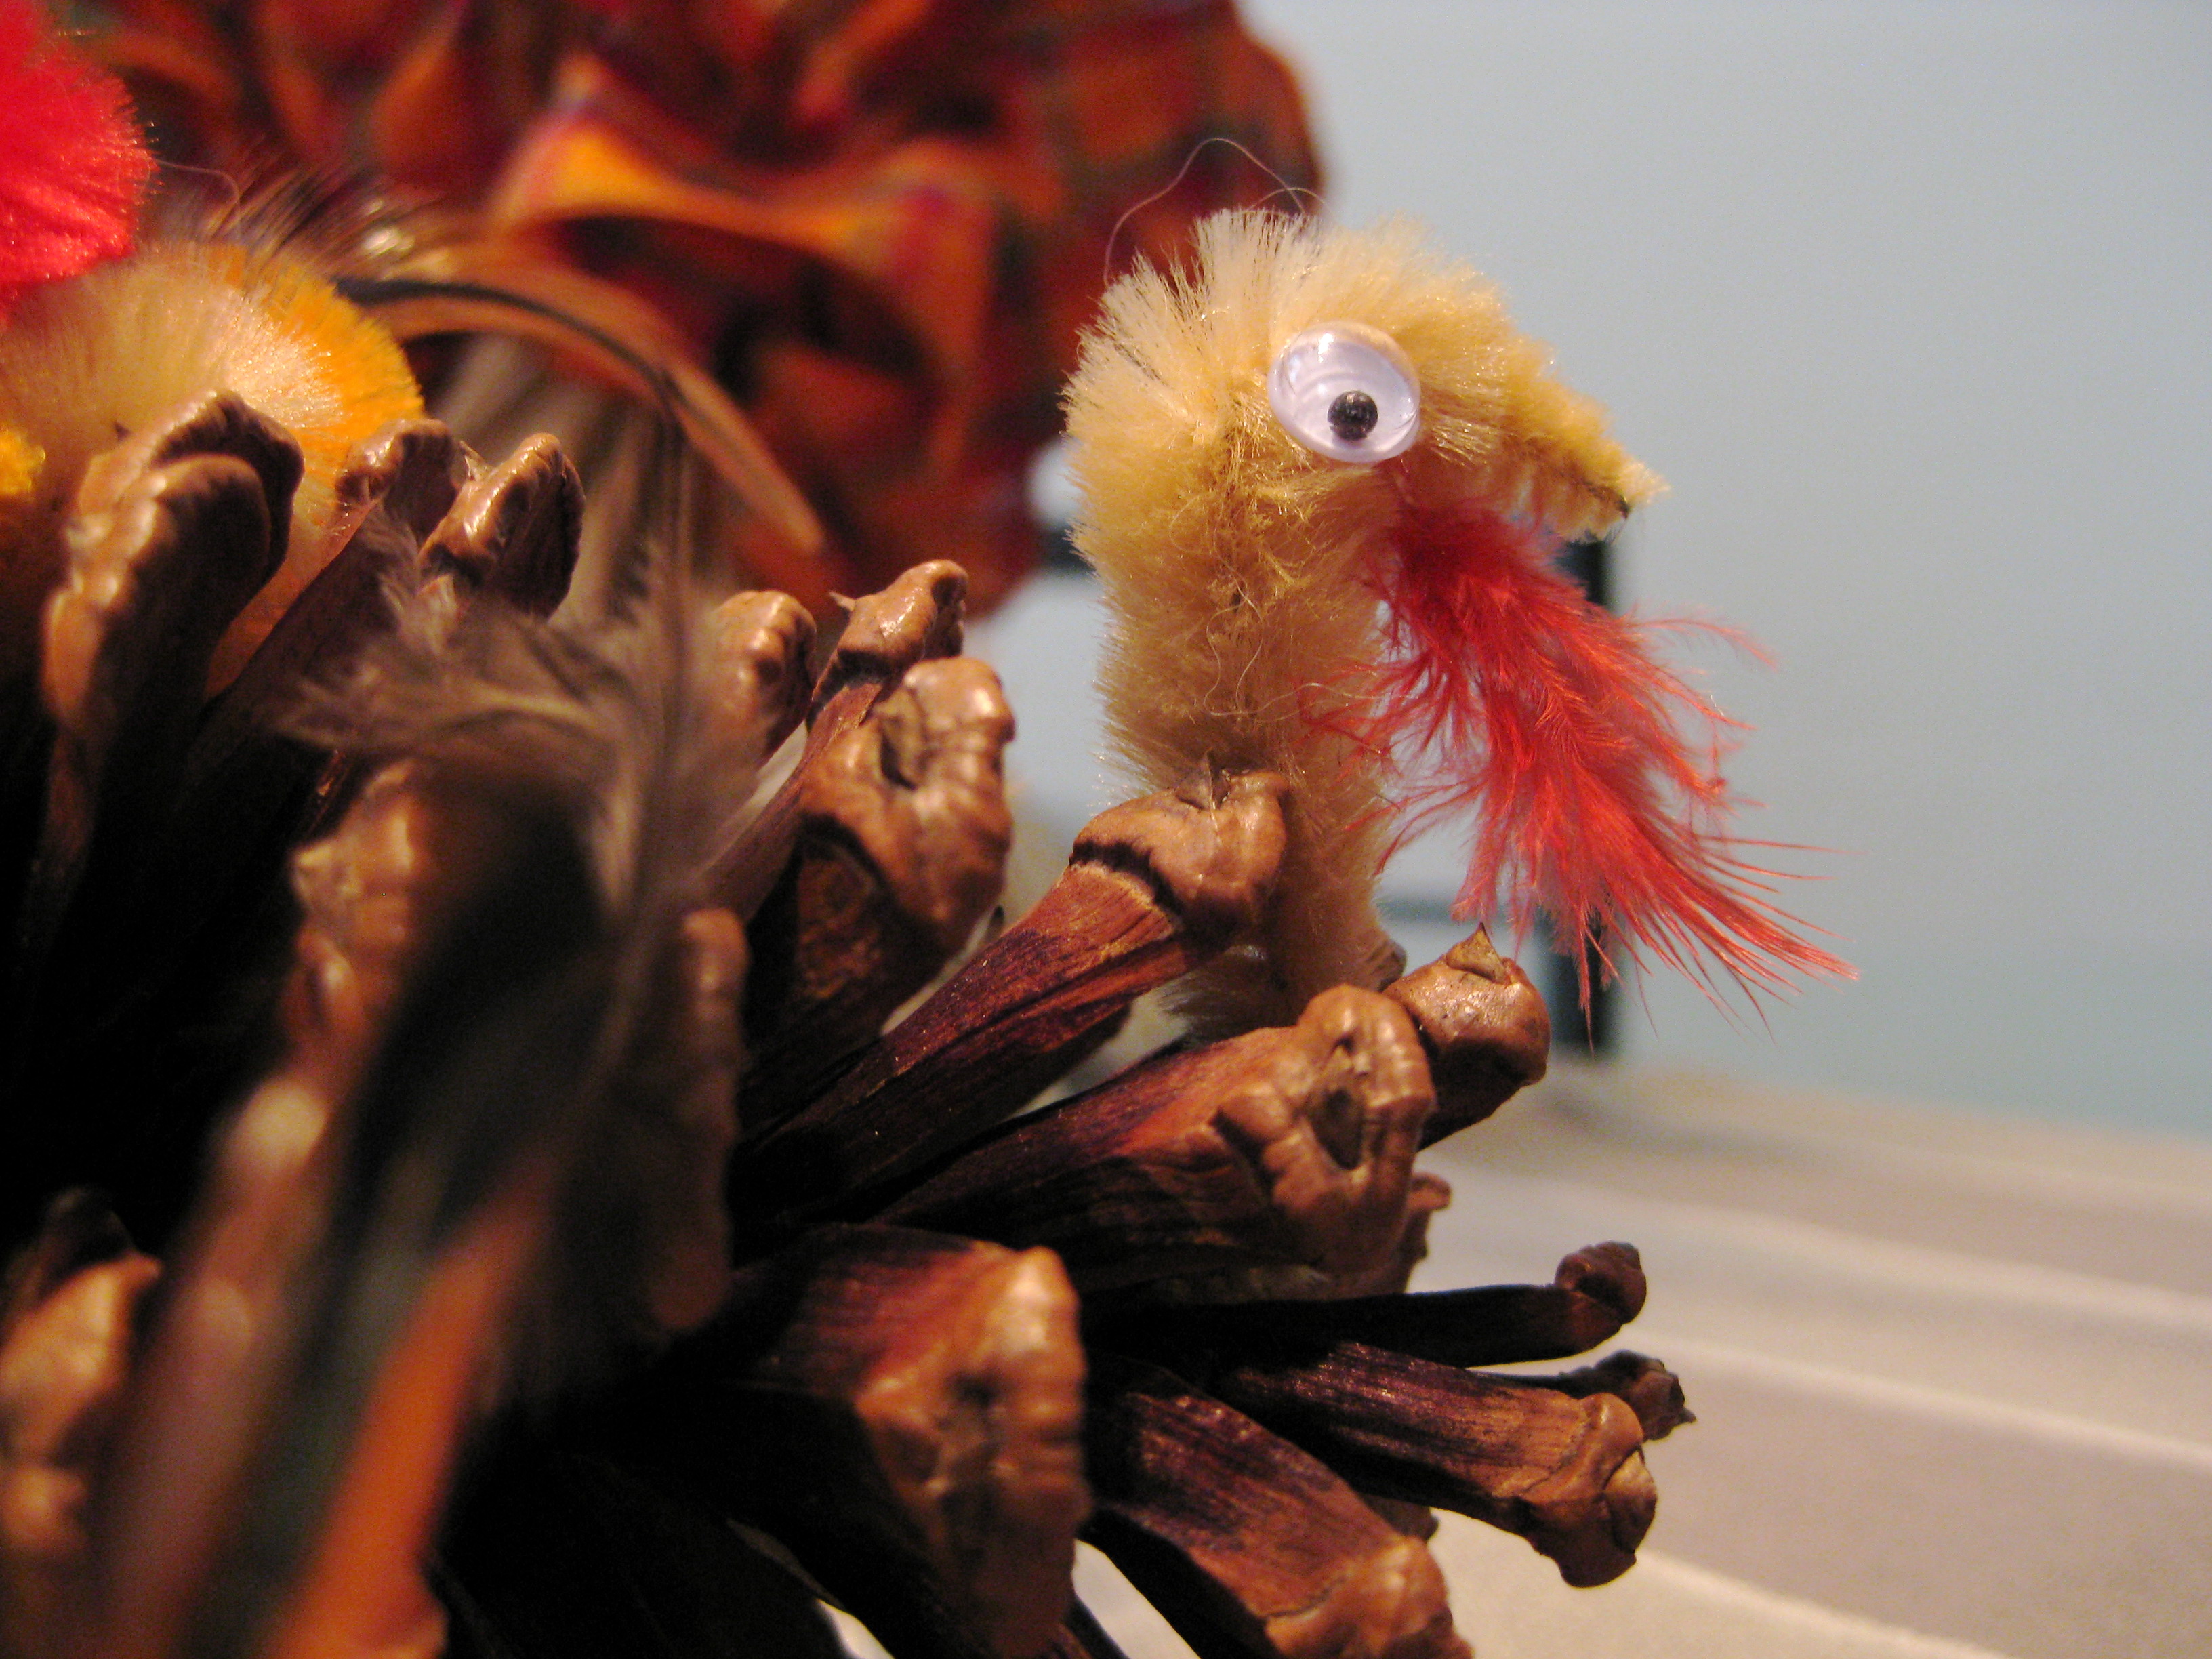
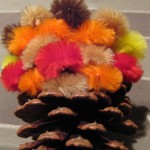
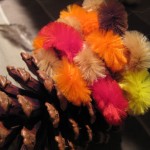
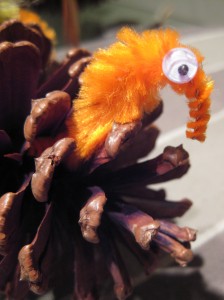
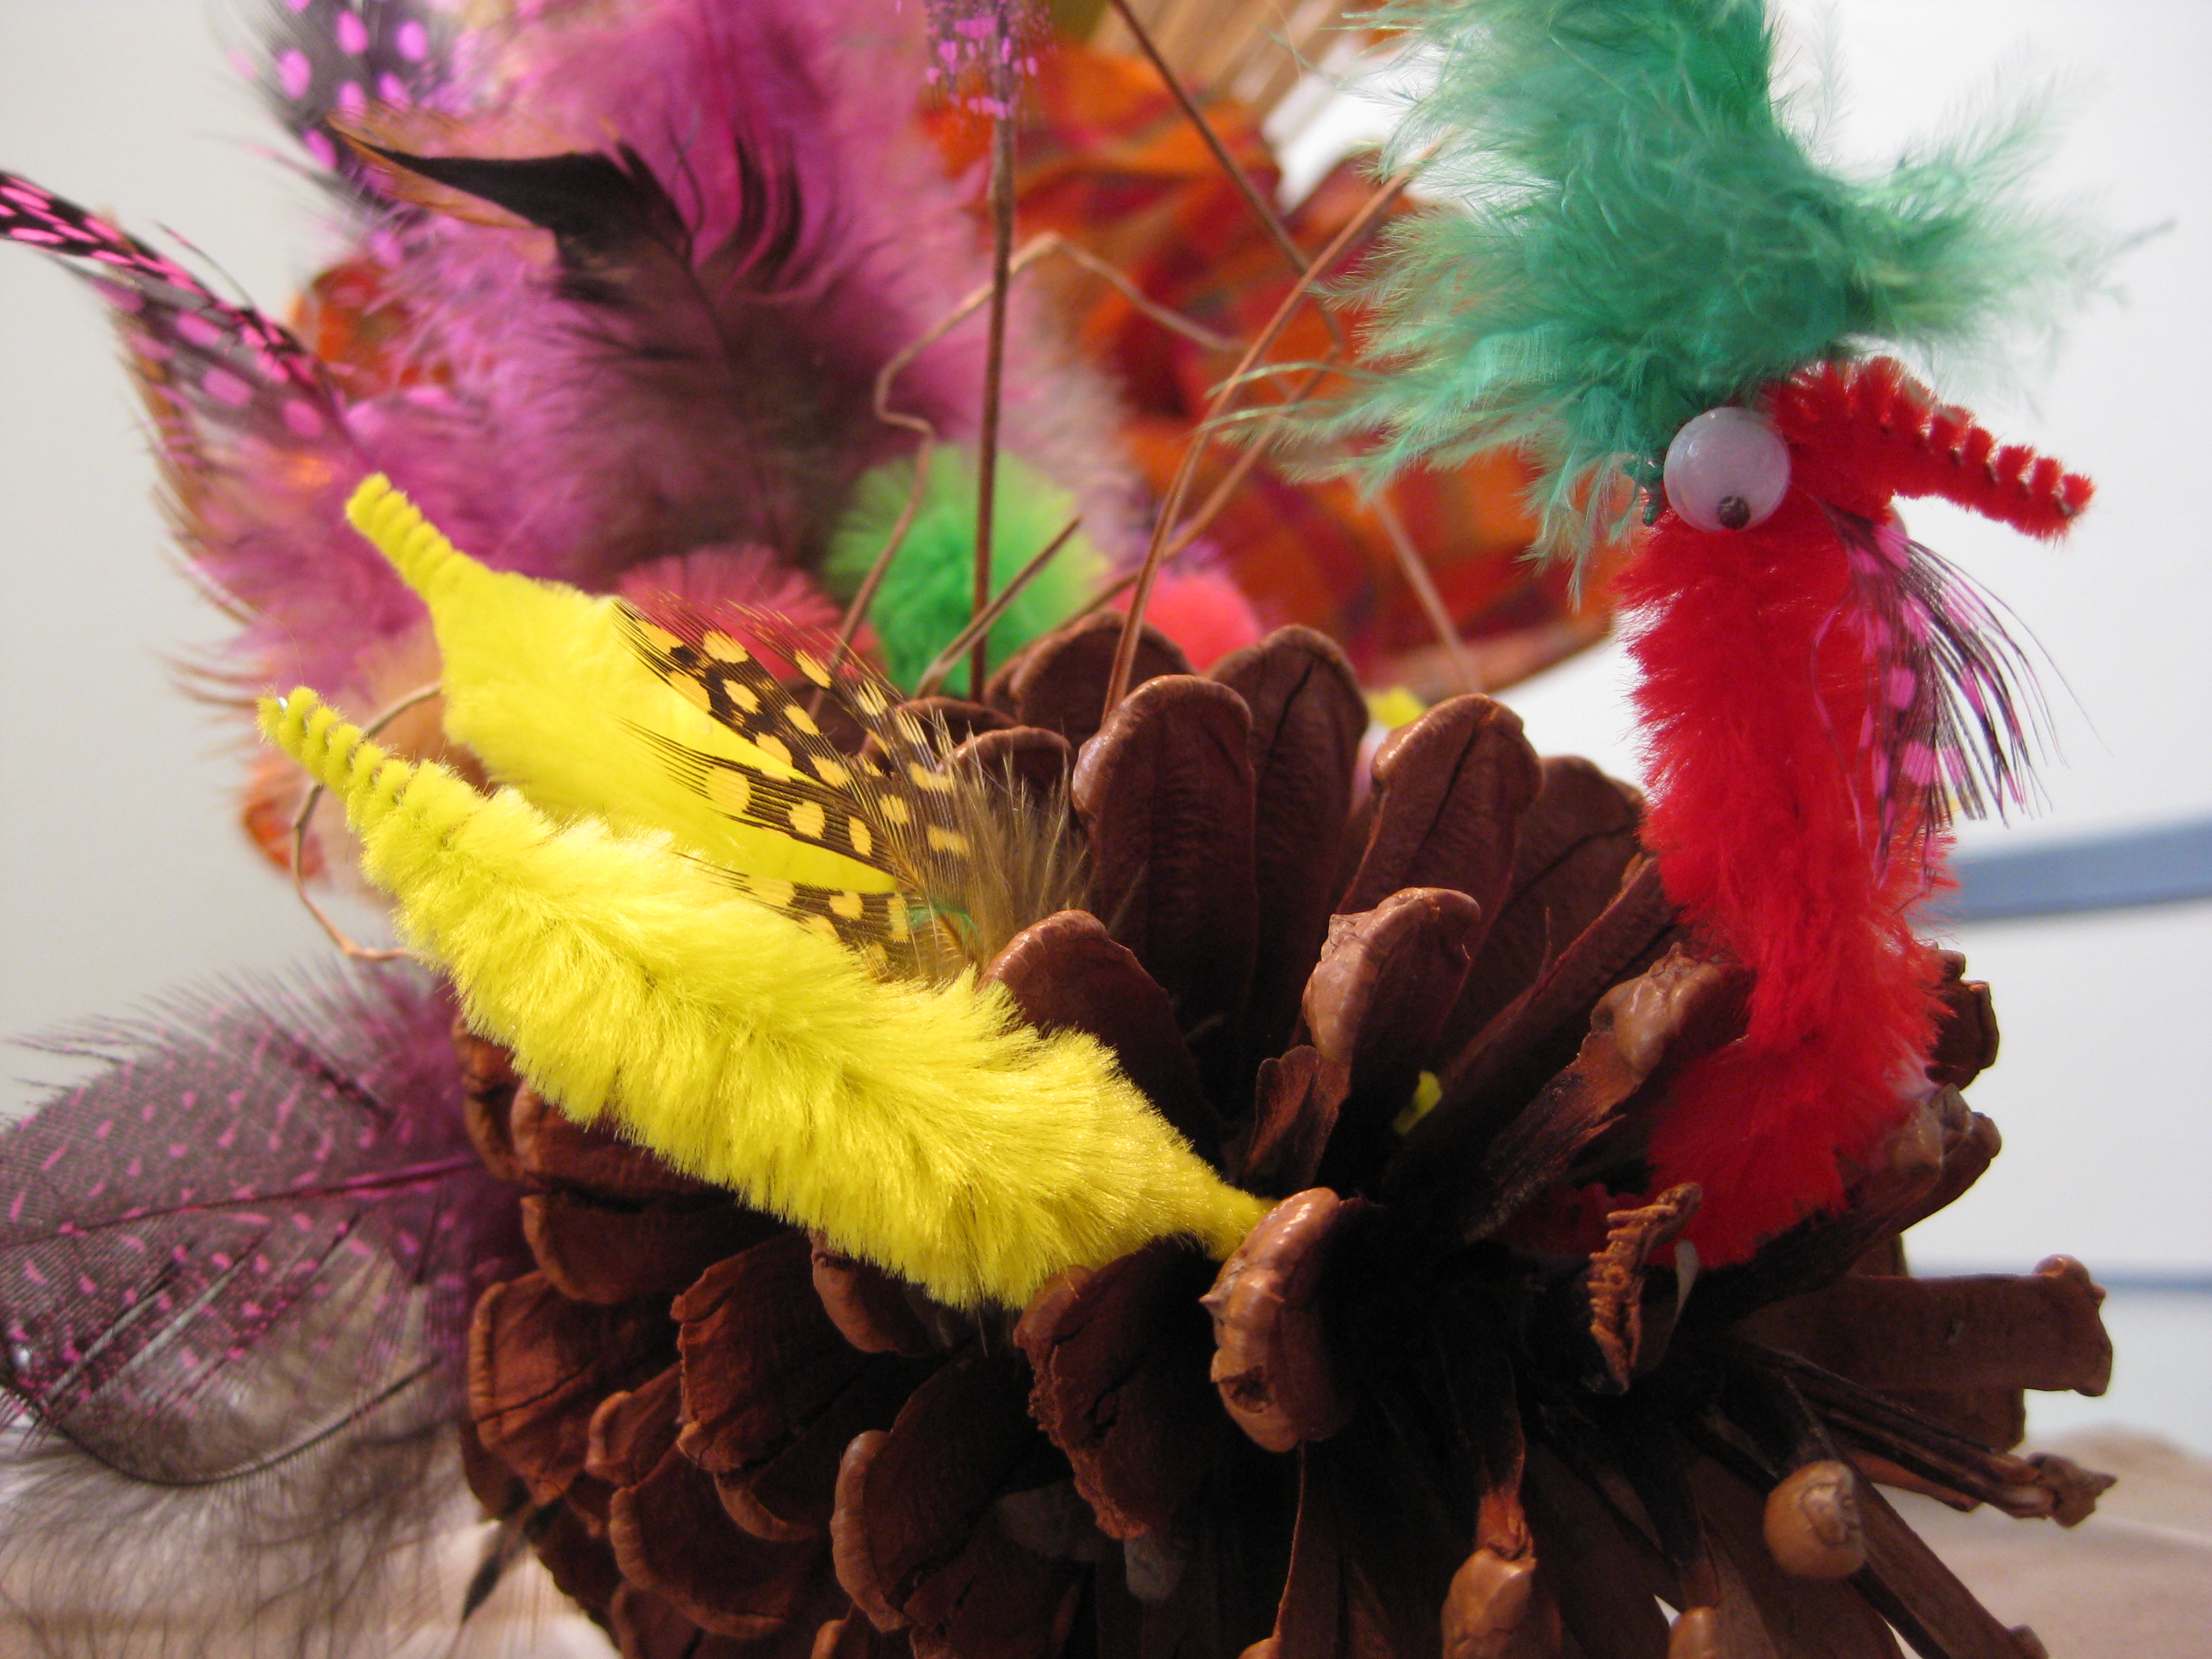
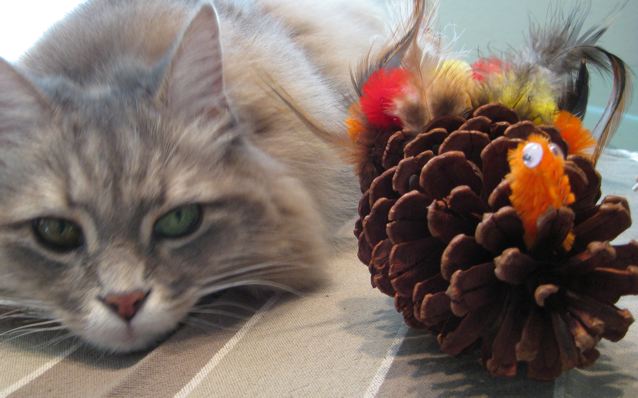
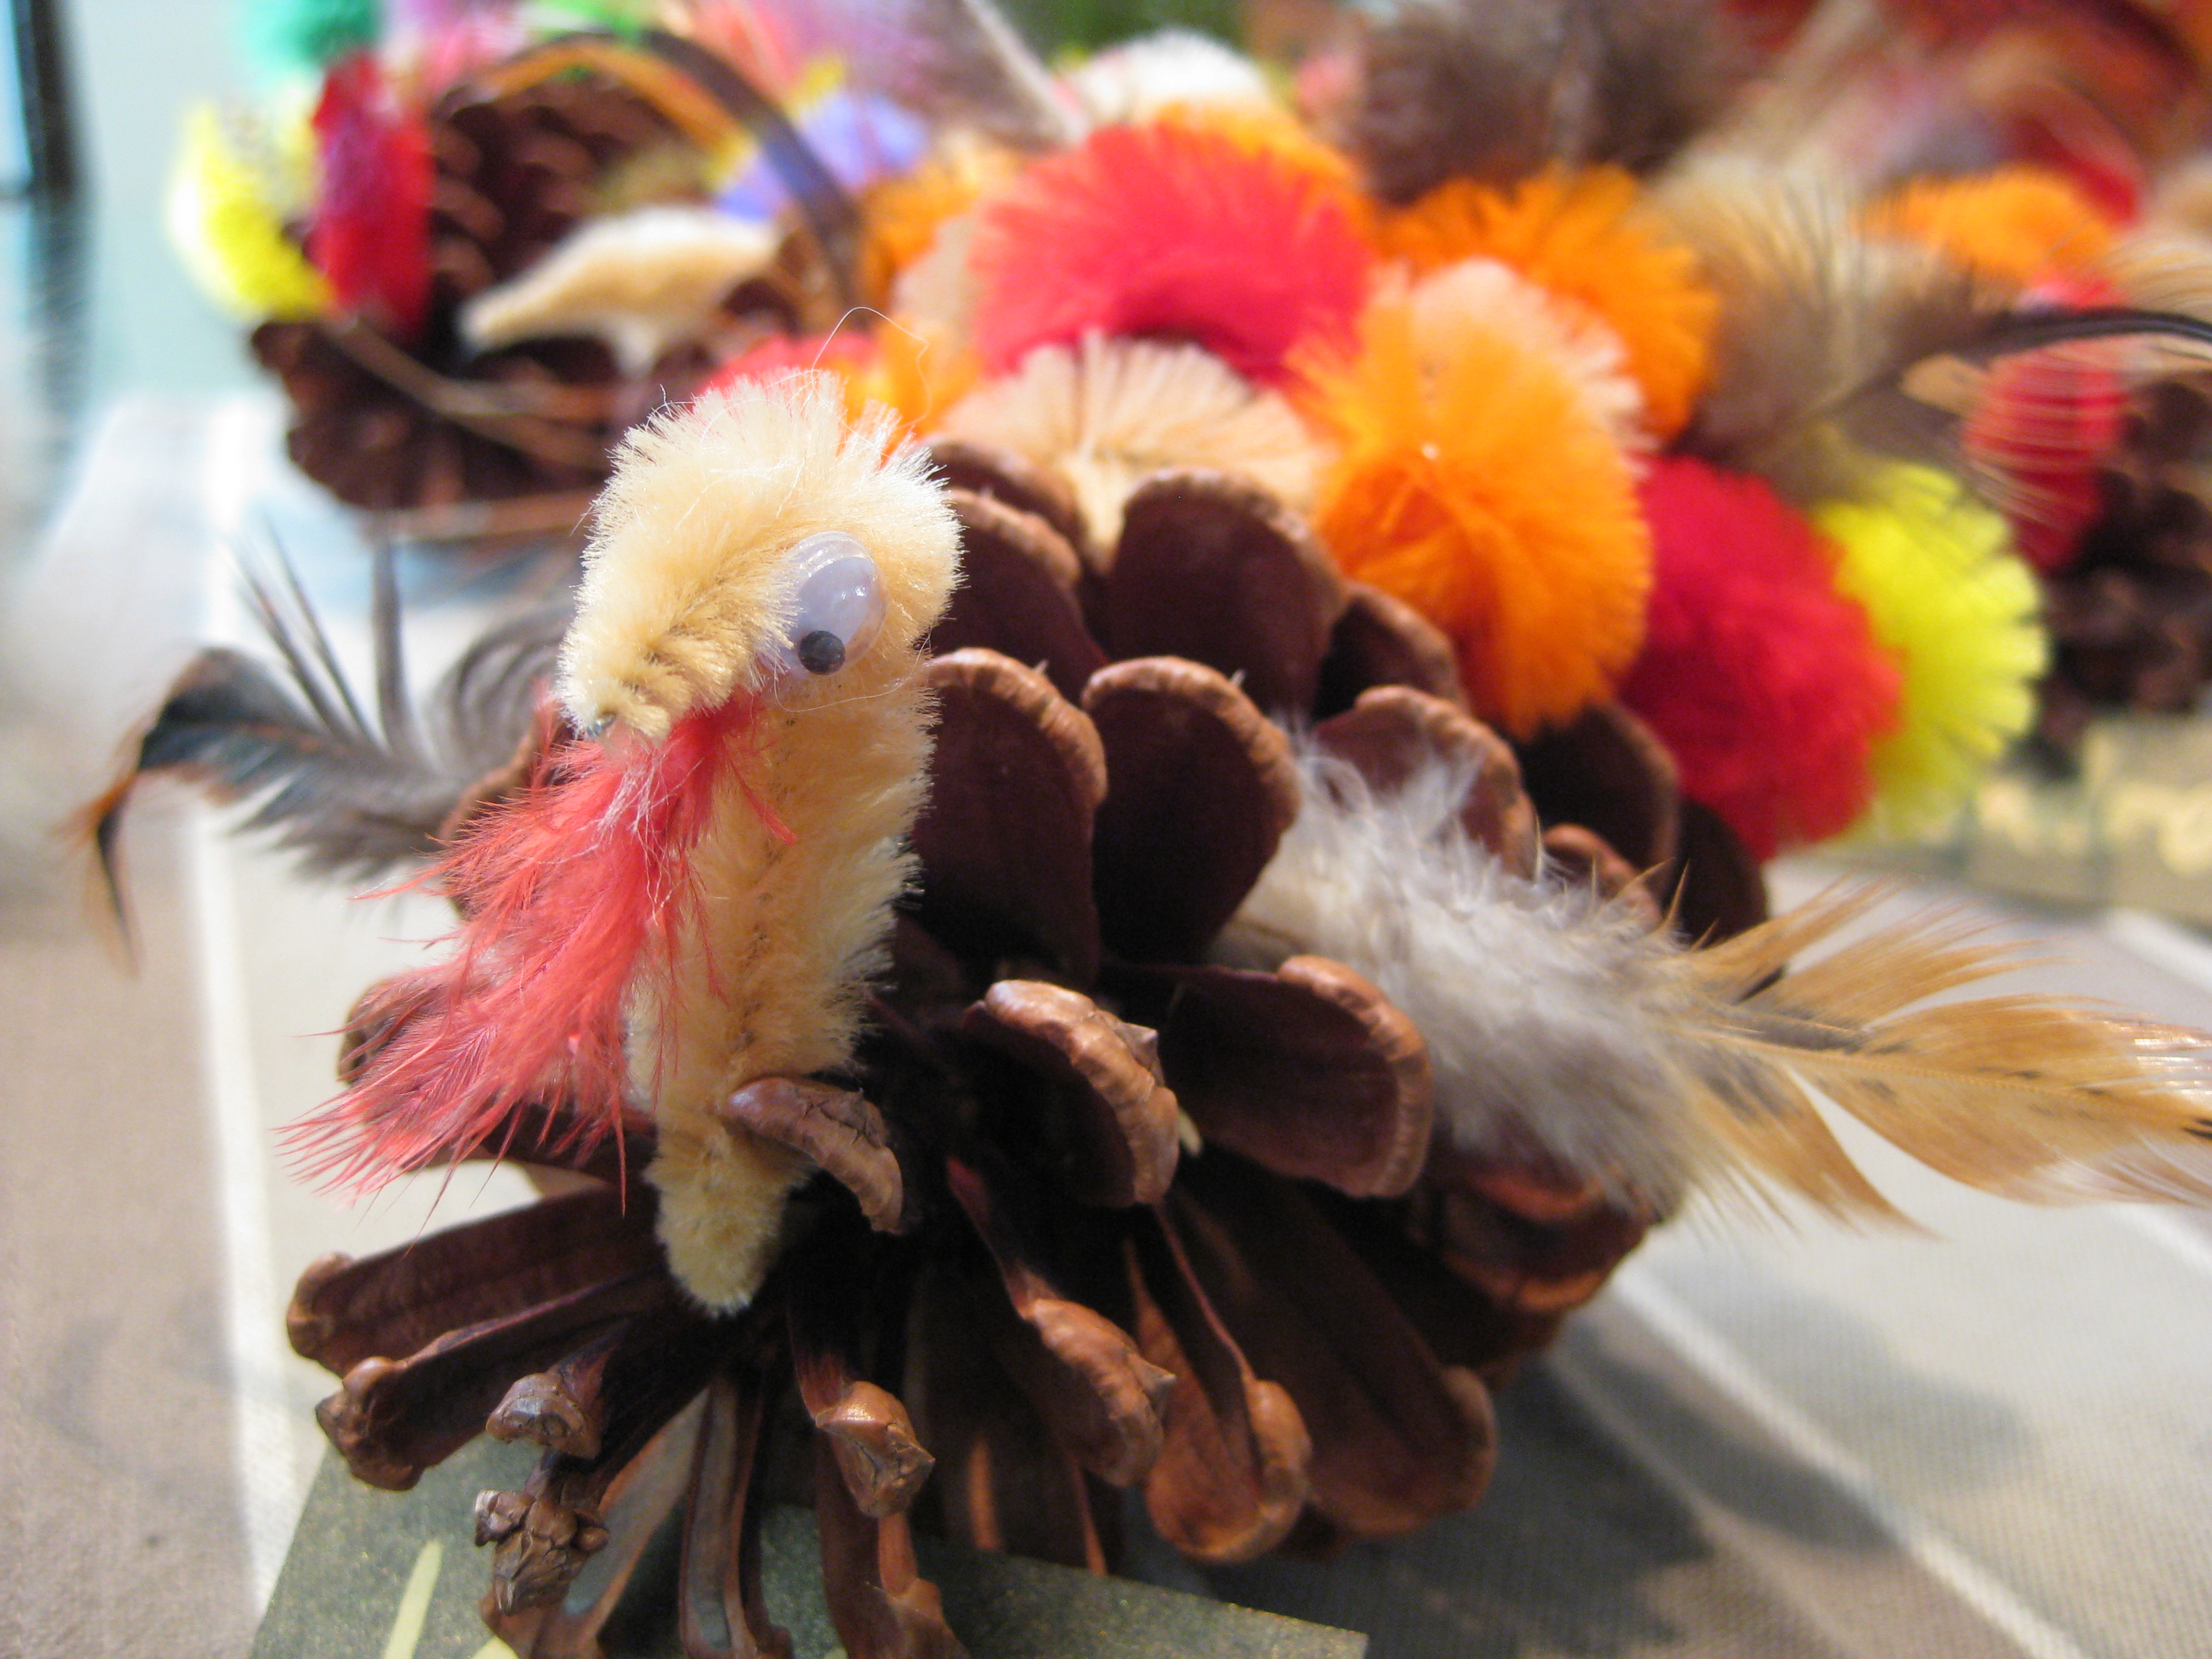
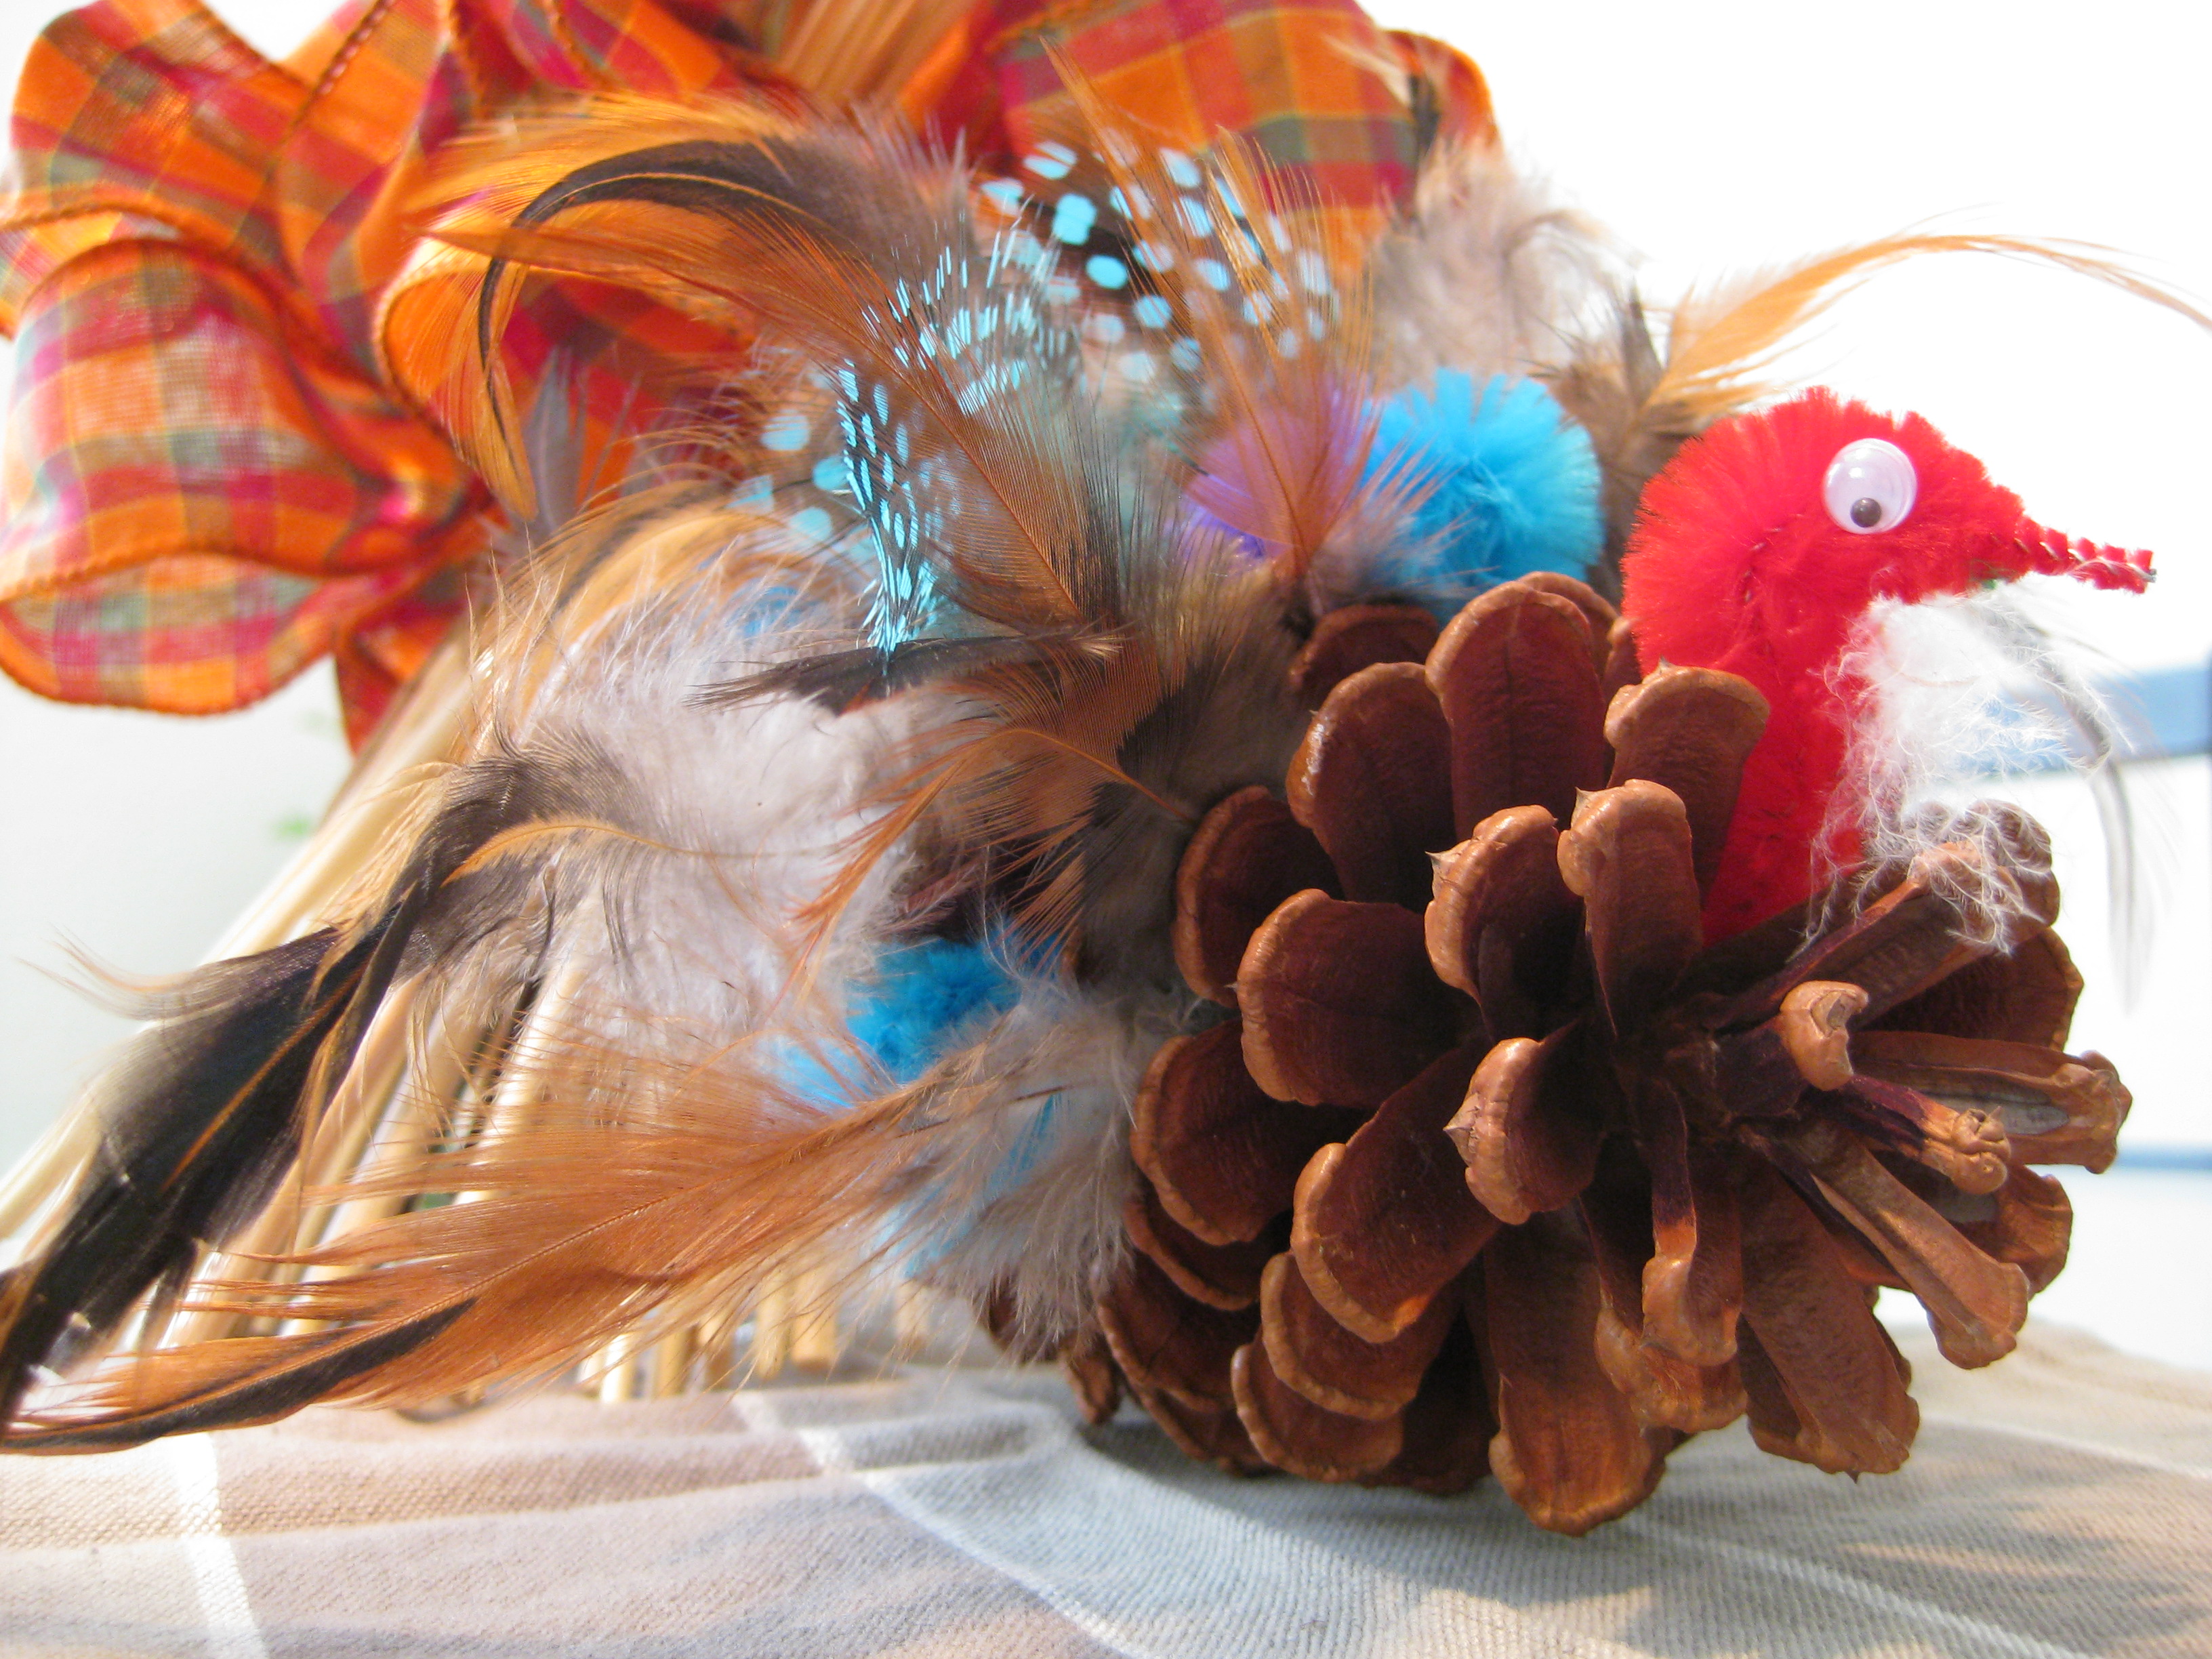
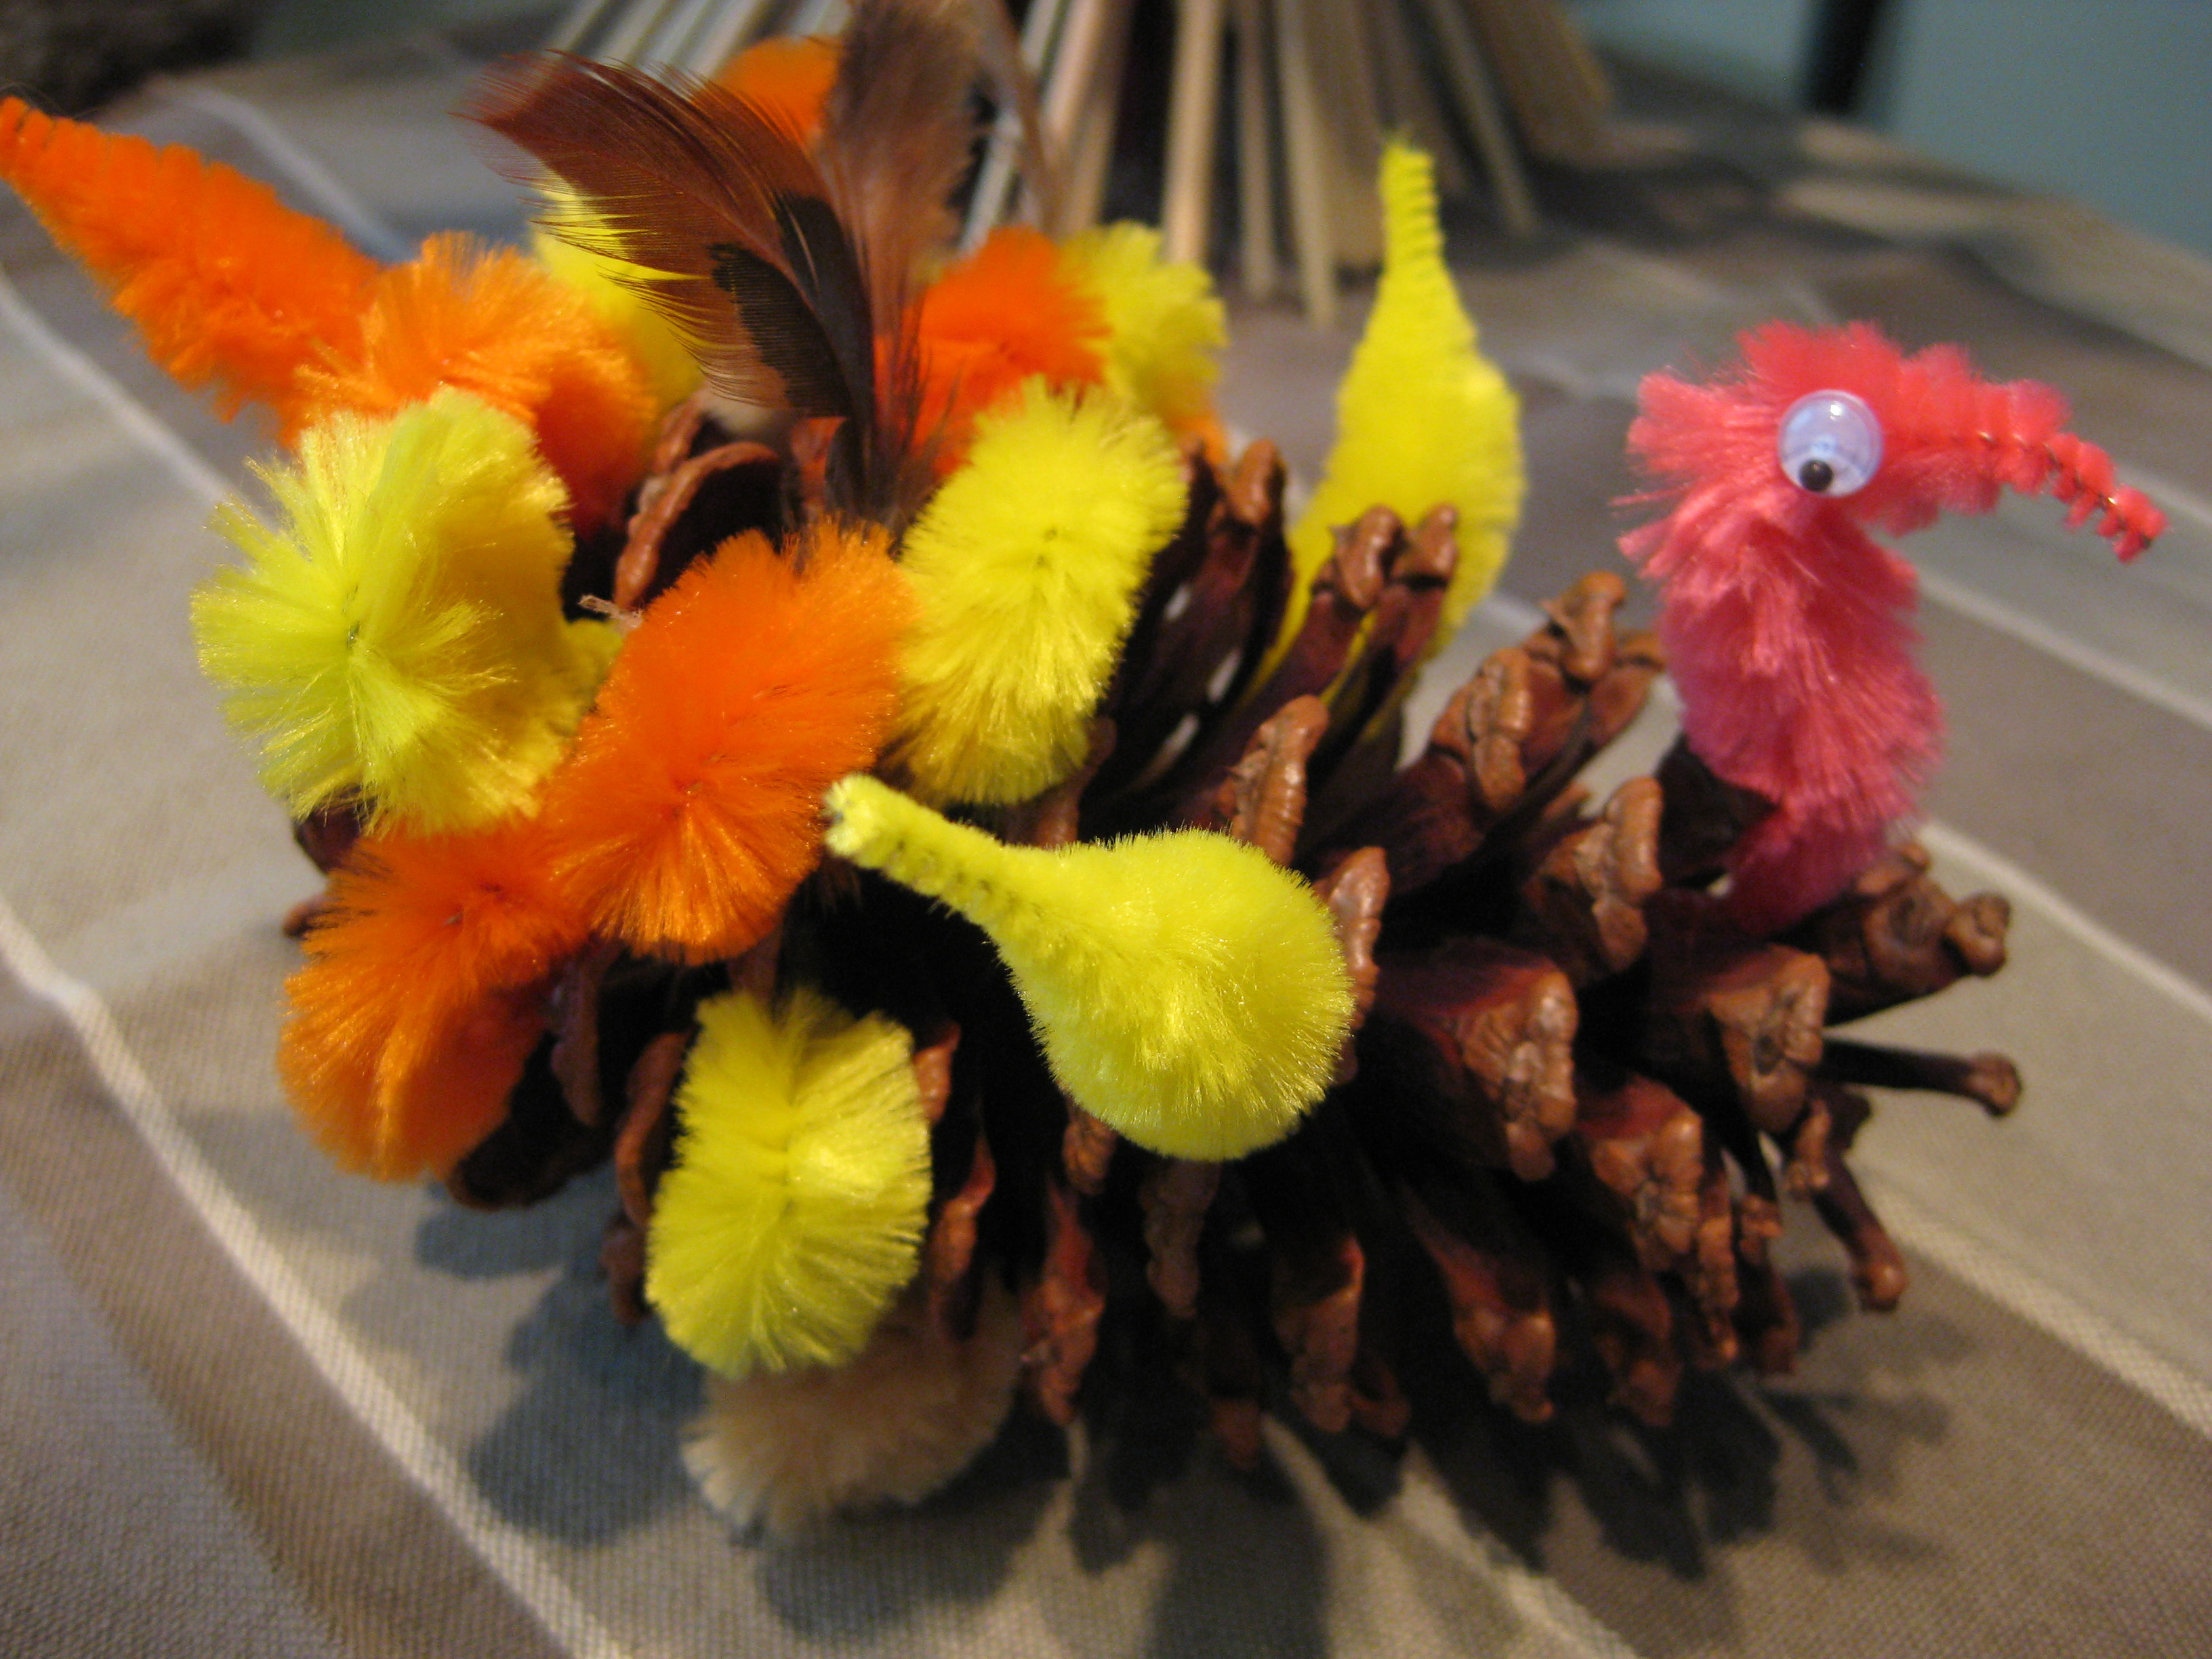
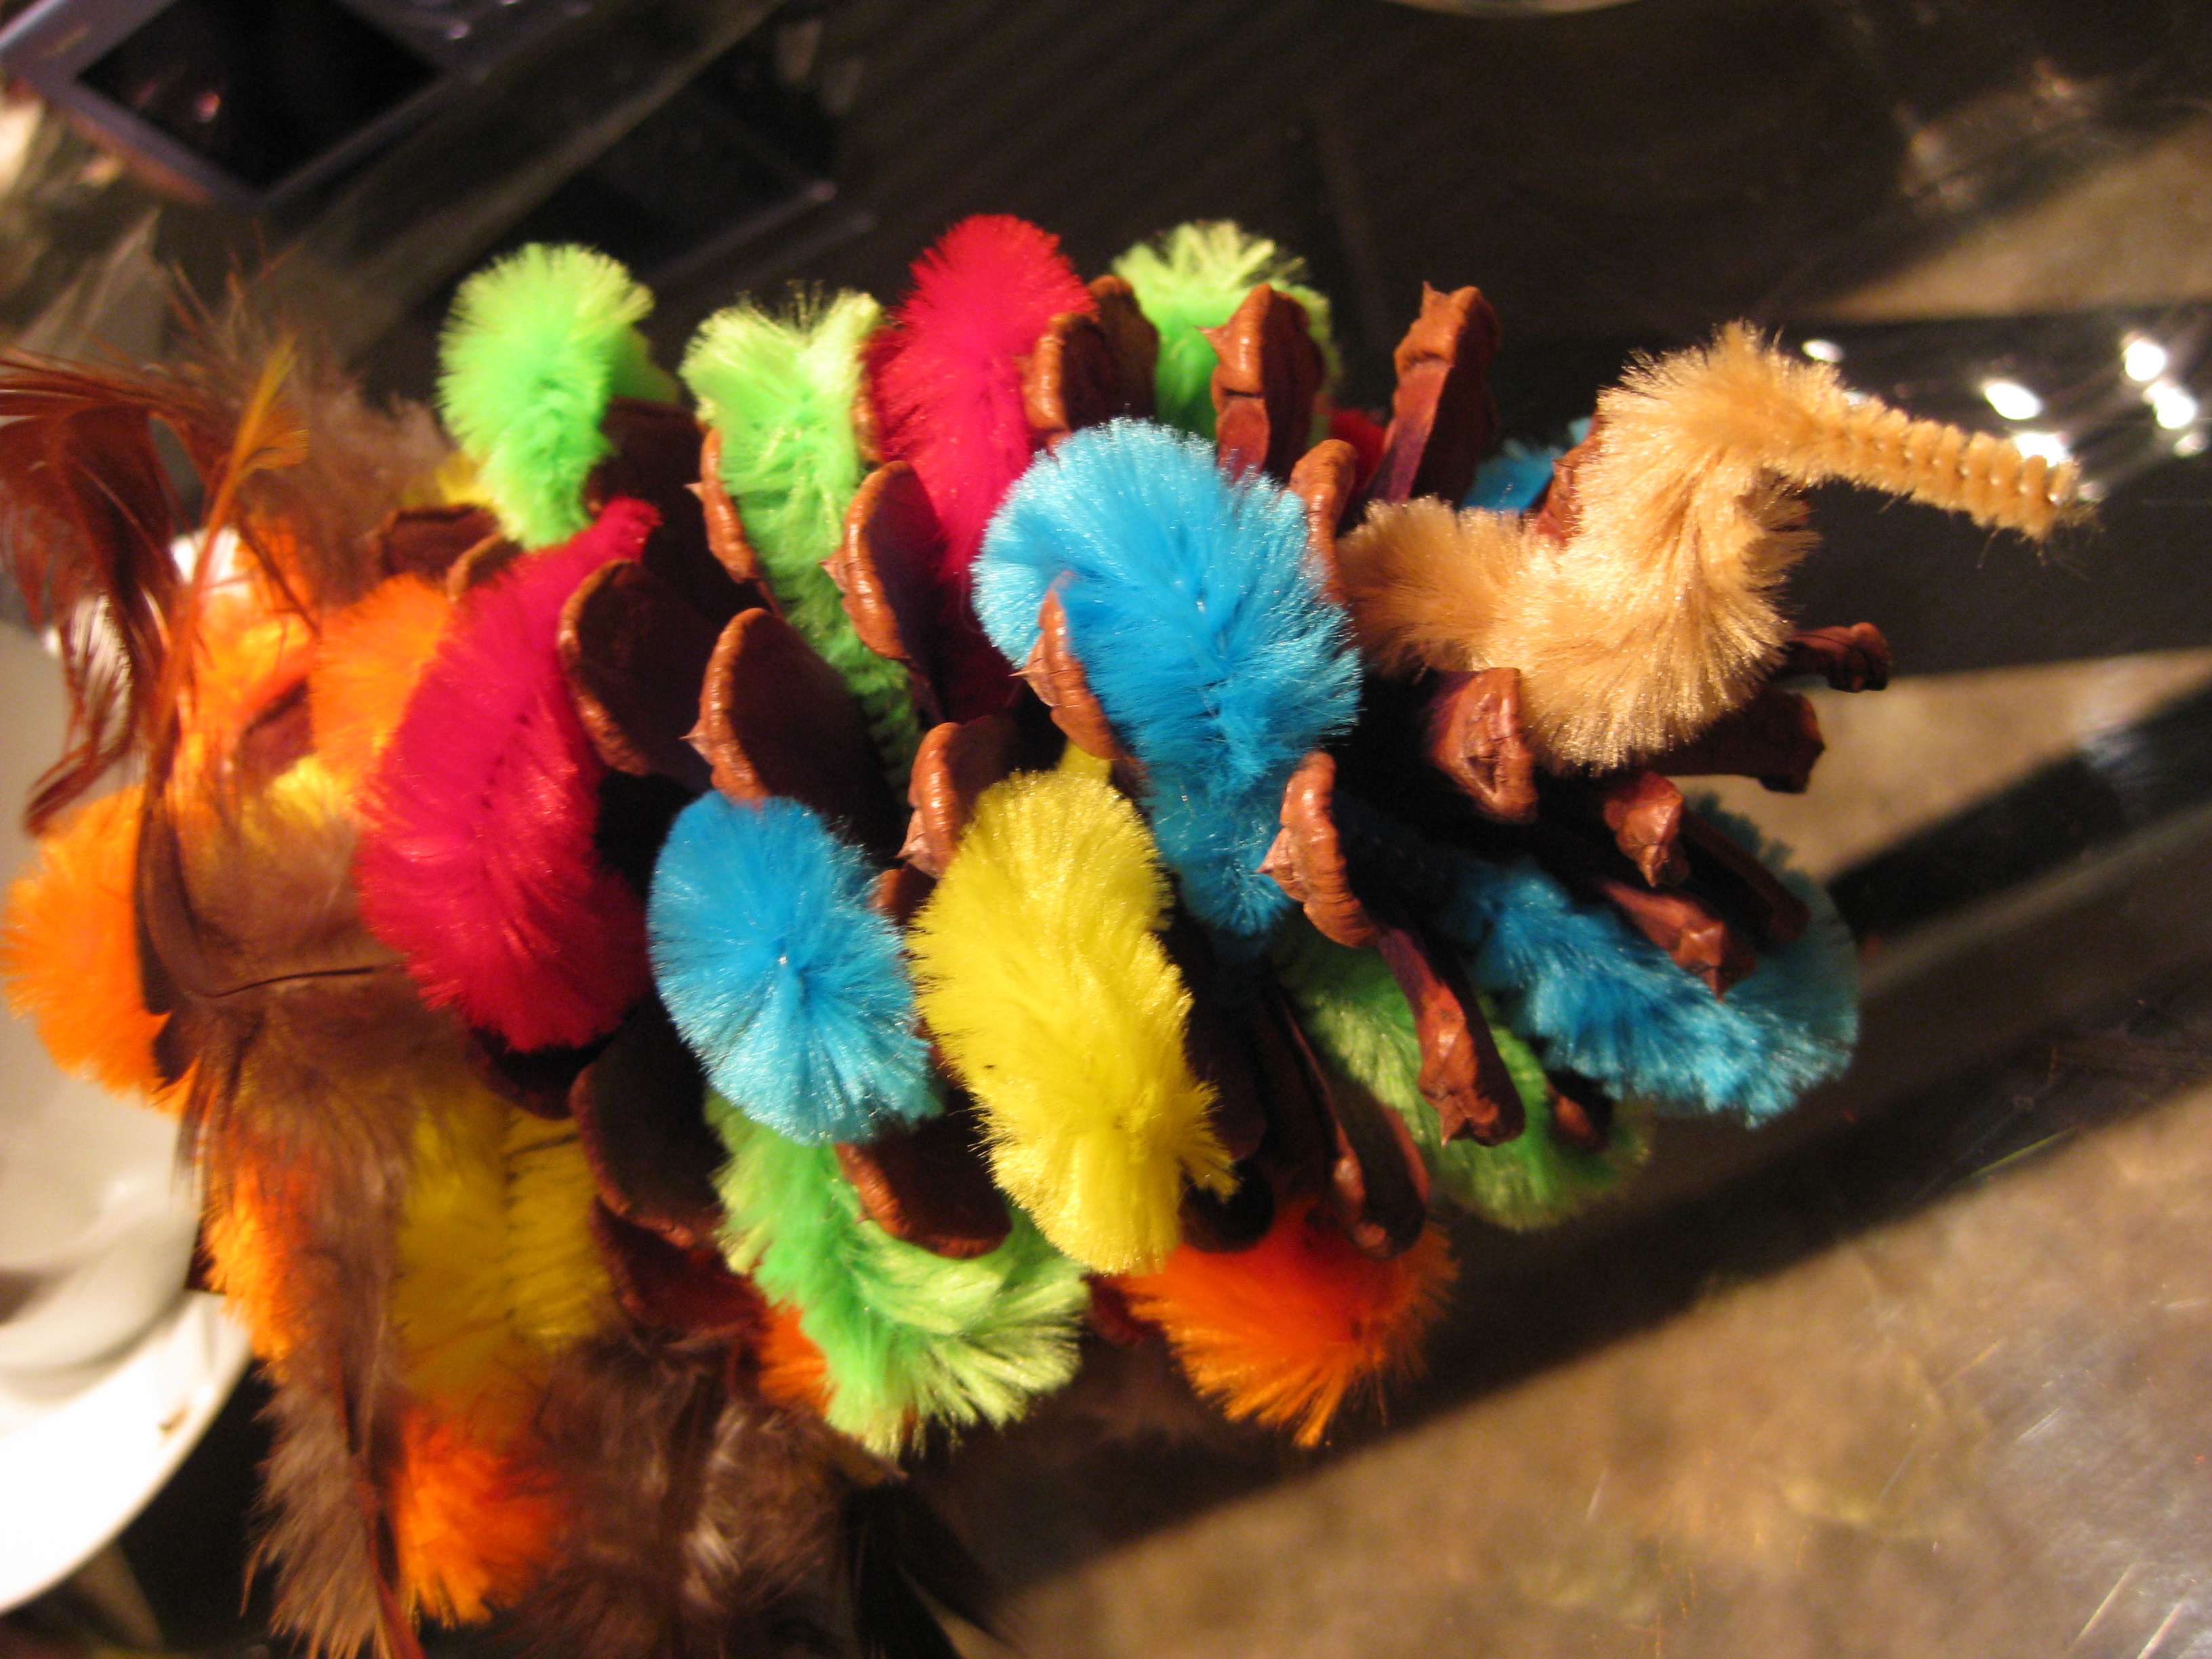
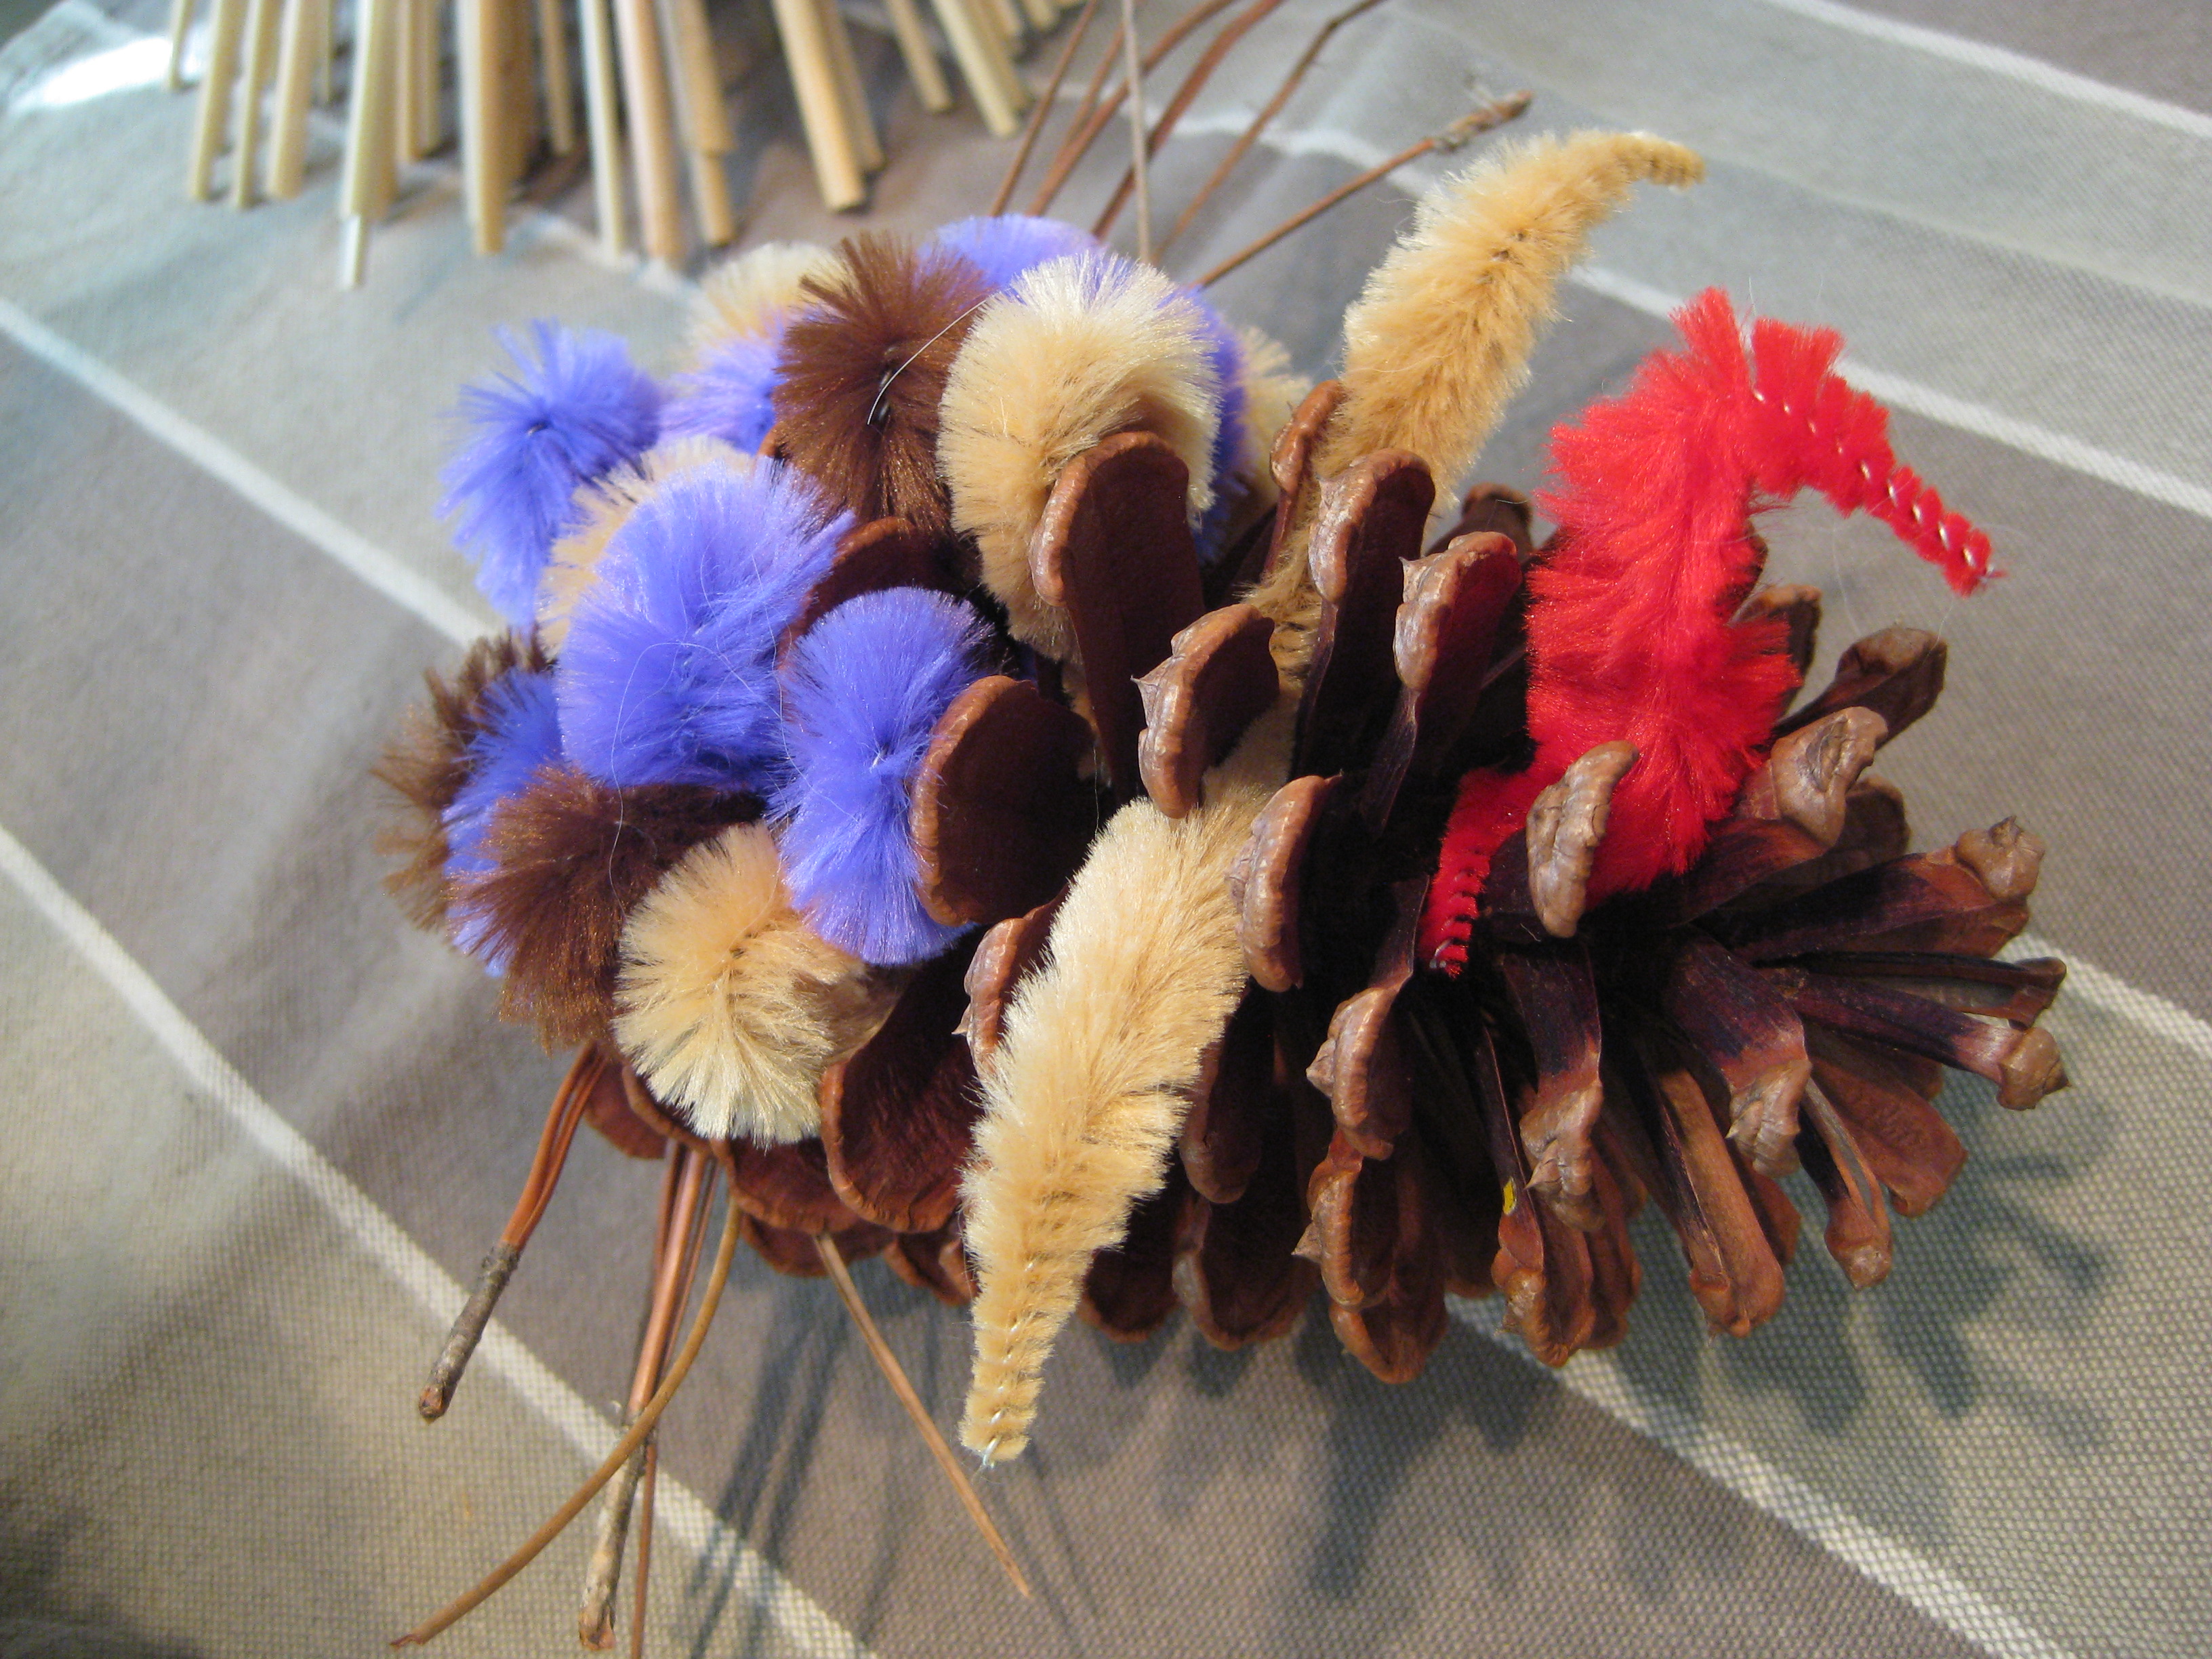
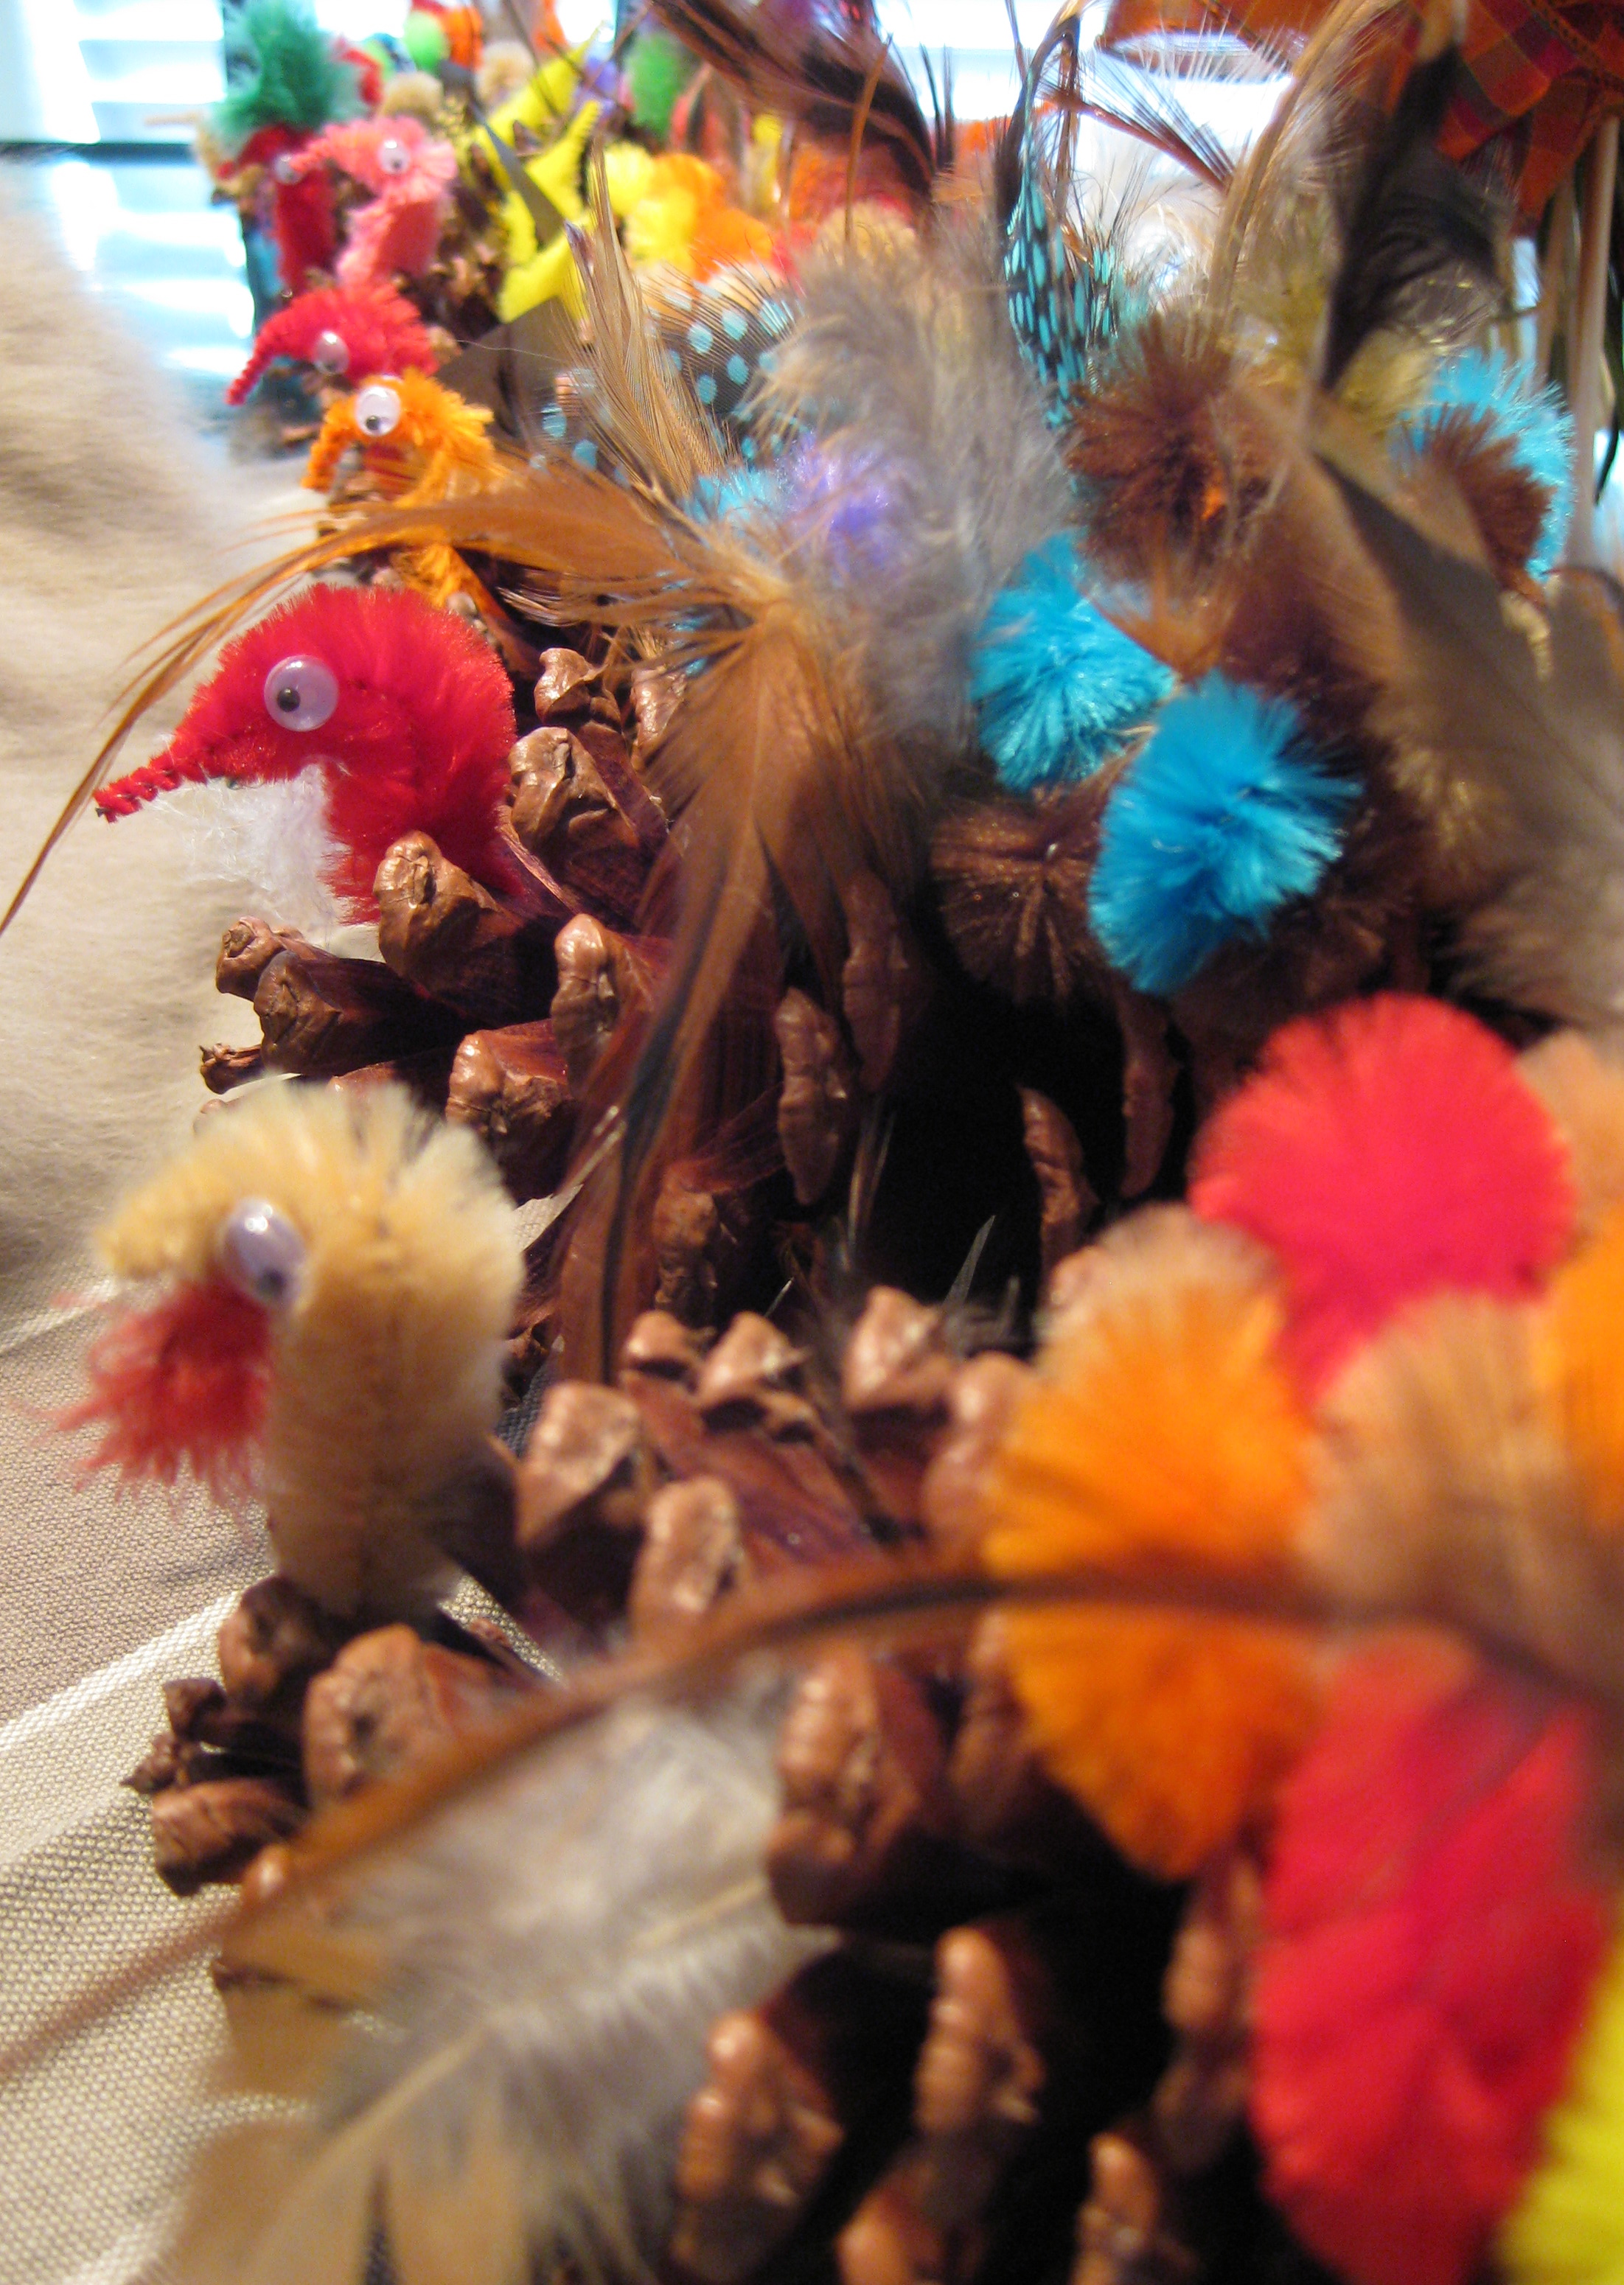
Turkeys on parade! I love it, what a fun project … made me feel like a kid again.
That one looks less like a turkey and more like a cat. And less like a pinecone and more like…a cat!
The cat is a natural predator of the pinecone turkey. Beware….
These are really cute! I wish I had people who would make fun stuff like this with me.
I’m glad you like them! They’re fun to make even without a group and they look so festive sitting on the tables around my house.
I love these – how cute!
Thanks! They were so much fun to make!!
What a fantastic idea – easy and simple but what a fabulous outcome. I am going to try this weekend!
It’s fun to see how creative people get with them, they really are a good time to make.
Cute DIY!
http://dressedinmycloset.wordpress.com
Thanks!
Very nice
How cute is that!
Wow! Wow! Wow! I’m already hungry and wonder if I can get through it without finishing them up. Nice one.
Hahaha! Thanks for the compliment.
Those look so precious! I just love them. Thank you for sharing.
So Cute! I love holiday crafts!
Cute… and no animals were harmed in the making of your Thanksgiving turkeys. Not many people can say that.
Great job on that, Katie! Very cute.
Subhan Zein