
It’s time to ditch your dryer sheets and embrace the latest trend in simple, sustainable living…dryer sachets! These chemical-free, all-natural alternative to dryer sheets have been growing in popularity, and this week I’m going to show you how to make your own dryer sachet, that is both reusable and refillable.
Often dryer sachets are sewn shut on all sides and are not refillable without some difficulty and it’s this ability to refill them, that makes this project unique.
I like to take some time on a Sunday afternoon to make a batch of these that can be kept in a basket next to my dryer. As you’re making them for yourself, remember that they also make great housewarming gifts, teacher presents or can be a unique addition to a baby shower gift basket.
Tools & Materials Needed:
- Iron and firm surface to iron on
- Scissors
- Measuring tape or quilter’s square
- Sewing machine or needle (if sewing by hand)
- 4 1/2″ x 9 1/2″ piece of fabric (cotton or linen) and coordinating thread
- 4″ strip of industrial strength or decor velcro*
 *Make sure you are using industrial strength or decor grade velcro for this project. It has double-sided “teeth” that are strong enough to stay closed while tumbling around in the dryer. It can be sew-on or stick-on, for added security, you’ll want to sew it into the sachet, either way.
.
Sewing Instructions:
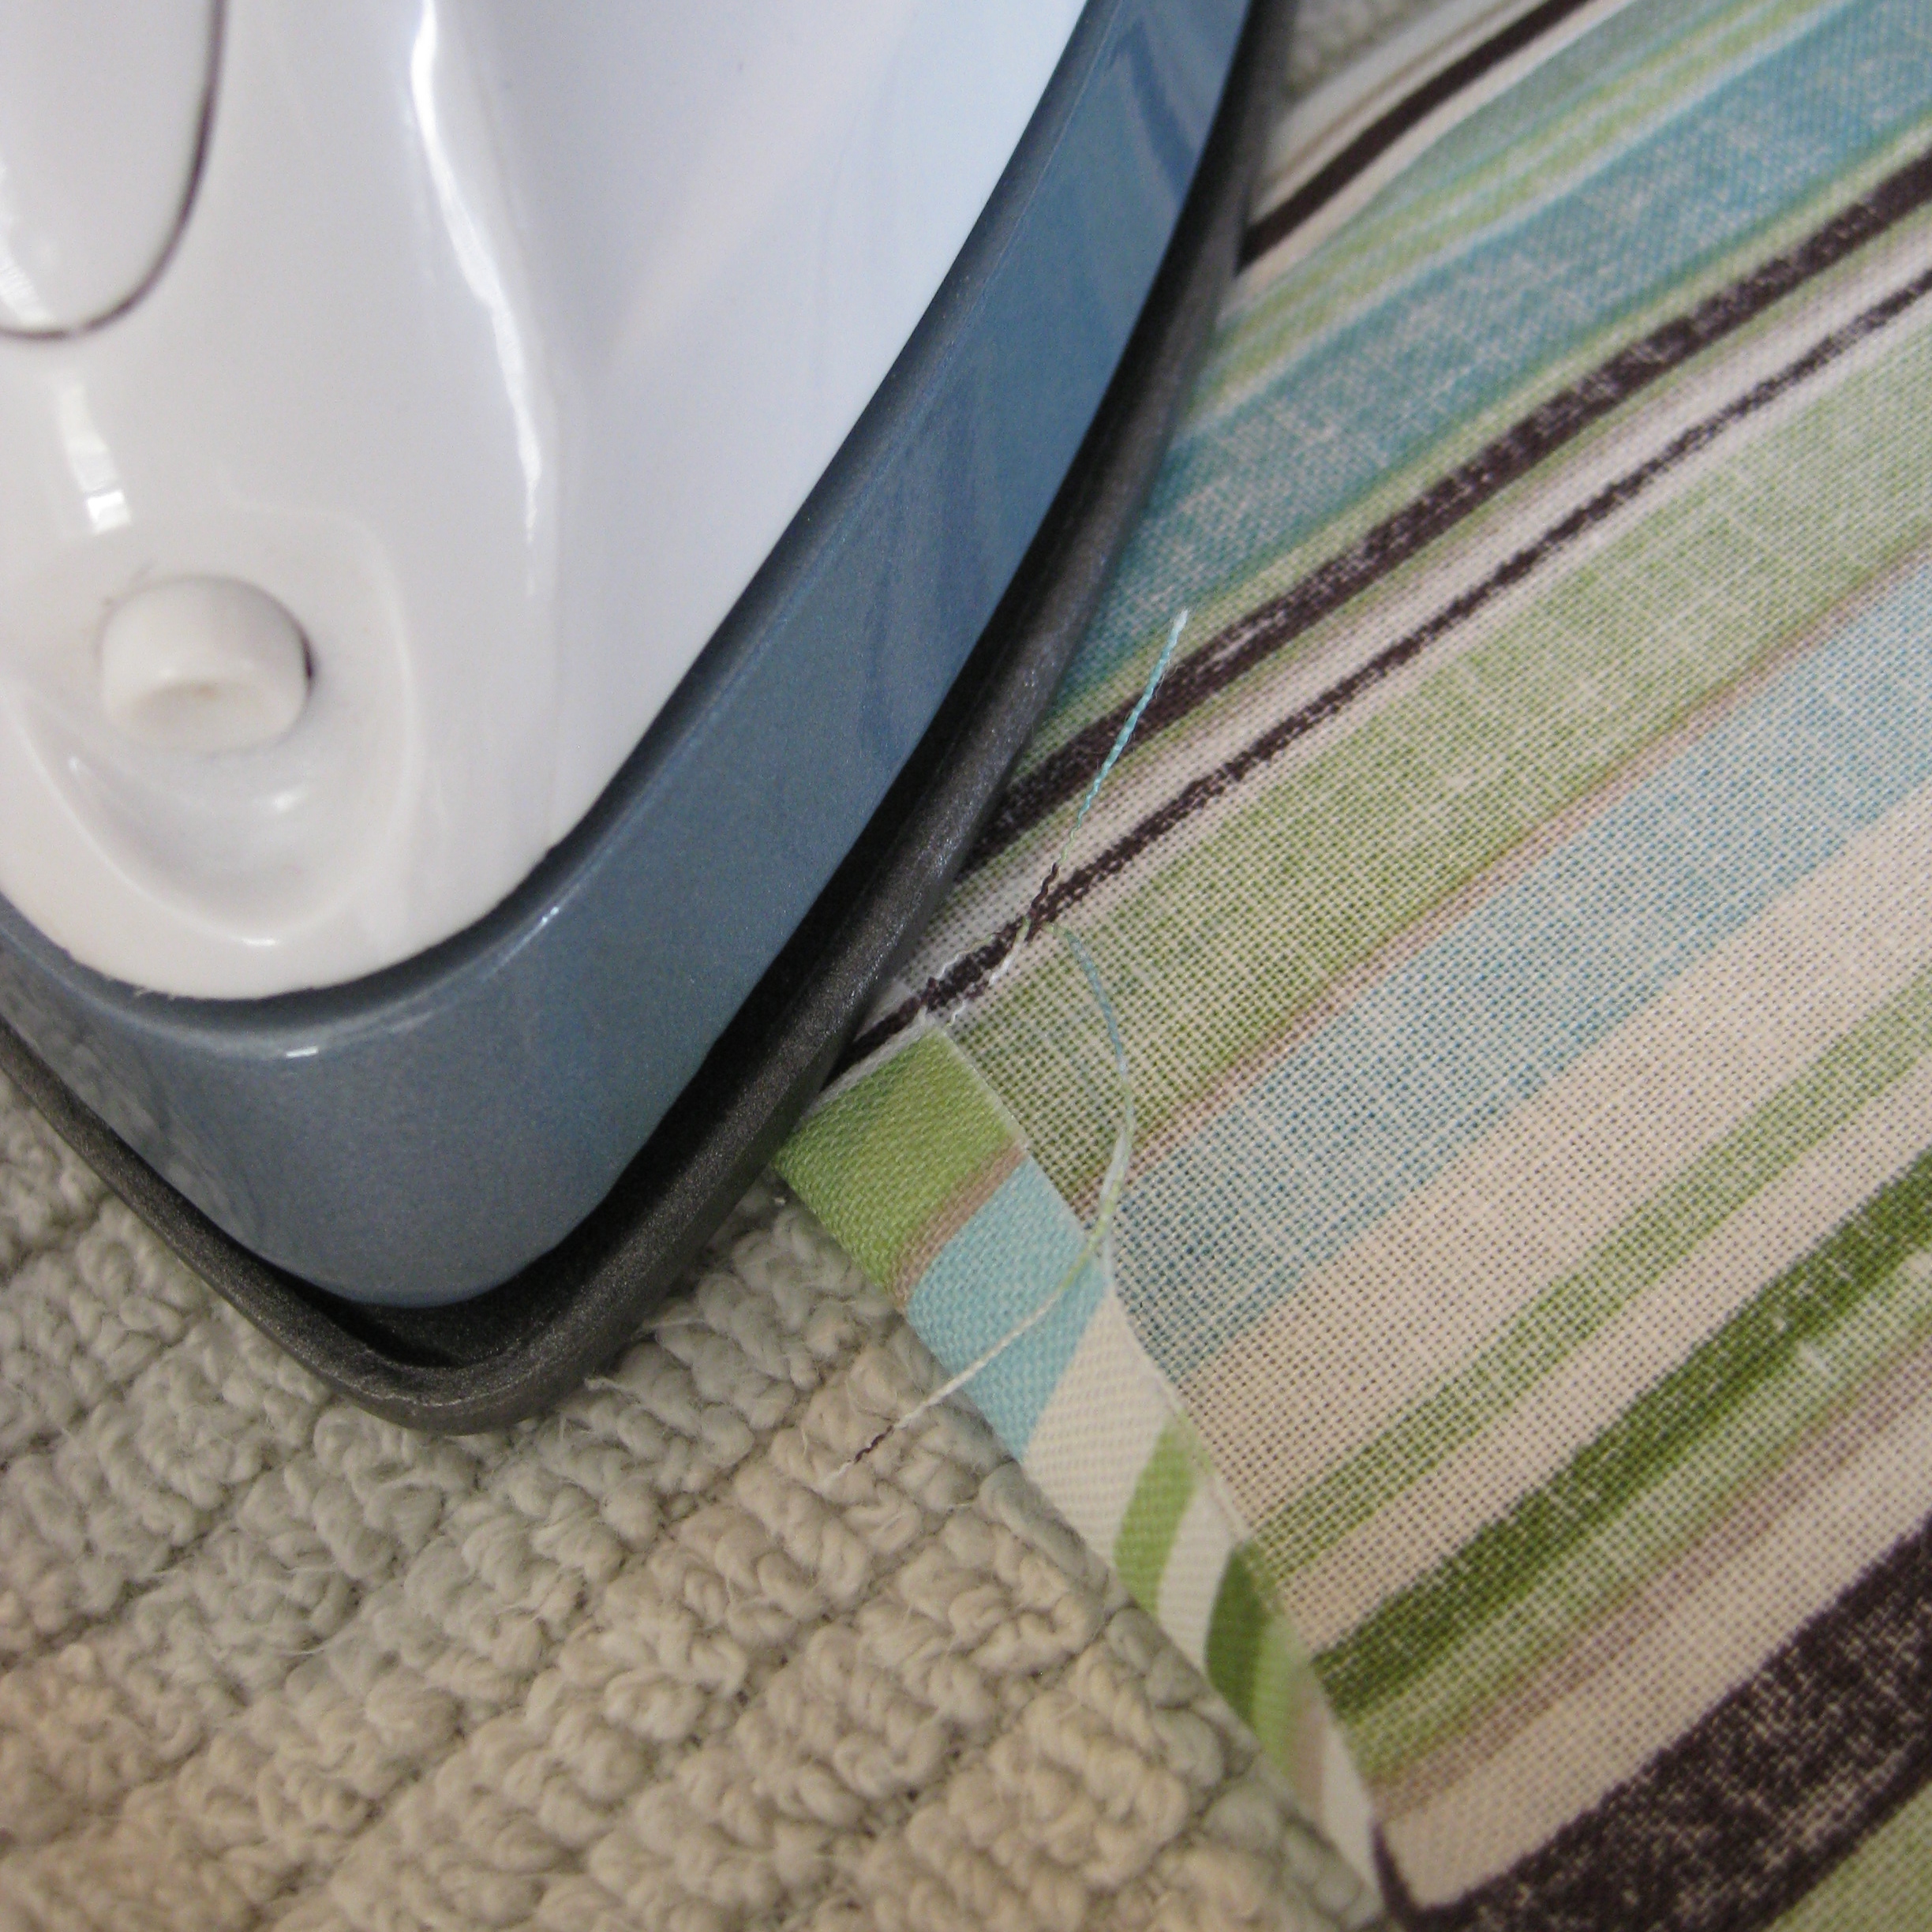
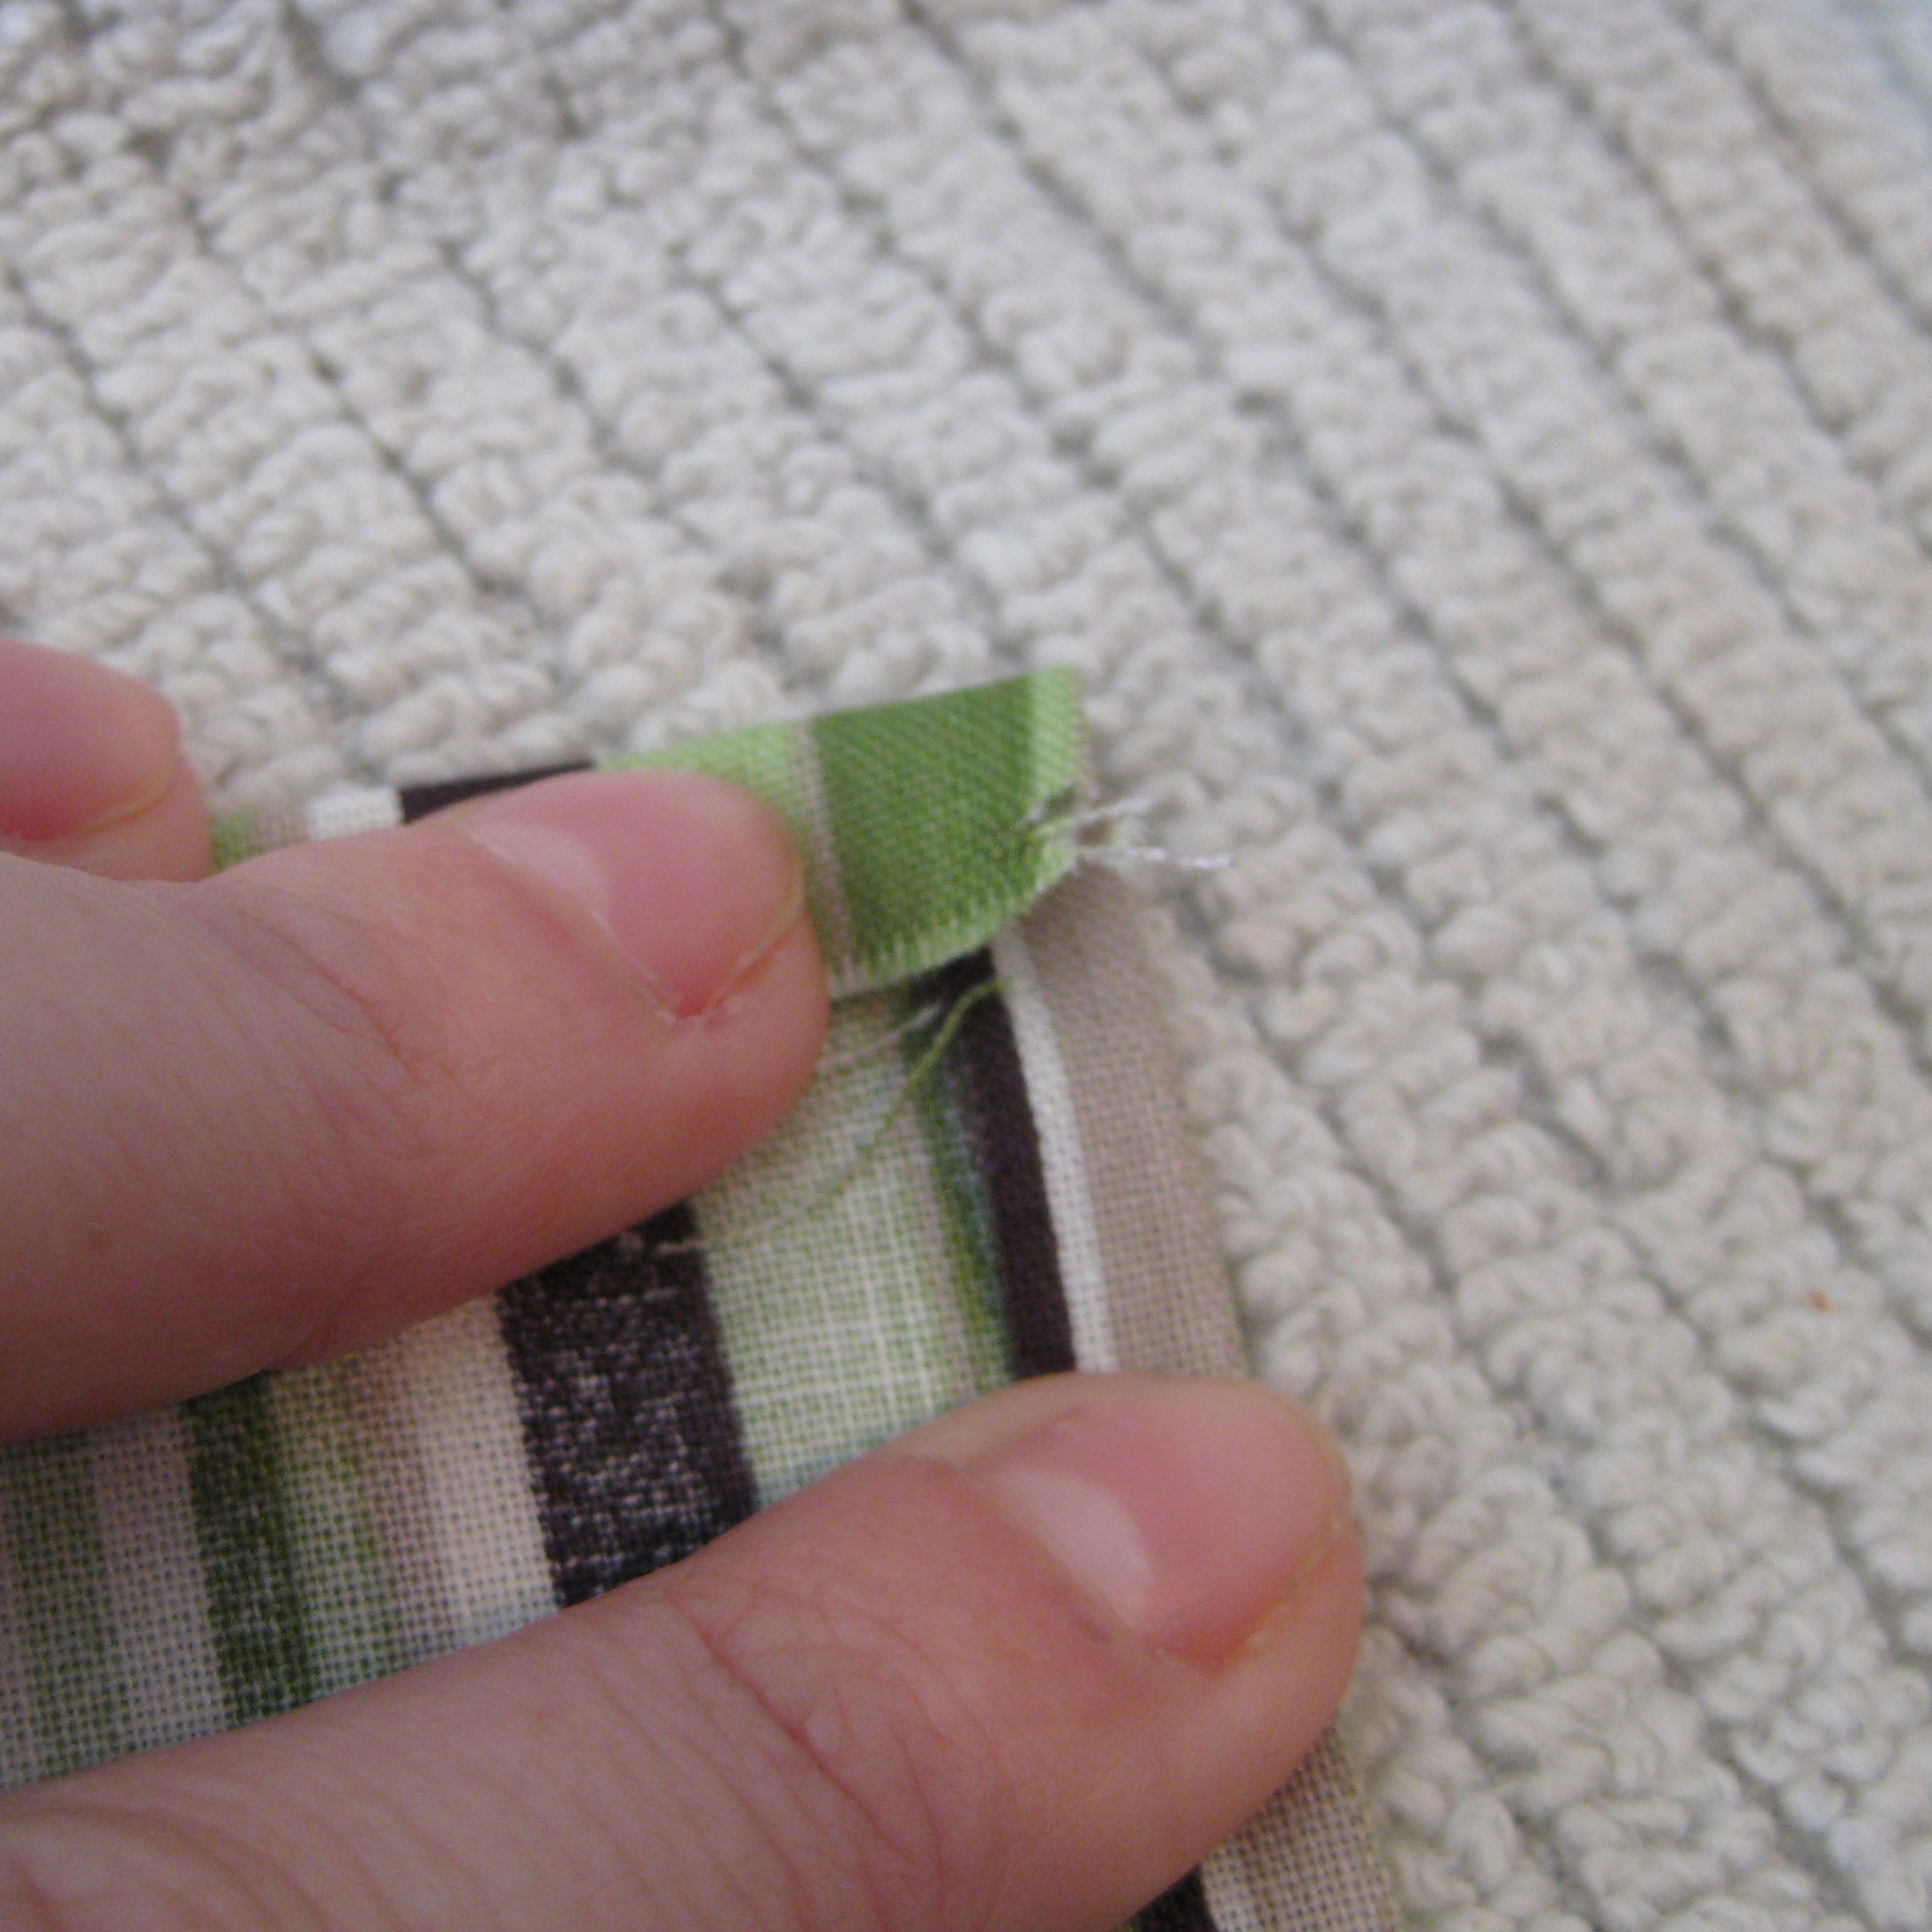
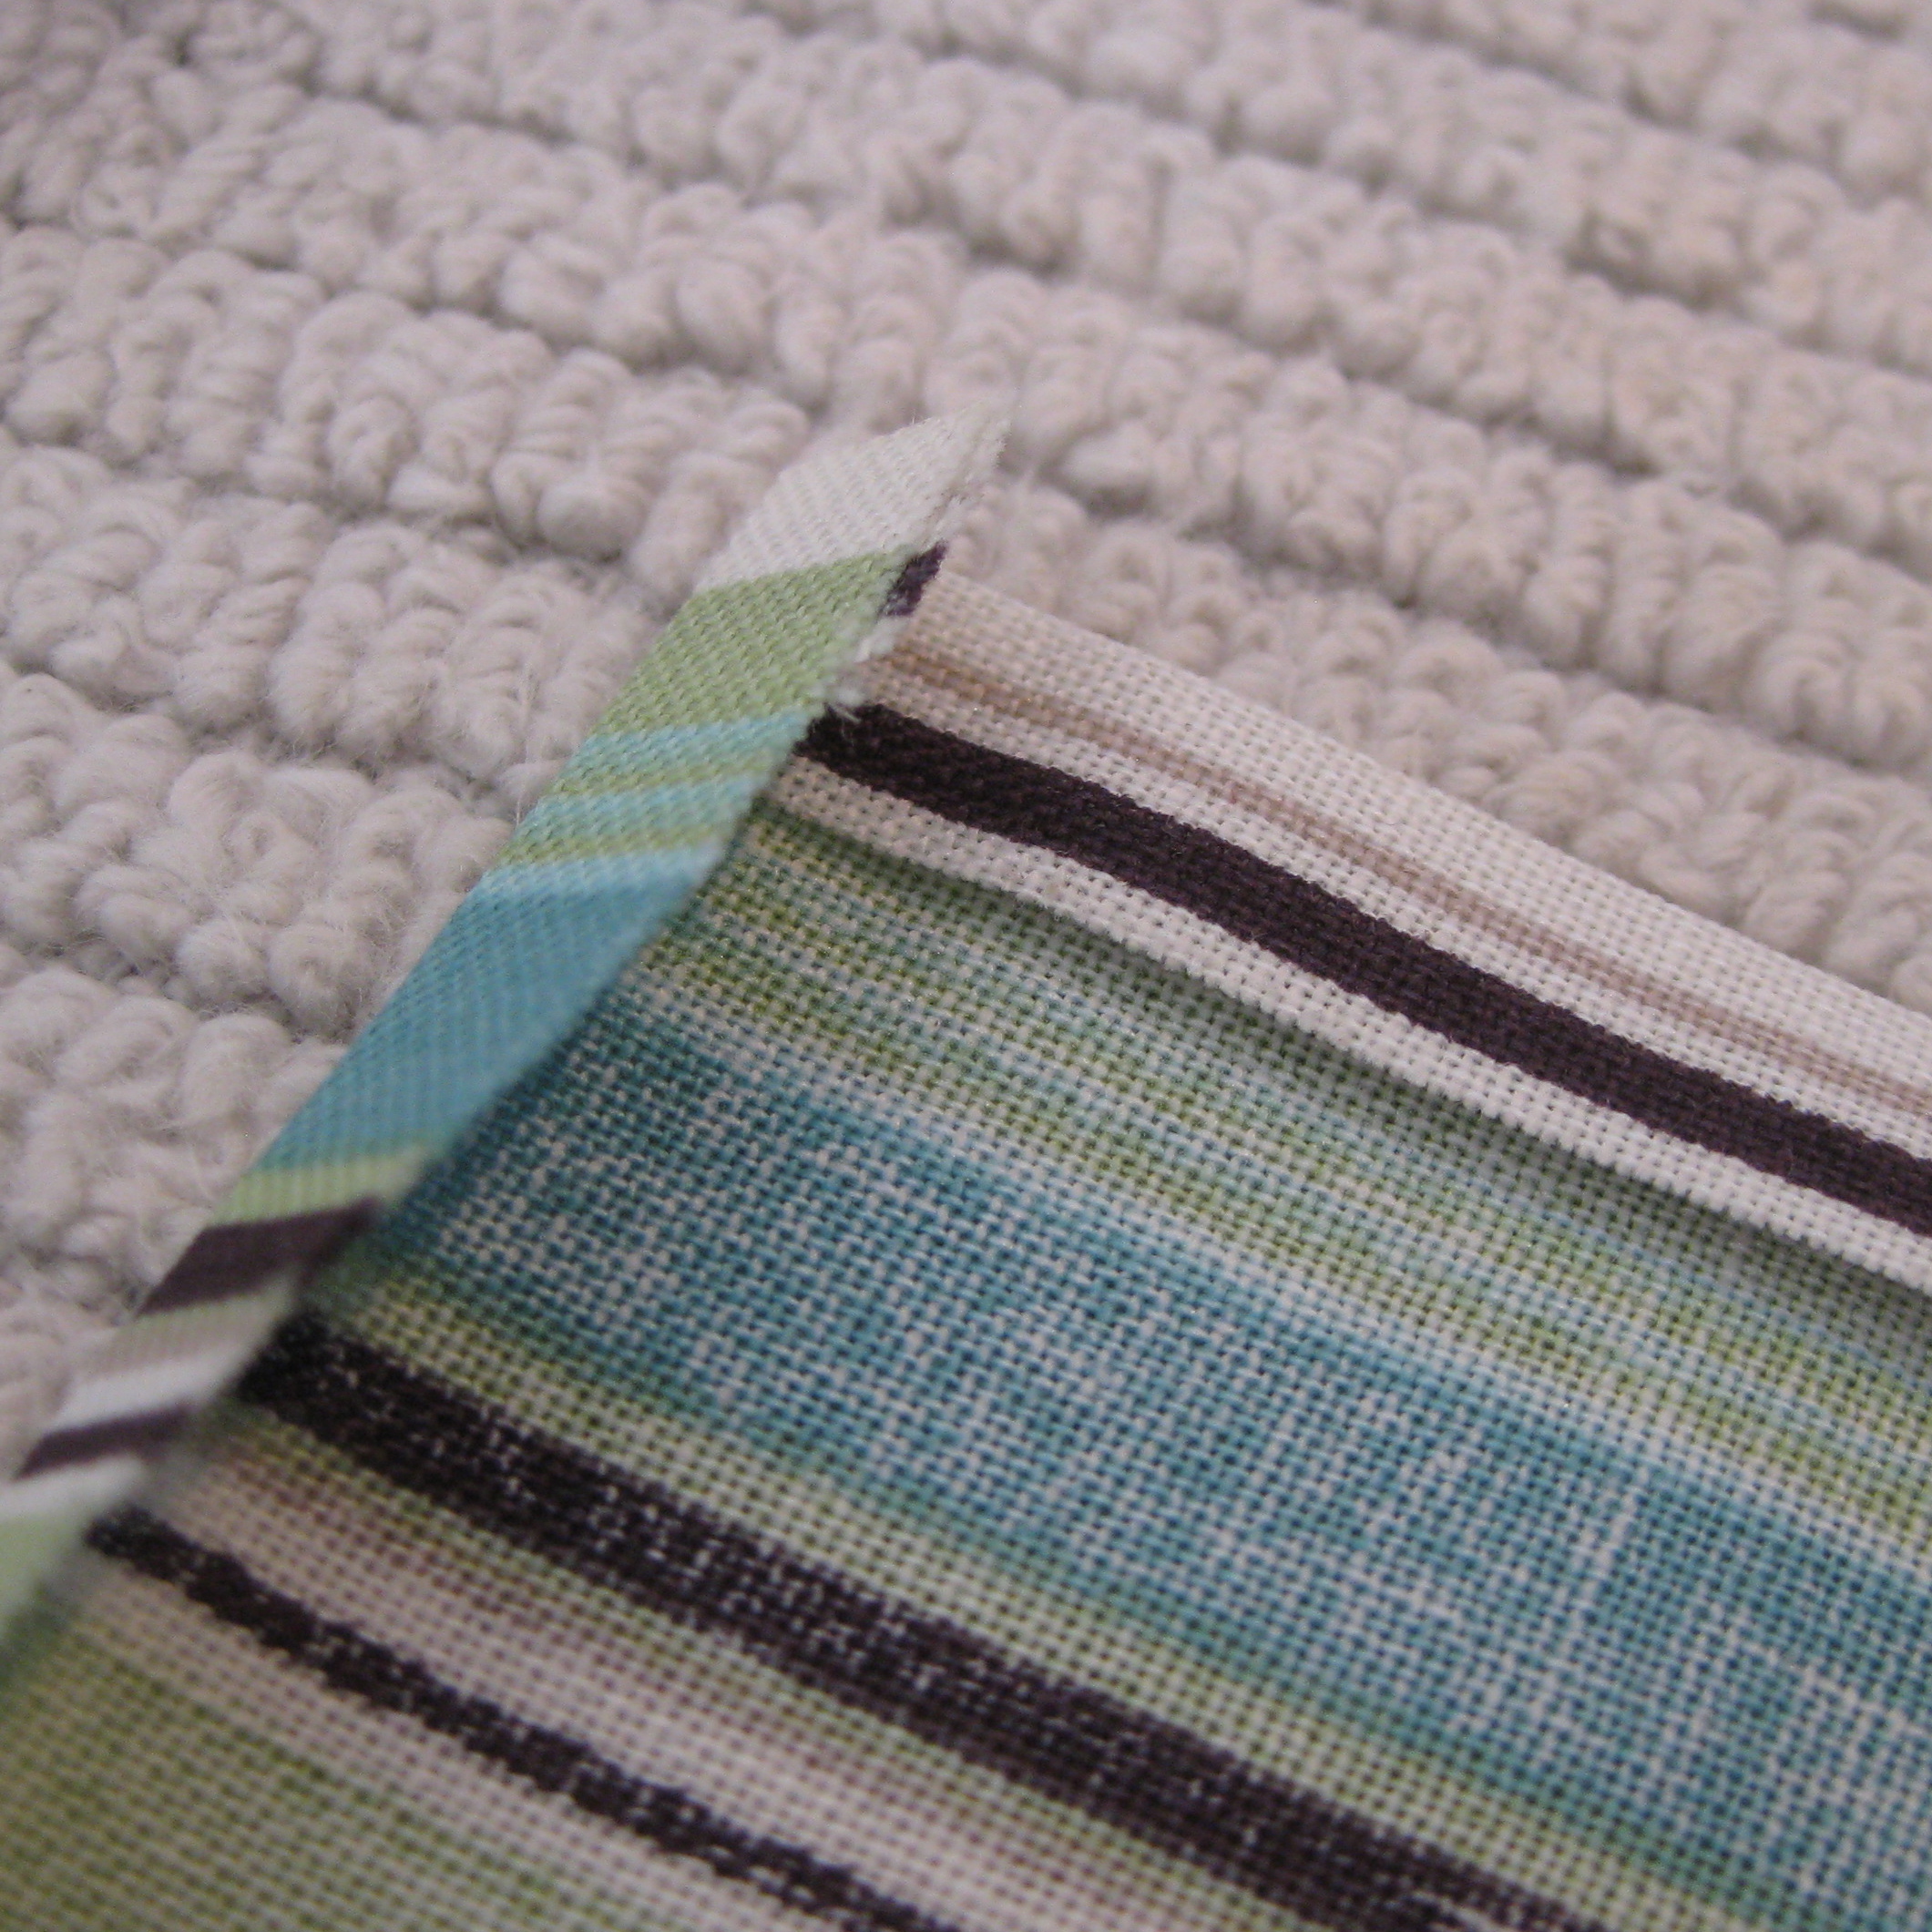
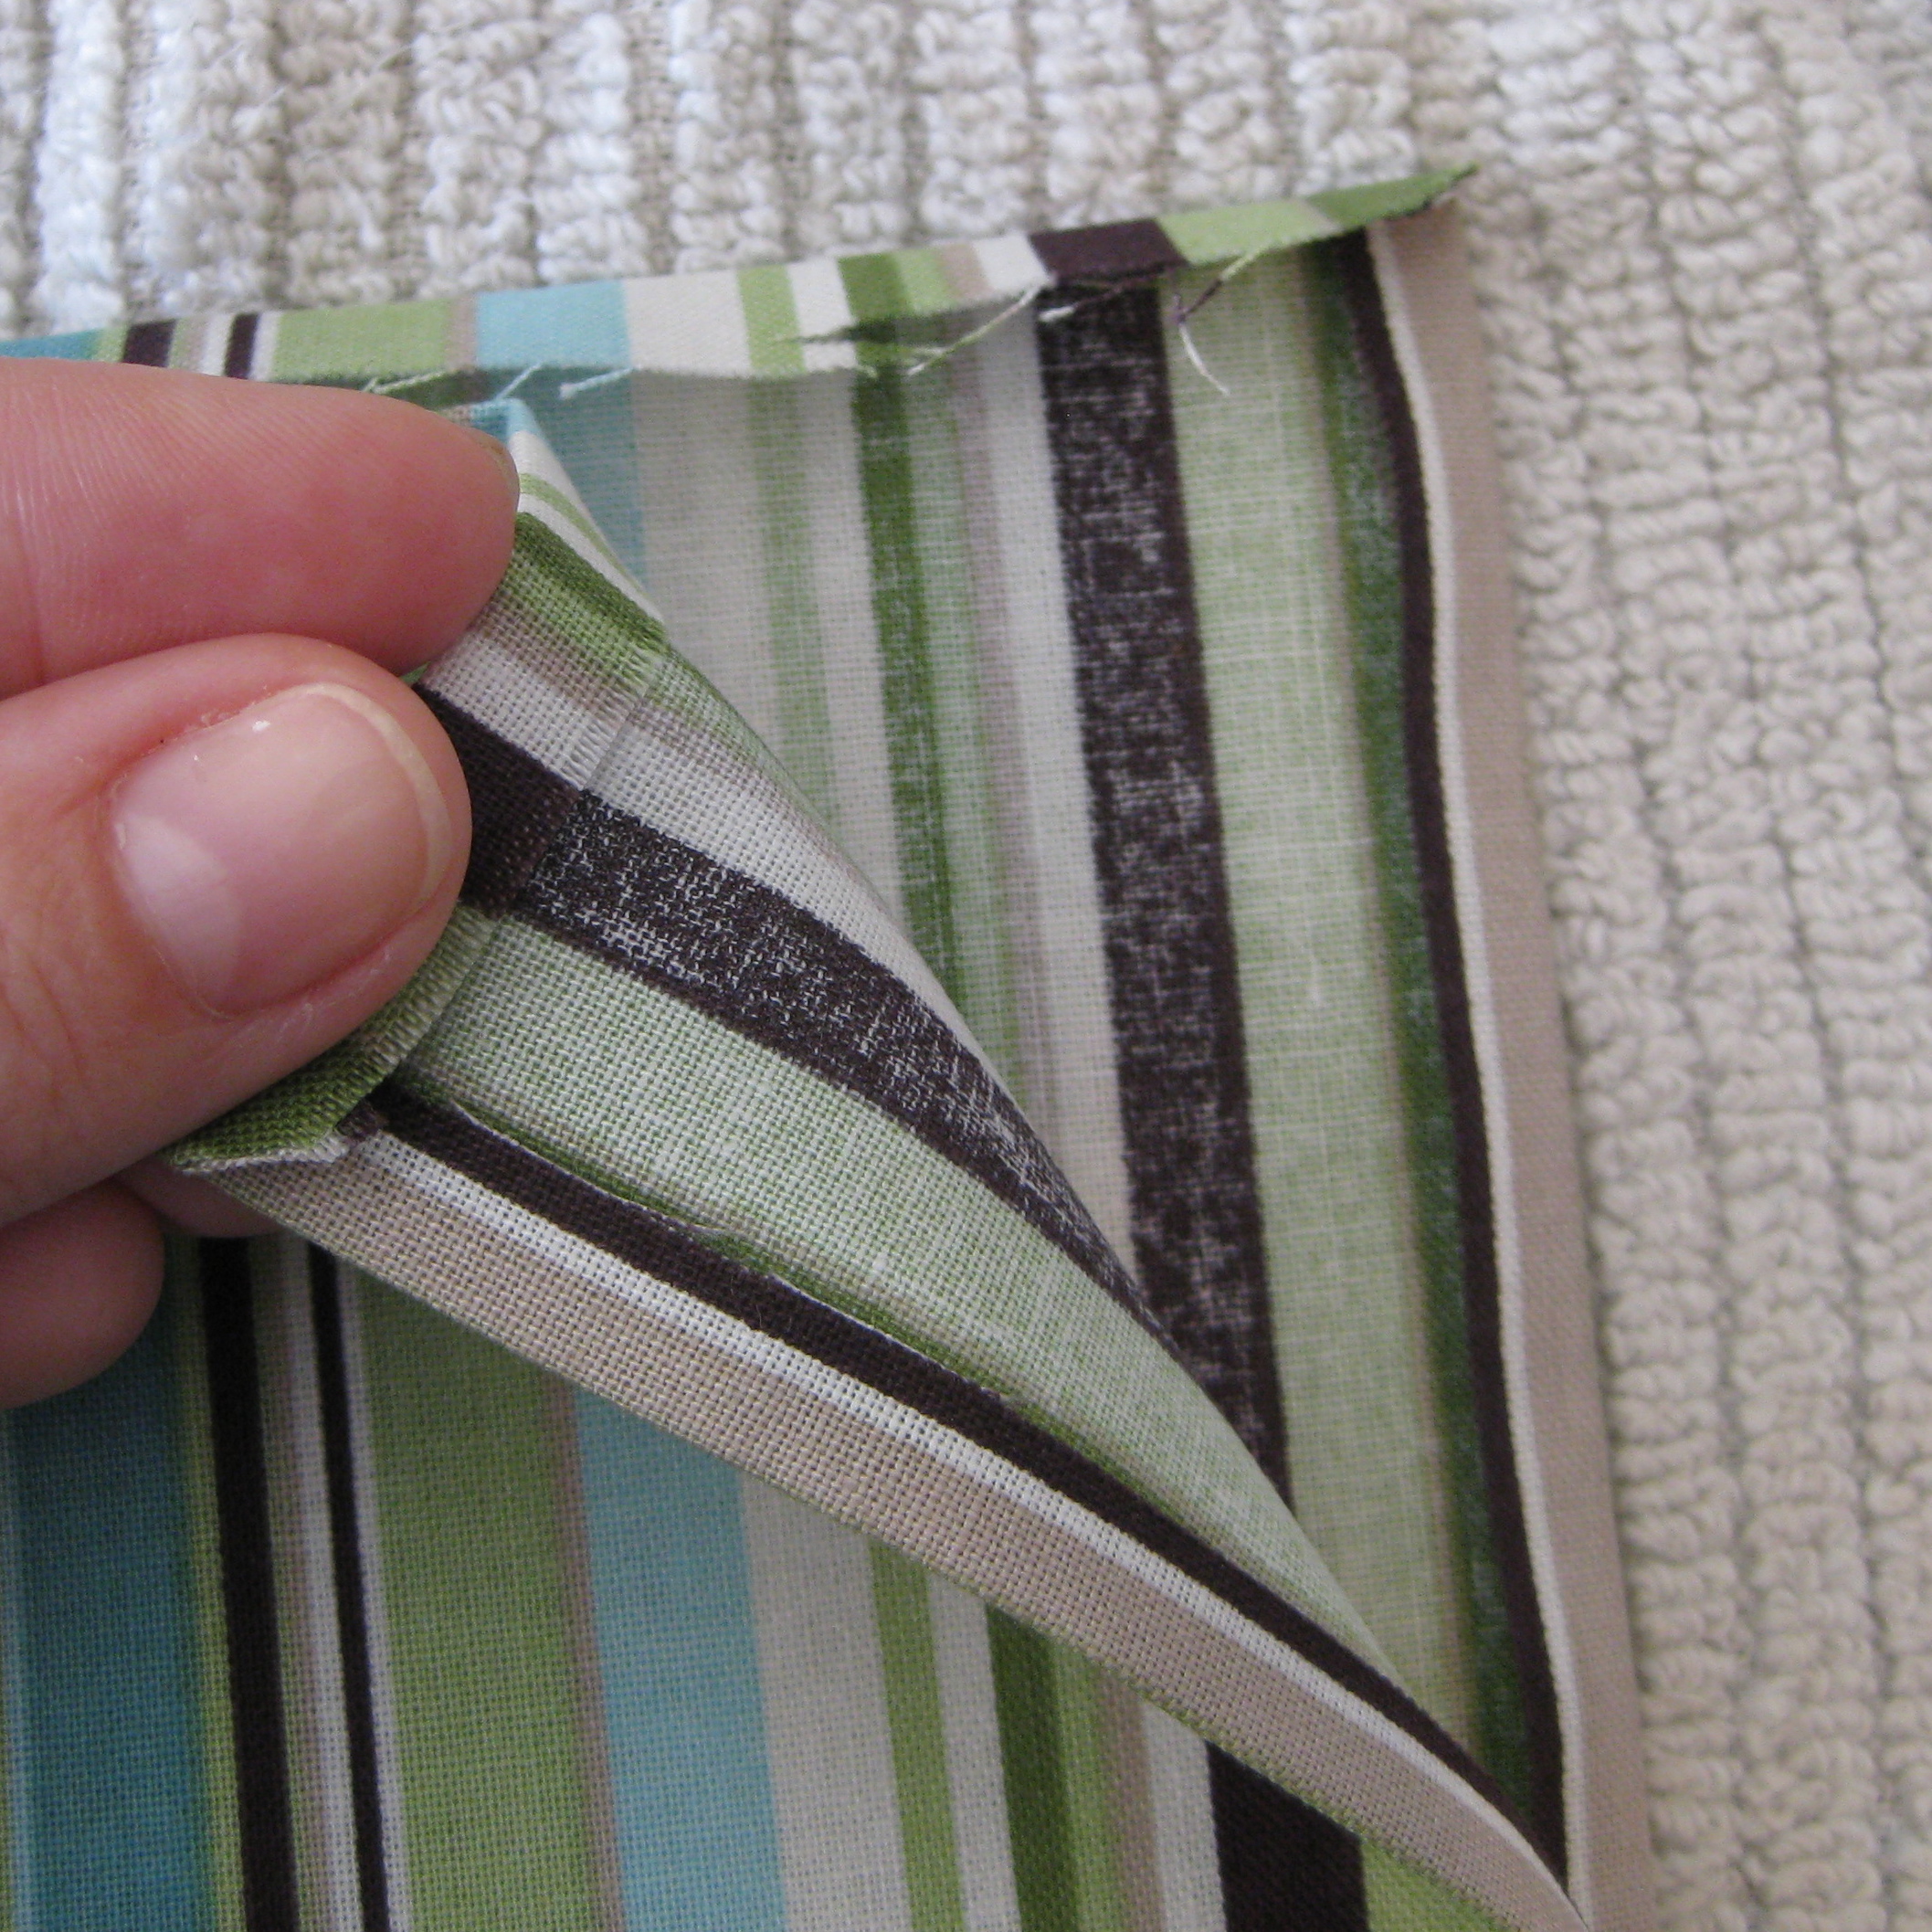
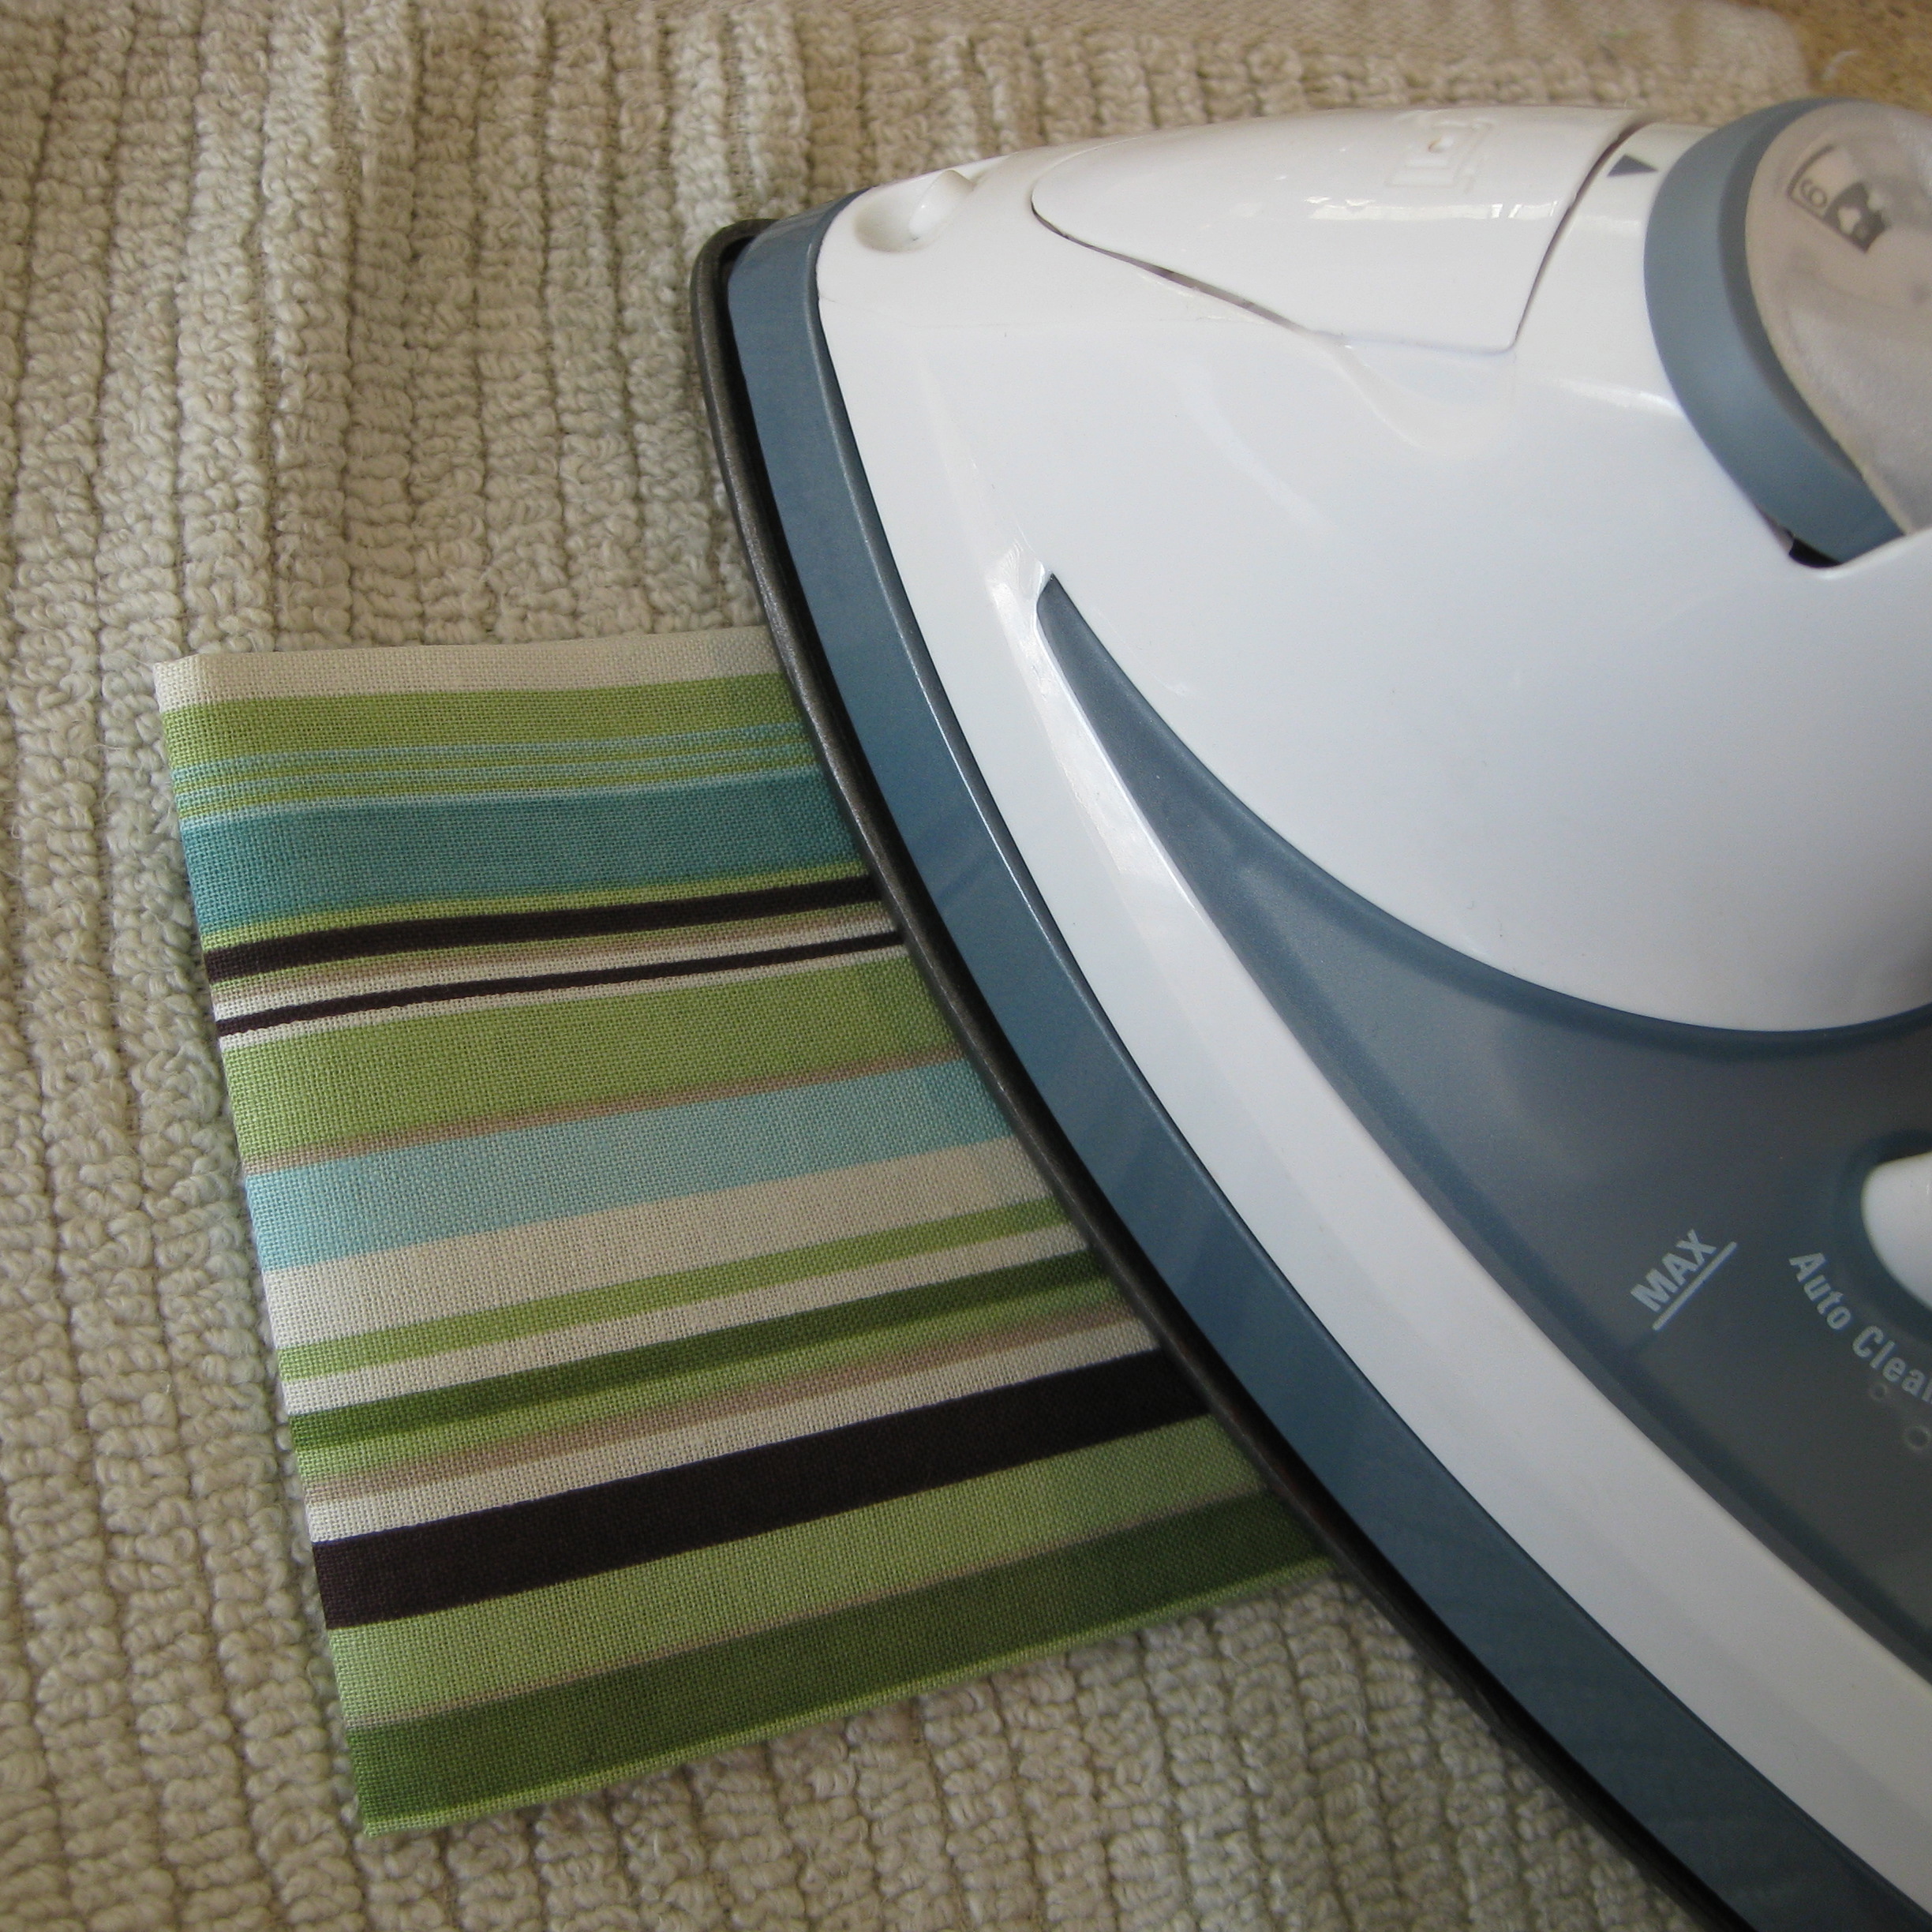
First, prepare the fabric for sewing. To make the sewing process easier, you’ll be ironing your “seams”. Start with the fabric facing wrong-side up and using a hot iron, press a 1/4″ seem along all four sides. When ironing the corners, use your fingers to form a square corner, then press with the hot iron.
.
..
…
.
.
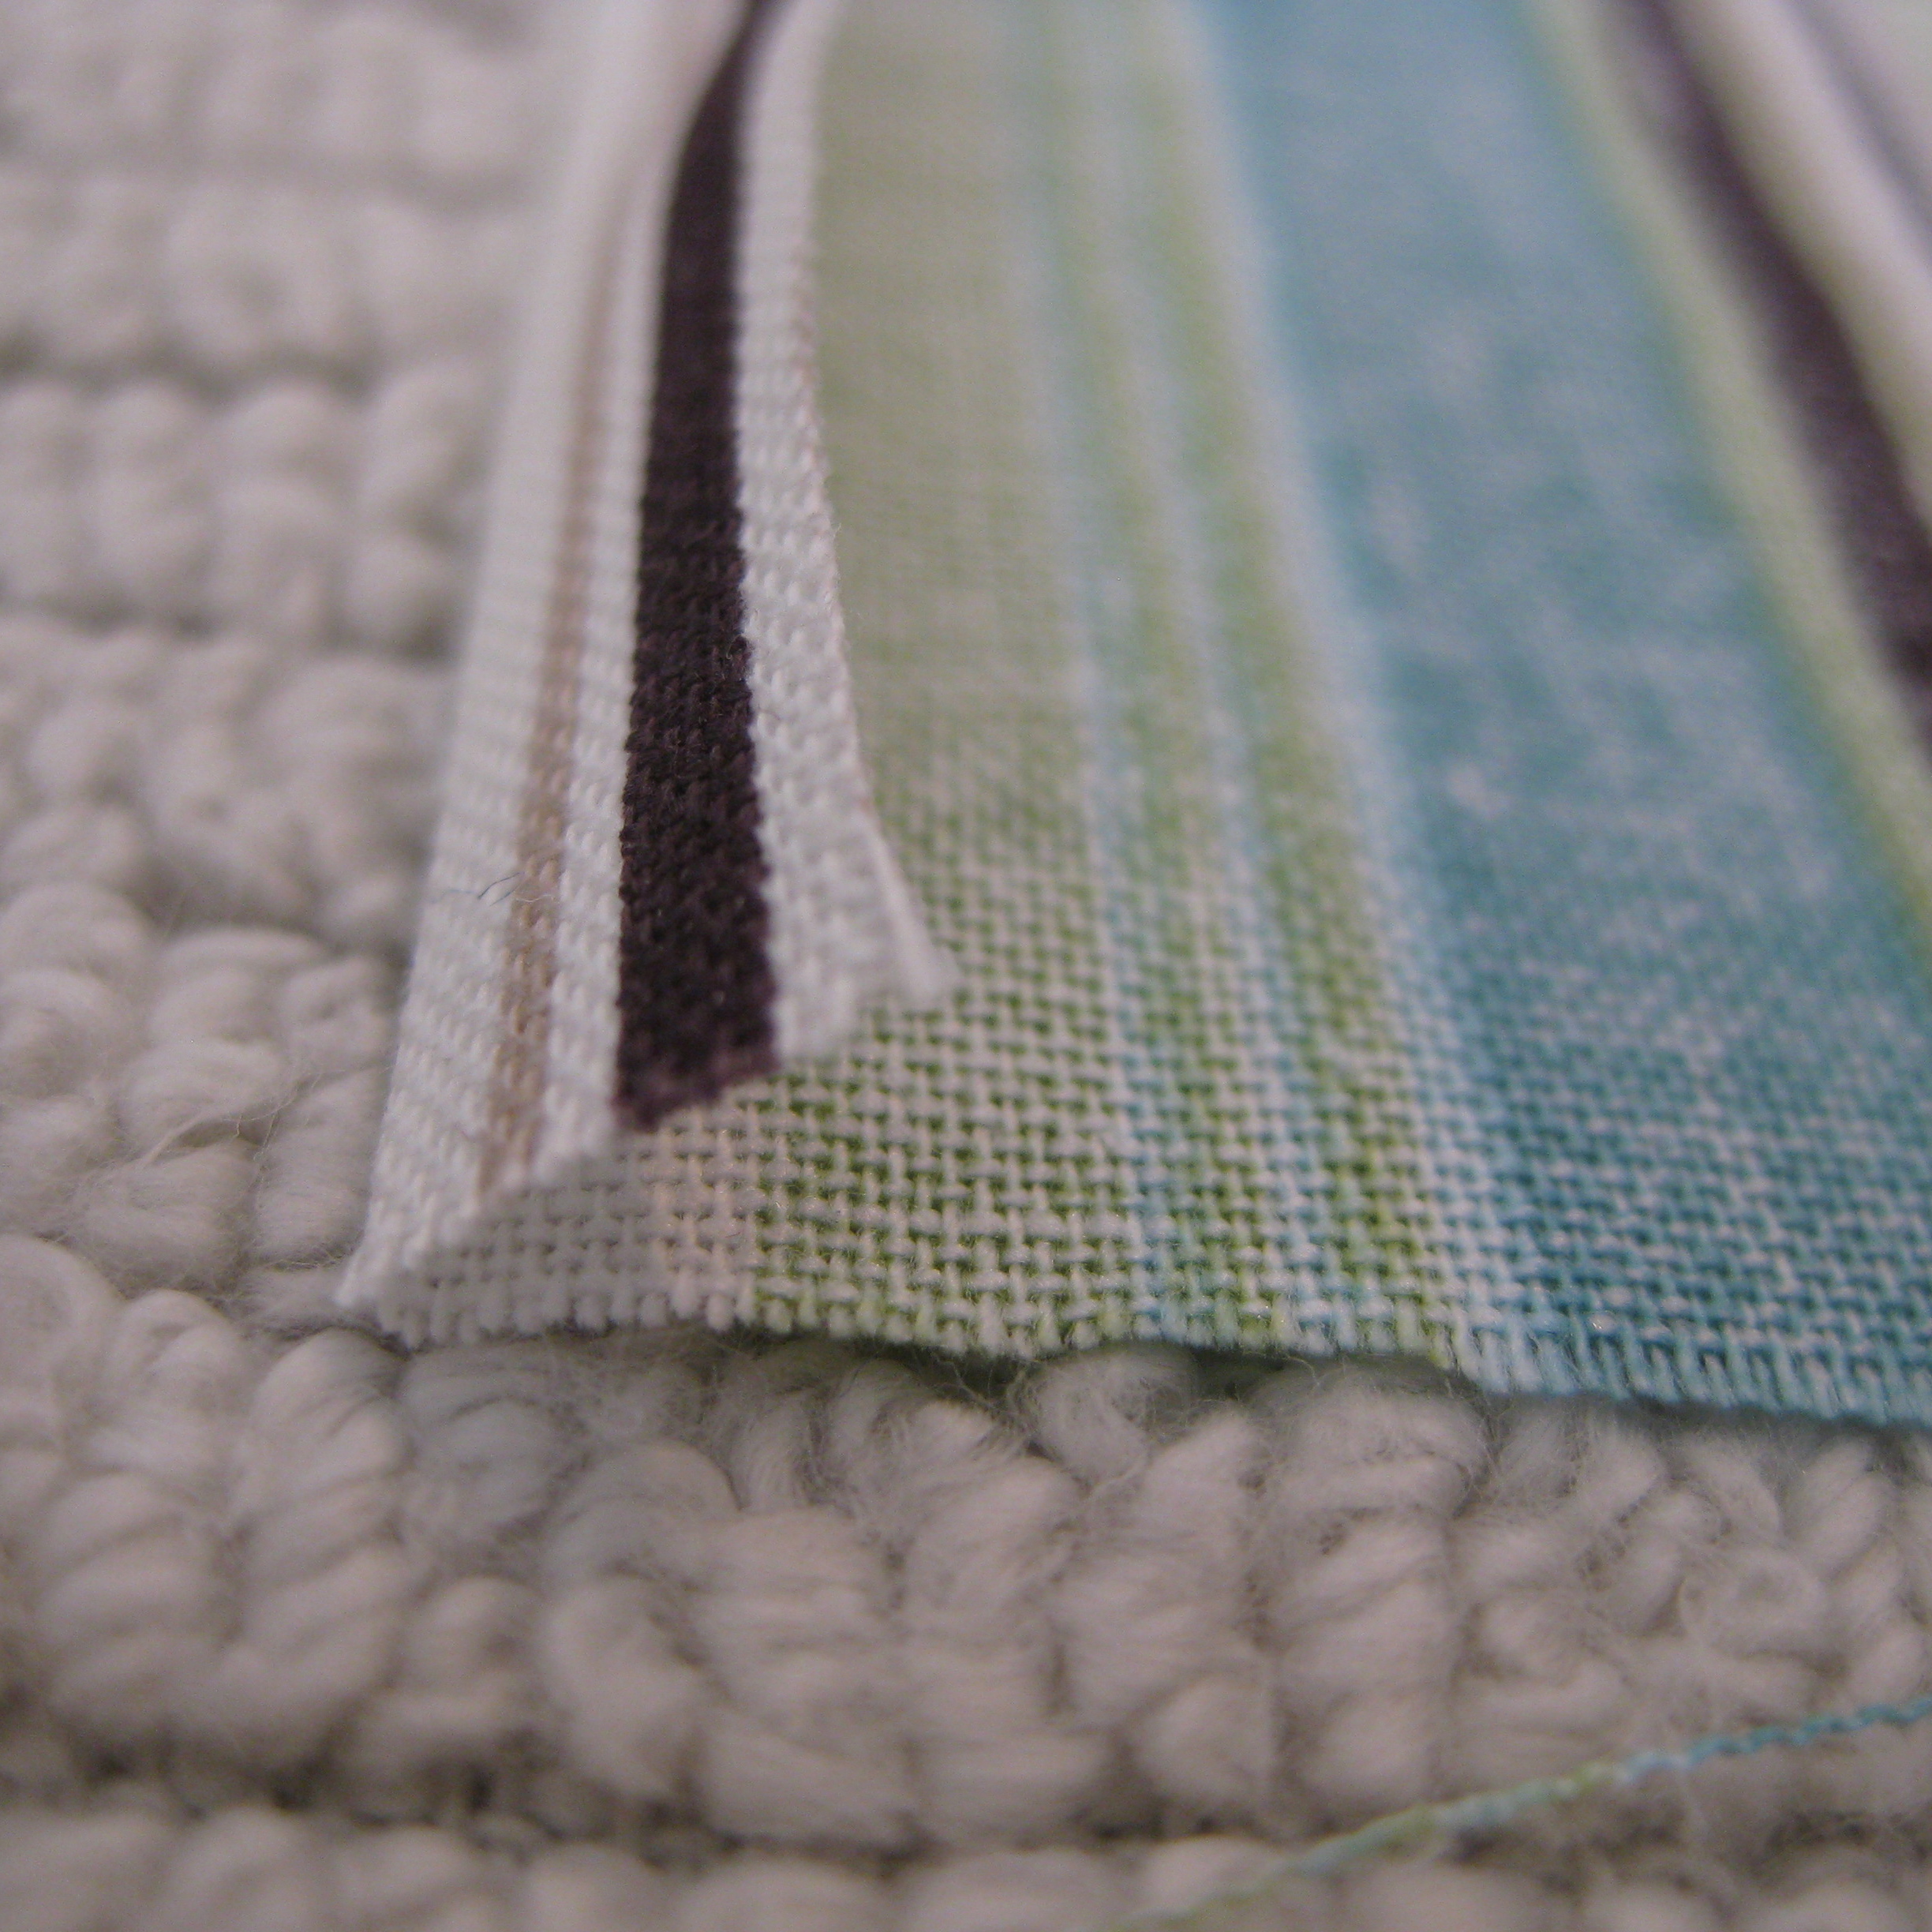
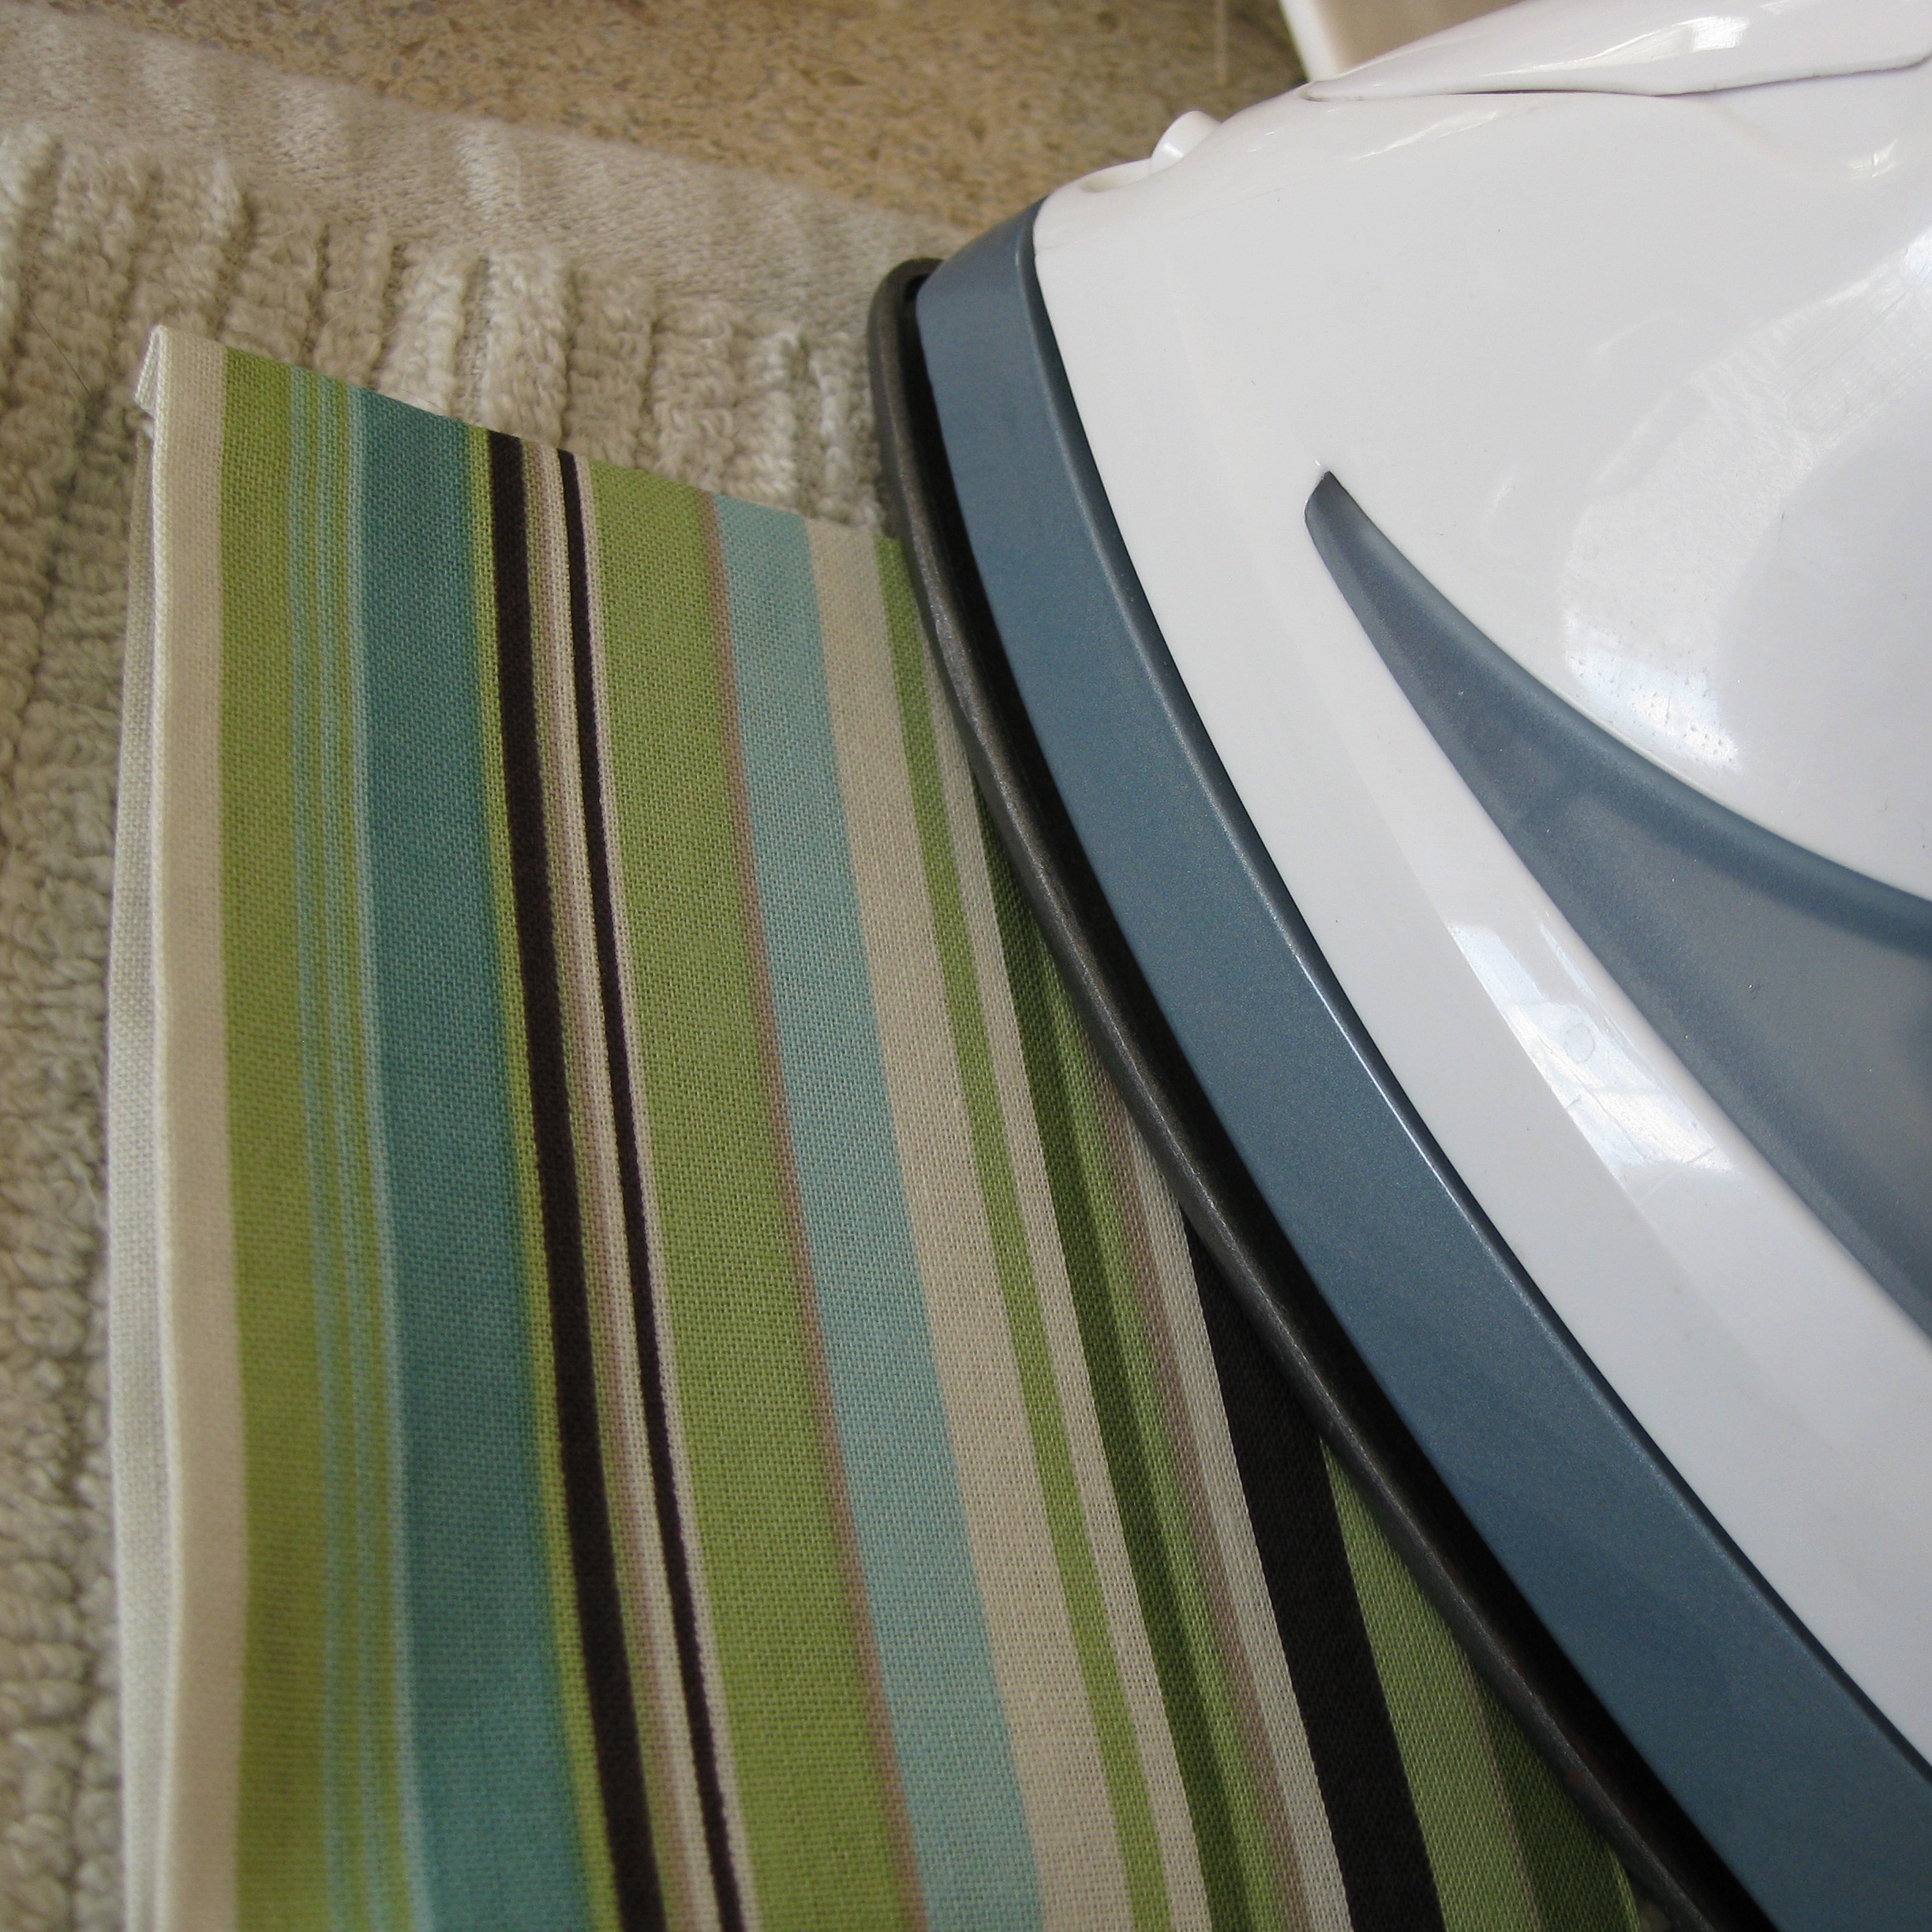
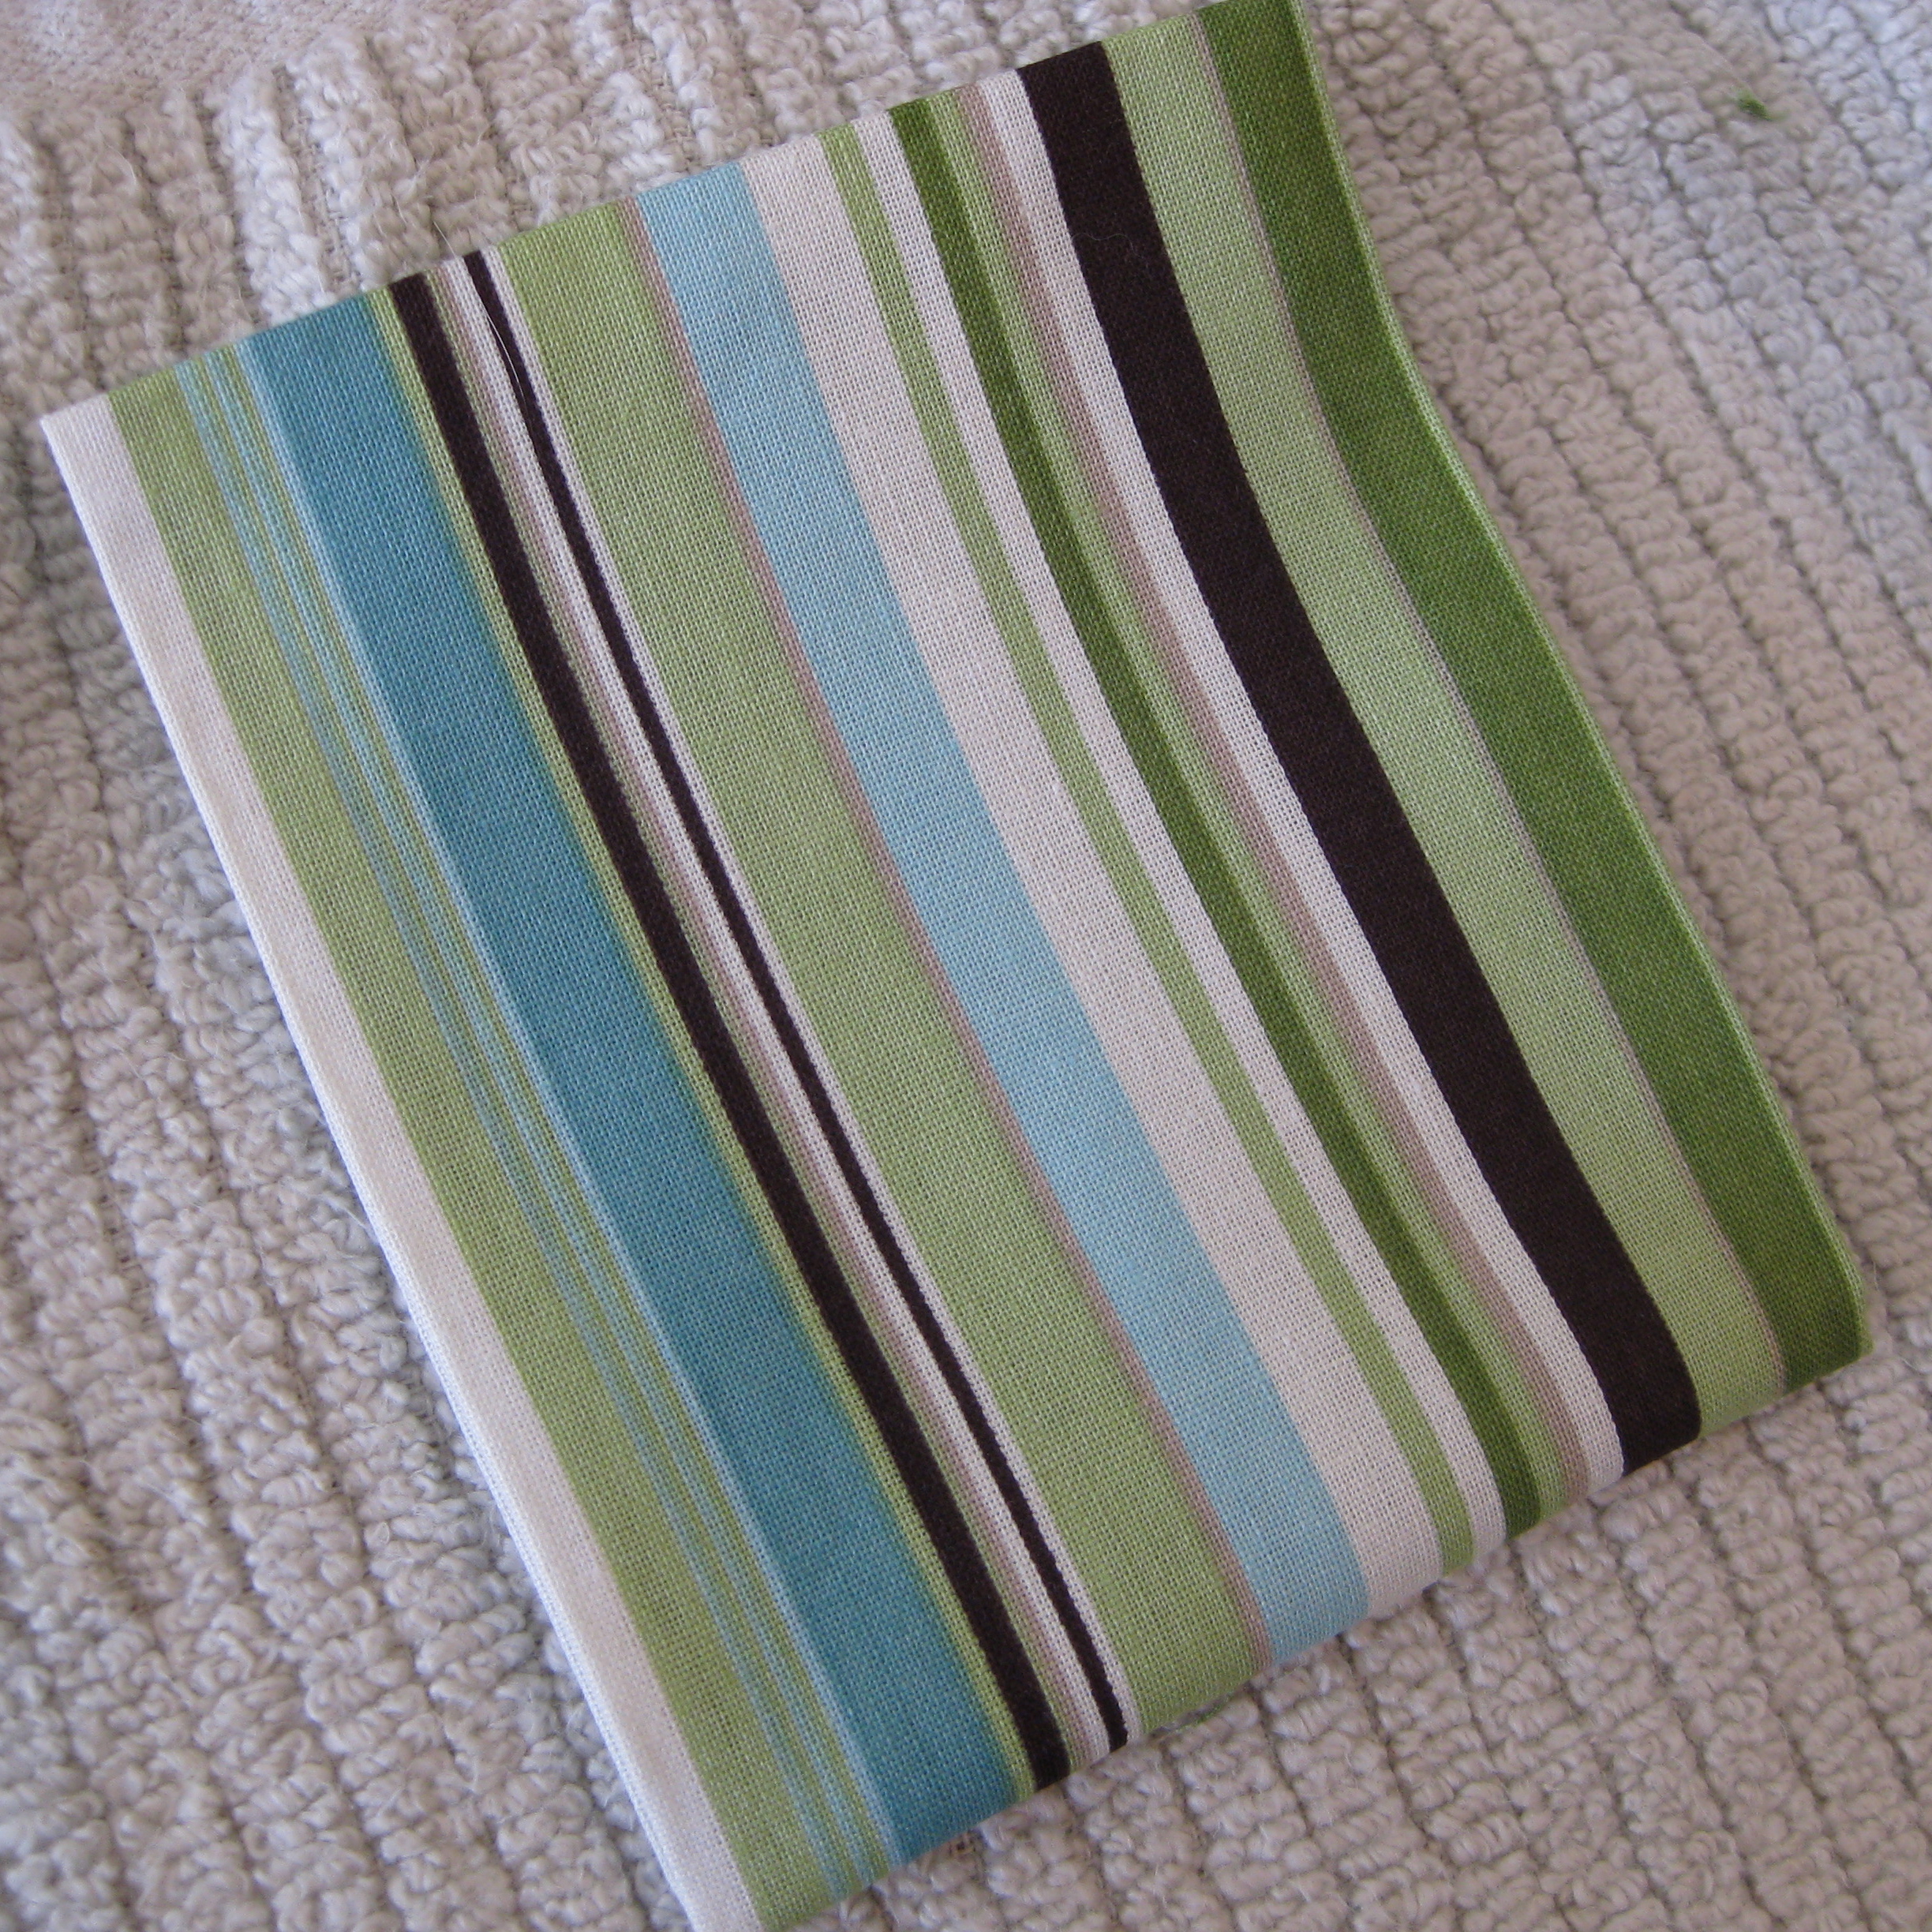
Next, fold the fabric in half, with the right-side facing out. Make sure all of the seams are laying flat and use the hot iron to press the fabric together. This will create sharp folds that can easily be sewn together.
.
..
…
.
.
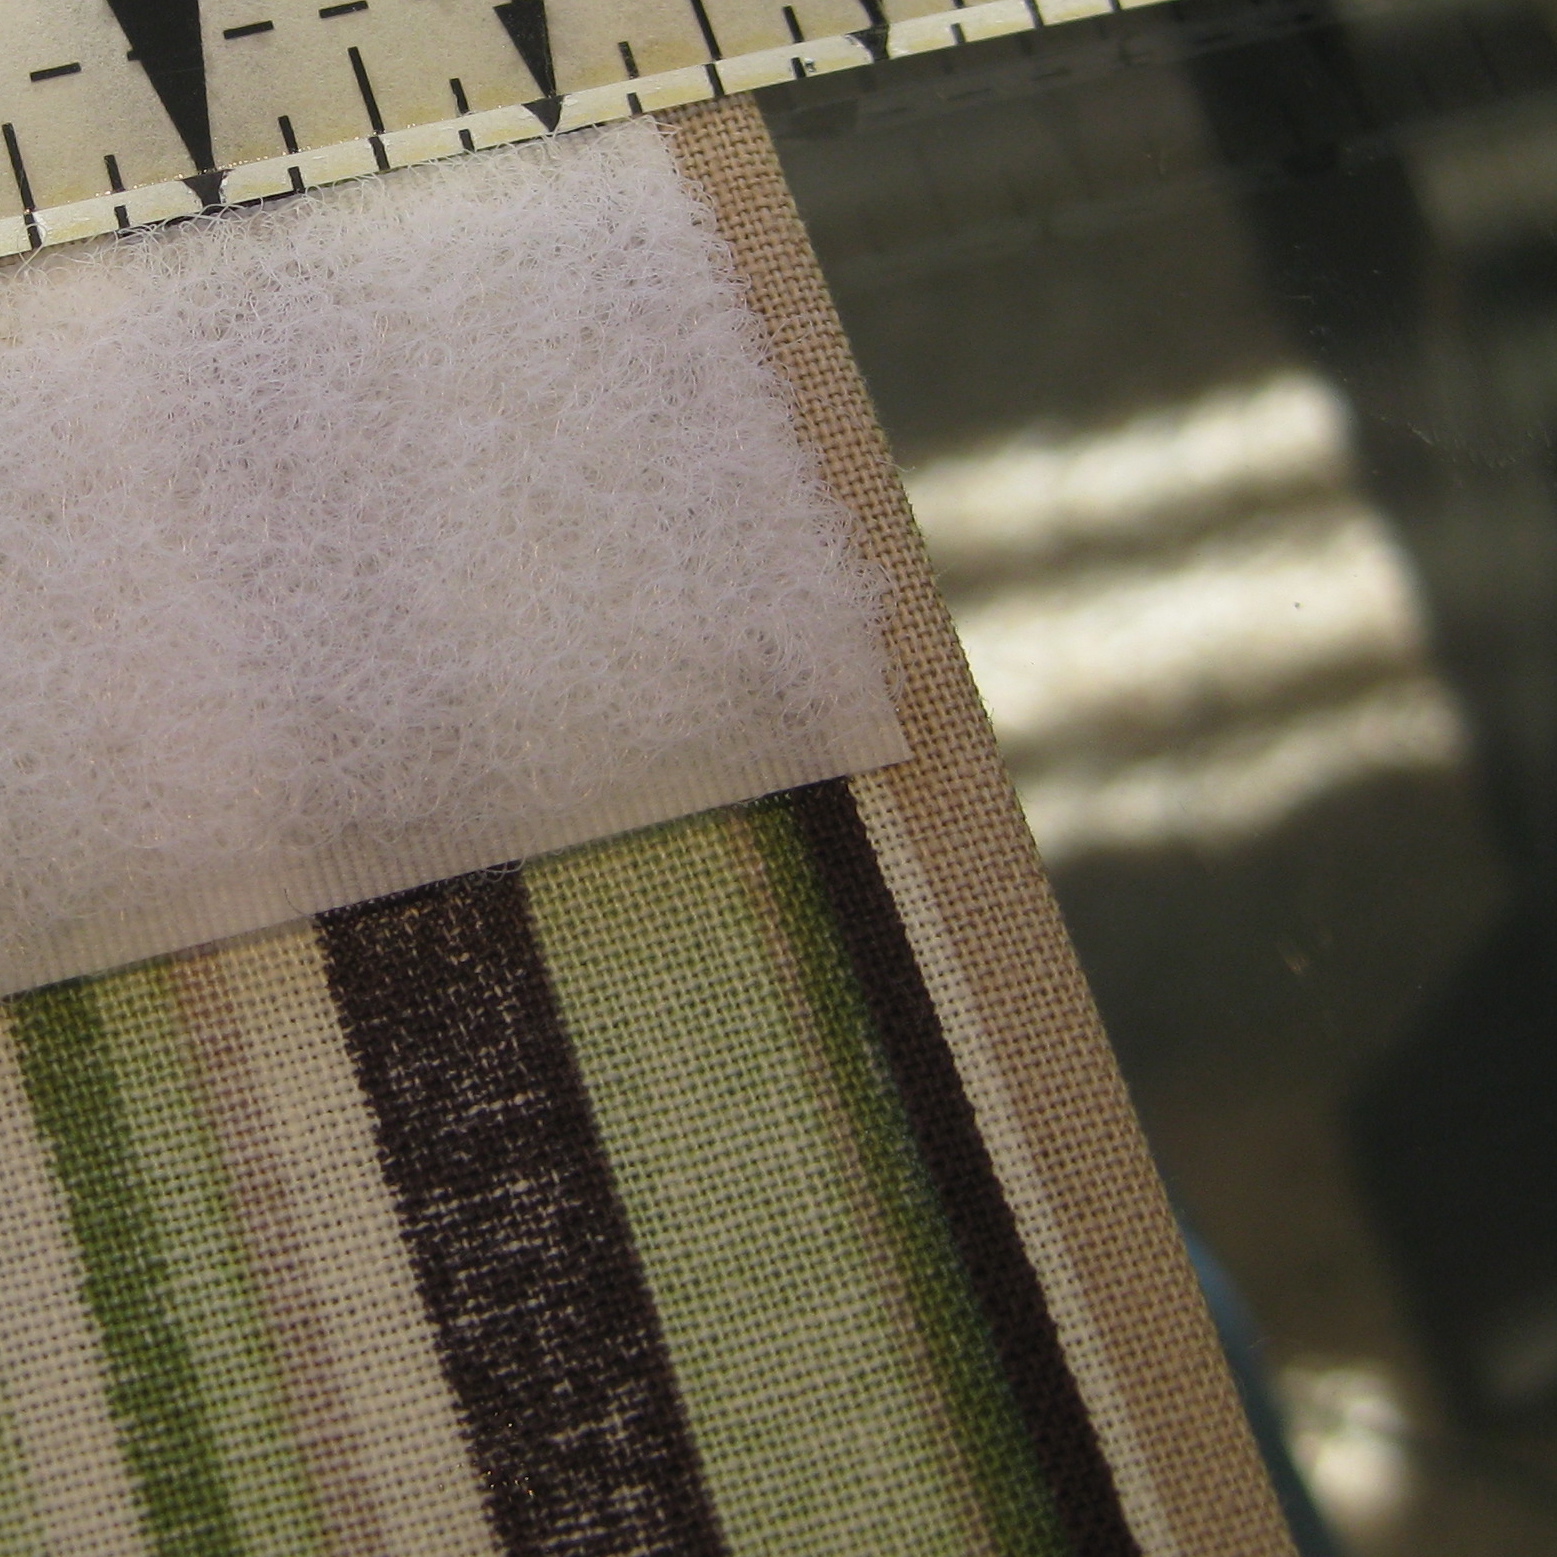
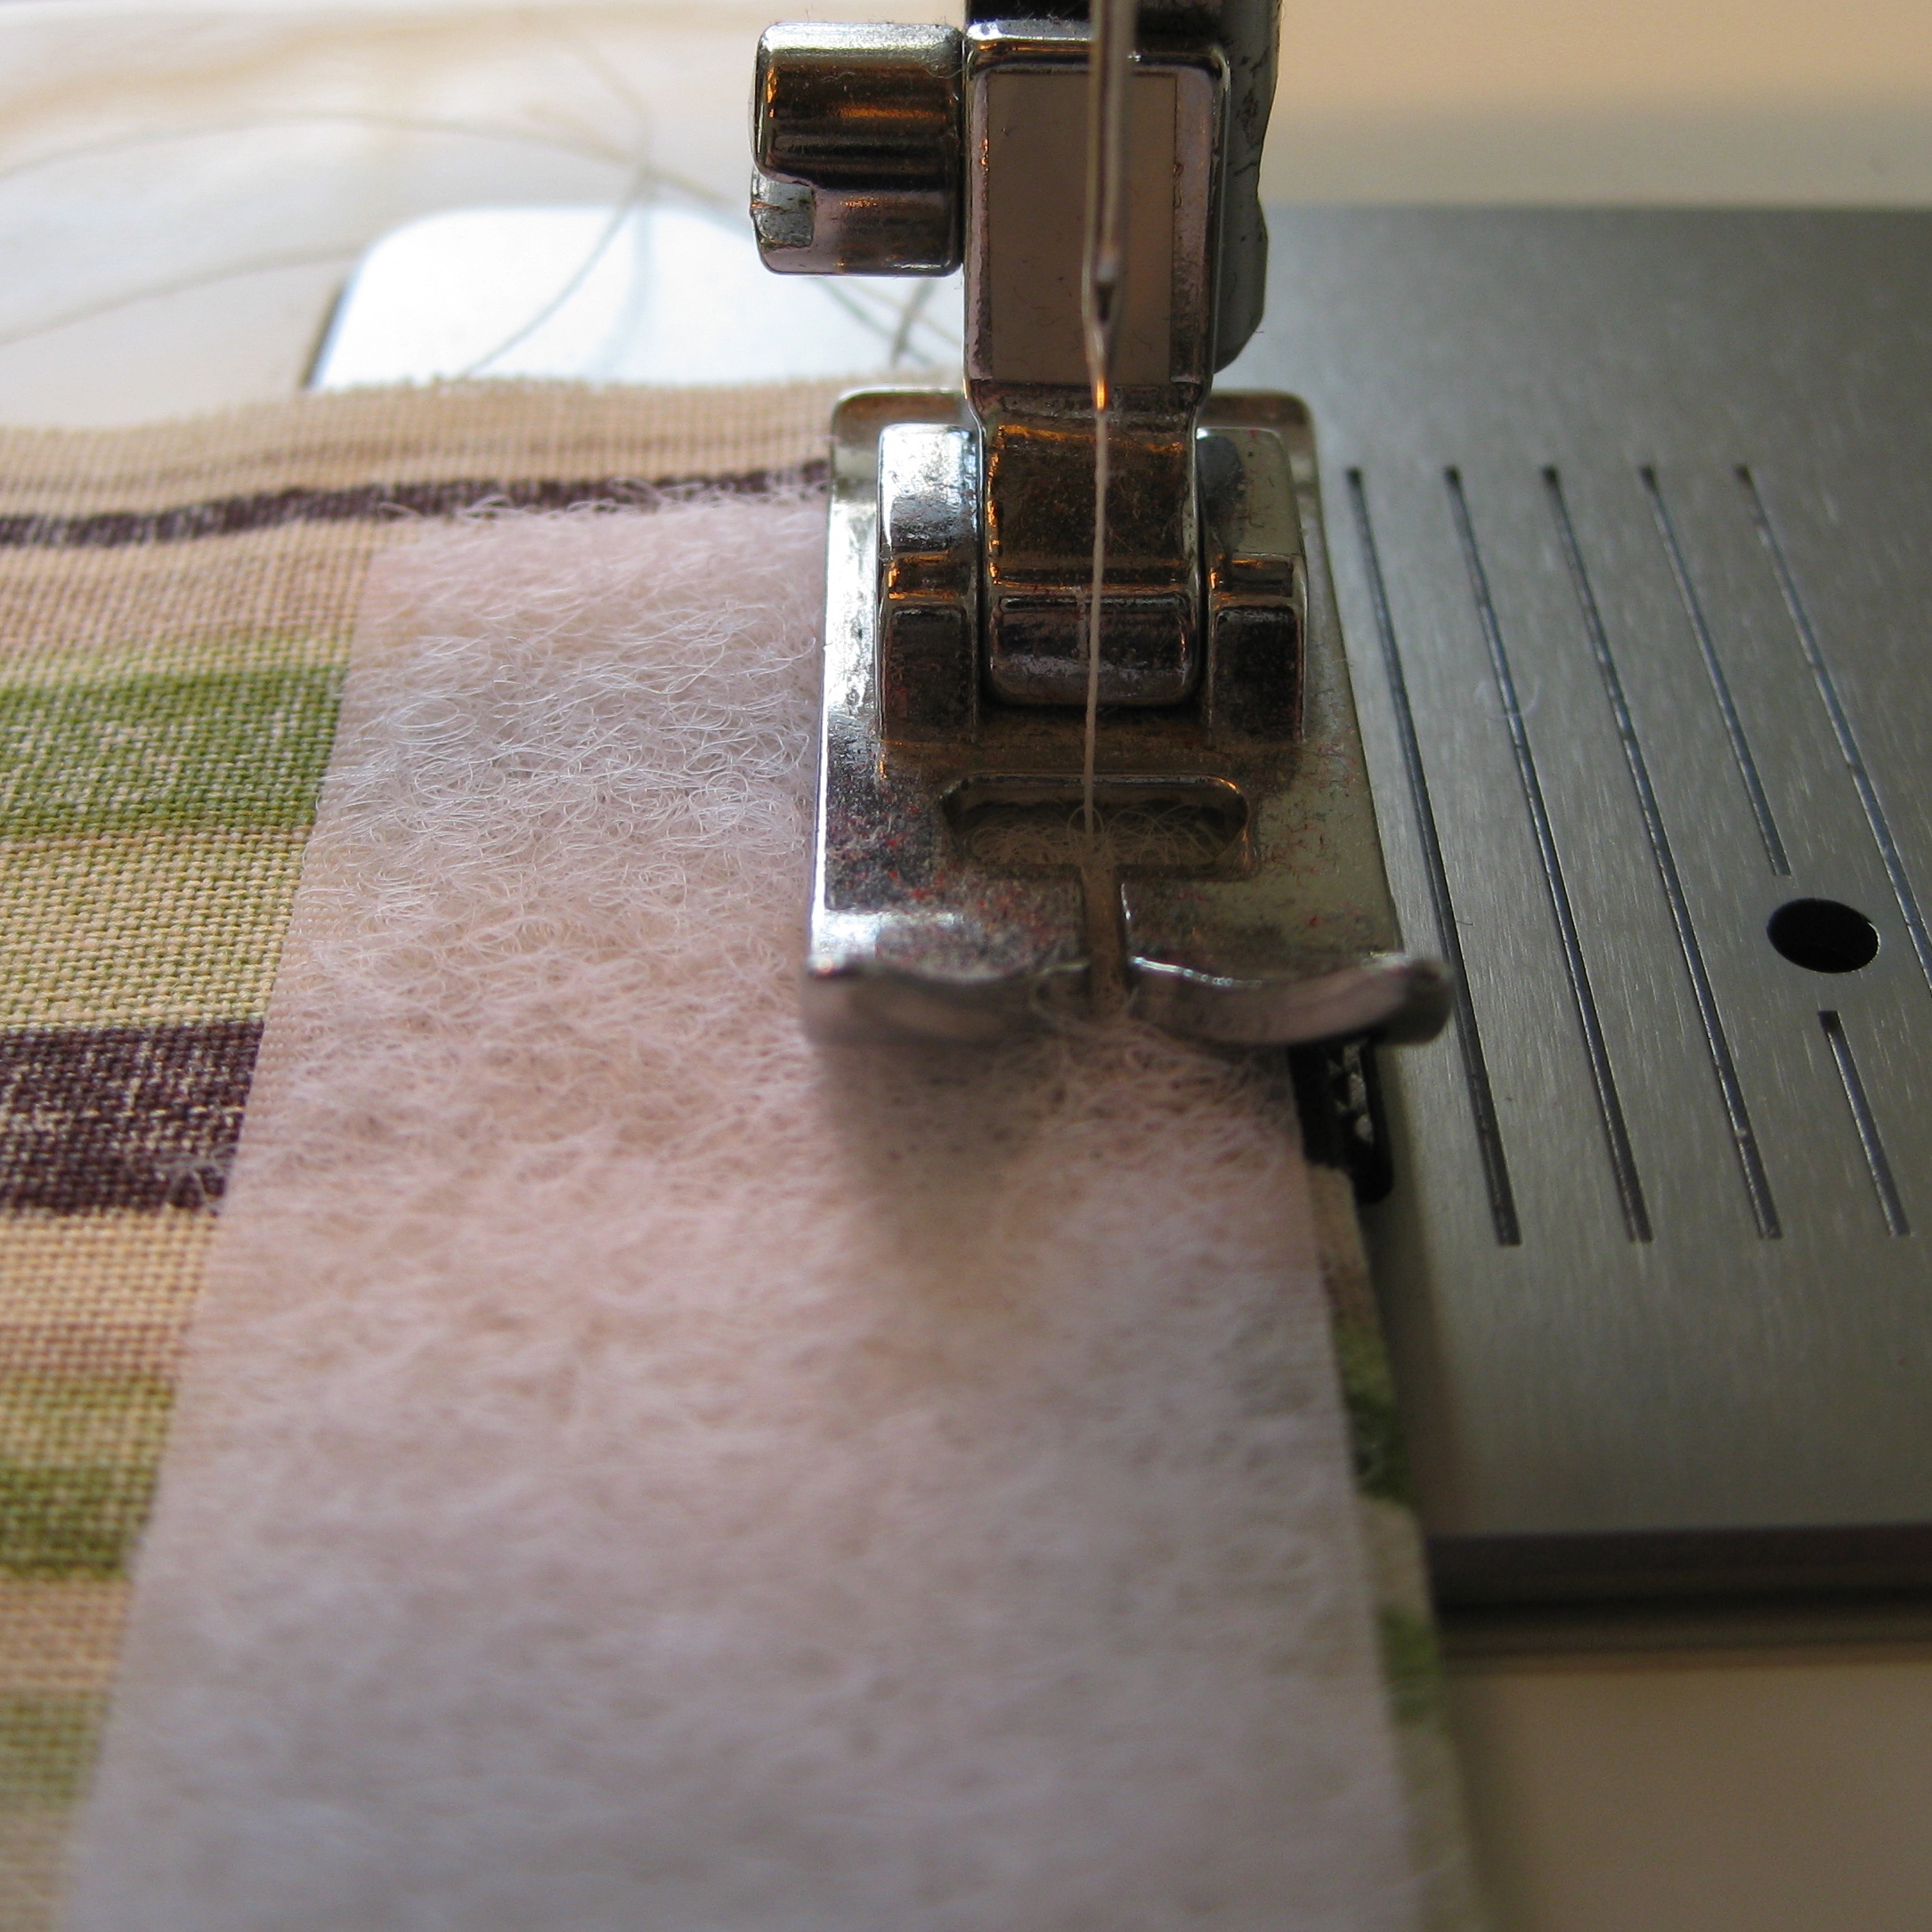
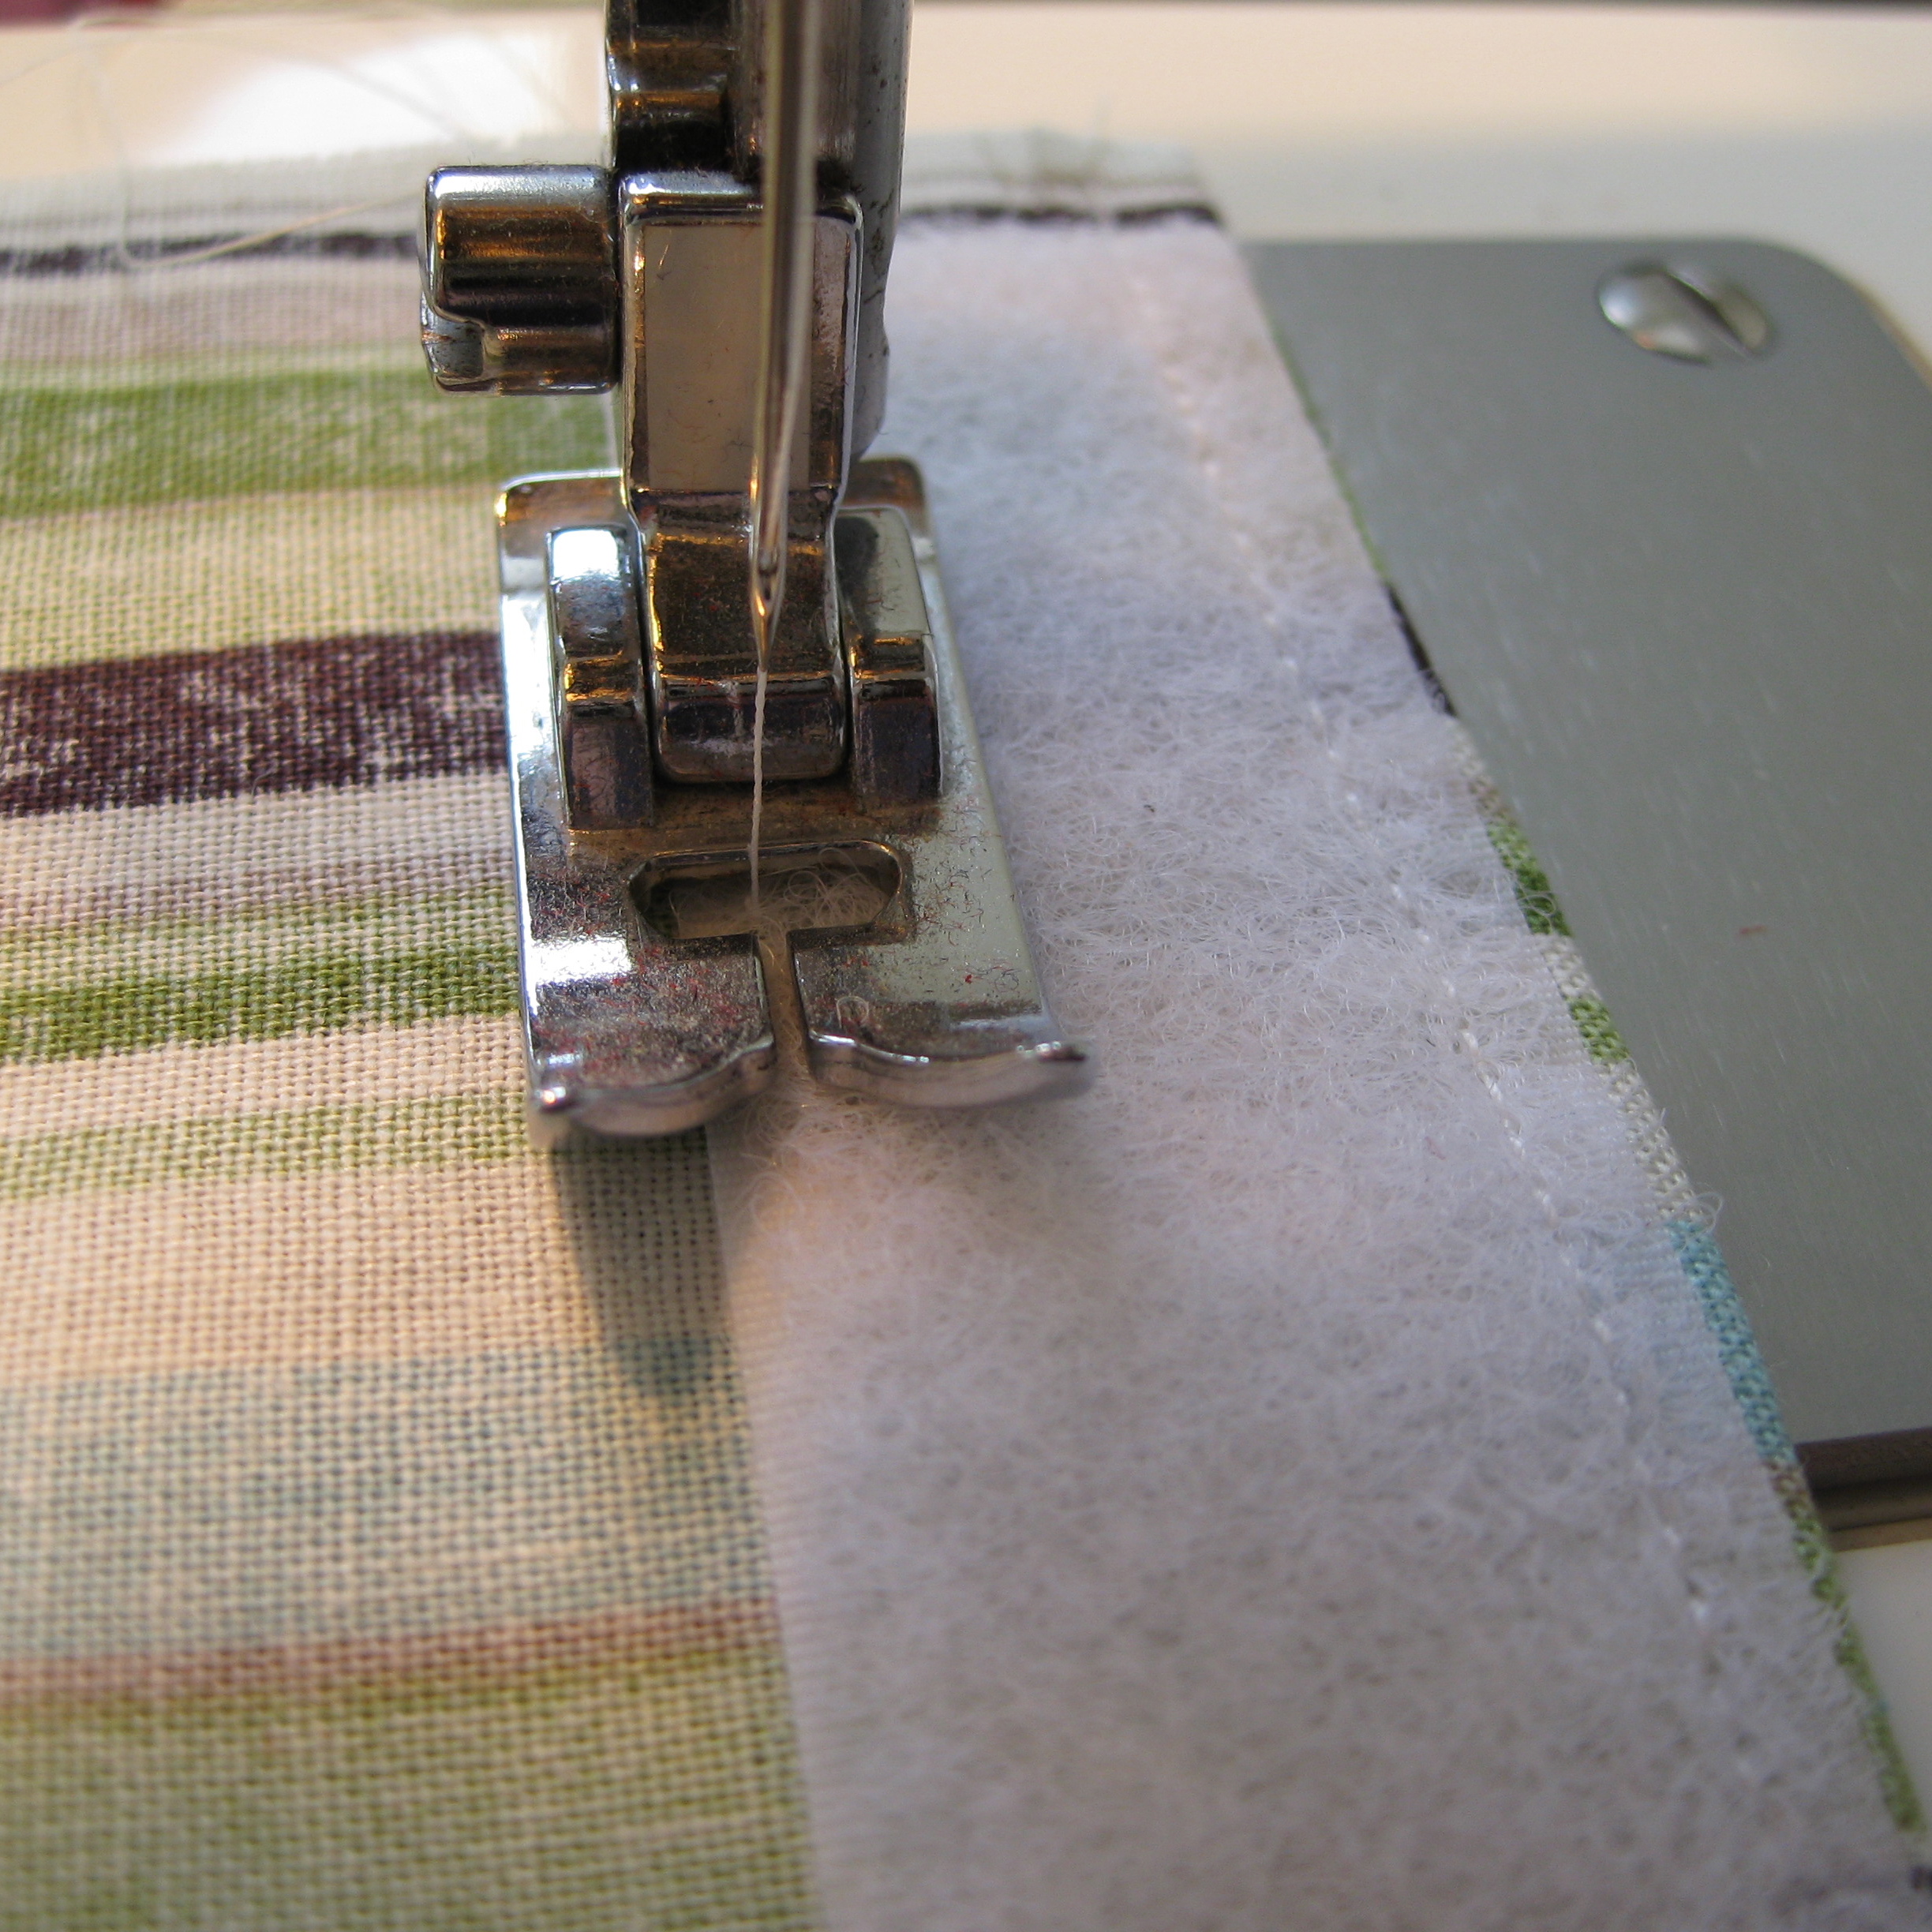
Open the fabric and lay it wrong-side up (which is now the inside of your sachet). Place one side of the velcro on the fabric, over the 1/4″ seams and along the edge of the short side of the fabric. The end of the velcro should almost be touching the side edge of the fabric, but not exactly lined up with it (see picture 1 below). Now, sew along the top edge of the velcro, being sure to sew close enough to all of the edges to catch the ironed edge of the seams. Then sew along the bottom side of the velcro. Repeat these steps on the other end of the bag, using the opposite side of the velcro. If you flip the fabric over, you will see two lines where you sewed the velcro.
.
.
.
.
.
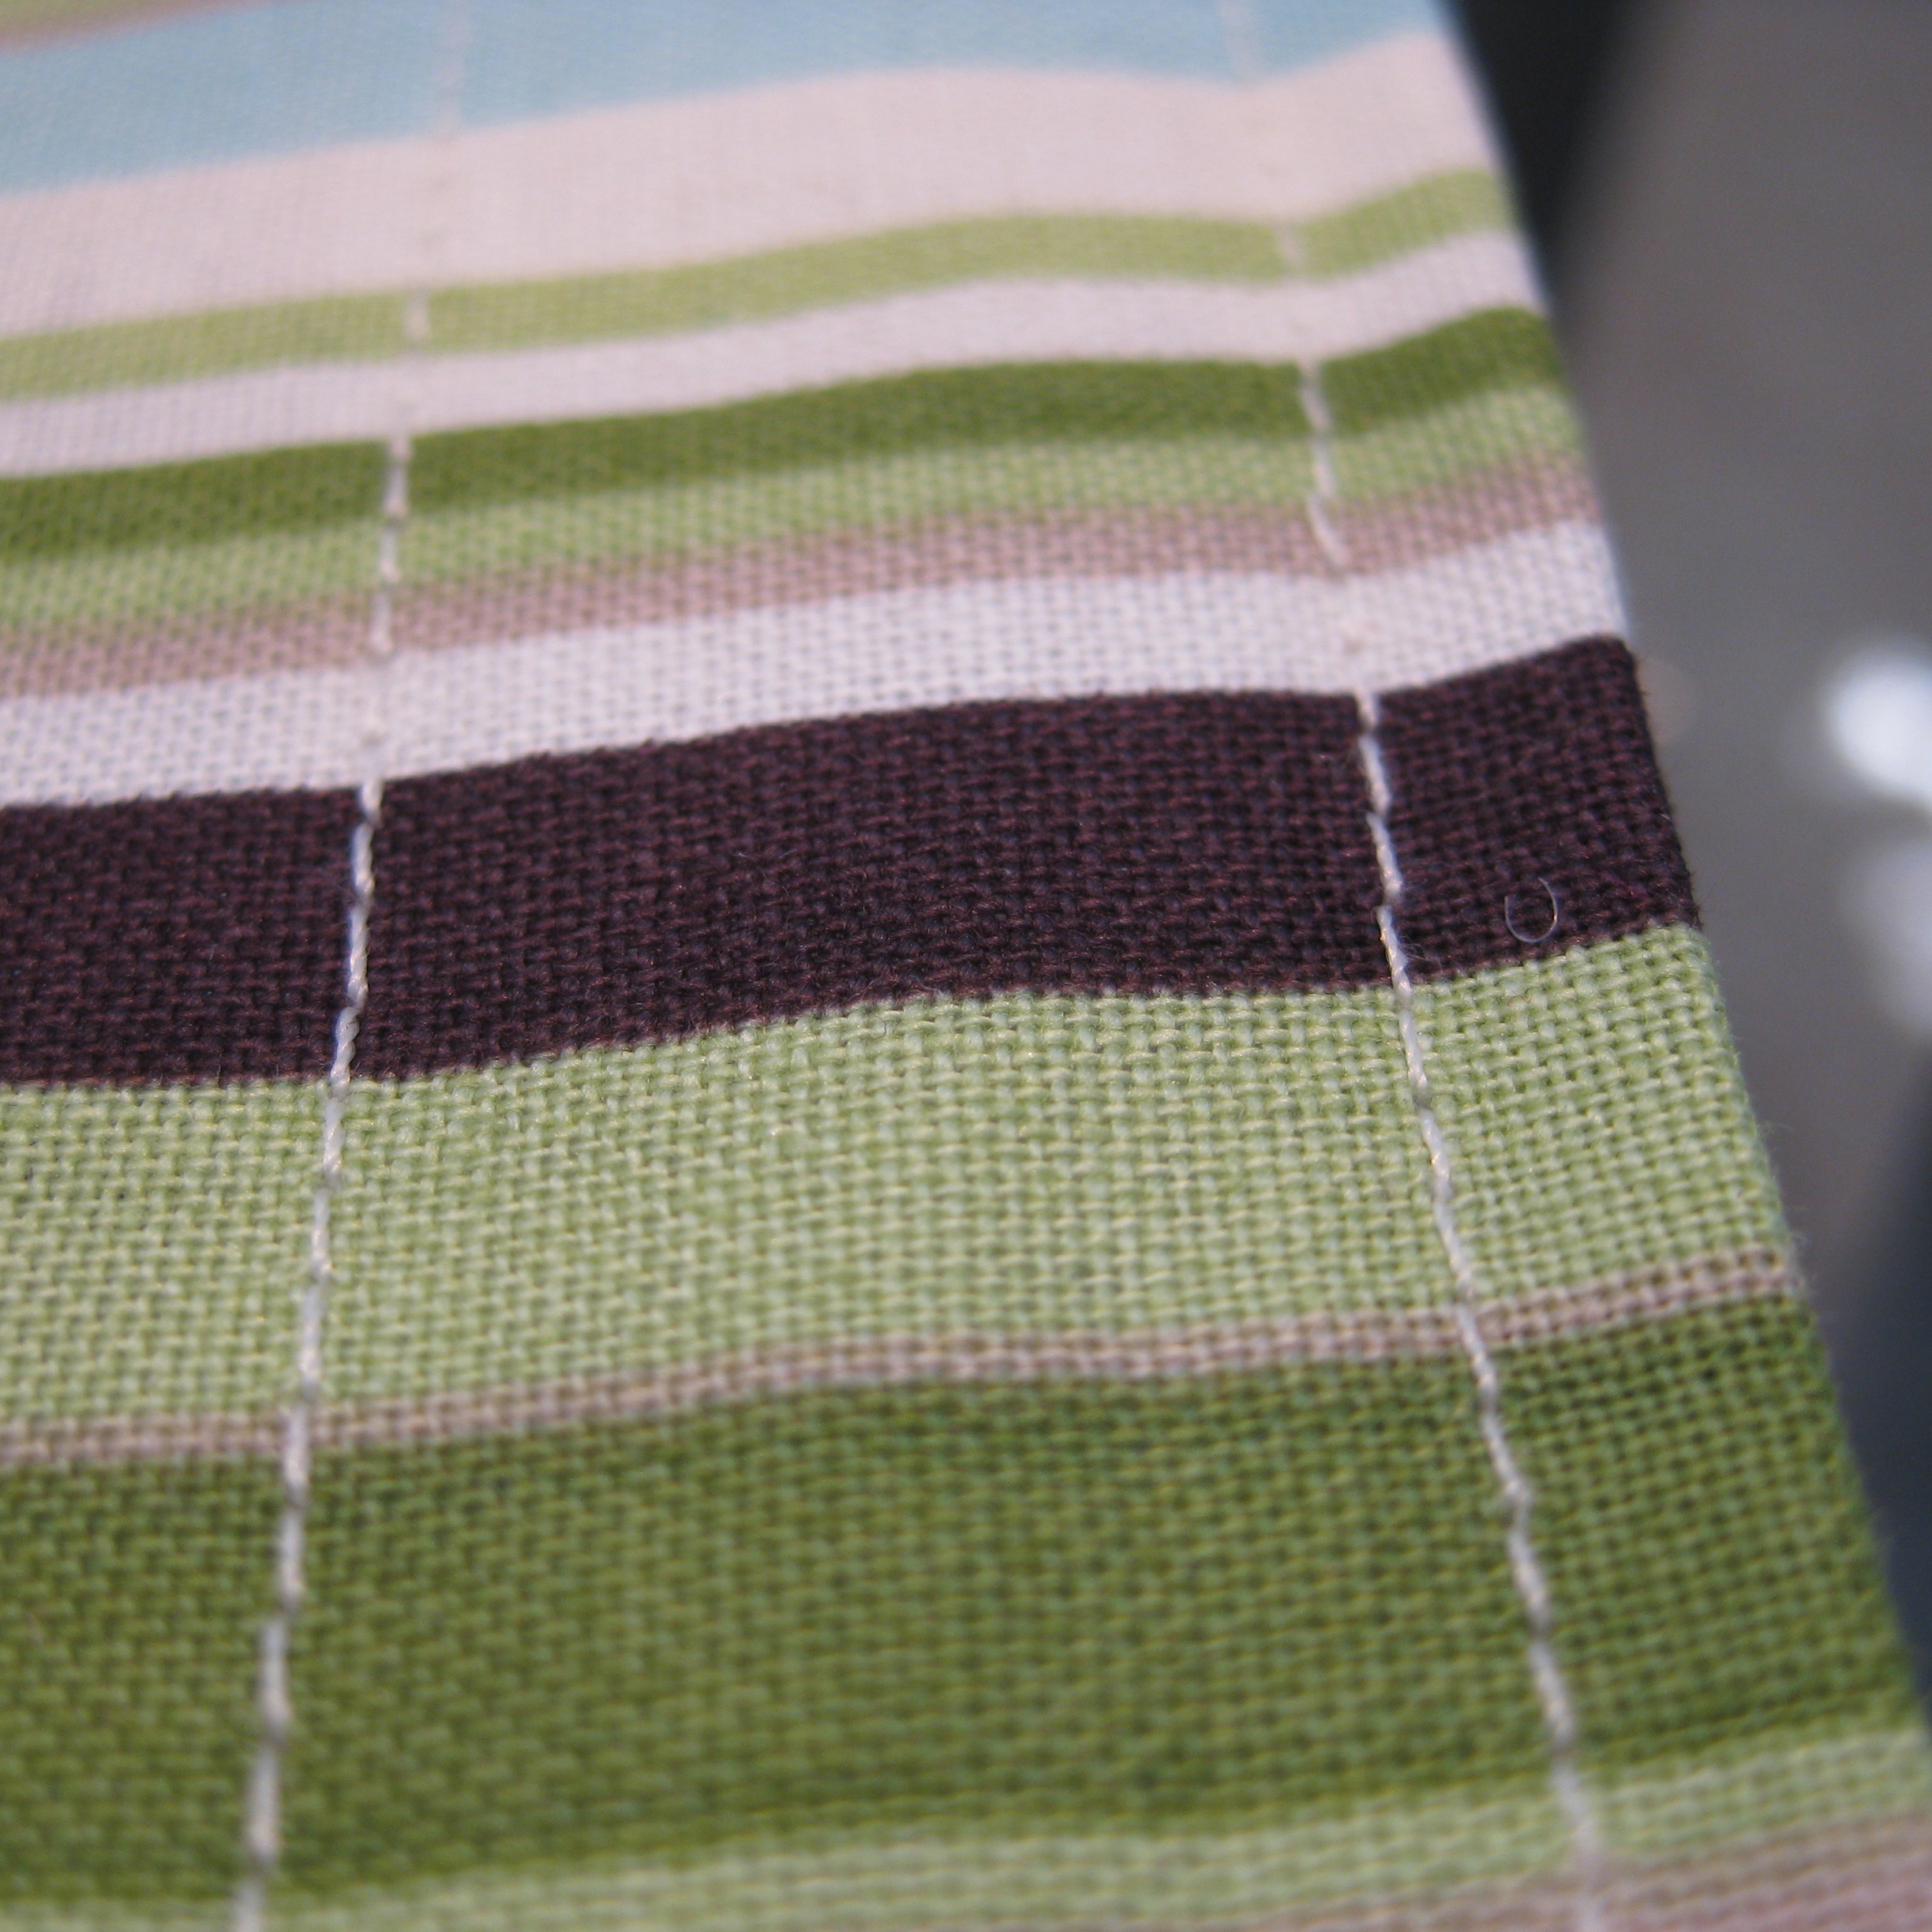
After you’ve sewn the velcro to both sides of the sachet, fold it back in half with the right-sides out. Sew along both sides of the sachet, being sure to get close enough to the edge to sew the seams together. If you prefer added strength, you can sew along the sides twice. Now you can fill your new sachet with the dried herbs of your choice, but be sure to avoid getting any herbs in the velcro. If you have an old toilet paper roll, you can use it to funnel the herbs past the velcro.
To learn more about how dryer sachets can work as well as dryer sheets, and to get a custom herbal blend for your newly made dryer sachet, be sure to visit my column at hellogiggles.com.


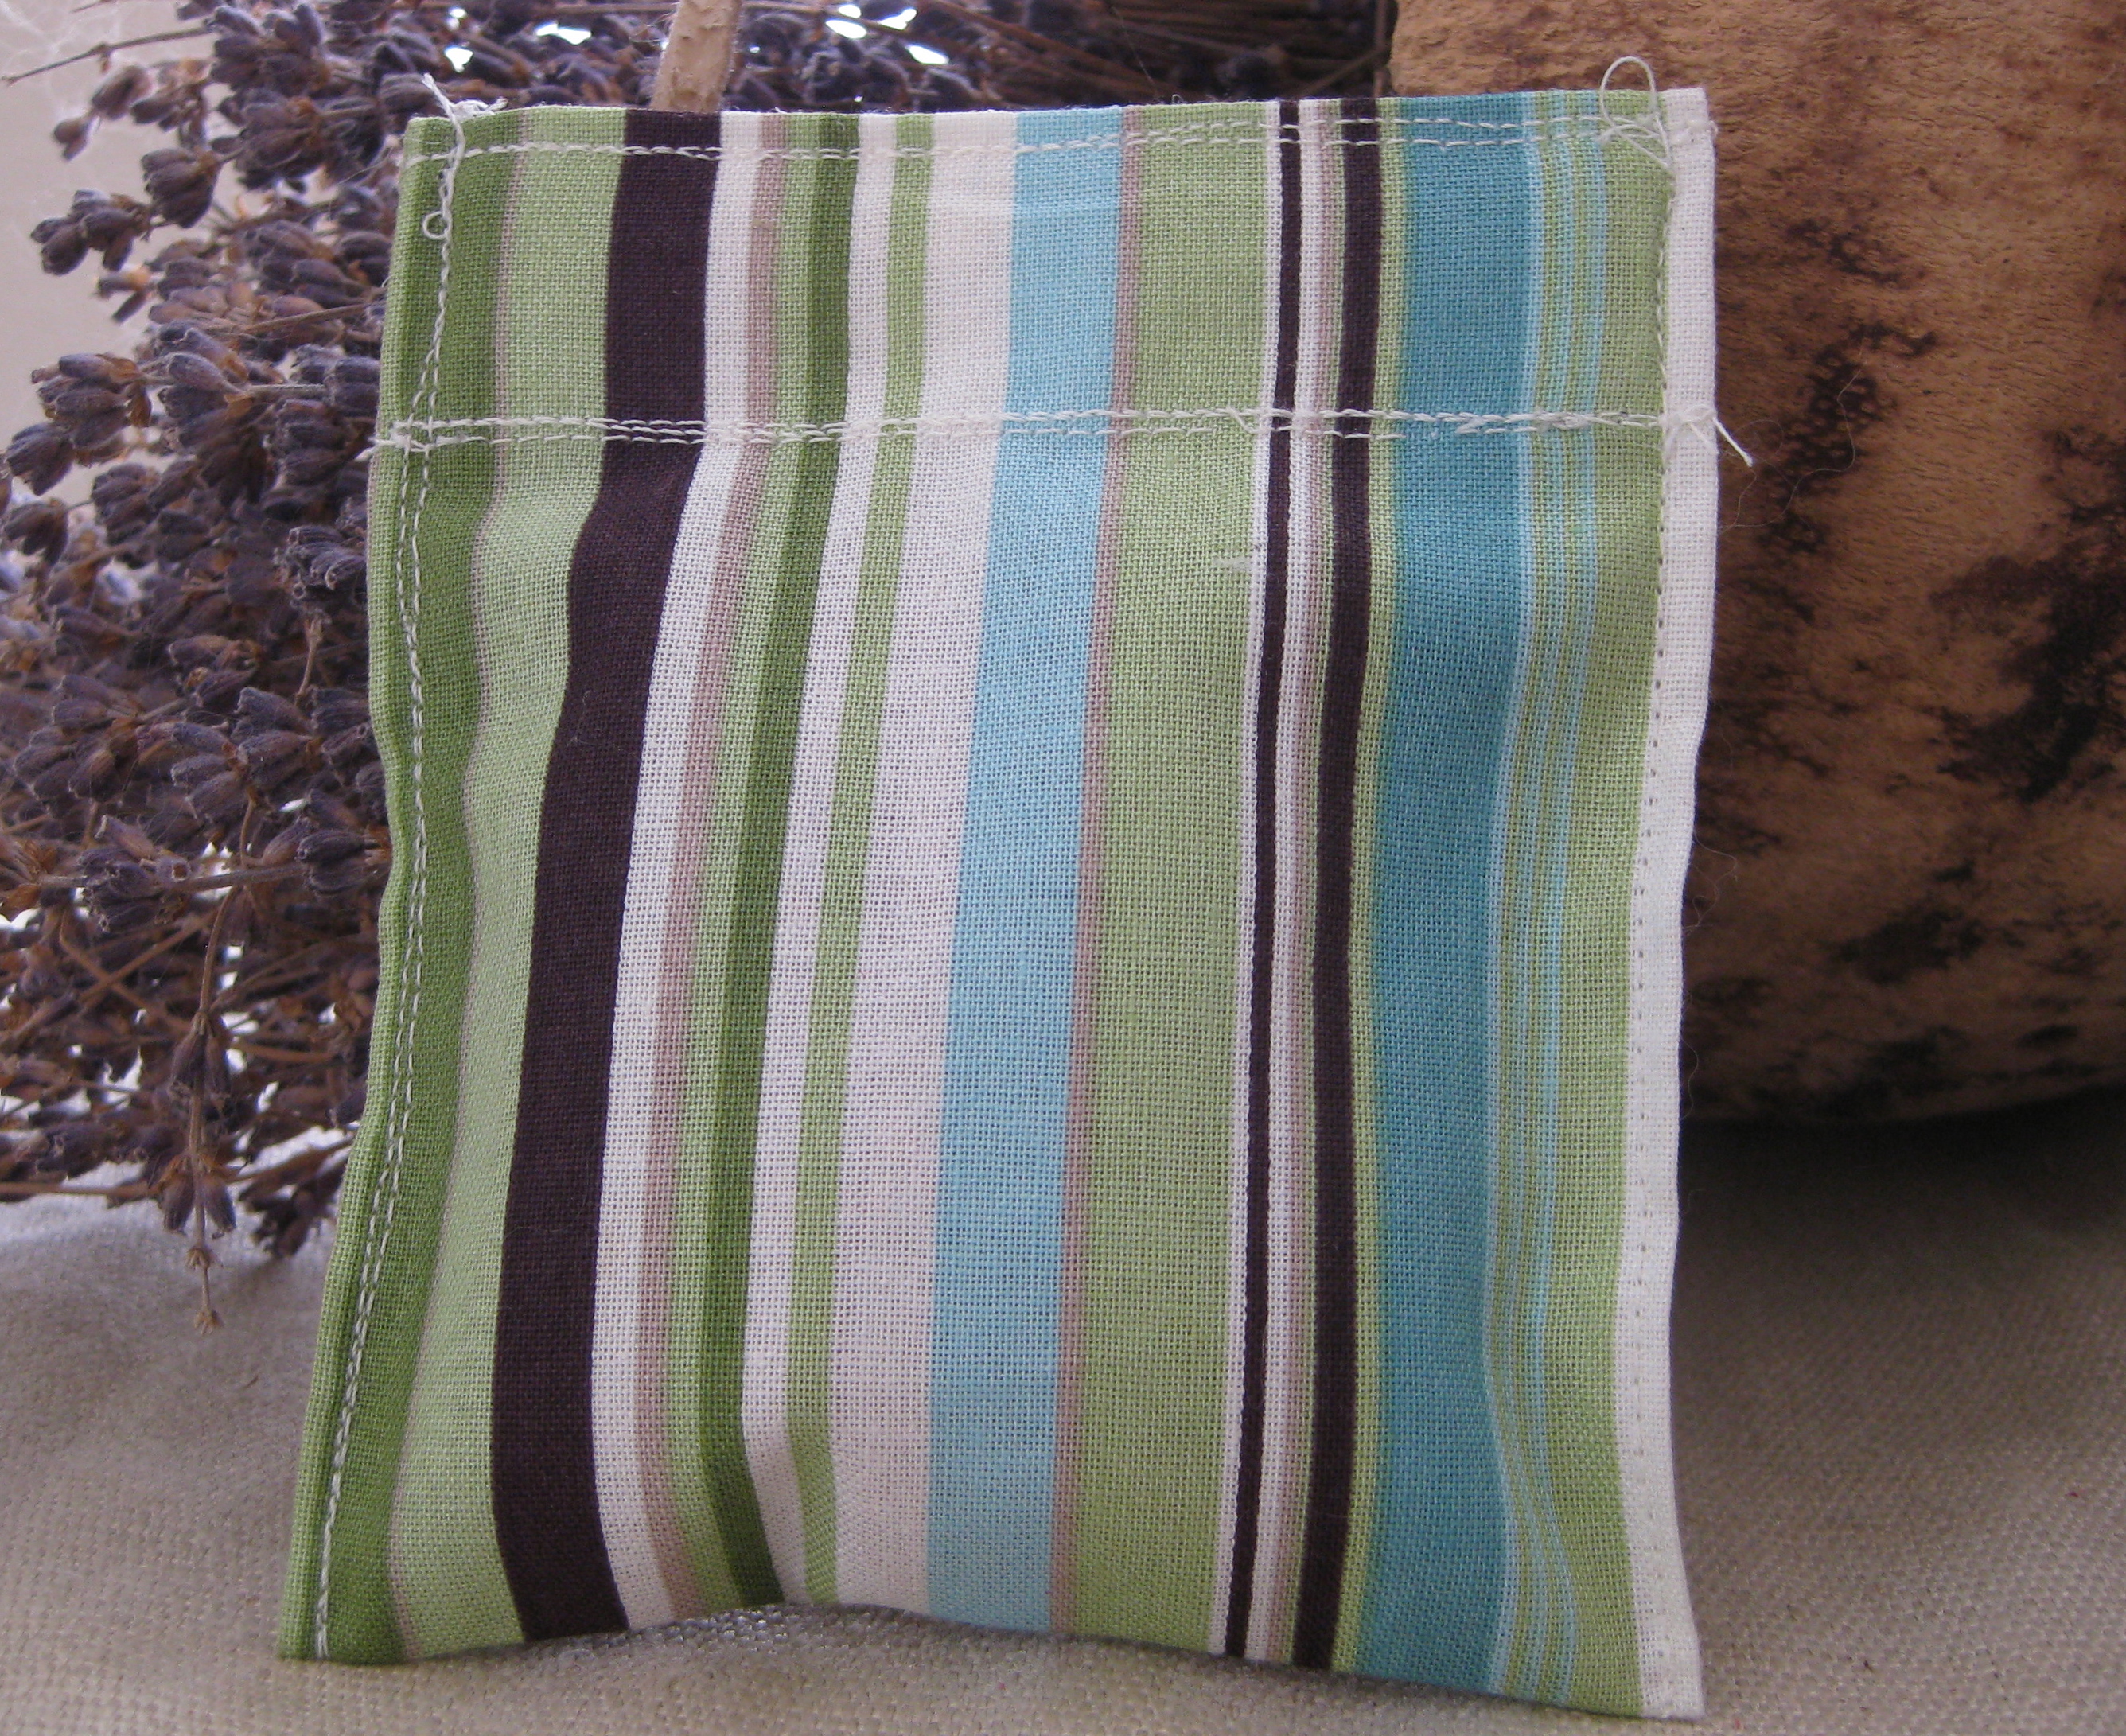
I really enjoy a small project like this … it doesn’t take much time to do and I’m just a little greener.
Glad you enjoyed it! Feel free to post pictures of your project on my Facebook page, I’d love to see!
I love, love, love, your website. Keep it going! Sandra
Thank you so much! I’m having such a good time sharing with everyone.
Great project! I harvest a ton of lavender every year. Thanks for sharing!
I’m SO jealous…I’d love to be able to harvest bunches and bunches of lavender in a year.
It grows like a week here in my yard in Colorado, but only a few are the really deep purple that I love. They all smell good though! I could send you some seed…..
This is most fabulous. I’ve read one instance where you dampen a washclothe and add a few drops of essential oils to a fresh dryer load and though, “Hey! Cheap and awesome!” But this! Oh!!! I cannot wait to try this out. This will also save me money on buying the scent satchels from Bed Bath and Beyond that I am semi-addicted to, but often can’t find them, or have the money for them. I know they are IN ithe store but just not the exact location. Anywho! Sweet work!
I’m so happy you liked it! I love using these and they really do freshen the whole load…for cheap!
What kind of velcro did you get and where? My thread keeps breaking going through the back of the industrial strength sticky velcro. I can’t seem to find a good, strong velcro without the adhesive.
Wow! What a great idea. Found you from Susie’s paaaarty!
Great job.
Thanks for stopping by! I’m looking forward to following along on your blog…looks like saucy times!!
This is timely for me—I’ve been looking for a natural alternative for the dryer sheets and I’ve got a big fabric stash! Thanks for the how to.
Btw I found your link at Susie’s
I love it when a plan comes together! Wasn’t that sweet of Susie to bring us together?
Hi, what a cute pattern! Do these do anything for static?
The lavender helps prevent static from building up in the dryer.