Life is always giving me lemons (mostly because I keep buying them) and I couldn’t be happier about it. I love the way lemons look sitting in a bowl on my counter, I love the way they smell and I love the way they taste. From time to time, I’ll end up with a bit of leftover lemon that ends up just beyond its prime, and since I hate to waste food, I’ve got a few great uses for these leftover bits. Give one (or two…or three) of these a try and let me know what you think!
Tag: home
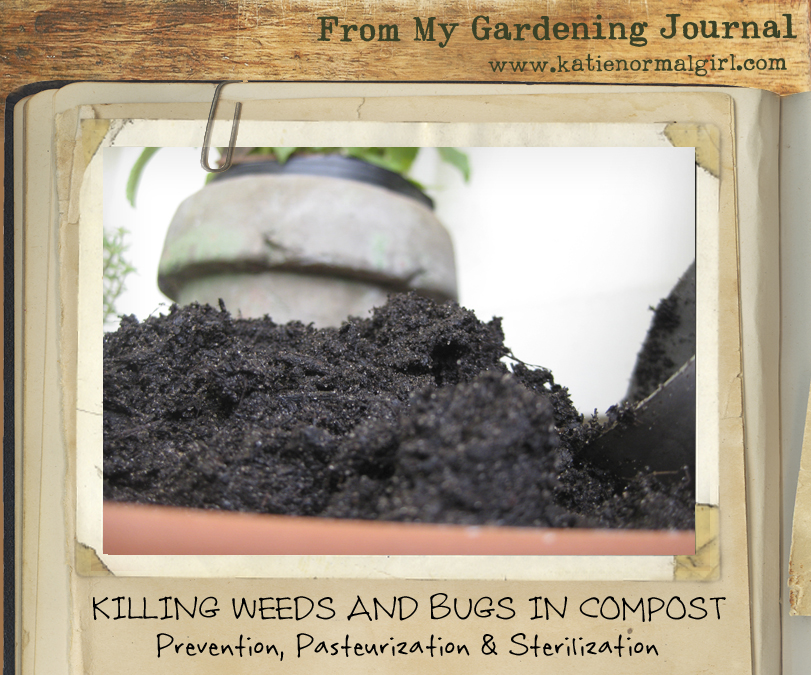
Gardening Journal: Killing Weed Seeds and Bugs in Compost
Ideally your compost pile will heat up enough during the decomposition process to kill most of the unwanted bugs and weed seeds that get into it. Sometimes this isn’t the case and you need a little extra help. You have a couple of options, some are more harsh than others and you want to balance your desire to kill the weed seeds and bad bugs with your desire to maintain the life of the beneficial organisms that are part of your compost.
Prevention
First and foremost of course, is trying to avoid weeds seeds and bugs making it through the decomposition process in the first place. One of the ways that you can ensure weed seeds are killed, is to put them in the hottest part of the compost pile, the center. If you’ve plucked some weeds from your garden that have gone to seed, make sure you bury them in the center of the pile and not along the outer edges where it doesn’t heat up as much.
Pasteurizing in the Oven or on the Stove
Sometimes weed seeds and bad bugs make it past the decomposition process, that’s when you can turn to pasteurization. This process is similar to sterilization and solar sanitization, but it is done at a lower temperature. The idea being that you heat the compost enough to kill the weed seeds and bad bugs, but not so much that you kill the beneficial organisms that you have worked so hard to cultivate. Work in small batches using fully decomposed compost and be forewarned, this process may make your house smell. Best to do it on a day when you can open the windows and let a breeze in!
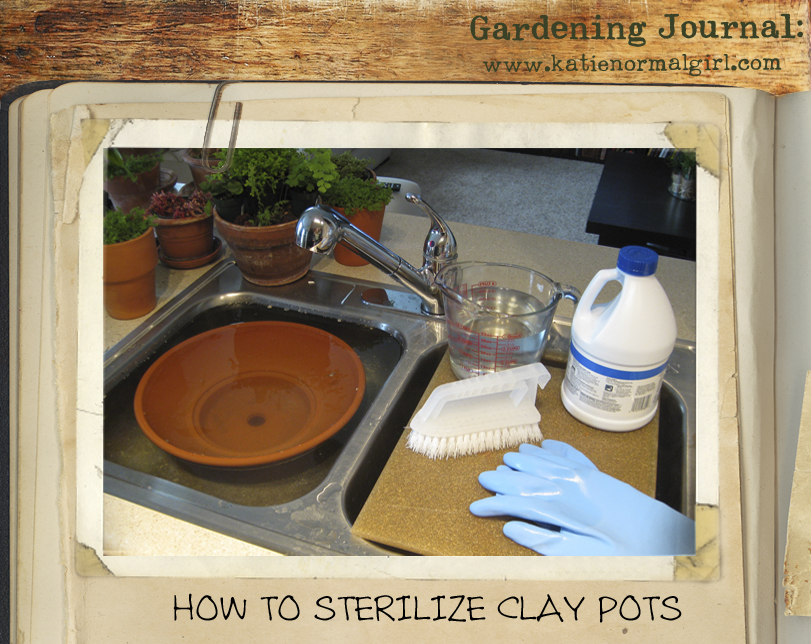
Gardening Journal: How to Sterilize Clay Pots
Materials Needed: bleach or hydrogen peroxide, scrub brush, rubber gloves
I have always loved the look of mold and calcium buildup on my terra cotta pots. Unfortunately that wonderful patina can mean unsanitary growing conditions for your potted plants. Give your plants their best chance for growth by sterilizing your clay and terra cotta pots before you plant. This easy process will help eliminate the possibility of fungal or bacterial diseases that may develop.
Soak the pot(s) in a solution of ten parts water to one part bleach or hydrogen peroxide. I like to use my kitchen sink but you can use a plastic bucket or basin. Allow the pots to soak for a minimum of 3 hours or you can leave them in the solution overnight if you prefer. After the pots have soaked, put on your rubber gloves and use a stiff bristled scrub brush to thoroughly scour the pot, inside and out. Rinse the pot and allow it to dry.
Your pots are now ready, and your new plants will have a great growing season!

White Chocolate Bunny Easter Arrangement For Your Table
Easter will be early this year, on April 8th to be exact, and Mom has created a wonderful silk flower centerpiece for this year’s table scape. I love the unique element of having a white chocolate bunny on top that is being haloed by a pretty, pink jewel umbrella above it. This centerpiece comes together pretty quickly and will make a lovely addition to your Easter table.
Ditch the Dryer Sheets…Freshen Laundry Naturally with Herbs
Ditch your dryer sheets and embrace the latest trend in simple, sustainable living…dryer sachets! These chemical-free, all-natural alternative to dryer sheets have been growing in popularity as people try to eliminate unnecessary chemicals from their homes, but have you ever wondered how they work? In this week’s column, I’ll tell you why they work and show you how to make your own.
What Is A Dryer Sachet And Why Does It Work?
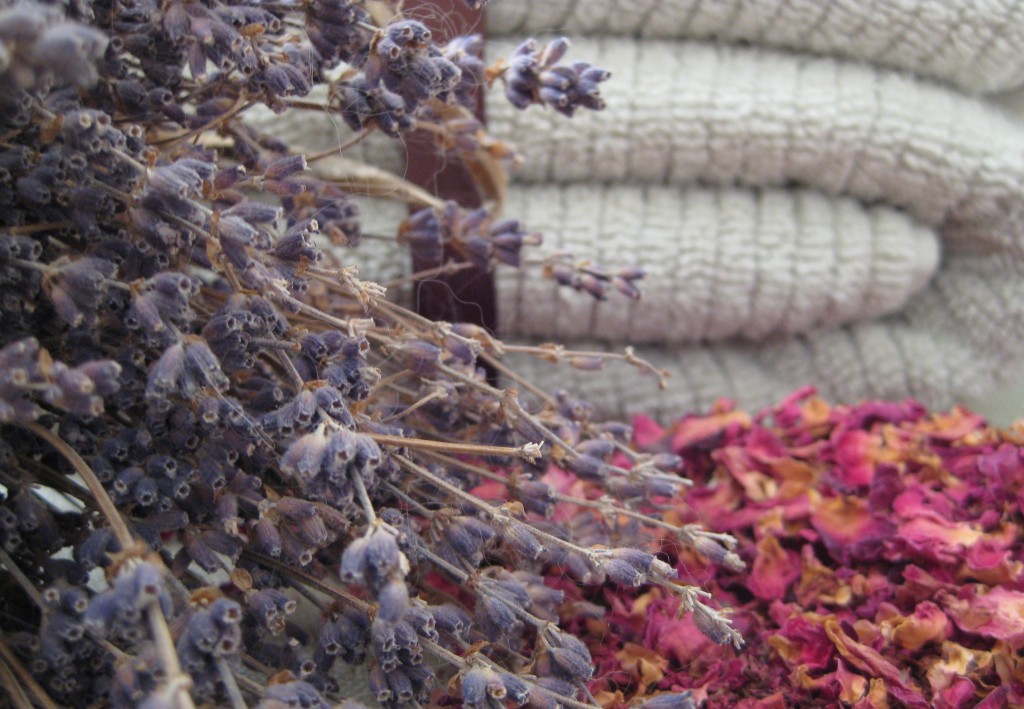
A dryer sachet is a lot like any other sachet, it’s a bag or pouch made of porous fabric that is filled with fragrant herbs. What distinguishes dryer sachets from their culinary counterparts, is the type of herbs that are used in it. Most dryer sachets are made exclusively with lavender because it is a highly fragrant herb that eliminates static cling, and the residual smell left on clothing, repels moths. I’ve added fragrant rose petals in the custom herbal blend below, because I enjoy the light scent in combination with the lavender.
Dryer Sachet Herb Blend
The ingredients for this dryer sachet mix are gentle enough for sensitive skin and can be used when laundering children’s and infant’s clothing.
You’ll Need:
- 1/4 c. dried rose petals
- 1/4 c. dried lavender buds
- 4-5 drops lavender essential oil (optional)
- 1 dryer sachet*
*Dryer sachets can be purchased online or you can make your own using an old sock or stockings. You can also sew your own reusable and refillable dryer sachets, using fabric scraps or an old t-shirt.
Assembly:
Place the herbs in the dryer sachet of your choice and add the essential oil drops. If using an old sock or stockings, add the herbs and securely tie the end, or ends, into a knot. If you have enough fabric, you can tie a double knot to be safe.
To Use:
Each sachet can be used 7-10 times (the sachets can be used more than 10 times if you don’t mind a reduction in scent). Before each drying cycle, remove the sachet and pinch it between your fingers a few times, to release the herbal essences.
When you’ve used the bag and no longer notice a strong scent in your laundry, you can deodorize and freshen your vacuum cleaner by sprinkling the herbs on the floor and vacuuming them up!


