Tag: natural beauty products

Moisturizing Pumpkin Body Whip

I have studied herbalism for many years and enjoy using the knowledge that I have gained to create both simple and complex herbal remedies, delicious teas, tisanes and brews, and to make natural skin and hair care products.  I get to share a lot of this knowledge in my weekly column on hellogiggles.com as The 21st Century Herbalist.  Once a week I like to repost the column here, just in case you missed it!

Original publish date: September 27, 2012

or those of us in the northern hemisphere, Autumn is officially here!  Bring on the pumpkin flavored lattes, bagels, cream cheese, muffins and any other food we can flavor with delicious pumpkin and spice flavors!  Mmmm…I love it all.  Along with all of those yummy foods it’s also pumpkin season for your skin.  Yup, pumpkin for your skin.  It is so moisturizing and packed with nutrients that help bring out the subtle glow of your skin.

Next time you’re in the grocery store or at the farmer’s market pick up a pie pumpkin and give this great body whip treatment a try.  It’s a great way to pamper yourself after a long week of studying, working or before a big date. Later, as winter weather sets in and your skin starts to get a little dry, use this recipe to rehydrate your skin and even your hair.

This recipe is part of this month’s celebration of the multi-generational traditions of women.  It is a classic recipe that goes back generations and uses simple, natural ingredients to soothe and moisturize your skin.

Ingredients:

  • A small to medium sized pie pumpkin
  • 1 c. full-fat, unflavored yogurt
  • 1-2 tbsp. olive oil

…read more (you’ll be redirected to my column on hellogiggles.com)

Mayonnaise Hair Mask for Moisture, Shine and Growth

I have studied herbalism for many years and enjoy using the knowledge that I have gained to create both simple and complex herbal remedies, delicious teas, tisanes and brews, and to make natural skin and hair care products.  I get to share a lot of this knowledge in my weekly column on hellogiggles.com as The 21st Century Herbalist.  Once a week I like to repost the column here, just in case you missed it!

Original publish date: July 05, 2012

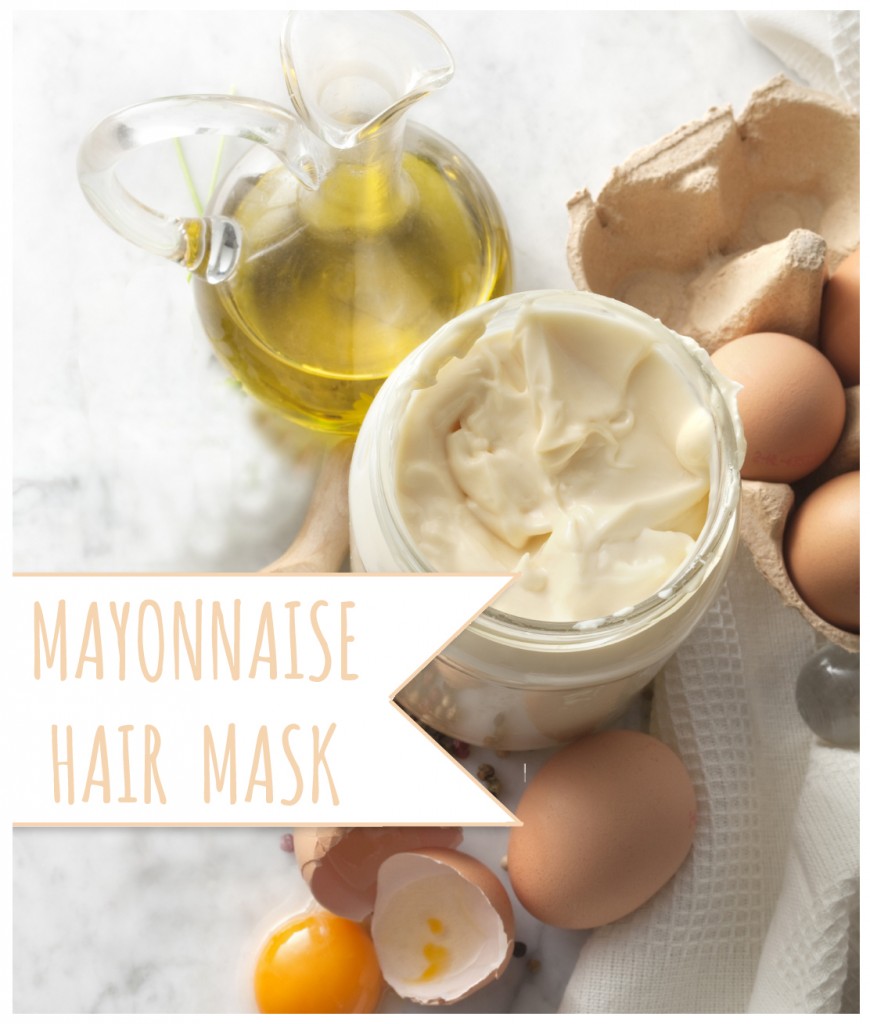
 hair pack ingredients from katienormalgirl.comDIY Hair Care Month begins!  Years ago I was told the slathering mayonnaise on your hair will make it soft and shiny.  I had to try it and it worked.  Of course, I couldn’t just leave it at that.  I had to improve it!  I had to make my own.  I’ve lost track of how many versions I’ve created but below you’ll find my favorite Herbal Mayonnaise Hair Mask recipe.  For those of you that would like to keep it simple, I’ve also included the “Super-Basic” and “Basic” Mayonnaise Hair Mask recipe.  All three recipes follow the same “Use” instructions below.

.

Super-Basic Mayonnaise Hair Mask

– 1 c. of all-natural, full-fat mayonnaise

Basic Mayonnaise Hair Mask*

– 1 large (or 2 small) egg yolk(s) at room temperature
– 1 tbsp. apple cider vinegar
– 5-6 tbsp. base oil of your choice (select one or a combination): olive oil, jojoba oil, grapeseed or coconut oil

Follow mixing instructions below.

*This recipe is based on the best benefit for your hair; it is not the tastiest mayonnaise for eating…though you could.

Herbal Mayonnaise Hair Mask

  • 1 large (or 2 small) egg yolk(s) at room temperature – softens your hair
  • 1 tbsp. apple cider vinegar – adds shine, restores pH balance, removes residue and product build-up
  • 1 tbsp. powdered** rosemary – encourages hair growth
  • 1 tbsp. powdered** sage – encourages hair growth
  • 1 tbsp. powdered** burdock root – softens your hair
  • 1 tbsp. powdered** nettle – adds shine, encourages hair growth and moisturizes the scalp (good for dandruff)
  • 1 egg white – adds shine

Optional:

  • For light hair: 3 tbsp. lemon or lime juice
  • For dark hair: 3 tbsp.  walnut hull concentrate***
  • For red hair: 3 tbsp. alkanet root concentrate***

…read more (you’ll be redirected to my column on hellogiggles.com)

Calming Oatmeal Facial

Original publish date: January 19, 2012

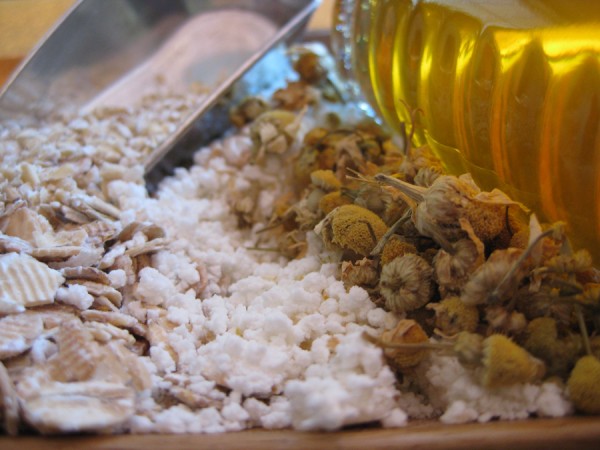
DIY Skin Care: Calming Oatmeal Facial from katienormalgirl.com | #DIY #natural #beautyLast nerve frayed?  Winter weather dried out your skin?  No problem.  The chamomile in this mask has natural anti-inflammatory properties that will ease your nerves.  The honey is a natural humectant, pulling moisture from the air and drawing it to your skin.  It will leave you feeling calm and moisturized, and who wouldn’t want that?

You’ll need:
2 1/2 tsp. powdered milk
2 tsp. ground oatmeal
1 tsp. honey
2 chamomile tea bags

Brew…
Place the chamomile tea bags in your favorite mug and pour in 1 cup boiling water.  Put a saucer over the cup to trap the escaping steam, which is now infused with the beneficial constituents of the chamomile flowers.  Let this steep for 10 minutes.

After the tea is done steeping, remove the tea bags, squeeze out any excess water and place them in the refrigerator to cool.

Mix…
In a small bowl, mix together the powdered milk, ground oatmeal, honey and 2 tsp. of the warm chamomile tea.  The warm water will draw out the beneficial elements of the oatmeal and milk, while liquefying the honey, creating a thin paste.

Relax…
Using your fingers, apply the oatmeal mixture to your forehead, then gently sweep down your temples, under your eyes and around your nose.  Move your fingers in small circles as you apply more mixture to your cheeks, around your mouth and down your neck.

As you apply the mixture, pay attention to your breathing, take slow, calm breaths.  Enjoy the light scent of chamomile and honey as you inhale through your nose and exhale through your mouth.  Feel the warm sensation of the oatmeal mixture as you gently spread it over your face.

When you’ve finished applying the mask, rinse your hands in warm water.  Get the cooled tea bags from the refrigerator, then lie down with the tea bags placed over your closed eyes.  Relax for 20 to 30 minutes and let the chamomile calm your skin and soothe your nerves.

And Rinse.
To rinse the mask off, use warm water and a wash cloth.  You do not need to use soap or a cleanser.  The mask will rinse clean without them and you want to allow the delicate essences of the chamomile flowers to linger on your skin.  The honey will rinse off, leaving your skin feeling moisturized, without clogging your pores.  Pat your face dry.

Dispose of (or compost!) the tea bags and finish your facial by sitting with a good book or magazine and sipping on the rest of the chamomile tea that you brewed earlier.  If you’ve got the ingredients on hand, this entire process takes less than 45 minutes and can really replenish your mind and body after a draining day.

Happy brewing!

katie: normal girl


P.S. Who knew? Tea vs. Tisane
Did you know that in order for a beverage to be called “tea,” it actually needs to have tea leaves in it?  So all of the herbal brews, like the chamomile tea you just made, are not actually teas…they’re tisanes, water infused with herbs.  But seriously, who would ever call them that??  Chamomile tisane?

The 21st Century Herbalist: Volume 1, Issue 19

It’s week 4 of DIY Skin Care Month and now that you’ve cleansed and toned, it’s time to moisturize!

Why moisturize?

Lotions don’t just hydrate your skin, they also help protect it.  When you apply a moisturizer to your skin, you are creating a barrier between the epidermis (skin’s upper layer) and the environment around you.  Lotion protects your skin from pollutants and from the drying effects of air-conditioning and heating.

Different Moisturizers for Different Skin Types

It’s important to select a moisturizer blended for your skin type.  Lotions, facial creams especially, are all blended with a certain skin type in mind which is usually marked on the container with indicator words like: hydrating, sensitive or light formula.  Using a light

…read more (you’ll be redirected to my column on hellogiggles.com)
The 21st Century Herbalist: Volume 1, Issue 18

Welcome, Gigglers, to week 3 of DIY Skin Care Month.  Today we’re talking about toners and astringents, and the reasons you should you use them.  Both toners and astringents are water-based solutions that are applied to the skin after cleansing but before moisturizing. They help remove excess oil and perspiration, along with any residue left behind by your cleanser.  They also balance your skin’s pH level while preparing it to better absorb your moisturizer.

Astringent vs. Toner
Astringents are usually stronger than toners, often containing isopropyl alcohol or acetone (yes, the stuff that nail polish remover is made with), which can be drying and harmful to your skin.  Astringents should only be used on oily, combination and normal skin types.  Toners are gentler than astringents and can be used on all skin types but are especially beneficial to those with dry or

…read more (you’ll be redirected to my column on hellogiggles.com)
The 21st Century Herbalist: Volume 1, Issue 17

It’s week 2 of DIY Skin Care Month and today I’m talking cleansing.  It’s the first step in any good skincare regime (cleanse, tone, moisturize).  At first it can sound so basic — my face is dirty, I will wash it — but it gets a little more complicated than that.  What if you also need to remove makeup? What if you have acne, or dry skin or oily skin or just went for a run and there’s sweat pouring down your face?? Synthetics, chemicals, naturals, organics…whew, it can get exhausting.  How do you sort through it all and come up with a solution that meets your skin’s needs?  You ask The 21st Century Herbalist on HelloGiggles, of course!

Before we get to the specific cleansing tips and the recipe that I have for you, let’s start with the basics.  These are tried and true methods for cleansing the skin and getting the greatest benefit with the least amount of damage, regardless of skin type.

1. I said it last week and I’ll say it again…hydrate.  Any dermatologist, doctor or grandmother will tell you, water is the key to a healthy complexion.  In order for skin to remain healthy and resilient, it needs to be properly hydrated from the inside out, so make

…read more (you’ll be redirected to my column on hellogiggles.com)

The 21st Century Herbalist: Volume 1, Issue 15

It’s the last week of One Ingredient…One Great Fix Month and as promised in last week’s post about milk, this week is all about honey!  I don’t know who it was that first thought to smear this sticky, golden goo all over themselves, but I’m sure glad they did. Honey is incredibly beneficial to your skin and easy to use.  You’ll want to make sure you’re using raw honey because the high heat used during the pasteurization process can destroy some of the naturally occurring compounds that make honey so great for your skin.

Honey as a Cleanser
Honey is a gentle, all-natural cleanser that won’t dry out your skin like soaps can.  To use it, keep a bottle of honey in the shower

…read more (you’ll be redirected to my column on hellogiggles.com)

The 21st Century Herbalist: Volume 1, Issue 14

Milk and honey are two ingredients that just seem to go together naturally.  Since biblical times there have been references to the “land of milk and honey”.  John Lennon and Yoko had an album called Milk and Honey and Margaret Atwood named one of the stores in her novel The Handmaid’s Tale “Milk and Honey”. (Aside: If Hunger Games has you itching for another dystopia story, this is a good one.)  So milk and honey have solidified their place in culture, but why?  Why are they so great?  There are a lot of reasons, and in this week’s installment of One Ingredient…One Great Fix Month, I’ll share some of the reasons that milk is so great for your skin…it’s not just for cereal anymore!  Then next week, we’ll explore the loveliness that is ooey, gooey honey.

Milks Derived From Animals

There are, of course, different types of milk (skim, 2%, whole) from different sources (cow, goat, sheep), but they all contain some

…read more (you’ll be redirected to my column on hellogiggles.com)

The 21st Century Herbalist: Volume 1, Issue 13

It’s week 2 of “One Ingredient…One Great Fix” Month and this week I’m chatting about hydrogen peroxide. You may know it best by its use as a cleanser for minor cuts and scrapes, and of course by its classic packaging. Found in the first aid section of your local drug store, it’s the one in the dark brown plastic bottle topped with a white cap and a basic label displaying its contents. This brown bottle of hydrogen peroxide is so much more than just a first aid solution, its also the active ingredient for, what I’ve heard is, a billion dollar industry — teeth whitening.

Next time you’re in the drug store, grab a bottle of hydrogen peroxide and walk it over to the oral hygiene aisle.  Check the active ingredient for most of the whitening toothpastes, mouth washes and whitening cream, gel and strip kits, it probably says hydrogen peroxide. If it’s not the active ingredient, I’m willing to bet that it’s still listed somewhere in the ingredients.  That’s the same stuff that you’re holding in the brown bottle and it only costs about $3.

…read more (you’ll be redirected to my column on hellogiggles.com)

The 21st Century Herbalist: Volume 1, Issue 12

It’s the start of “One Ingredient…One Great Fix” month and I’m starting with one of my favorites, apple cider vinegar. You probably know it best as a culinary ingredient, but it’s so much more than that!  I initially intended to give you “one great fix” but apple cider vinegar is so versatile that I couldn’t help myself and I had to give you two great fixes.

Apple Cider Vinegar Hair Rinse
Remove Product-Buildup, Add Shine, Soothe Itchy Scalp

You know all those crazy hair styles you’ve been sporting lately?  Your shampoo can only do so much to remove all of the product that you use on your hair and the product that it leaves behind will build up and lead to dull hair.  You can also experience lack luster locks because your conditioner may contain glycerin*, which coats your hair making it soft and shiny.  It also attracts dust and dirt, which then sticks to your hair and creates buildup.

…read more (you’ll be redirected to my column on hellogiggles.com)