Tag: gardening

Rosemary, Part I: Cultivation

HERB PROFILE OF THE MONTH
CULTIVATION  |  CULINARY  |  HERBALISM

Featured Herb-Rosemary - grow it, cook with it and use it medicinally from katienormalgirl.com | #Cultivation

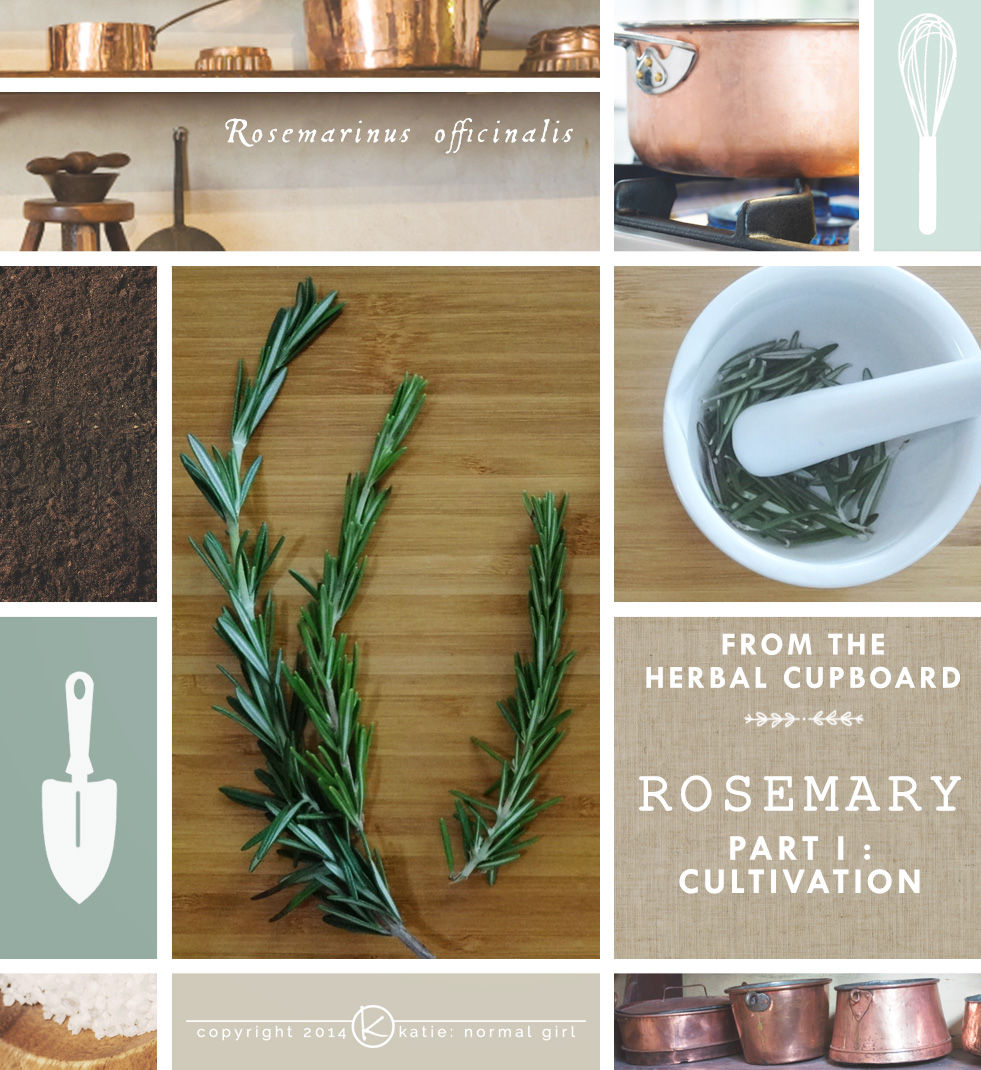
Rosemary is one of those fabulous herbs that is pungently fragrant and has a multitude of uses. It’s also very pretty to look at with tiny, thin leaves on sturdy woody stems, which makes some varieties great for shaping into tiny topiaries. Other varieties tend to stay low and stretch along the ground, making them perfect ground covers.

PLANT  |  GROW  |  HARVEST

Rosemary likes full sun and a quick-draining soil – indoors or out, in a pot or in the ground, this is what it needs. In warmer climates Rosemary can be grown outdoors as an evergreen shrub. In cooler climates, you’ll need to take it inside when winter sets in and frost is immanent.

In dryer climates start with a soil-based compost and bark to ensure that the soil remains damp but not wet – rosemary hates wet feet. In a humid climate, start with a soil-based compost and add a bit of sand to encourage quick drainage.

When planting rosemary in a pot, an uncoated terra cot pot is best. This will allow water and moisture to drain from the bottom and through the container’s permeable sides.

Rosemary can easily be grown from cuttings. Start them in spring or summer to give them enough time to develop before the cooler weather arrives.

Rosemary herb profile sample - original PDF available in the Download Gallery from katienormalgirl.comTo harvest rosemary, snip off the tender stems just above the woody growth and pull the leaves off of the stem for use either fresh or dried.

Grab a PDF of this info along with more cultivation stats (including pH, additional varieties, companion planting, and more) from the Herb Library in the Download Gallery.

Part II: Culinary – coming June 11
Part III: Herbalism – coming June 18

Whatta think? Will you give growing rosemary a try?

katie: normal girl

Plant a Mint Bowl

On a recent trip to my local nursery I found these unique varieties of mint!  I planted them in a terra cotta bowl and labeled them with copper plant markers, to keep track of the different varieties.  As I was planting and rustling the leaves of the mint, it smelled wonderful in the air and my hands smelled so fresh.

The chocolate mint has a strong sent of mint with just a hint of chocolate and it is delicious sprinkled over some freshly chopped strawberries.  The apple mint is a little more subtle and tastes delicious in a glass of ice water.  Crush a few leaves between your fingers and drop them in the water, then swirl it around a bit.  It makes a great summer afternoon treat.  The sweet mint is wonderful dropped into a glass of strong black sun tea.

I just love the way it looks when different varieties of the same herb or flower are all planted together.  Have you ever done that?  What are your favorite plant mixes?

Gardening Journal: Killing Weed Seeds and Bugs in Compost

picture from Gardening Journal killing Weeds and Bugs in Compost sterilization pasteurization

Ideally your compost pile will heat up enough during the decomposition process to kill most of the unwanted bugs and weed seeds that get into it. Sometimes this isn’t the case and you need a little extra help.  You have a couple of options, some are more harsh than others and you want to balance your desire to kill the weed seeds and bad bugs with your desire to maintain the life of the beneficial organisms that are part of your compost.

Prevention
First and foremost of course, is trying to avoid weeds seeds and bugs making it through the decomposition process in the first place. One of the ways that you can ensure weed seeds are killed, is to put them in the hottest part of the compost pile, the center.  If you’ve plucked some weeds from your garden that have gone to seed, make sure you bury them in the center of the pile and not along the outer edges where it doesn’t heat up as much.

Pasteurizing in the Oven or on the Stove
Sometimes weed seeds and bad bugs make it past the decomposition process, that’s when you can turn to pasteurization.  This process is similar to sterilization and solar sanitization, but it is done at a lower temperature.  The idea being that you heat the compost enough to kill the weed seeds and bad bugs, but not so much that you kill the beneficial organisms that you have worked so hard to cultivate. Work in small batches using fully decomposed compost and be forewarned, this process may make your house smell.  Best to do it on a day when you can open the windows and let a breeze in!

Gardening Journal: How to Sterilize Clay Pots

Garden Journal: How to Sanitize Clay Pots from katienormalgirl.com | #gardening #tips

Materials Needed: bleach or hydrogen peroxide, scrub brush, rubber gloves

I have always loved the look of mold and calcium buildup on my terra cotta pots. Unfortunately that wonderful patina can mean unsanitary growing conditions for your potted plants.  Give your plants their best chance for growth by sterilizing your clay and terra cotta pots before you plant.  This easy process will help eliminate the possibility of fungal or bacterial diseases that may develop.

Soak the pot(s) in a  solution of ten parts water to one part bleach or hydrogen peroxide.  I like to use my kitchen sink but you can use a plastic bucket or basin.  Allow the pots to soak for a minimum of 3 hours or you can leave them in the solution overnight if you prefer.  After the pots have soaked, put on your rubber gloves and use a stiff bristled scrub brush to thoroughly scour the pot, inside and out.  Rinse the pot and allow it to dry.

Your pots are now ready, and your new plants will have a great growing season!

katie: normal girl