Terrarium – a partially or wholly enclosed container, usually glass, used for growing and/or displaying plants.
I have always been intrigued by terrariums. They are a whole tiny world under glass, containing miniature displays, and nooks and crannies of entire eco-systems. The man credited with discovering terrariums, Nathaniel Ward, accidentally created a terrarium during an experiment and the plants in his terrarium thrived for four years without any additional watering. So how do these micro-worlds exist without care for so many years? When a terrarium is initially assembled, the plants are watered and the soil moistened, this provides the initial water source. Once the terrarium is sealed and placed in sunlight, condensation will form on the walls of the display. At night, the water drips and slides back down to the soil and waters the plants. This is, of course, the basic principle and if you’re interested in learning more, you can read Nathaniel Ward’s book on the topic, “On the Growth of Plants in Closely Glazed Cases” for free at Google Books.
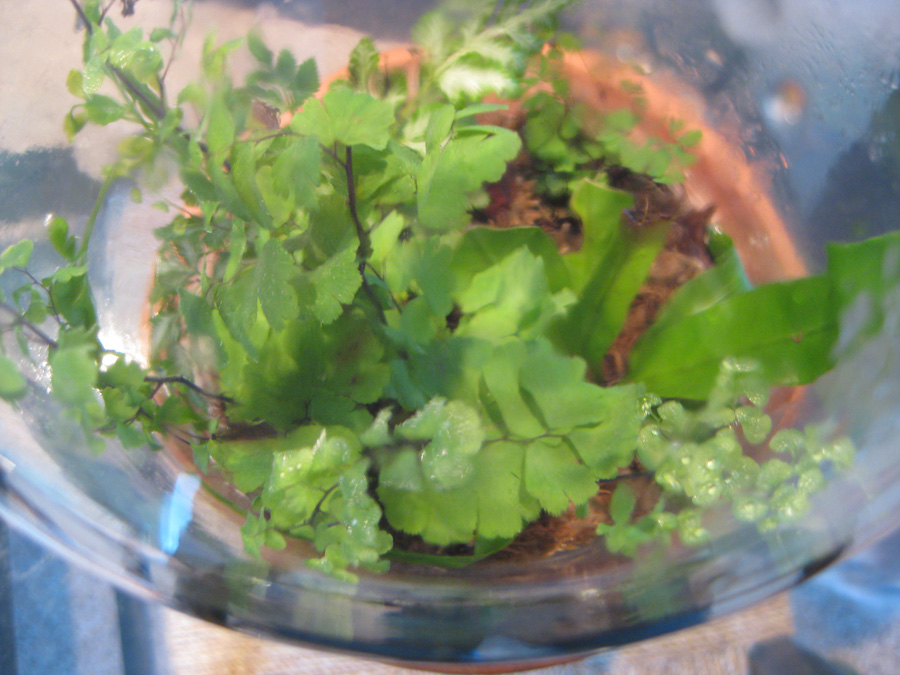
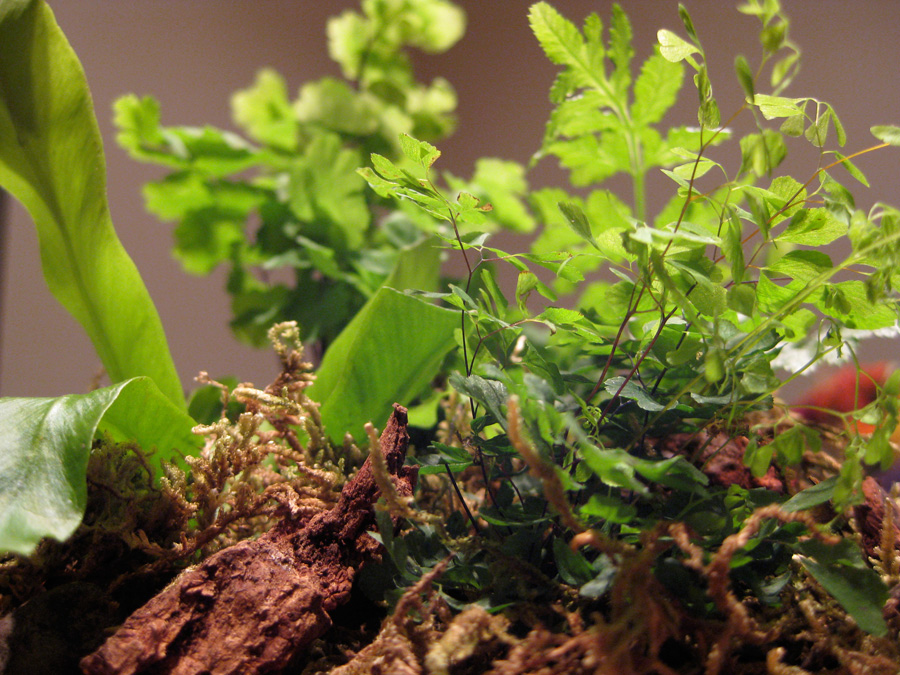
This past weekend I stopped into my favorite local plant nursery, Palmer’s Garden and Goods, and I found the best little ferns. They were small and specifically designed for use in a terrarium, and for less than $2 each, I couldn’t pass them up! I bought four different styles, two with delicate leaves, one with broad, glossy, light green leaves and one with variegated green and white pointed leaves.
1. Adiantum raddianum ‘Pacific Maid’, Delta Maidenhair Fern 2. Asplenium goudeyi, Miniature Bird’s Nest Fern 3. Adiantum raddianum ‘Gracillimum’, Delta Maidenhair Fern 4. Athyrium niponicum ‘Pictum’, Japanese Painted Fern

Materials you’ll need for assembly:
1. damp soil 2. orchid bark 3. clay saucer and paper ring* 4. decorative moss of your choice and small sticks 5. glass cloche or any decorative, clear cover

*The paper ring is used to hold the base materials, in this case orchid bark and soil, during assembly. You will remove the ring prior to covering your terrarium, with the cloche. To make the paper ring, fold two sheets of paper to a height of 2.5″ each. The final size of the ring should be the size of the inside of your cloche. To measure it, put the two sheets of folded paper inside the cloche and adjust until they form a ring, then tape the ends to secure. Remove the ring from the cloche and cover it with plastic wrap, so it doesn’t absorb water from the damp soil you’ll be using.
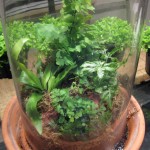
I’ve always had a “cabinet of curiosities” style decor in my home, so the fact that I have a cloche on-hand wasn’t too surprising. For most people you may want to purchase one and there are a lot of great terrarium covers available online. If you’re feeling creative or want to repurpose something you already have, try using an old 2-liter soda bottle, an emptied incandescent lightbulb, a clear cake plate cover, an old spaghetti sauce jar or one of my favorites, a mason jar.
Assembly Instructions:
Today, I’ll be showing you how to make a basic terrarium, which will need to be watered about once a month.

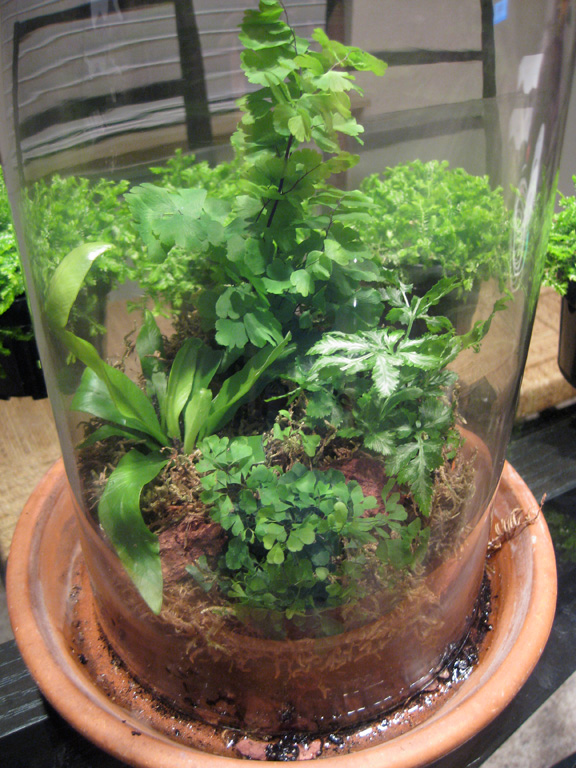
1. Fill the paper ring with orchid bark and top with moistened soil. Once you remove the paper ring, you’ll be able to see the two layers you’ve created through the clear terrarium cover.
2. Arrange your plants, mounding the soil to create different heights. I left my plants in the containers they came in, this will make it easier if I want to swap out one of the plants later. It also keeps them from growing to vigorously and outgrowing the terrarium.
3. Cover the pots with the remaining soil and top with decorative moss.
4. Place bits of pretty orchid bark, sticks and small stones around for added interest.
5. Remove the paper ring carefully. The moistened soil should hold its shape long enough for you to gingerly set the terrarium cover in place.
Care:
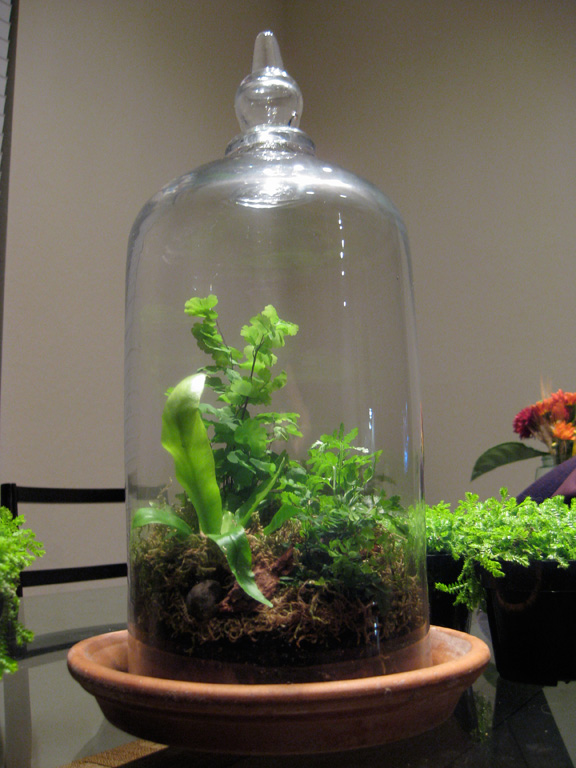
Your terrarium is complete! Set it in an area where it will get indirect sun and almost immediately, you’ll notice a fine condensation start to form on the inside of the glass. After a few minutes this will form droplets and the glass will clear a little more, so you can see the wonderful world you just created. This terrarium will need very little care, aside from a watering about every 4-5 weeks.
Have a good time making your own terrarium, and as always, leave your questions in the comments section and I’ll get back to you!

.
.
-
- Completed Terrarium
-
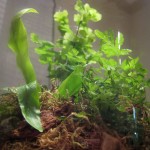
- A View From The Top
-
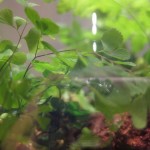
- Planted And Happy

-
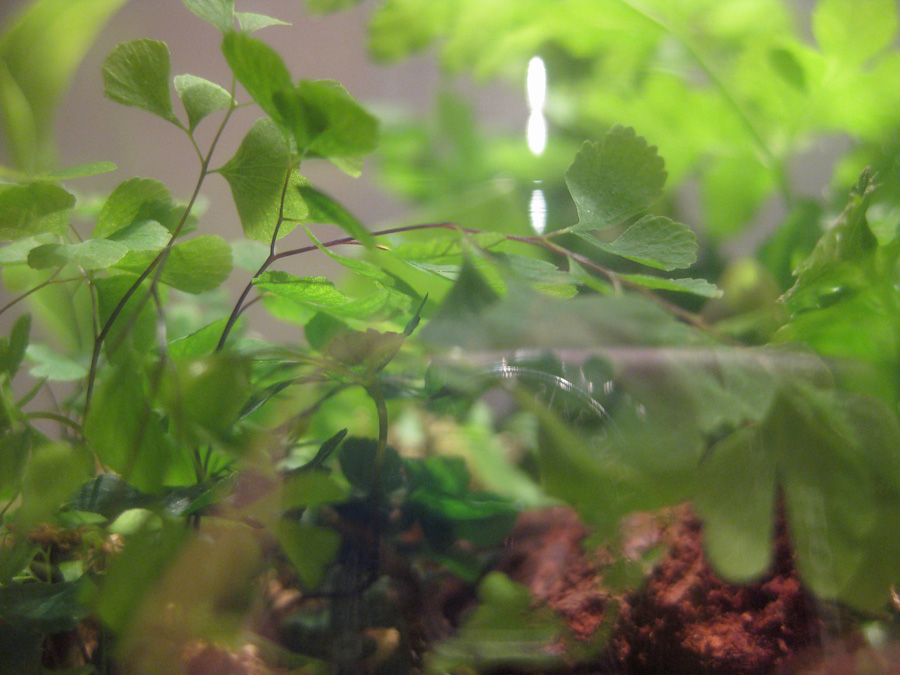
- Close-Up Of A Maidenhair Fern
-

- Ferns, Bark And Moss = Happy
-
- A World Under Glass